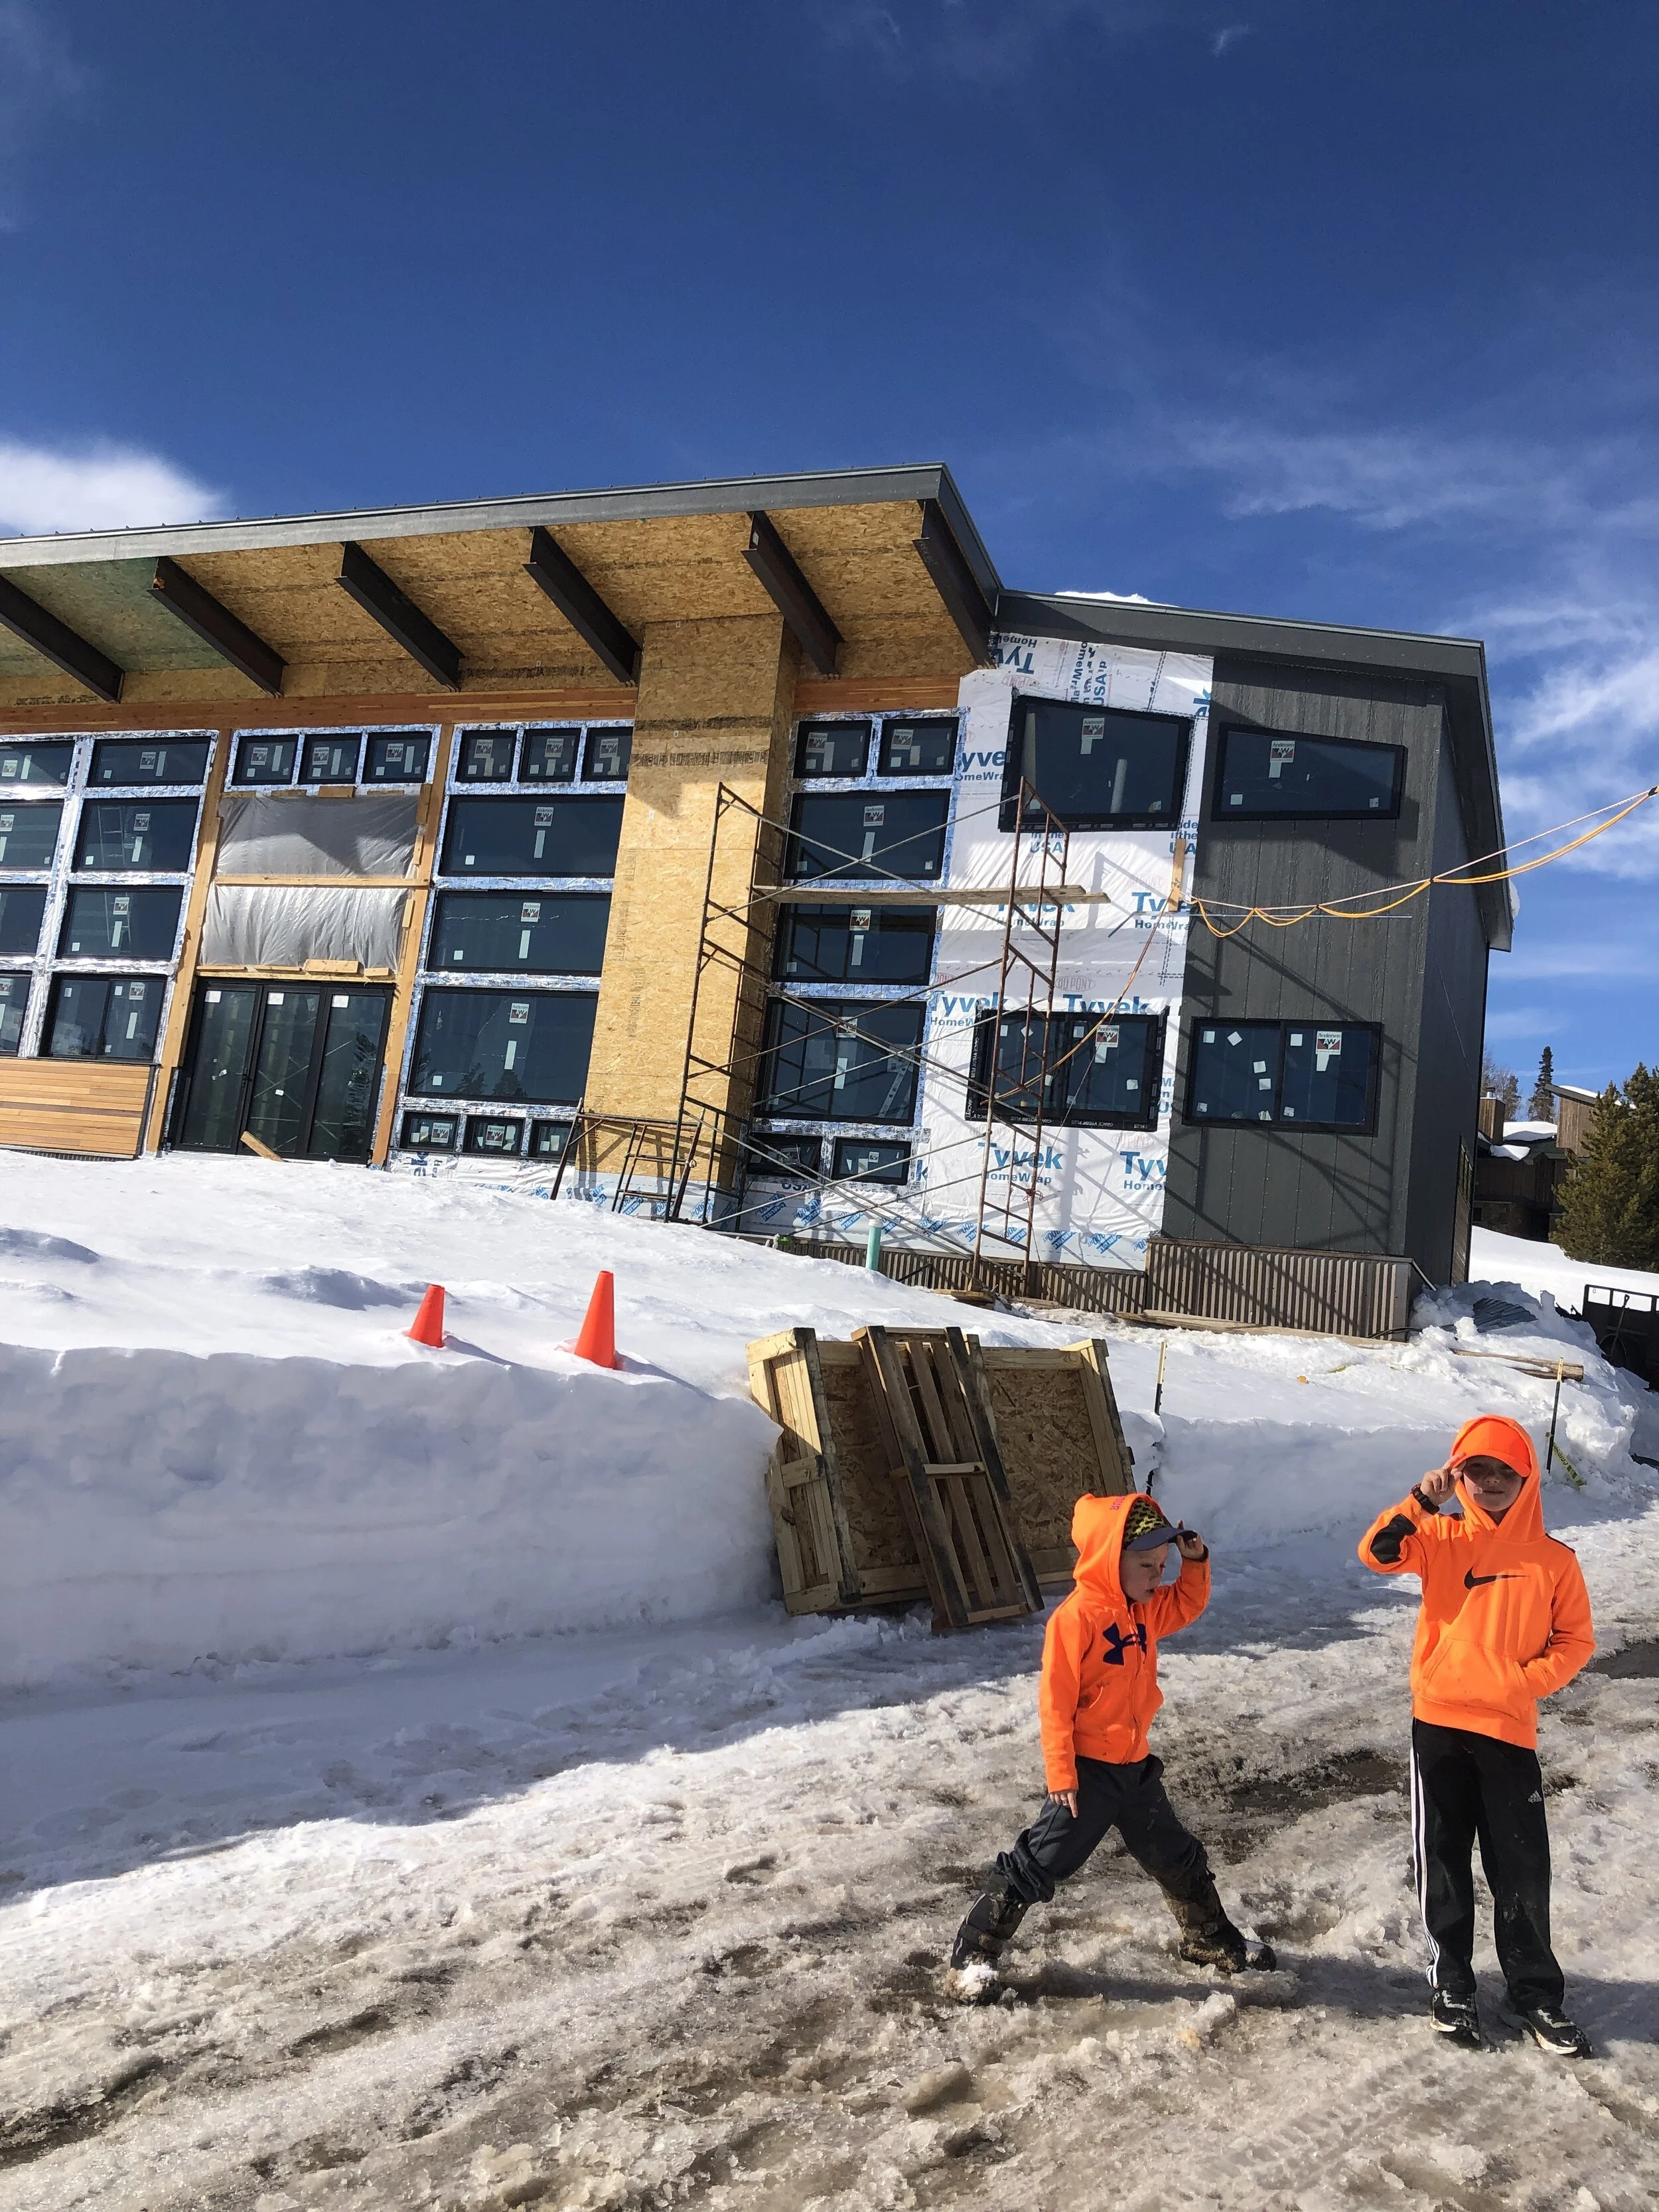
WINDOWS! And, getting started with plumbing and radiant floor.
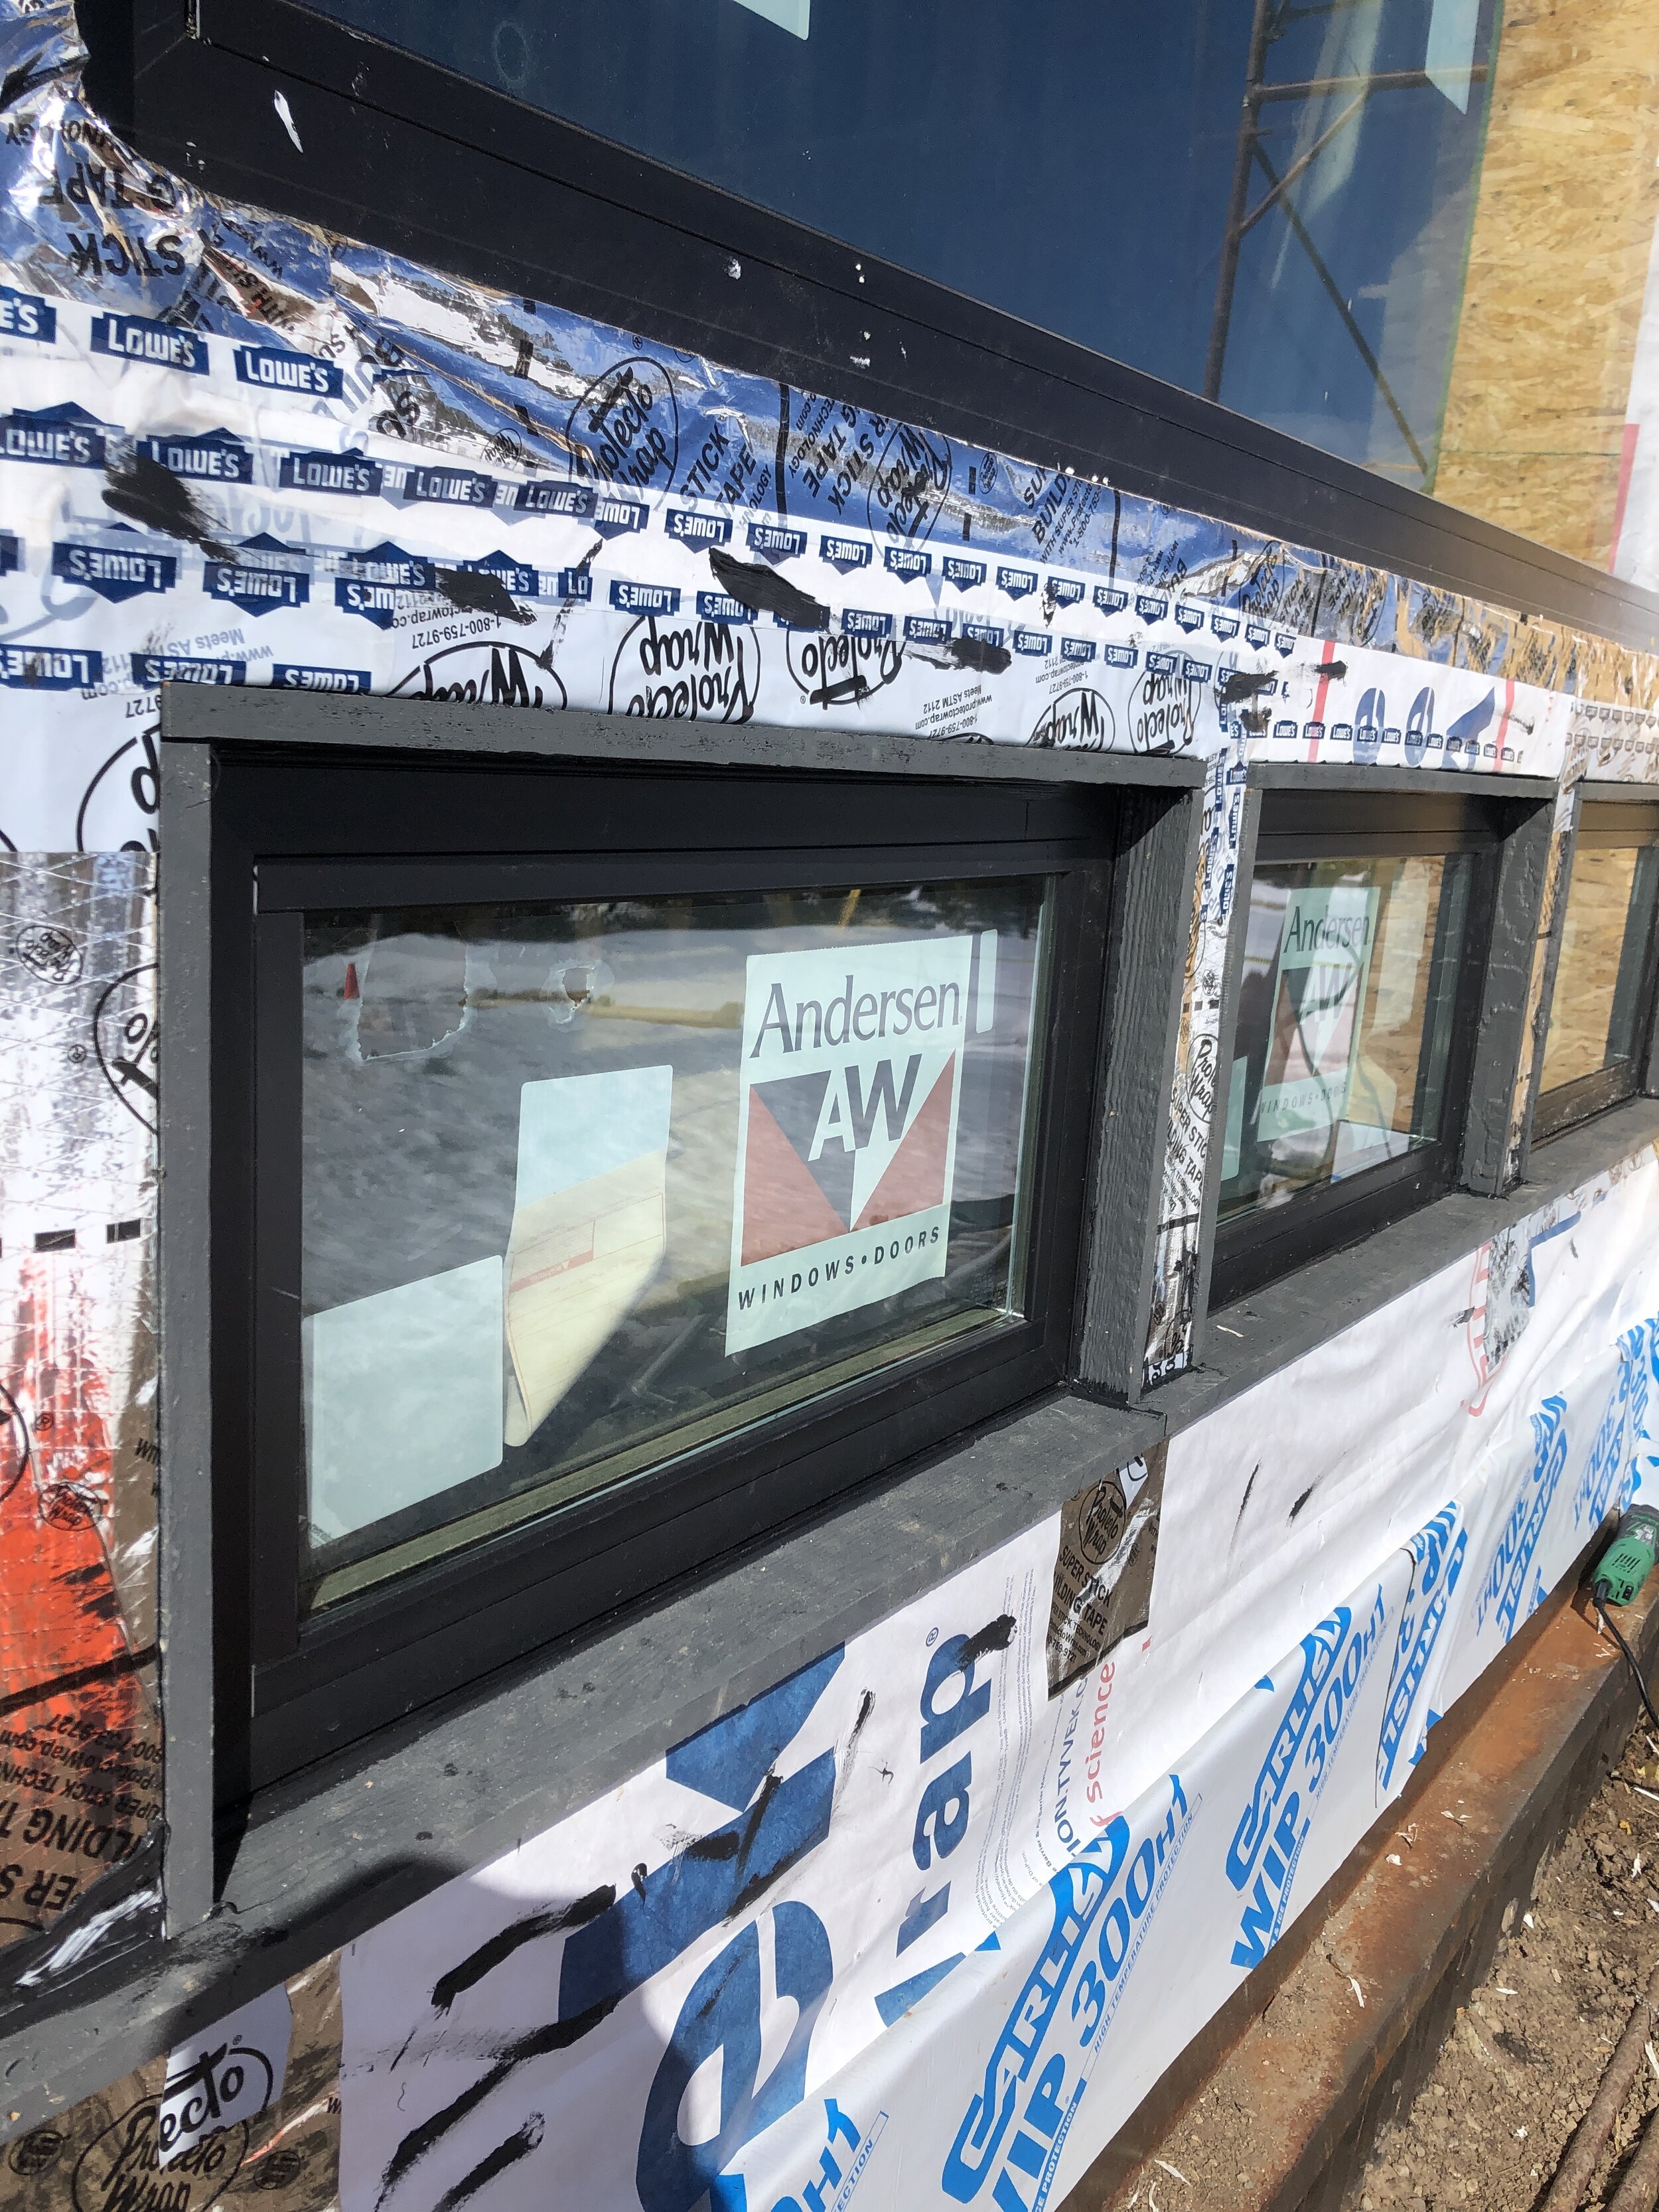
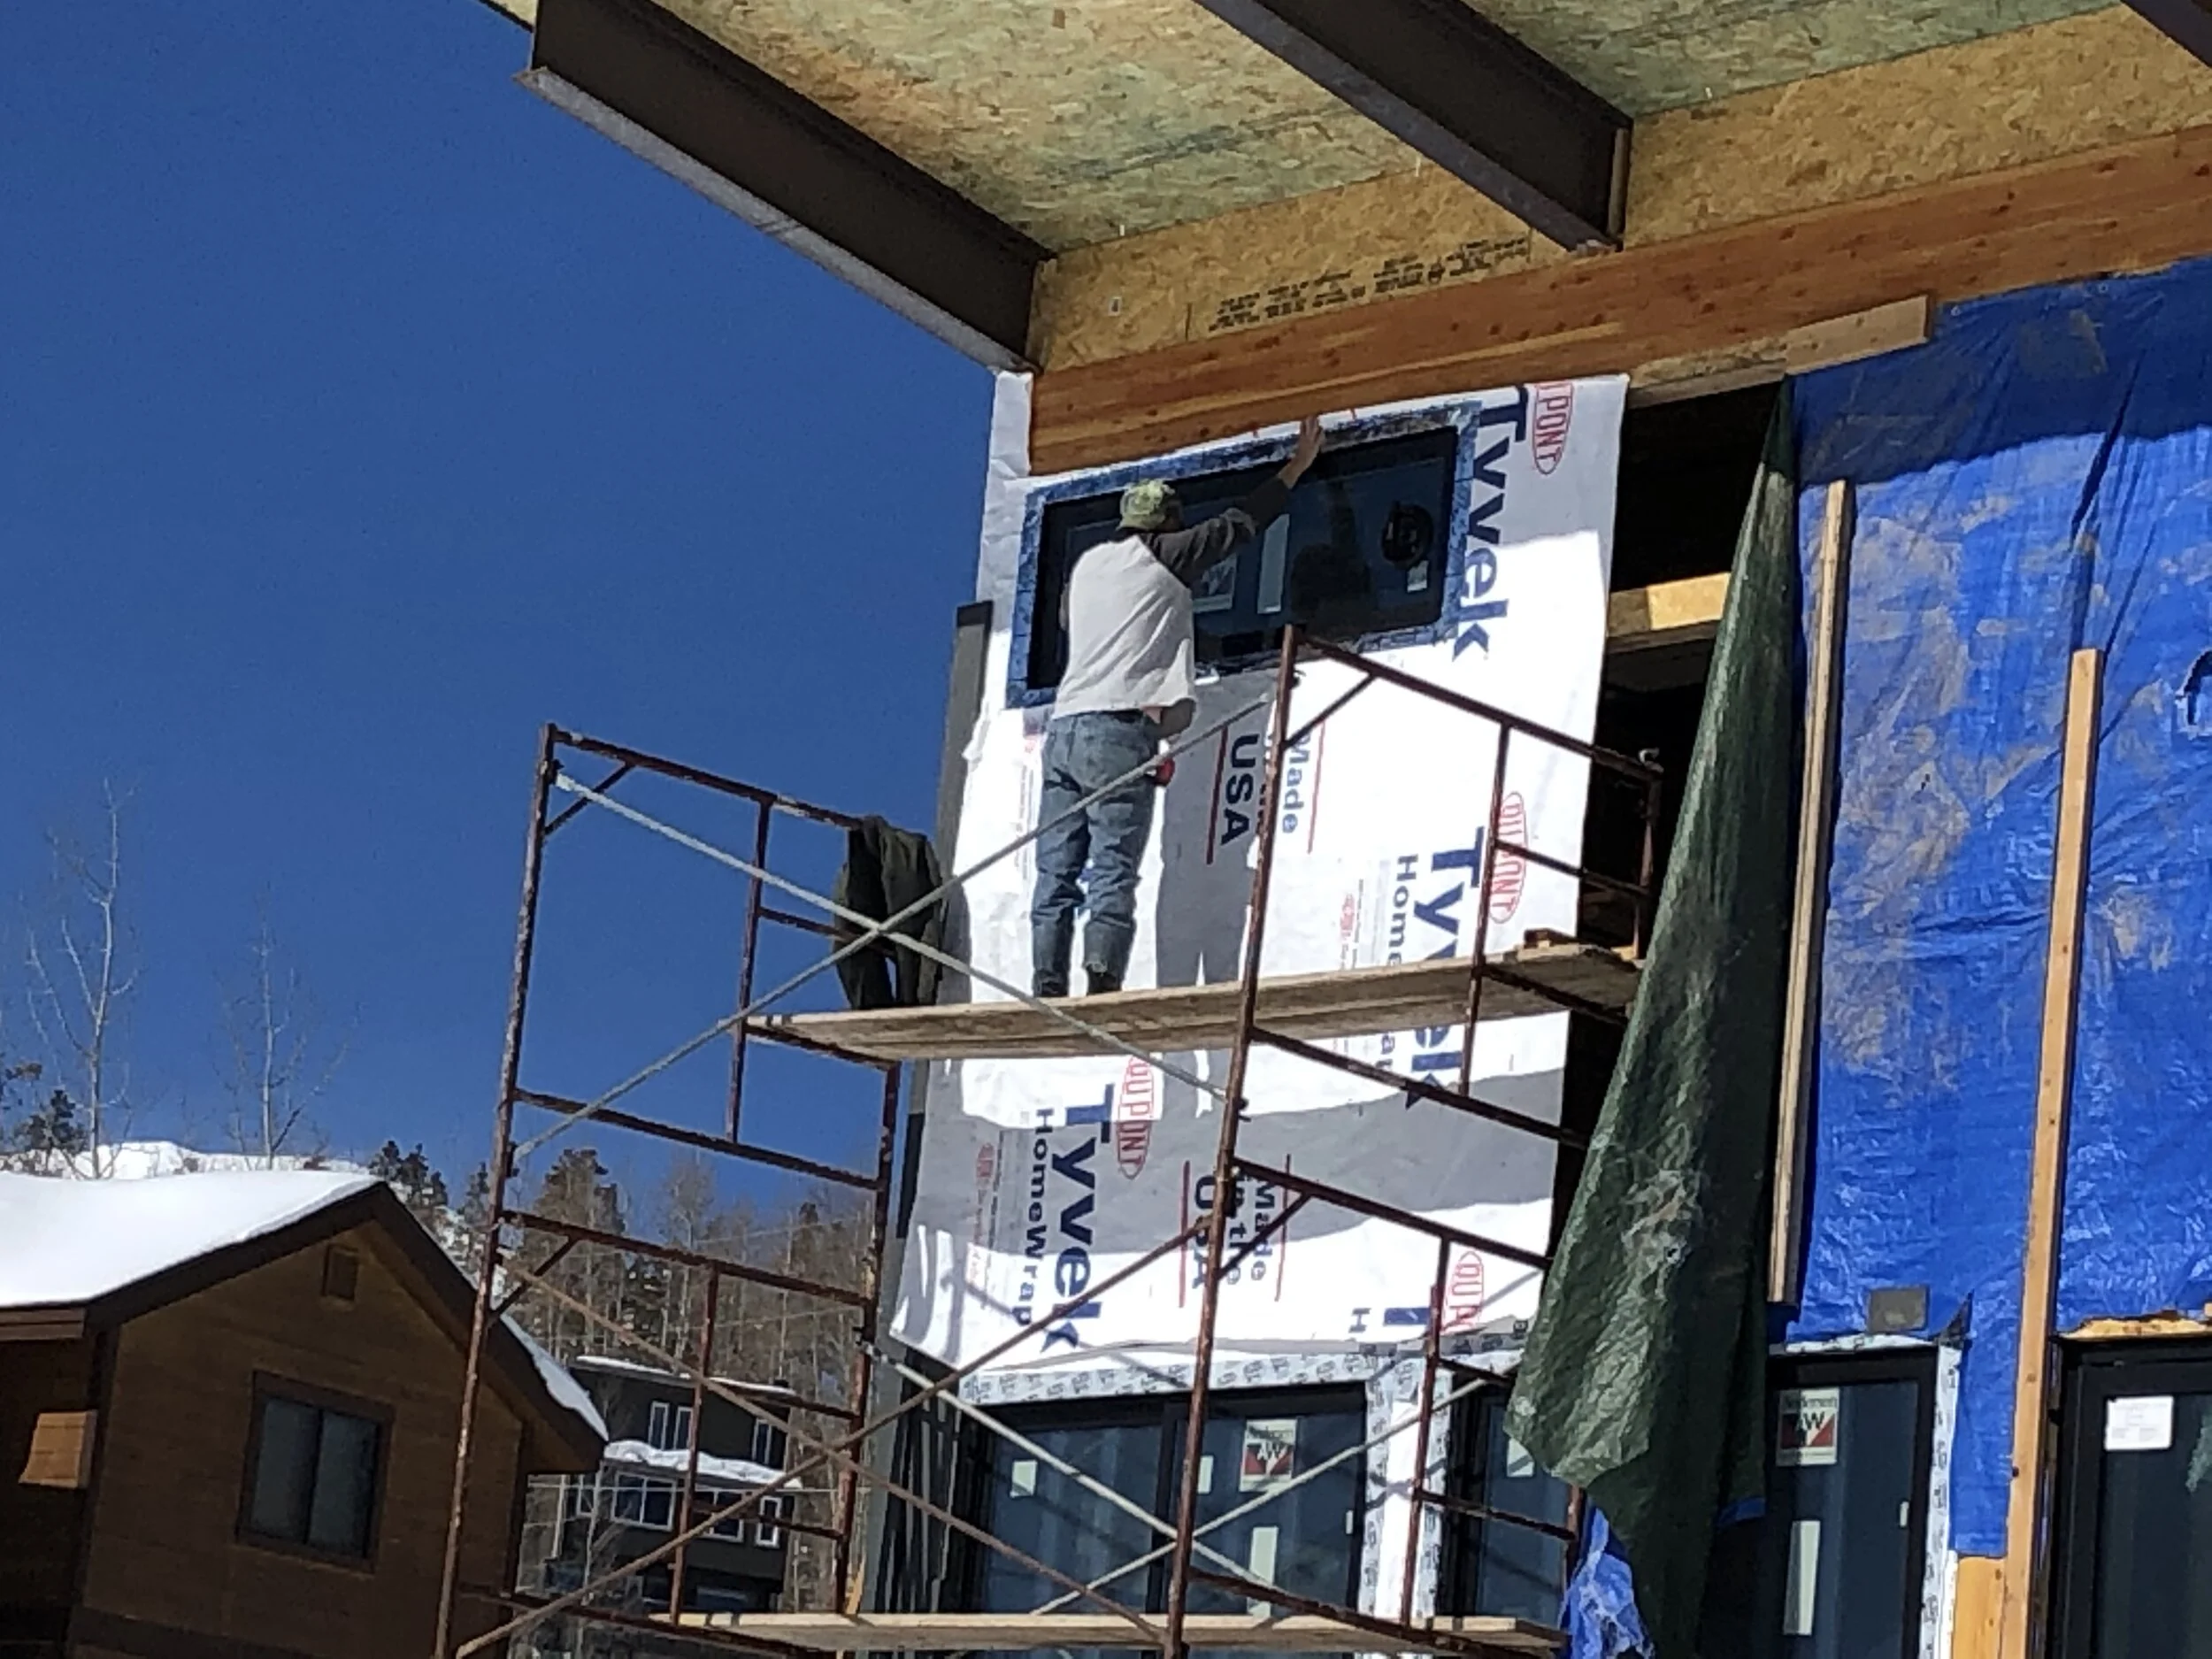
Mid-to-late February was all about windows! Yes! The big picture windows that we’ve been dreaming about for months and months have arrived. This was phase three of our window order. A bit of an unconventional approach, we know. But, doing the windows in different batches allowed us to be really thoughtful about the layout of the south window wall, which is arguably the most important wall of the whole house.
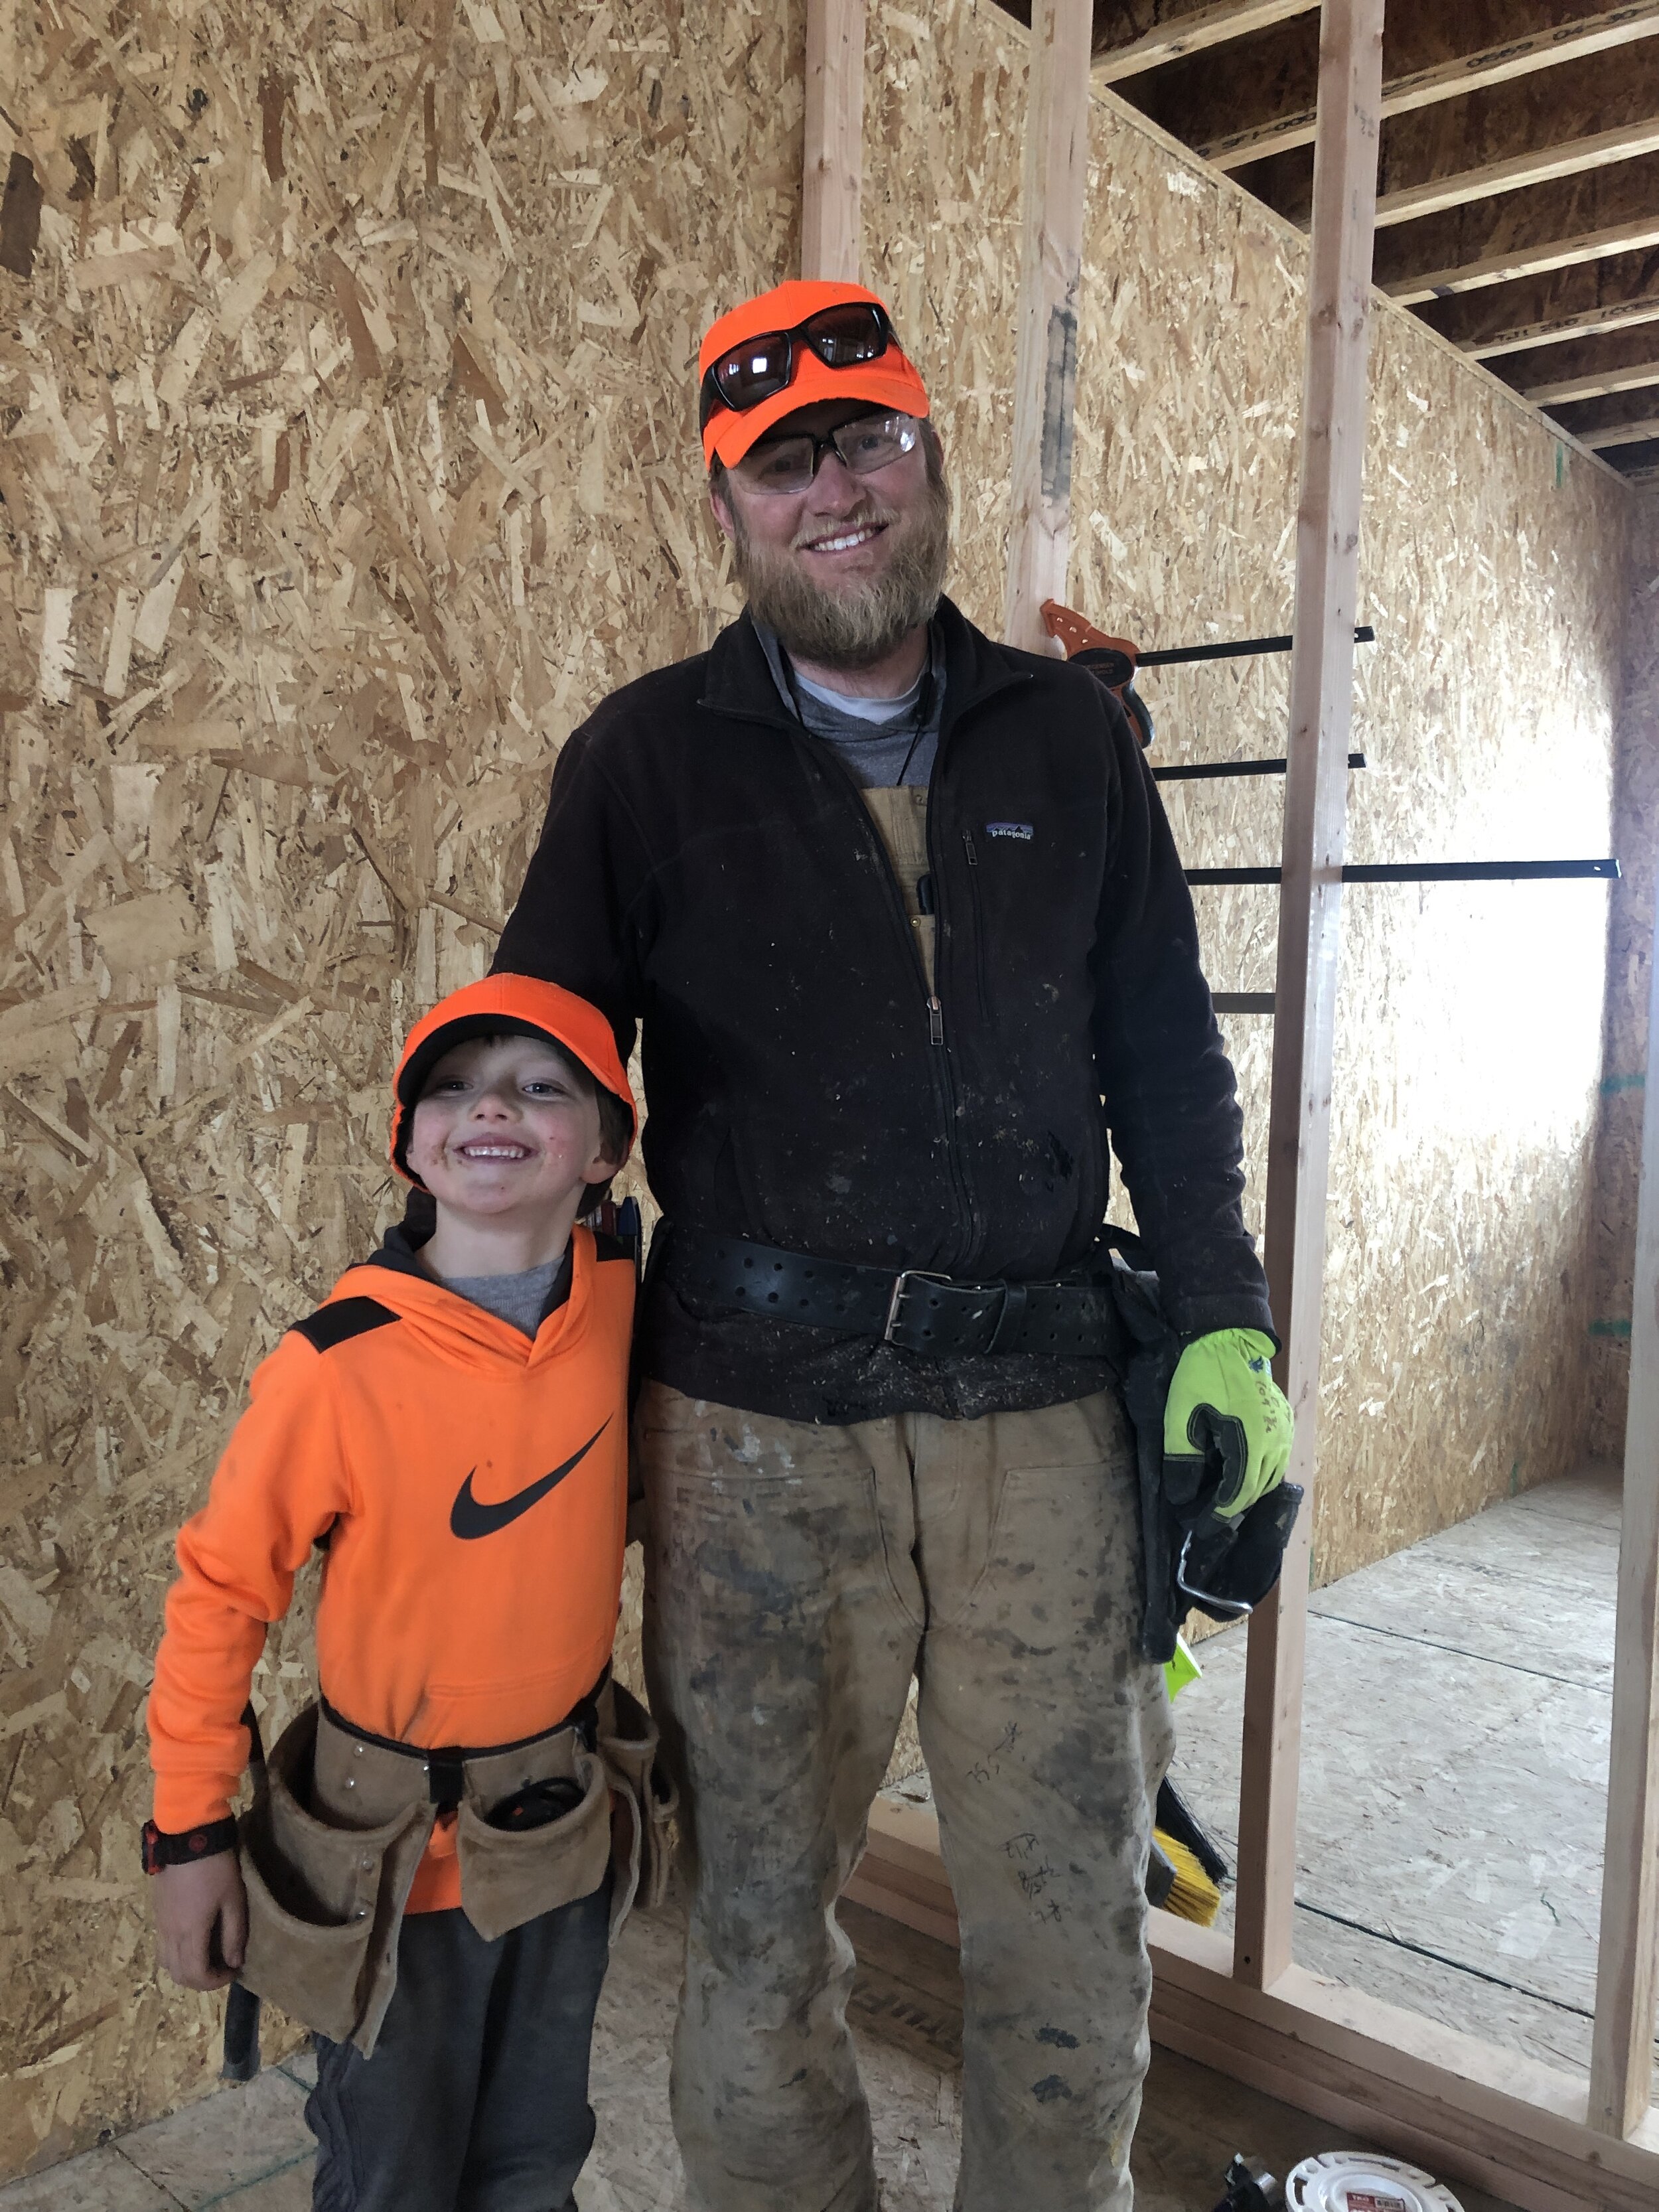
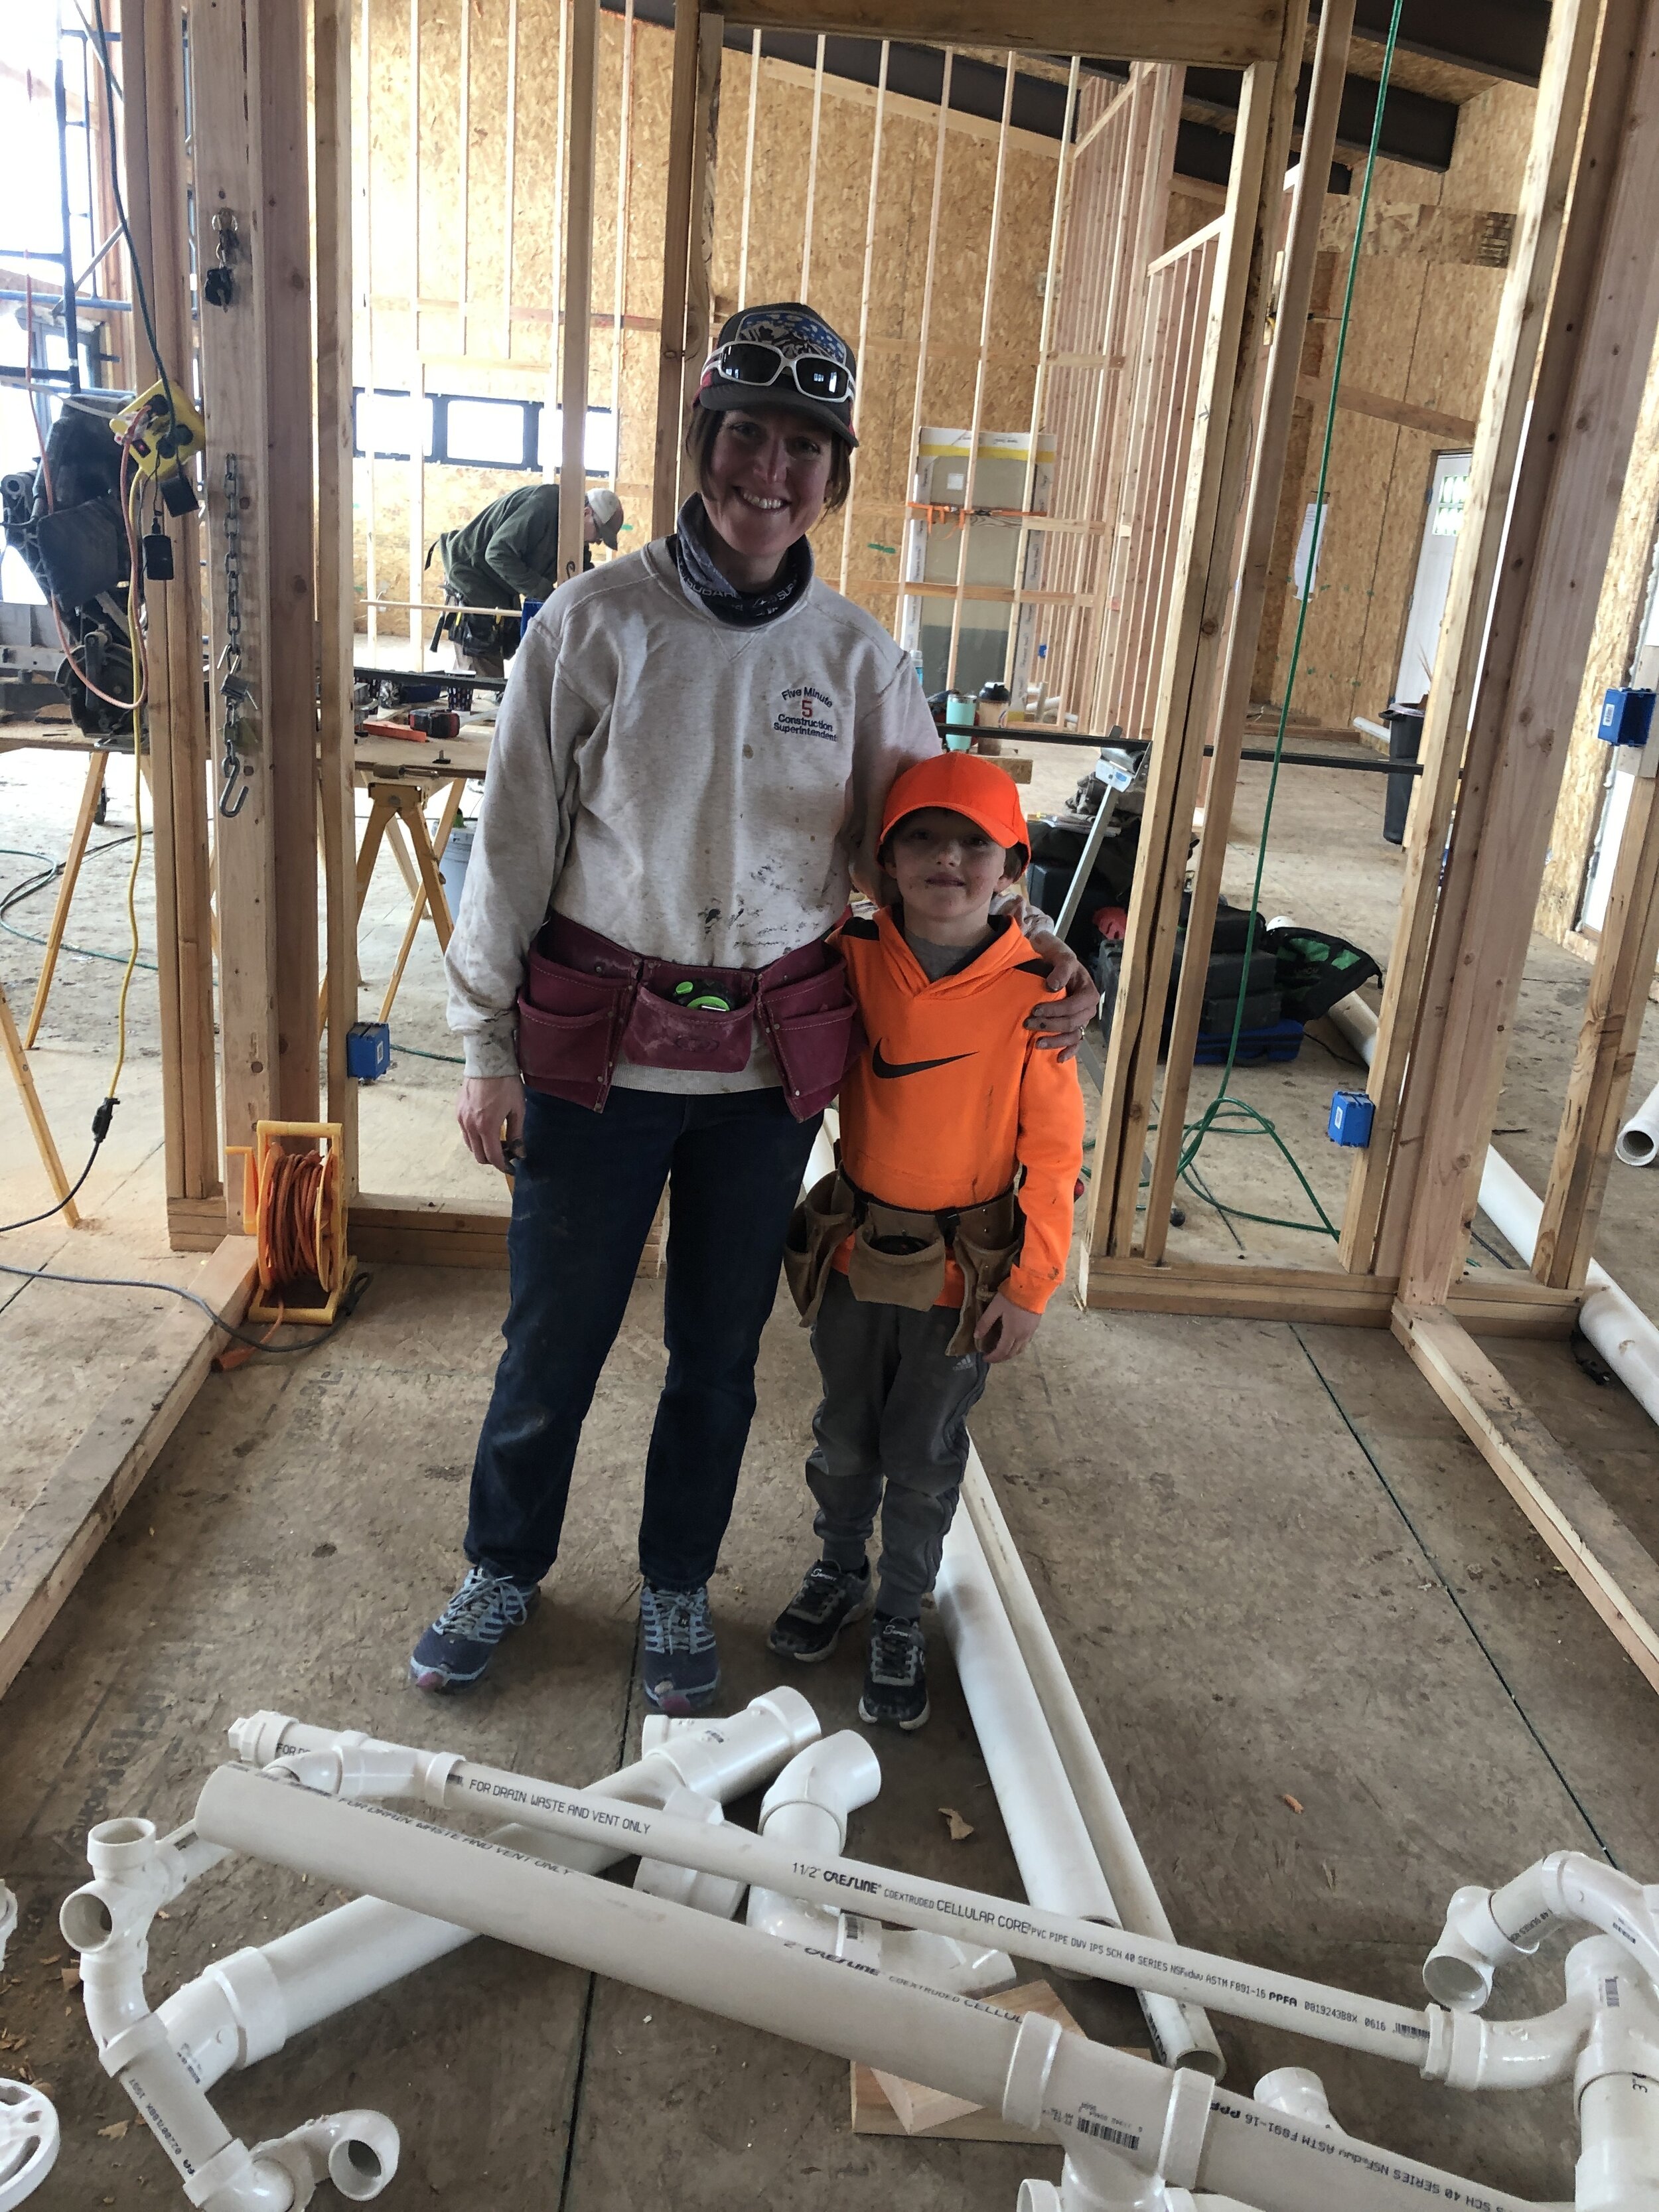
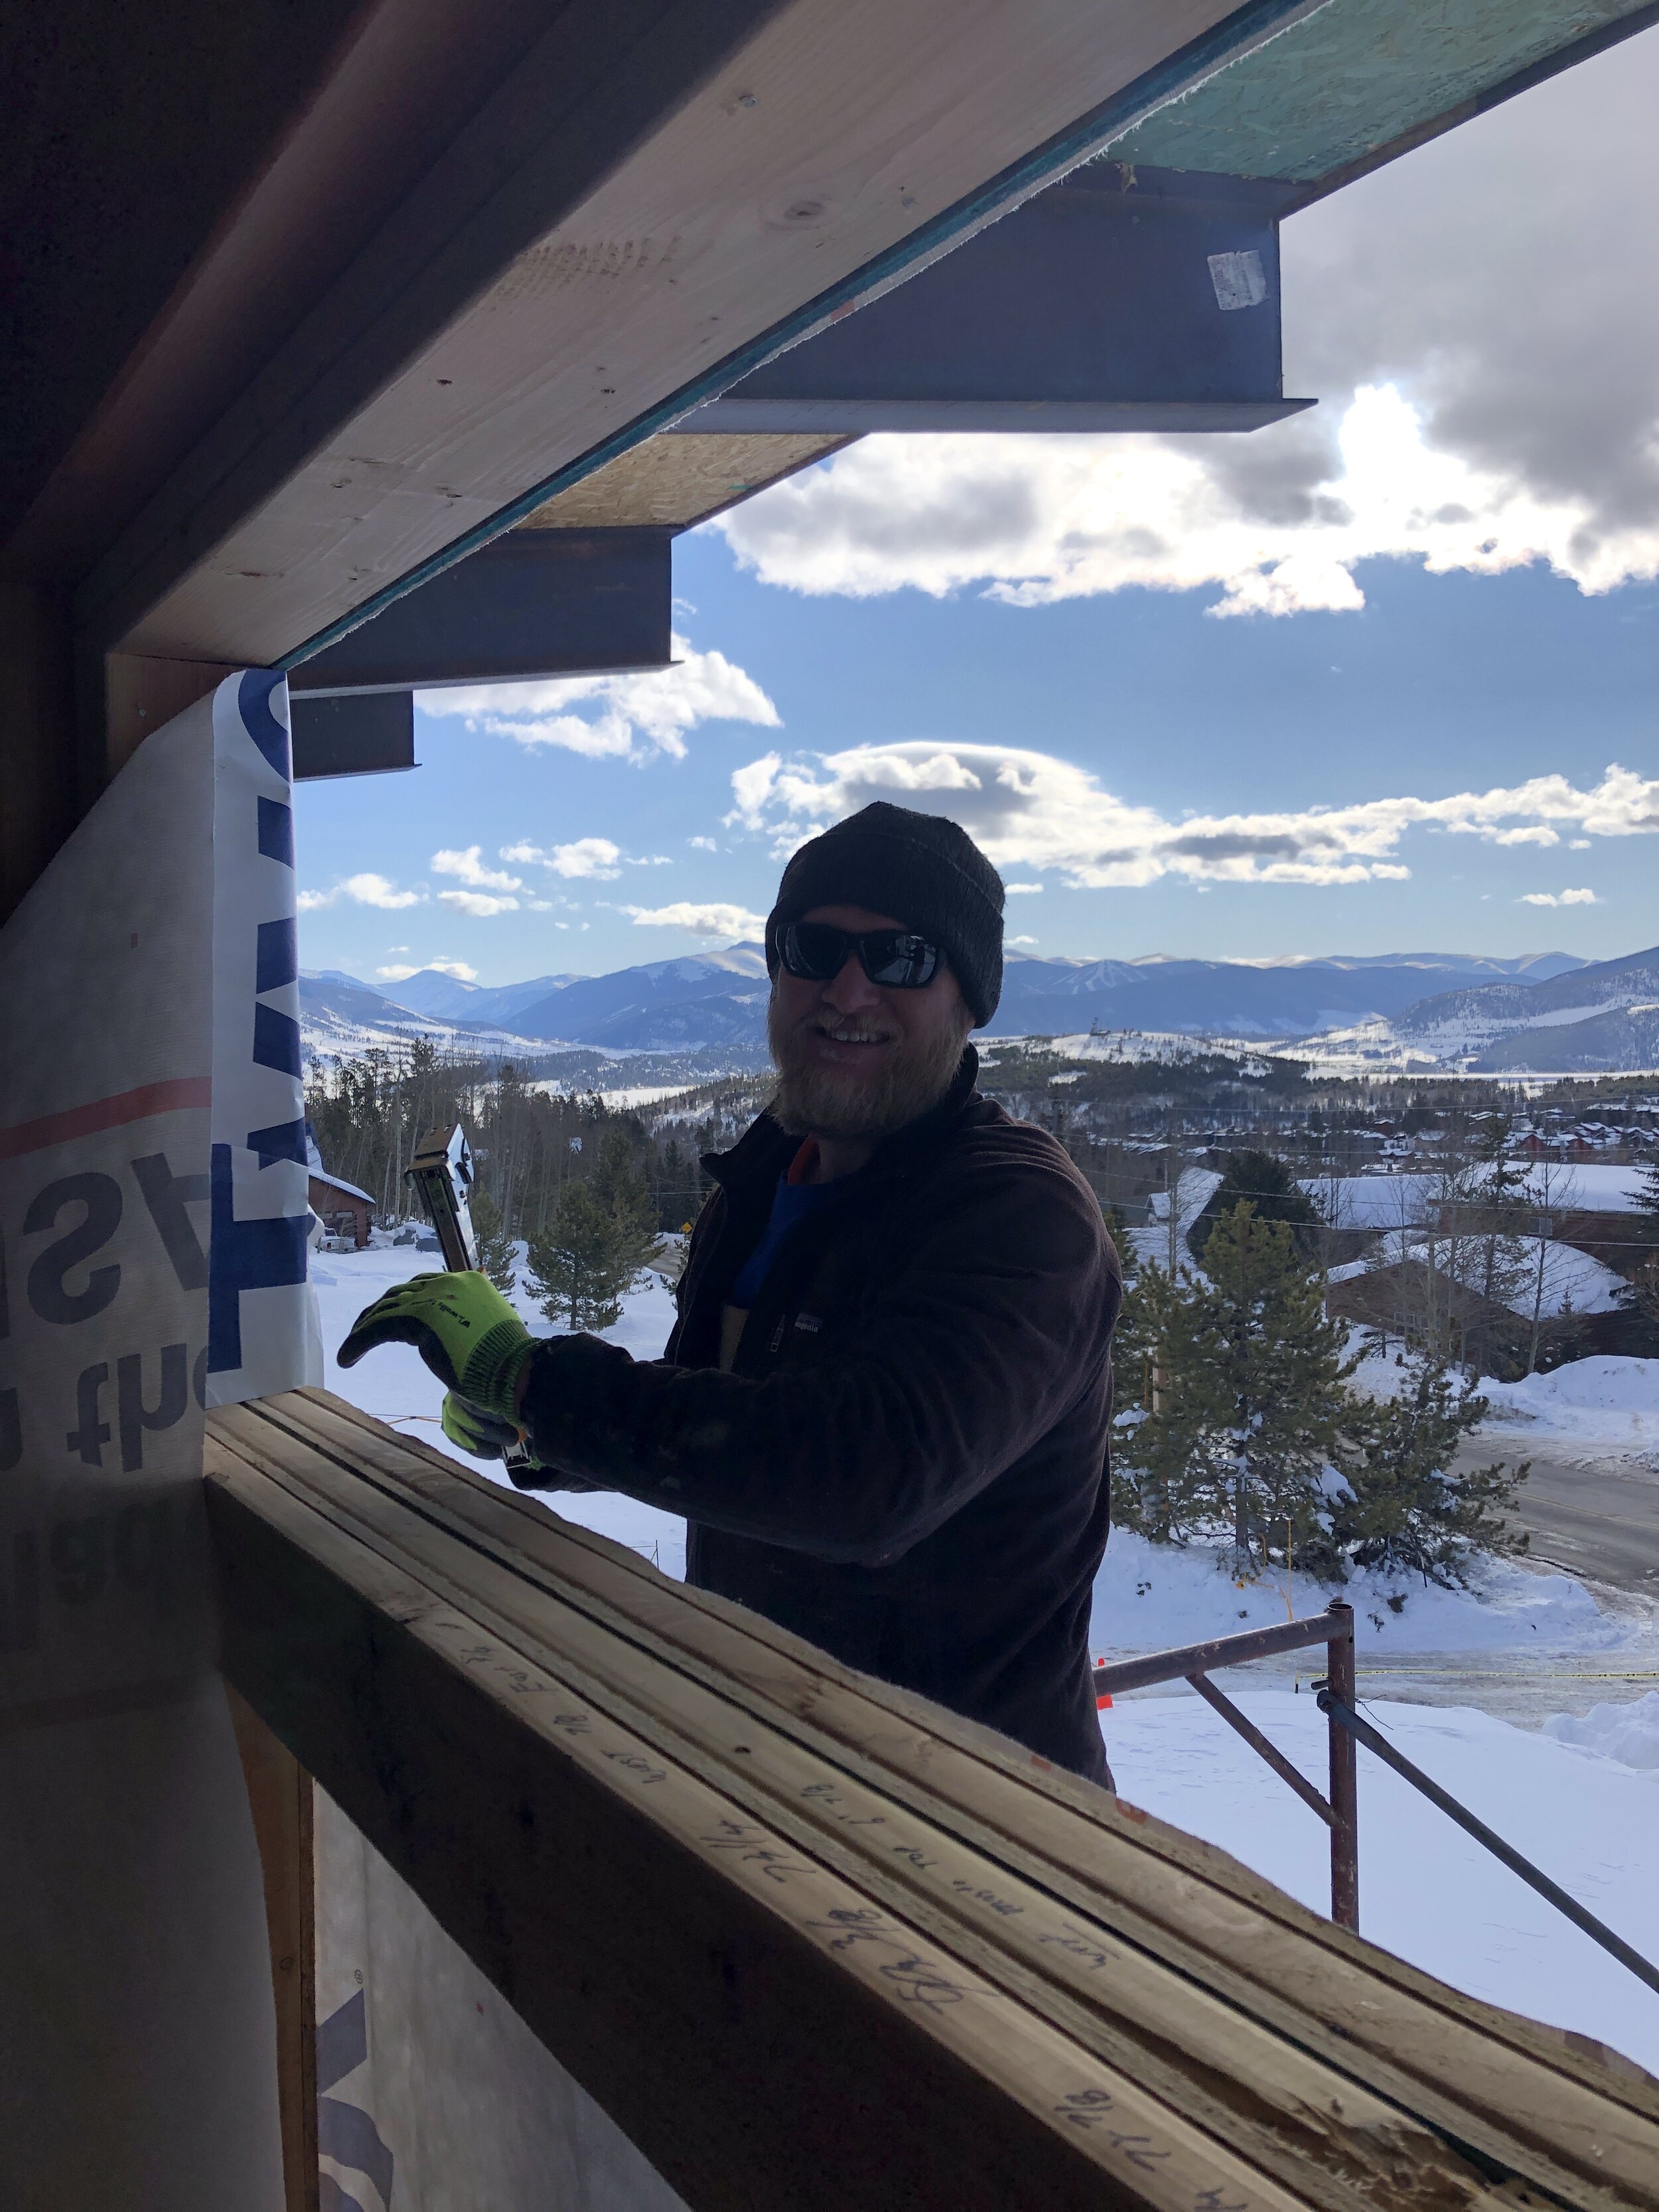
My cousin, Luke Hodgkin, was in town for a ski vacation in February but was gracious enough to help with window installation for a few days while he was here. Luke was also here when we were installing the let-ins around the roof (and other not so fun projects) this past summer. He’s just happened to be visiting during some really crucial parts of the build. Thanks, Luke! You’ve definitely earned a space in the guest room whenever you want one! We appreciate your help so much.
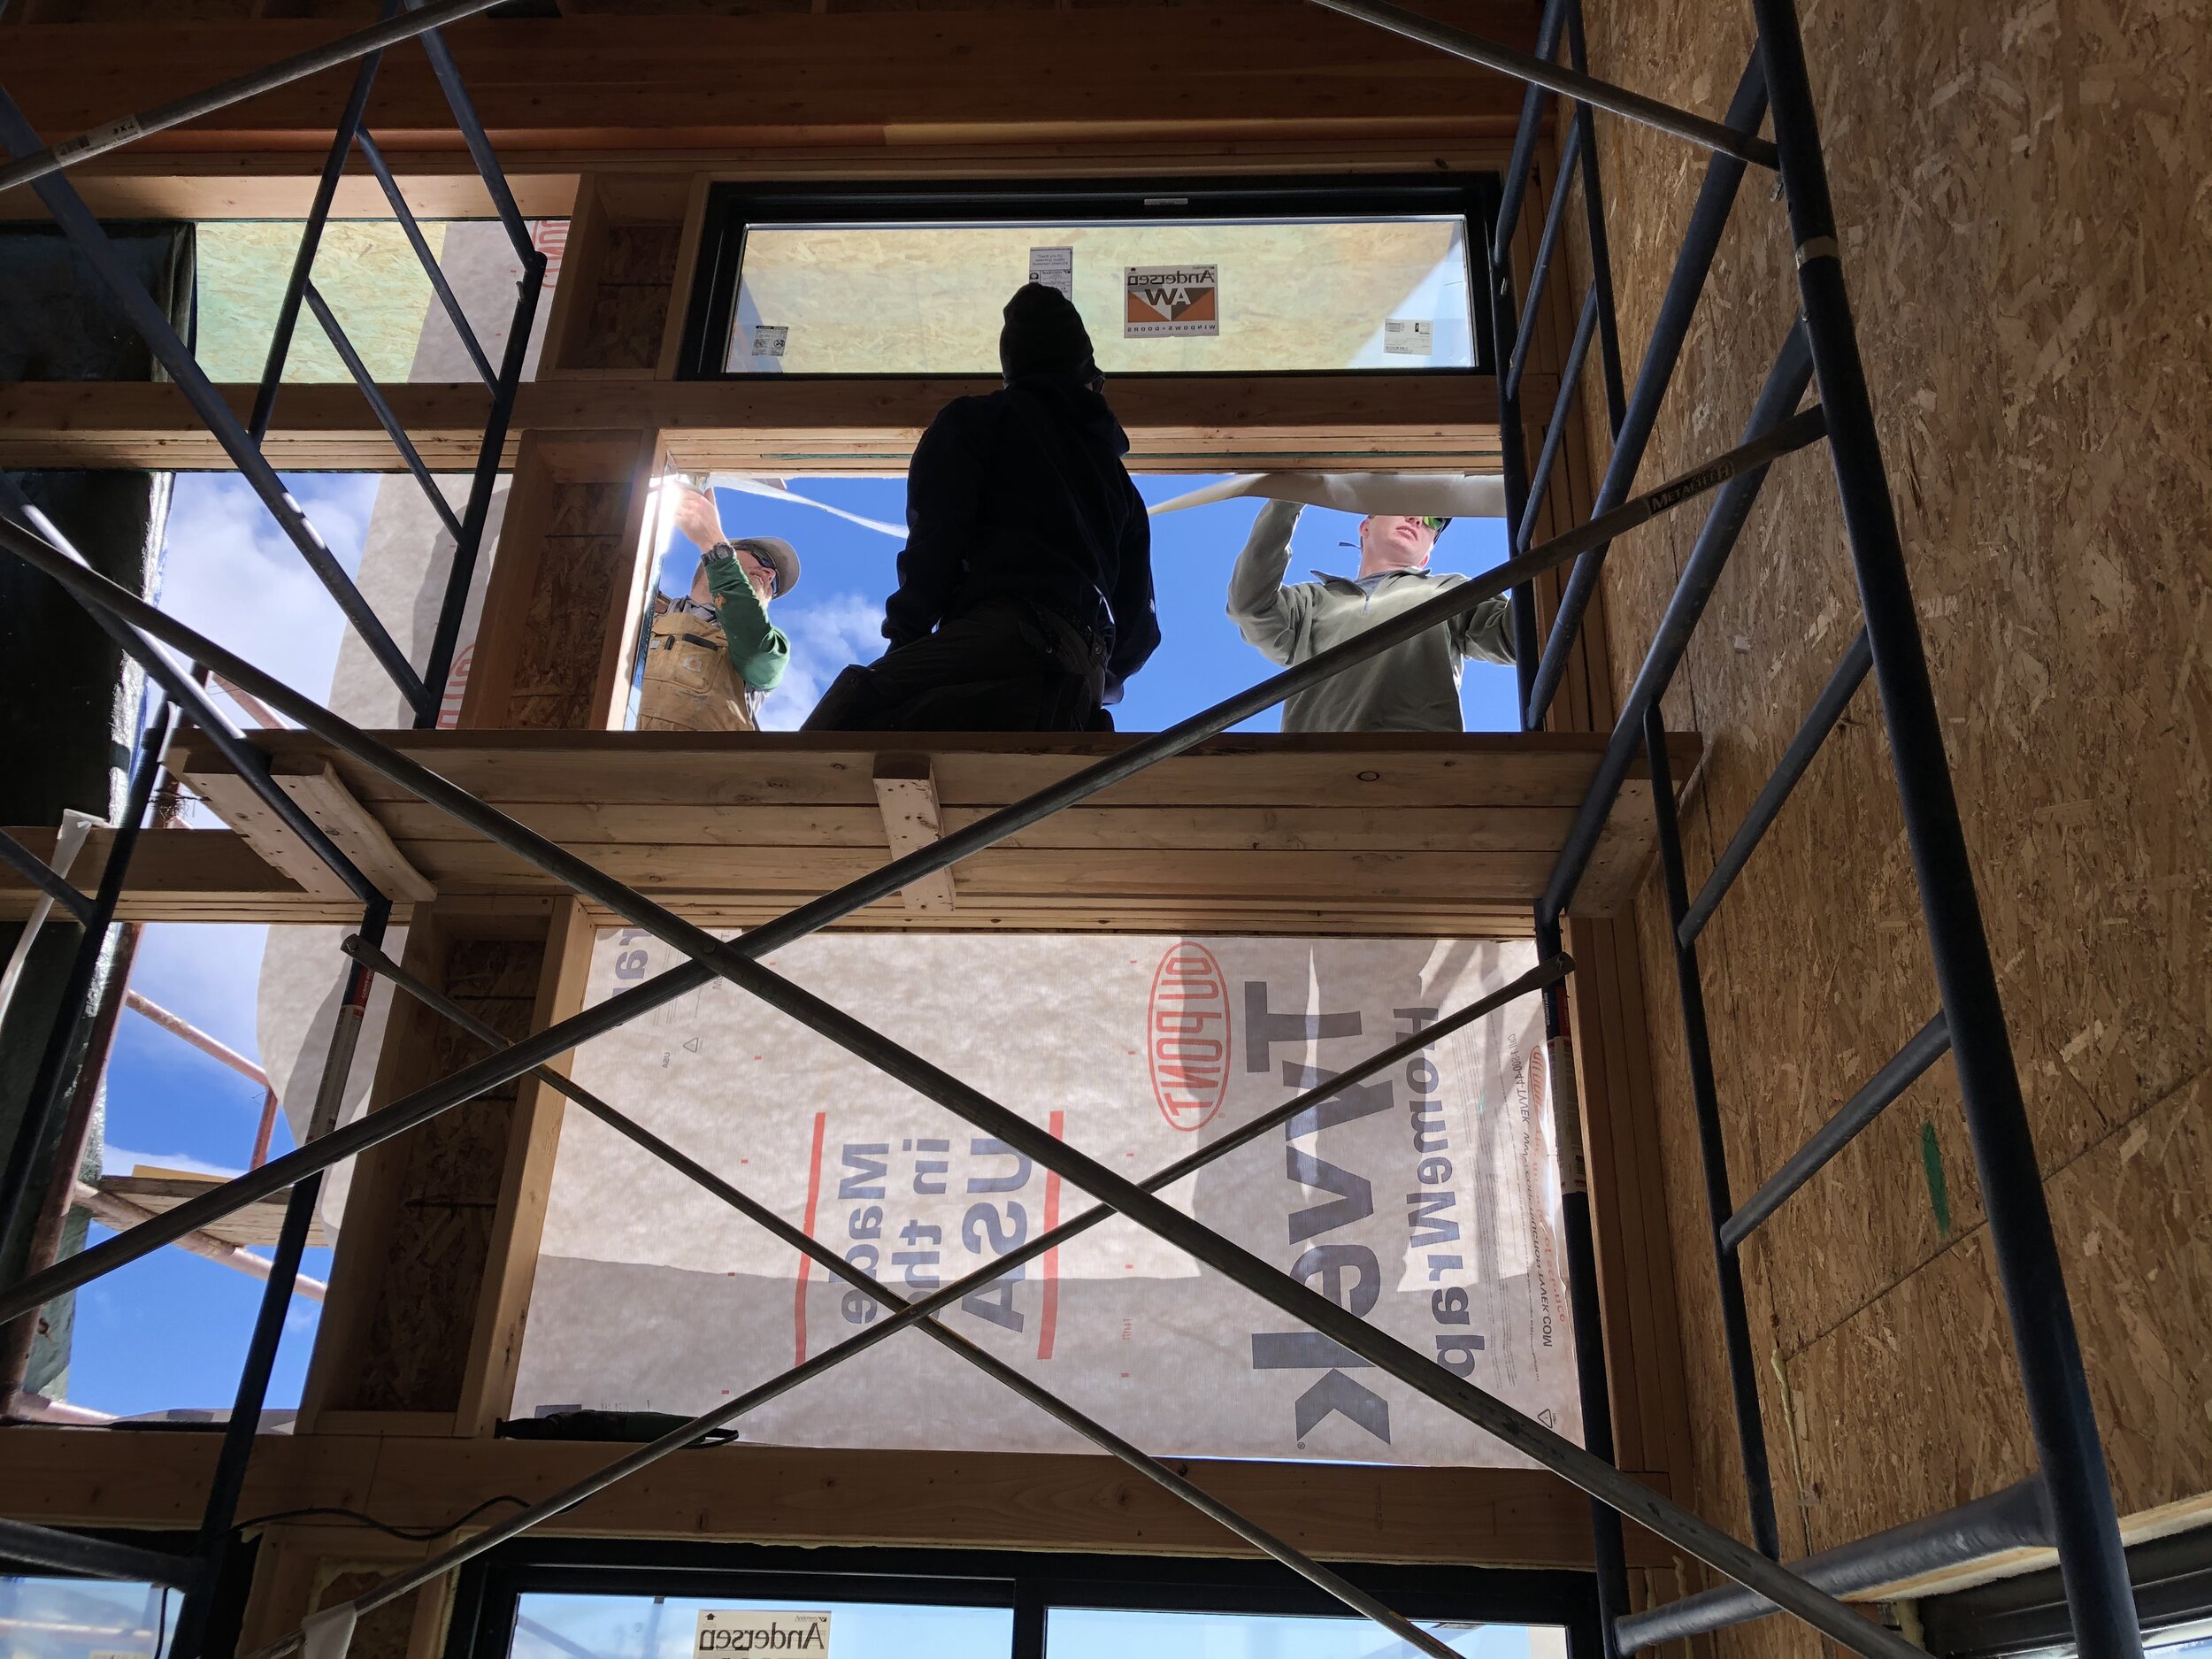
On February 14, we got started with some of the windows on the west side of the master bedroom. We also had some extra helpers that day, so we installed the biggest window in the whole house - the big (approximately 4’x8)’ picture window to the west of the chimney. Our friends Kat Lowe, John Bruin, and Dan Huckabee, and Luke were all there and along with my dad and Kelsey were able to get that big window installed. Teamwork makes the dream work, right?! The Valentine’s Day window crew got four windows installed that afternoon.

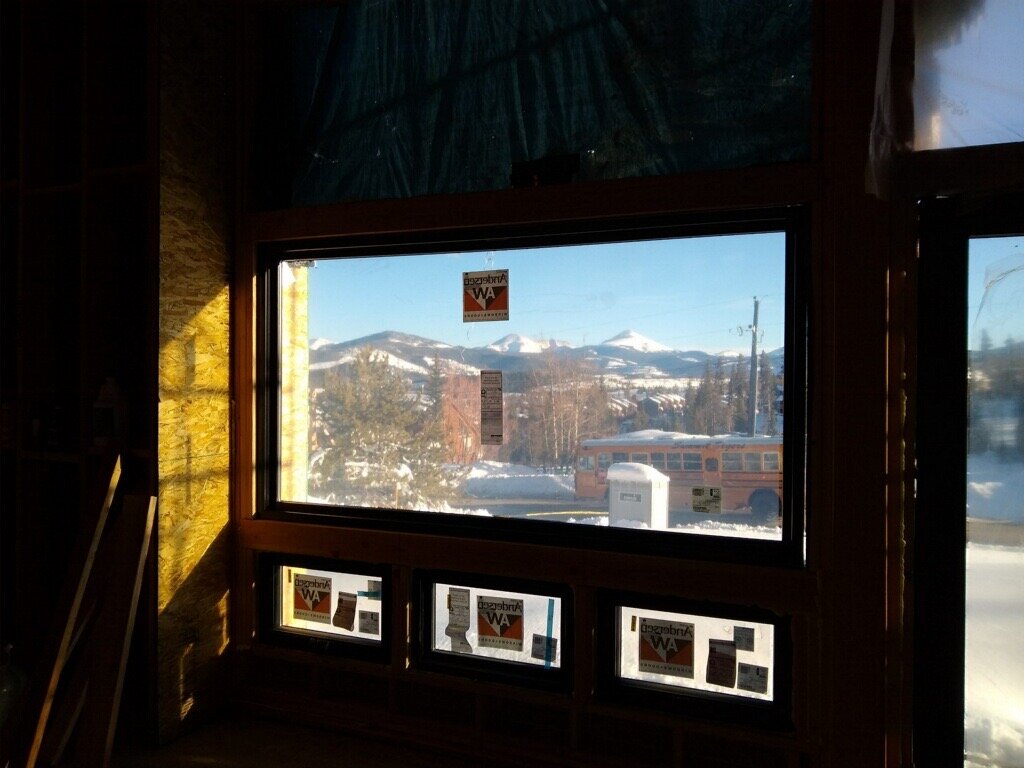
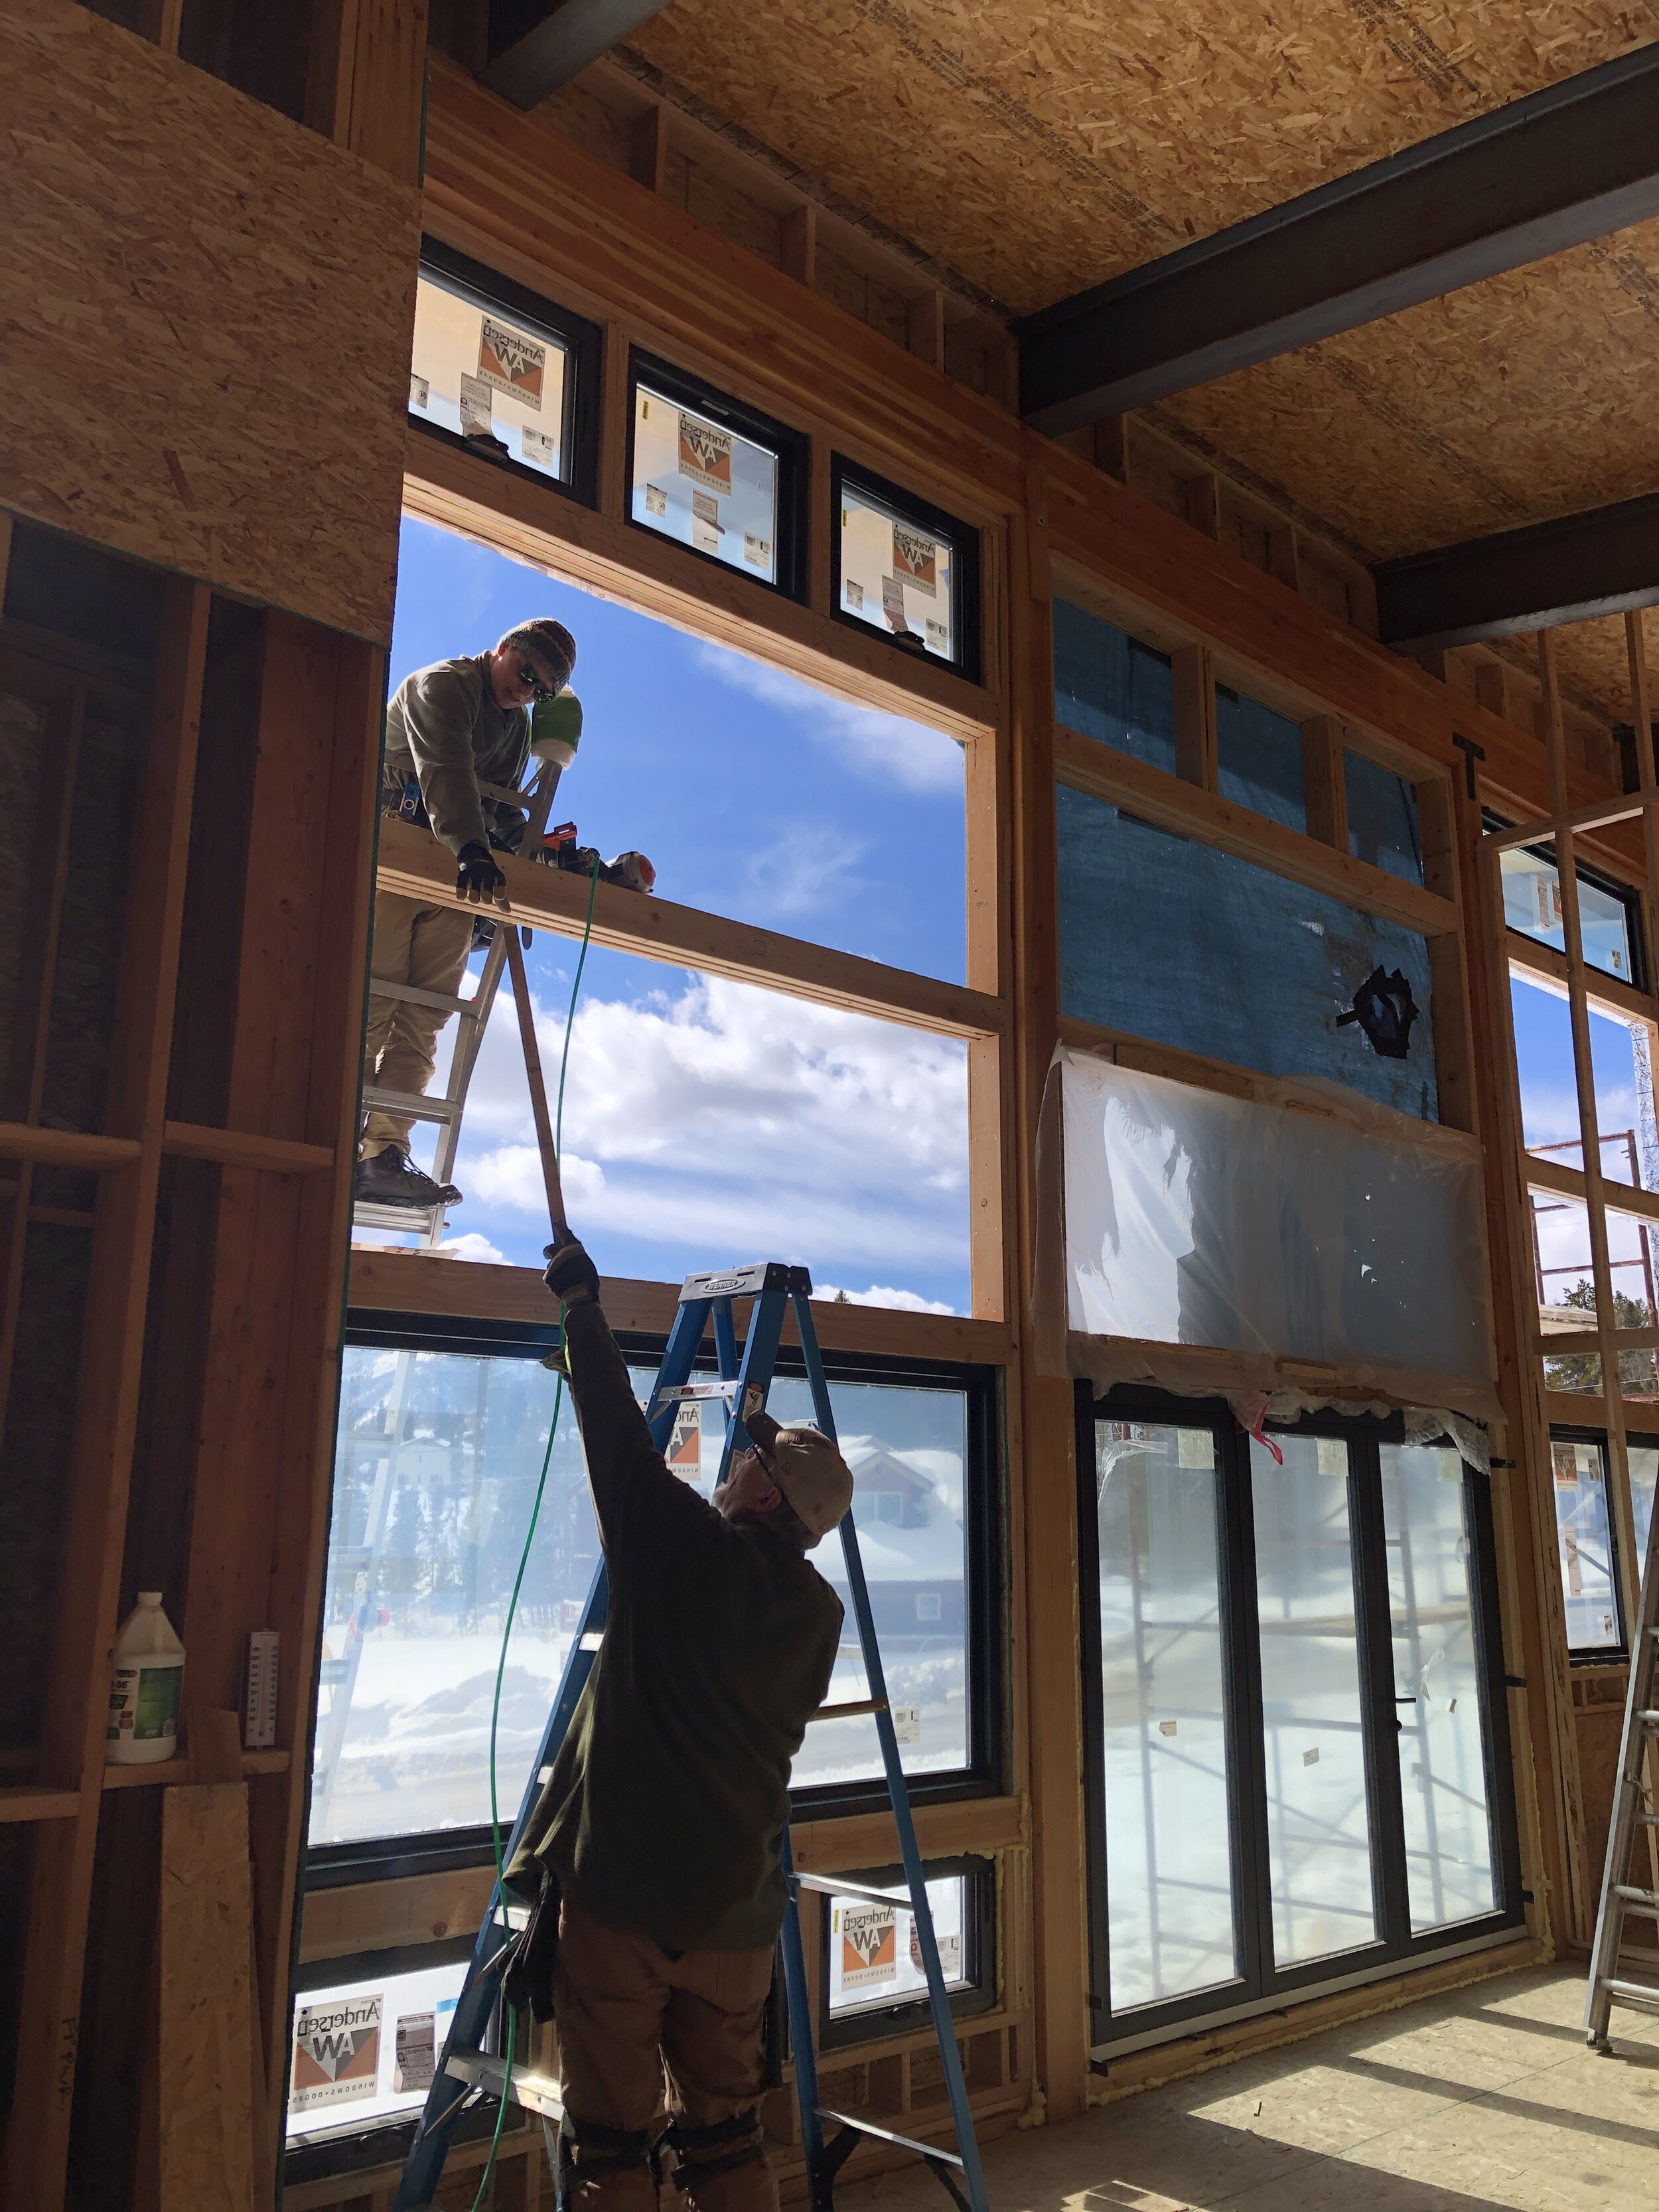
February 14. Interior shot of the windows in the master bedroom.

Our dear friend, Kat Lowe, helping to tape some of the windows in the master. You’re the best, Kat! Thanks for all of your help so far.

February 14. Biggest window of the whole house is installed! Who needs candy and flowers anyway?!

February 14. Four windows installed for Valentine’s Day! 3 in the master and the one big one to the west of the chimney.
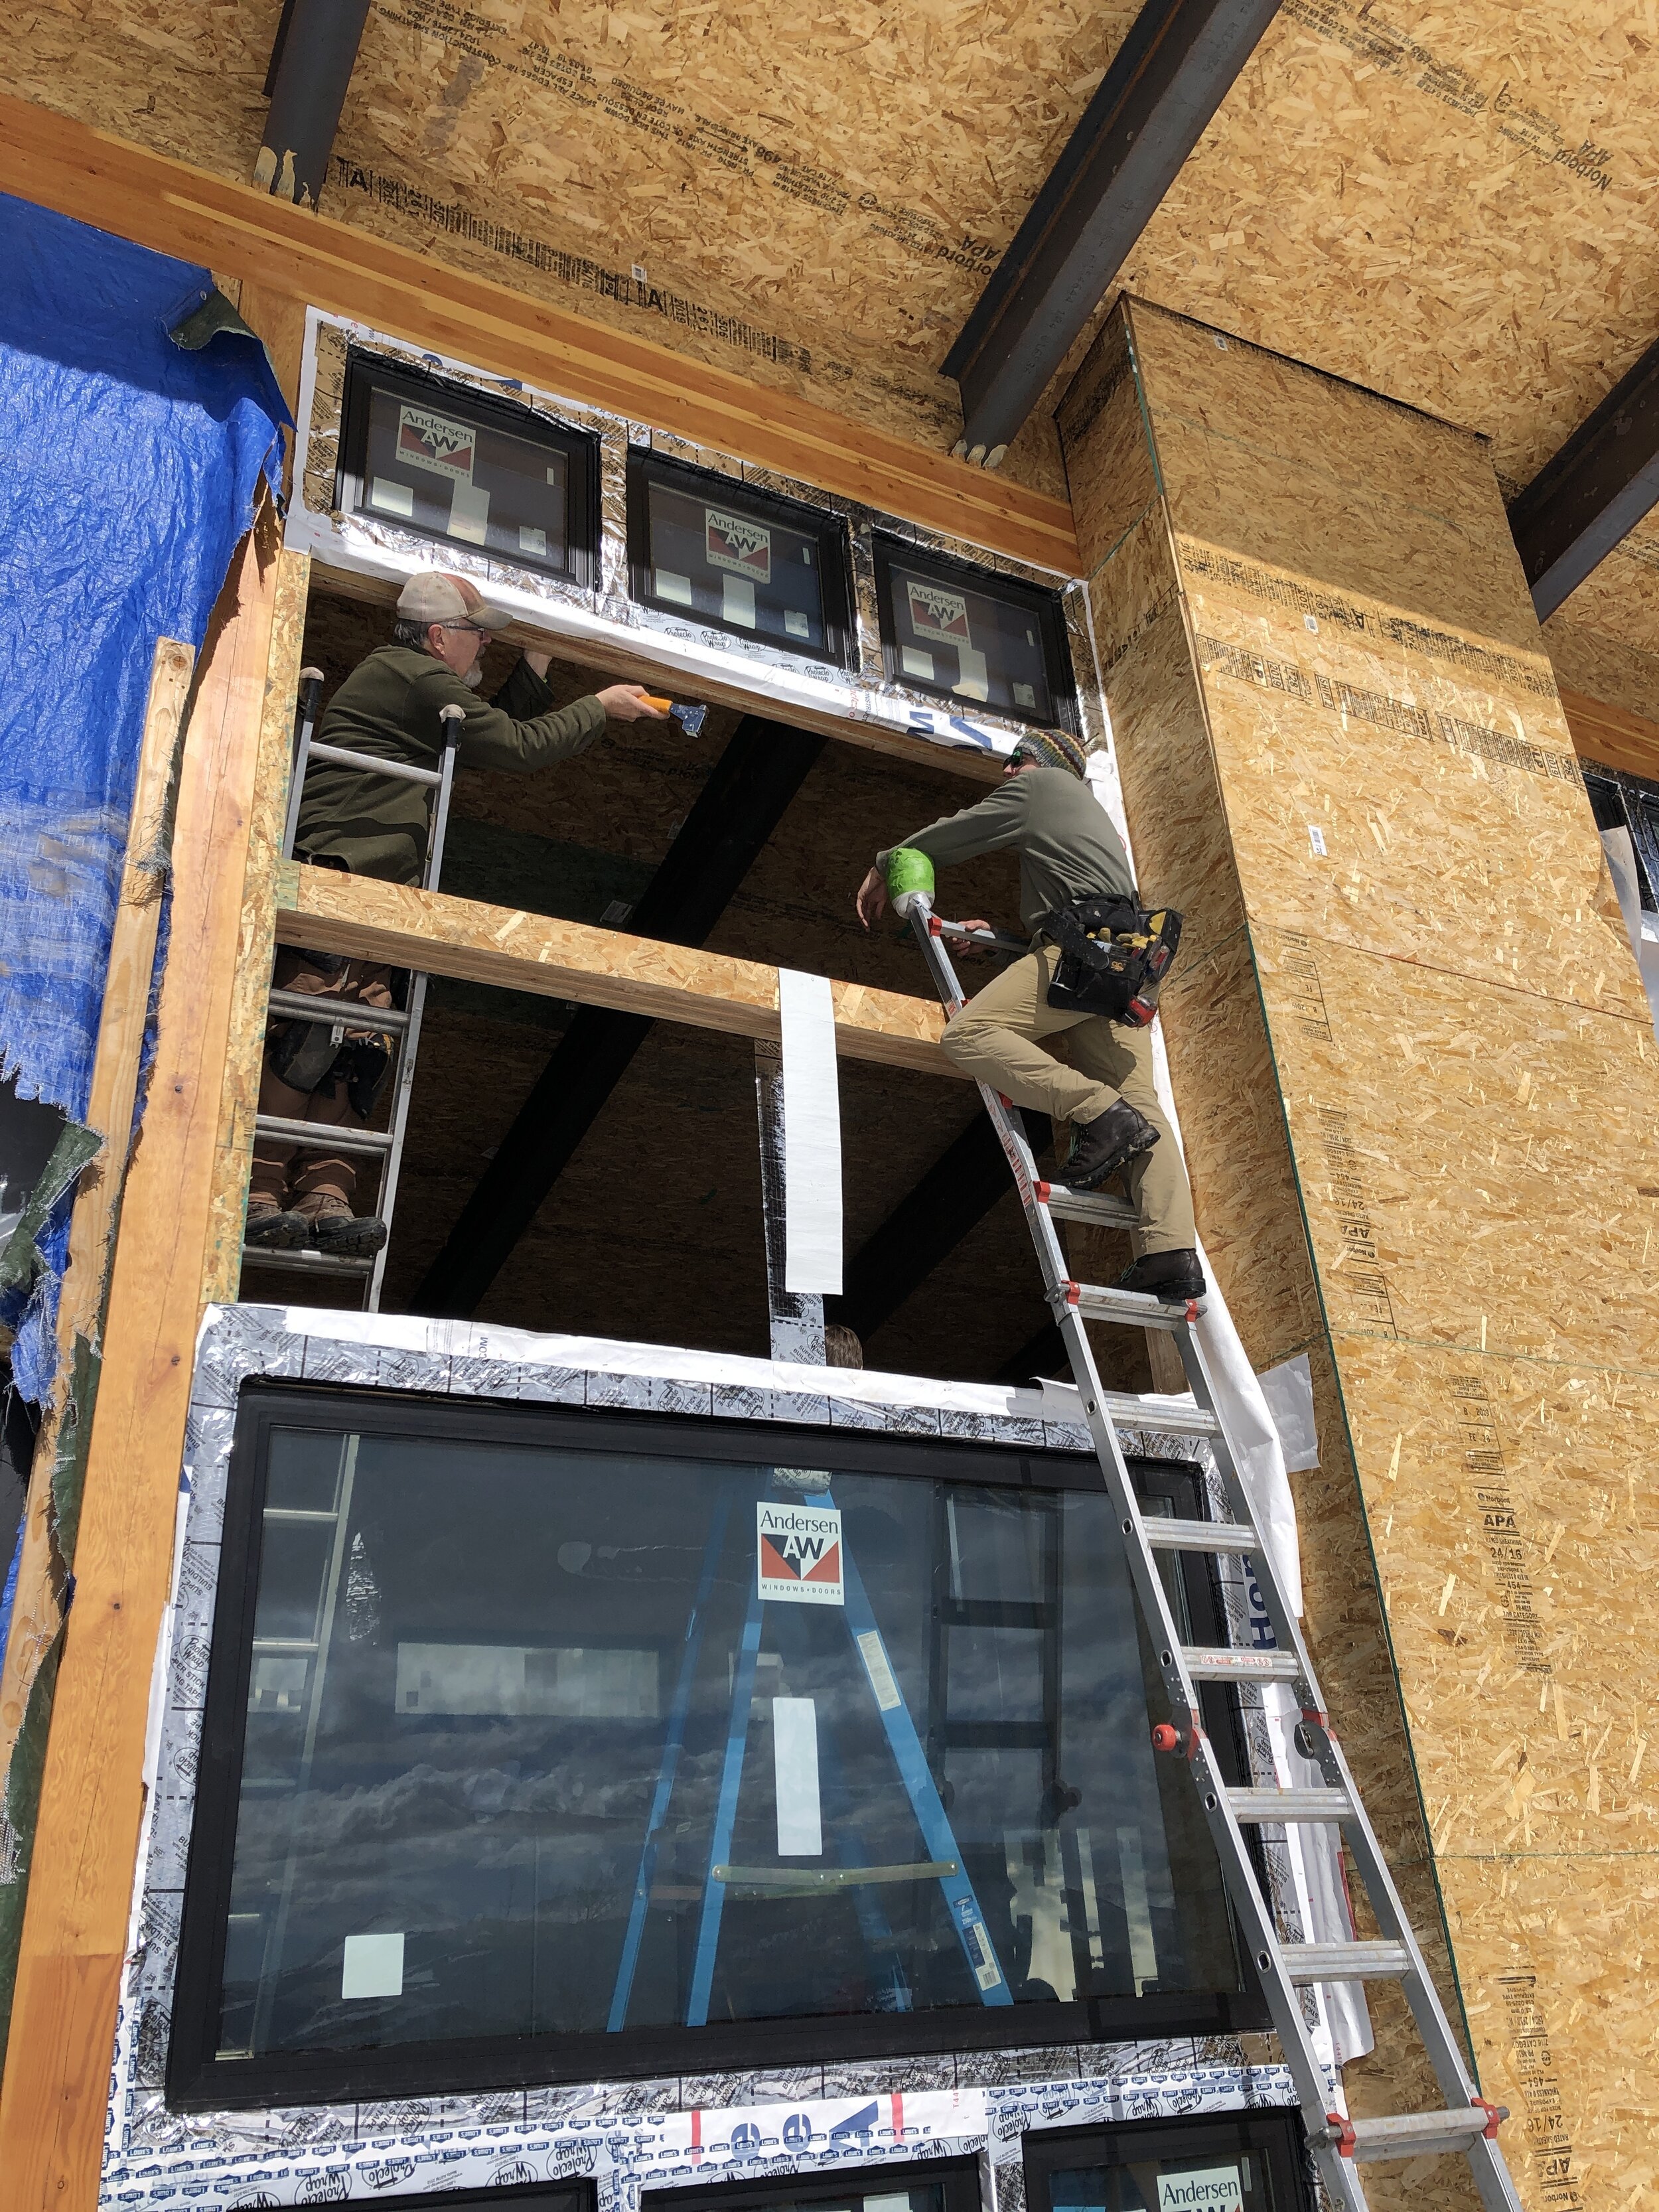
We kept going on window blitz weekend and finished the remaining 11 windows on Saturday, February 15! I was able to help that full day along with my dad, Kelsey, Jim Ellis and Luke. It was starting to get kind of late in the day, but we had one remaining window to go. Everyone said, let’s get it done. Yes! It was a long day, but a really rewarding one too.

February 15. Cory helping on the outside of one of the top windows in the master.

February 15. Master bedroom windows are all installed!

These vacuum cups that we borrowed from some of our friends, James and Shaun, made lifting the big windows surprisingly pretty easy.
February 15. Cory’s Dad and Luke working to the west of the chimney.

Late in the day on February 15 after we installed the remaining 11 windows!

February 16. Last bit of “Big Blue” our trusty tarp that kept us warm-ish and dry is down!
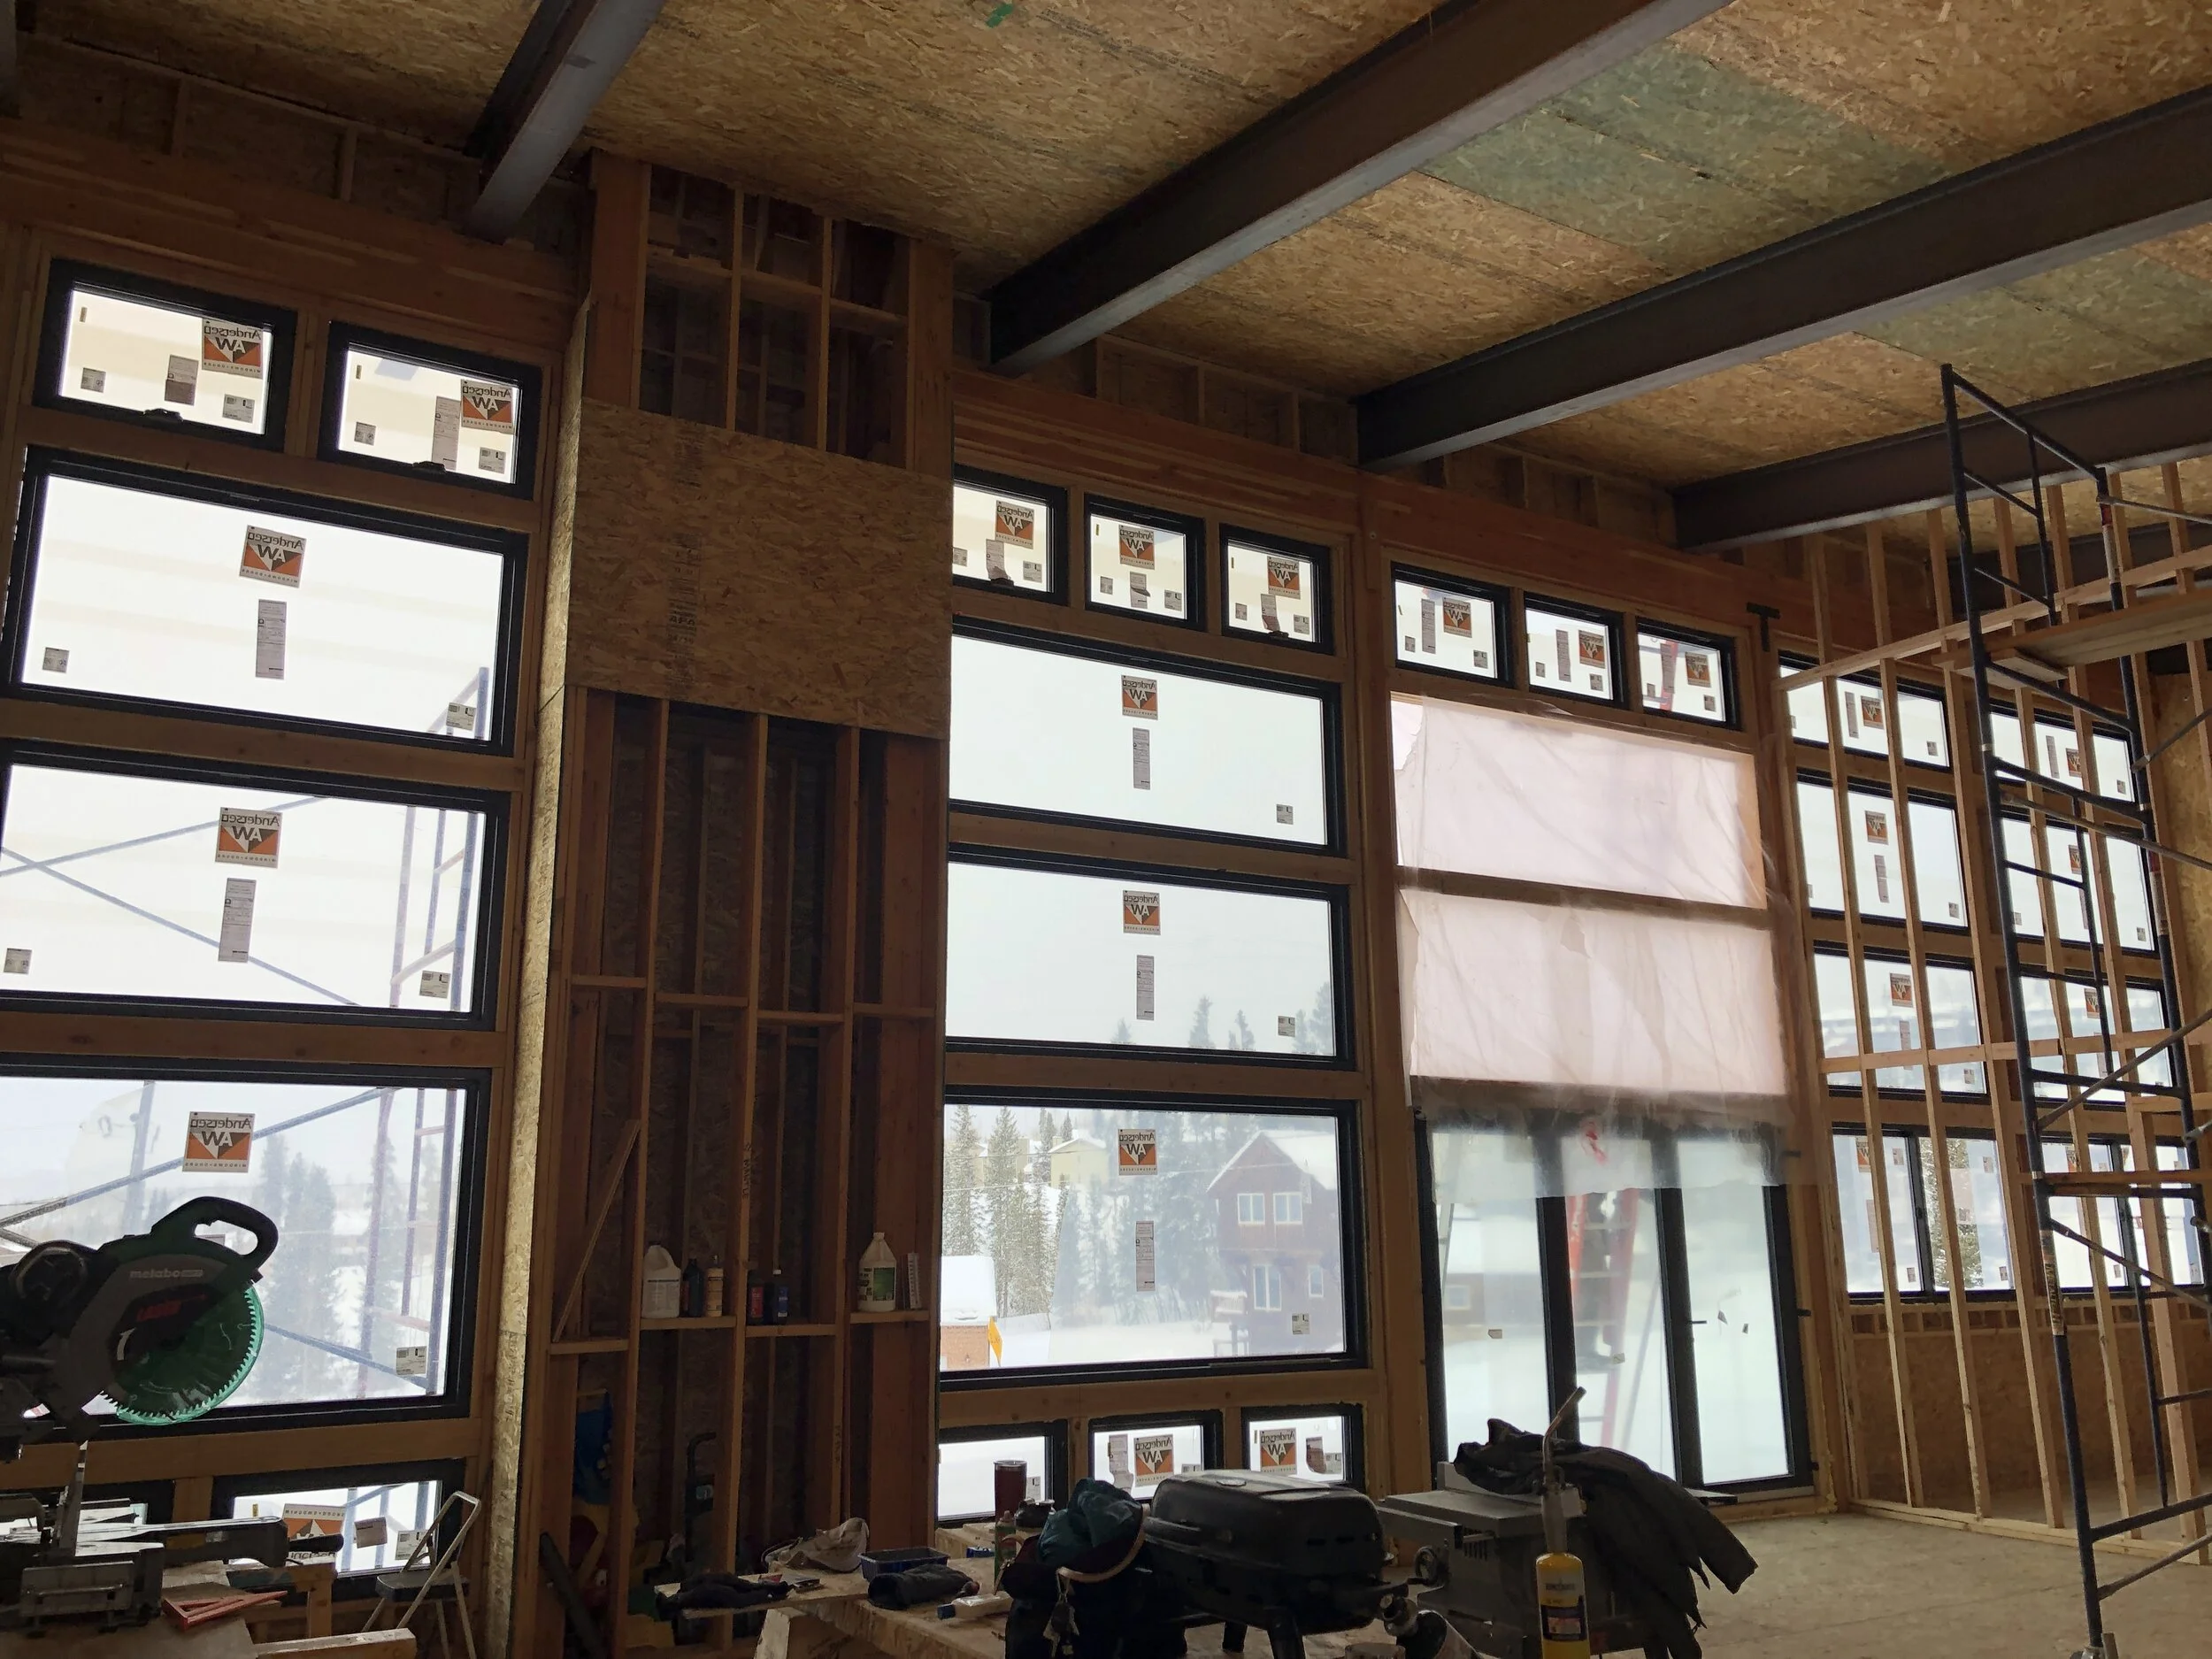
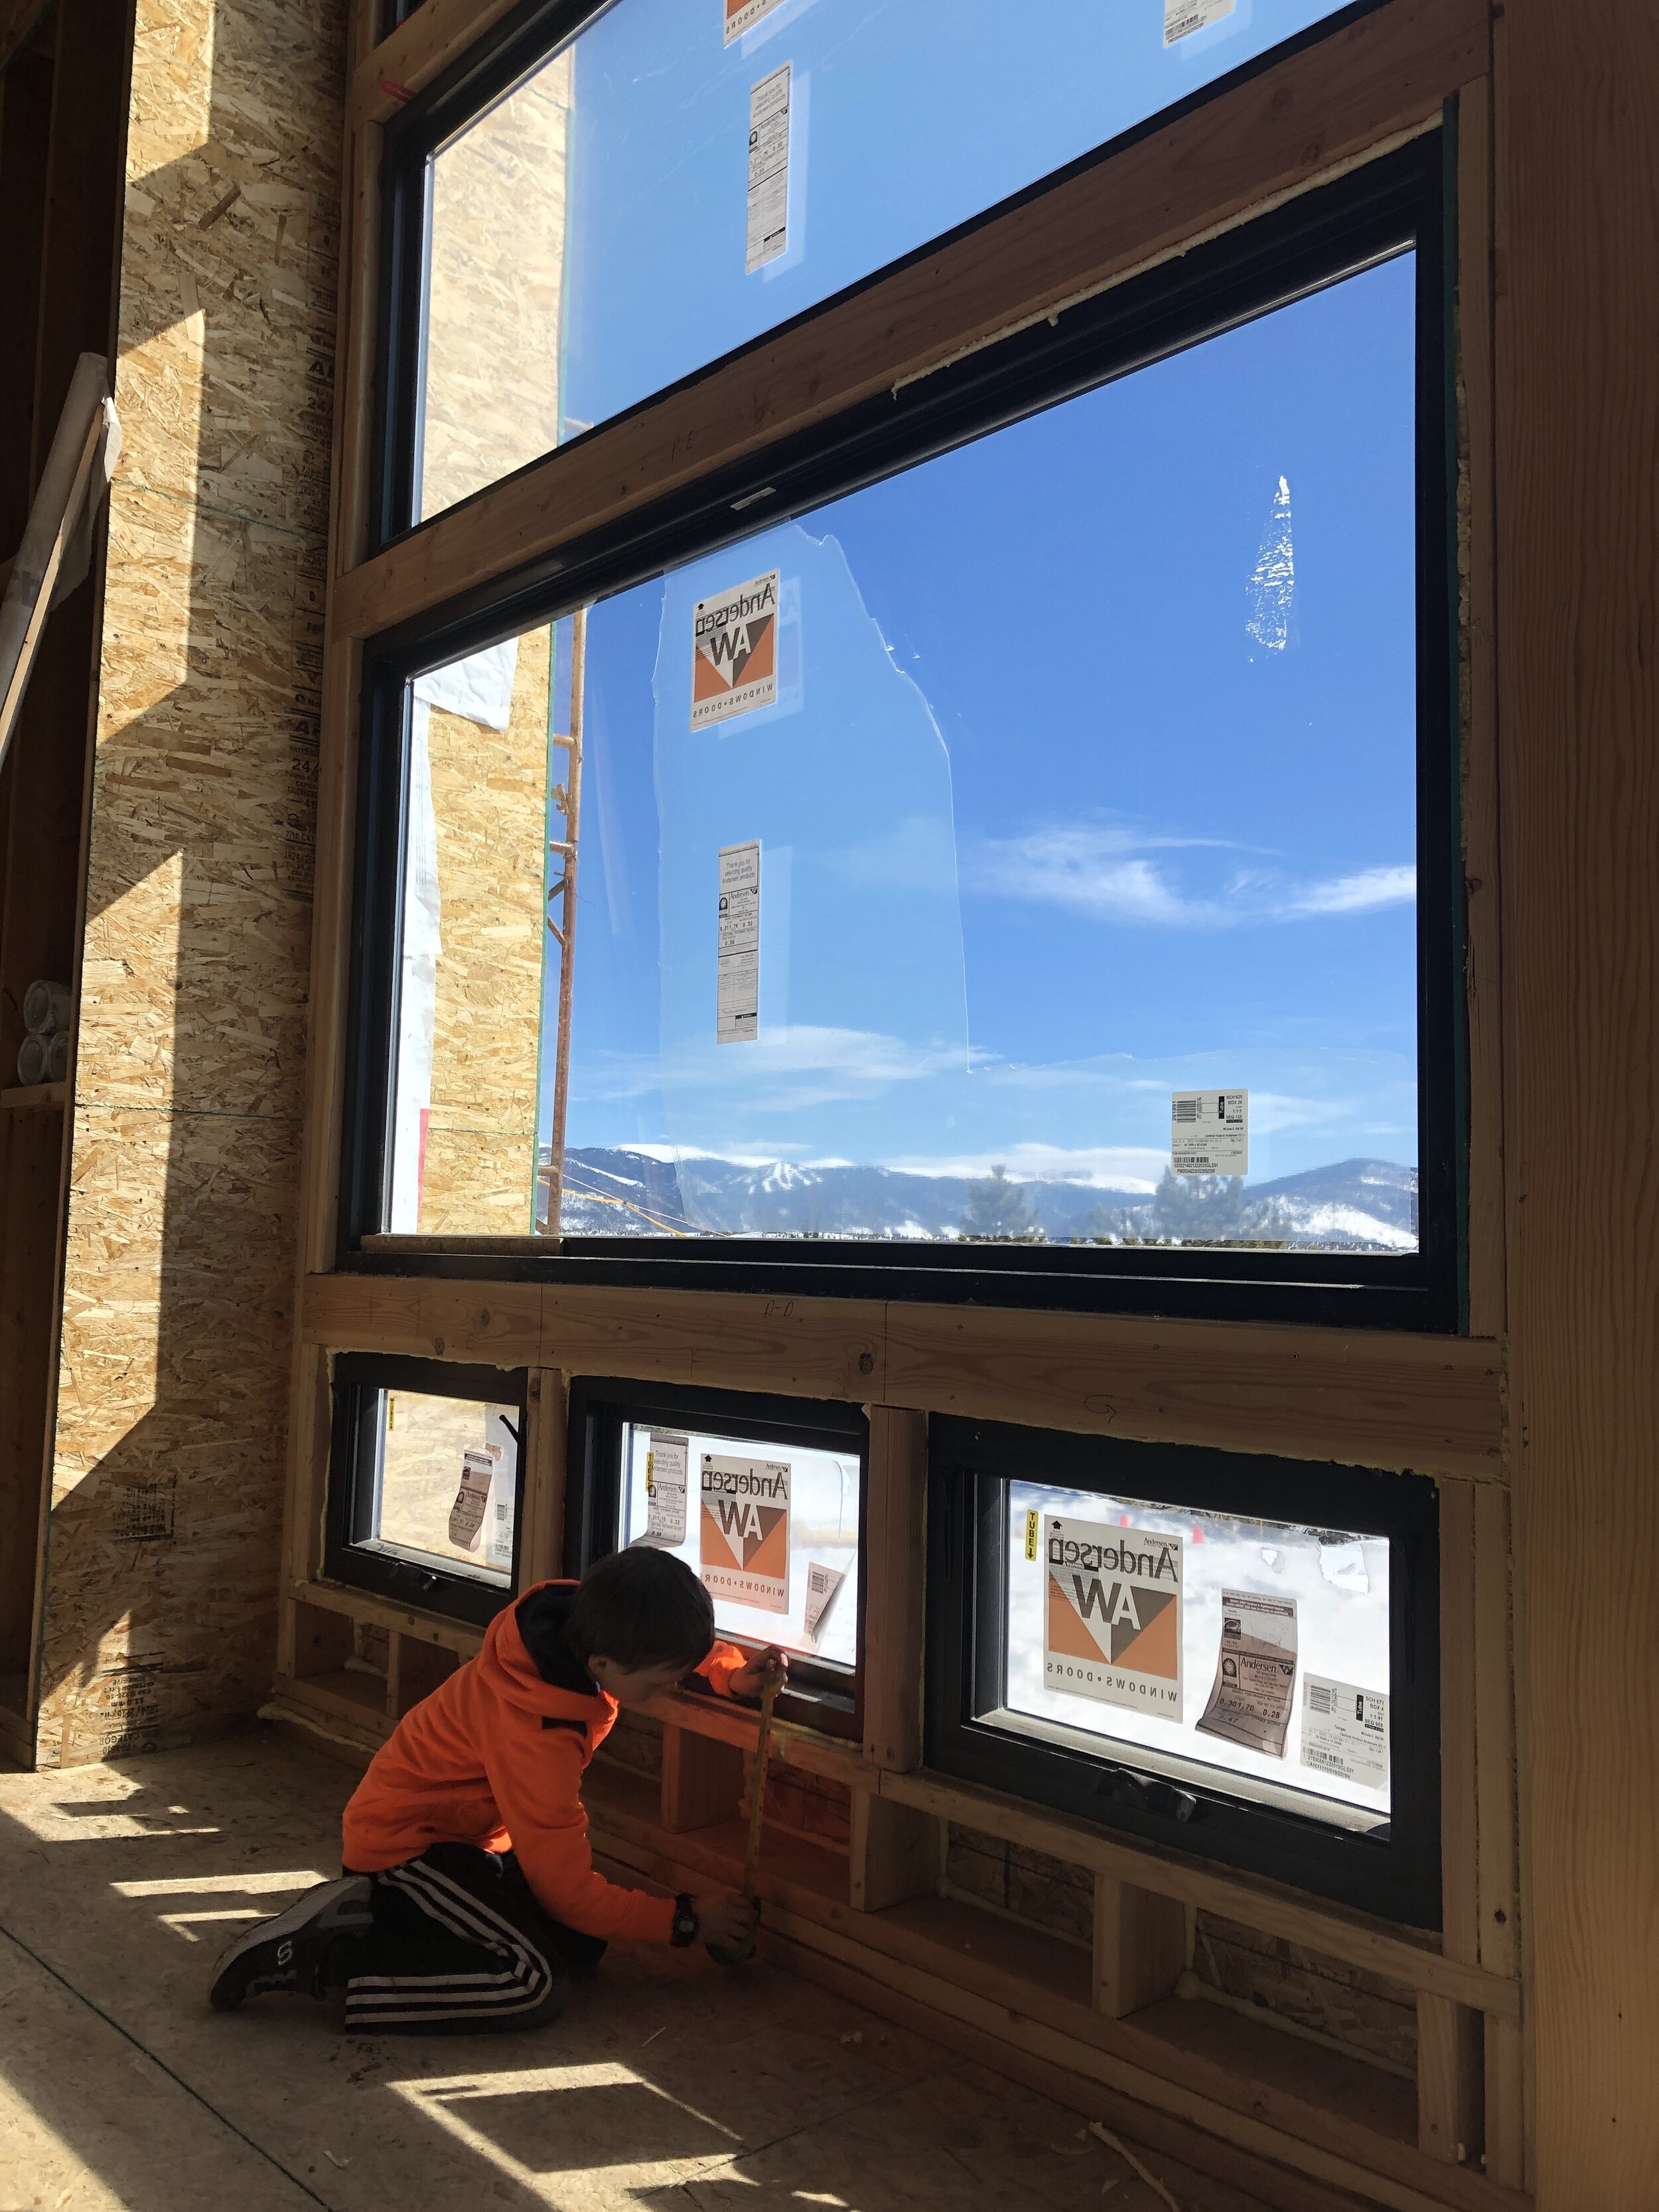
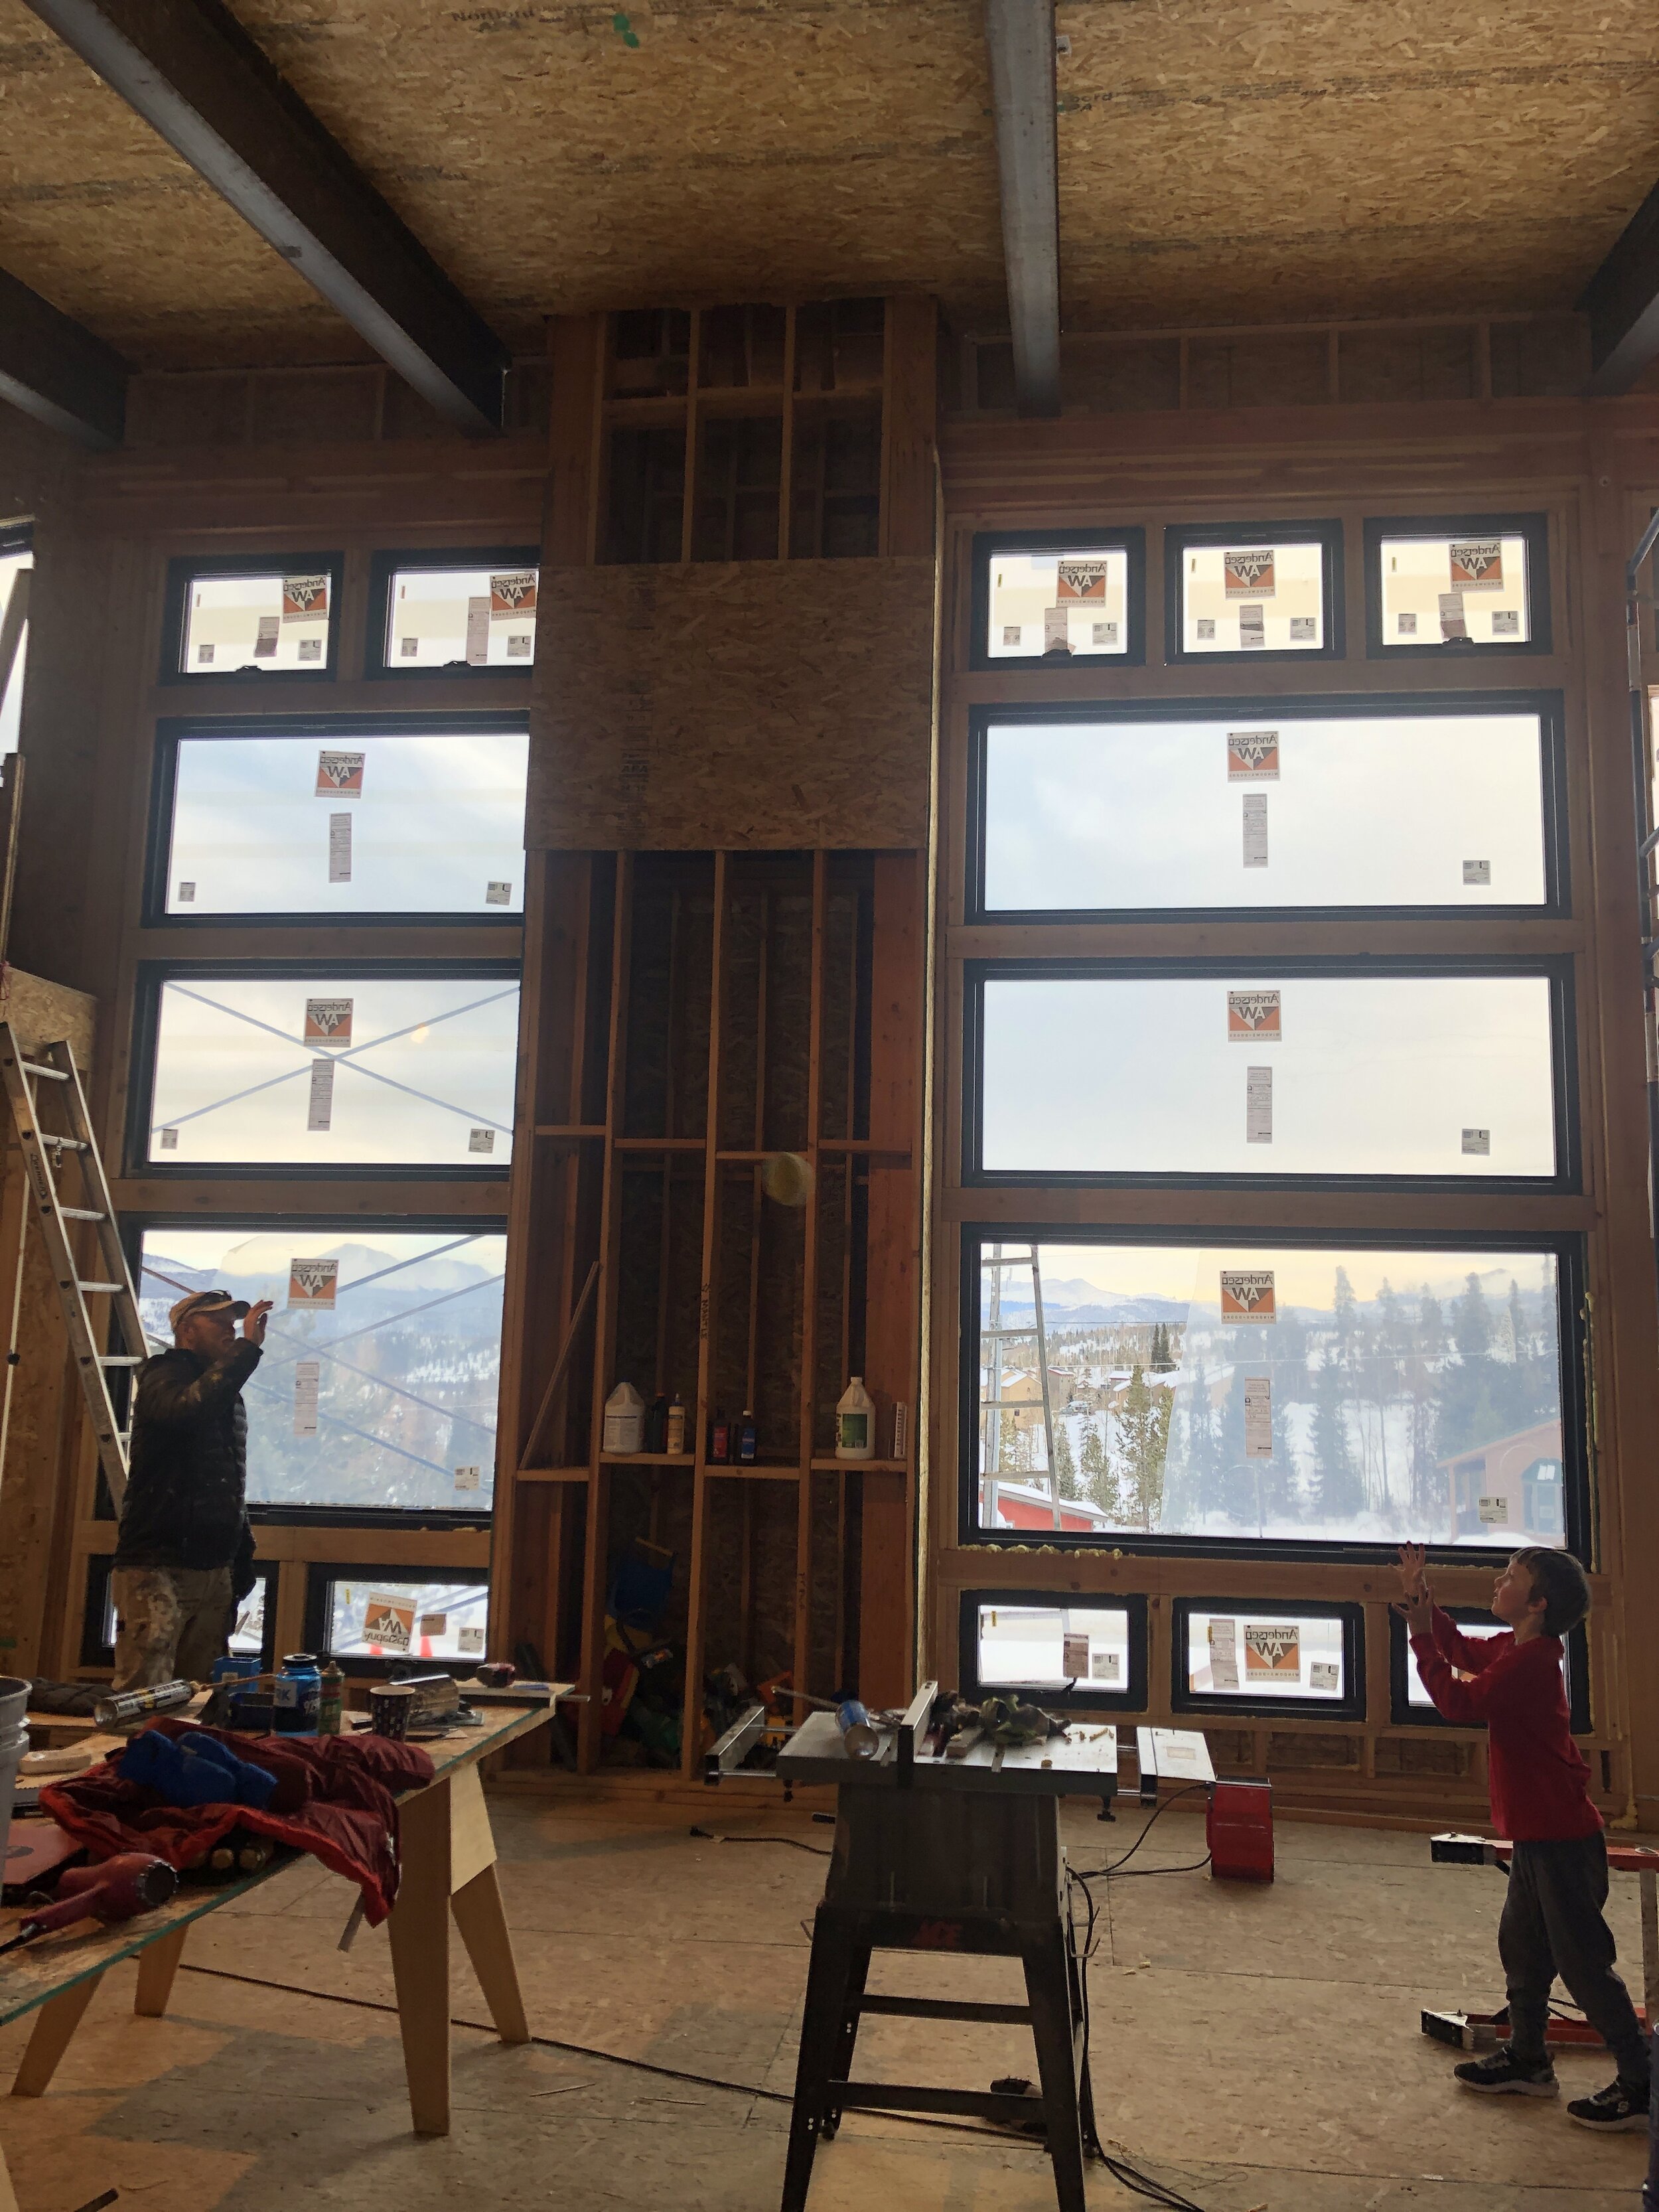
February 16. Interior view of the window blitz weekend! All 15 windows of this batch were installed in two days with the best crew ever!

See ya Big Blue! You were great, but it’s time to go!
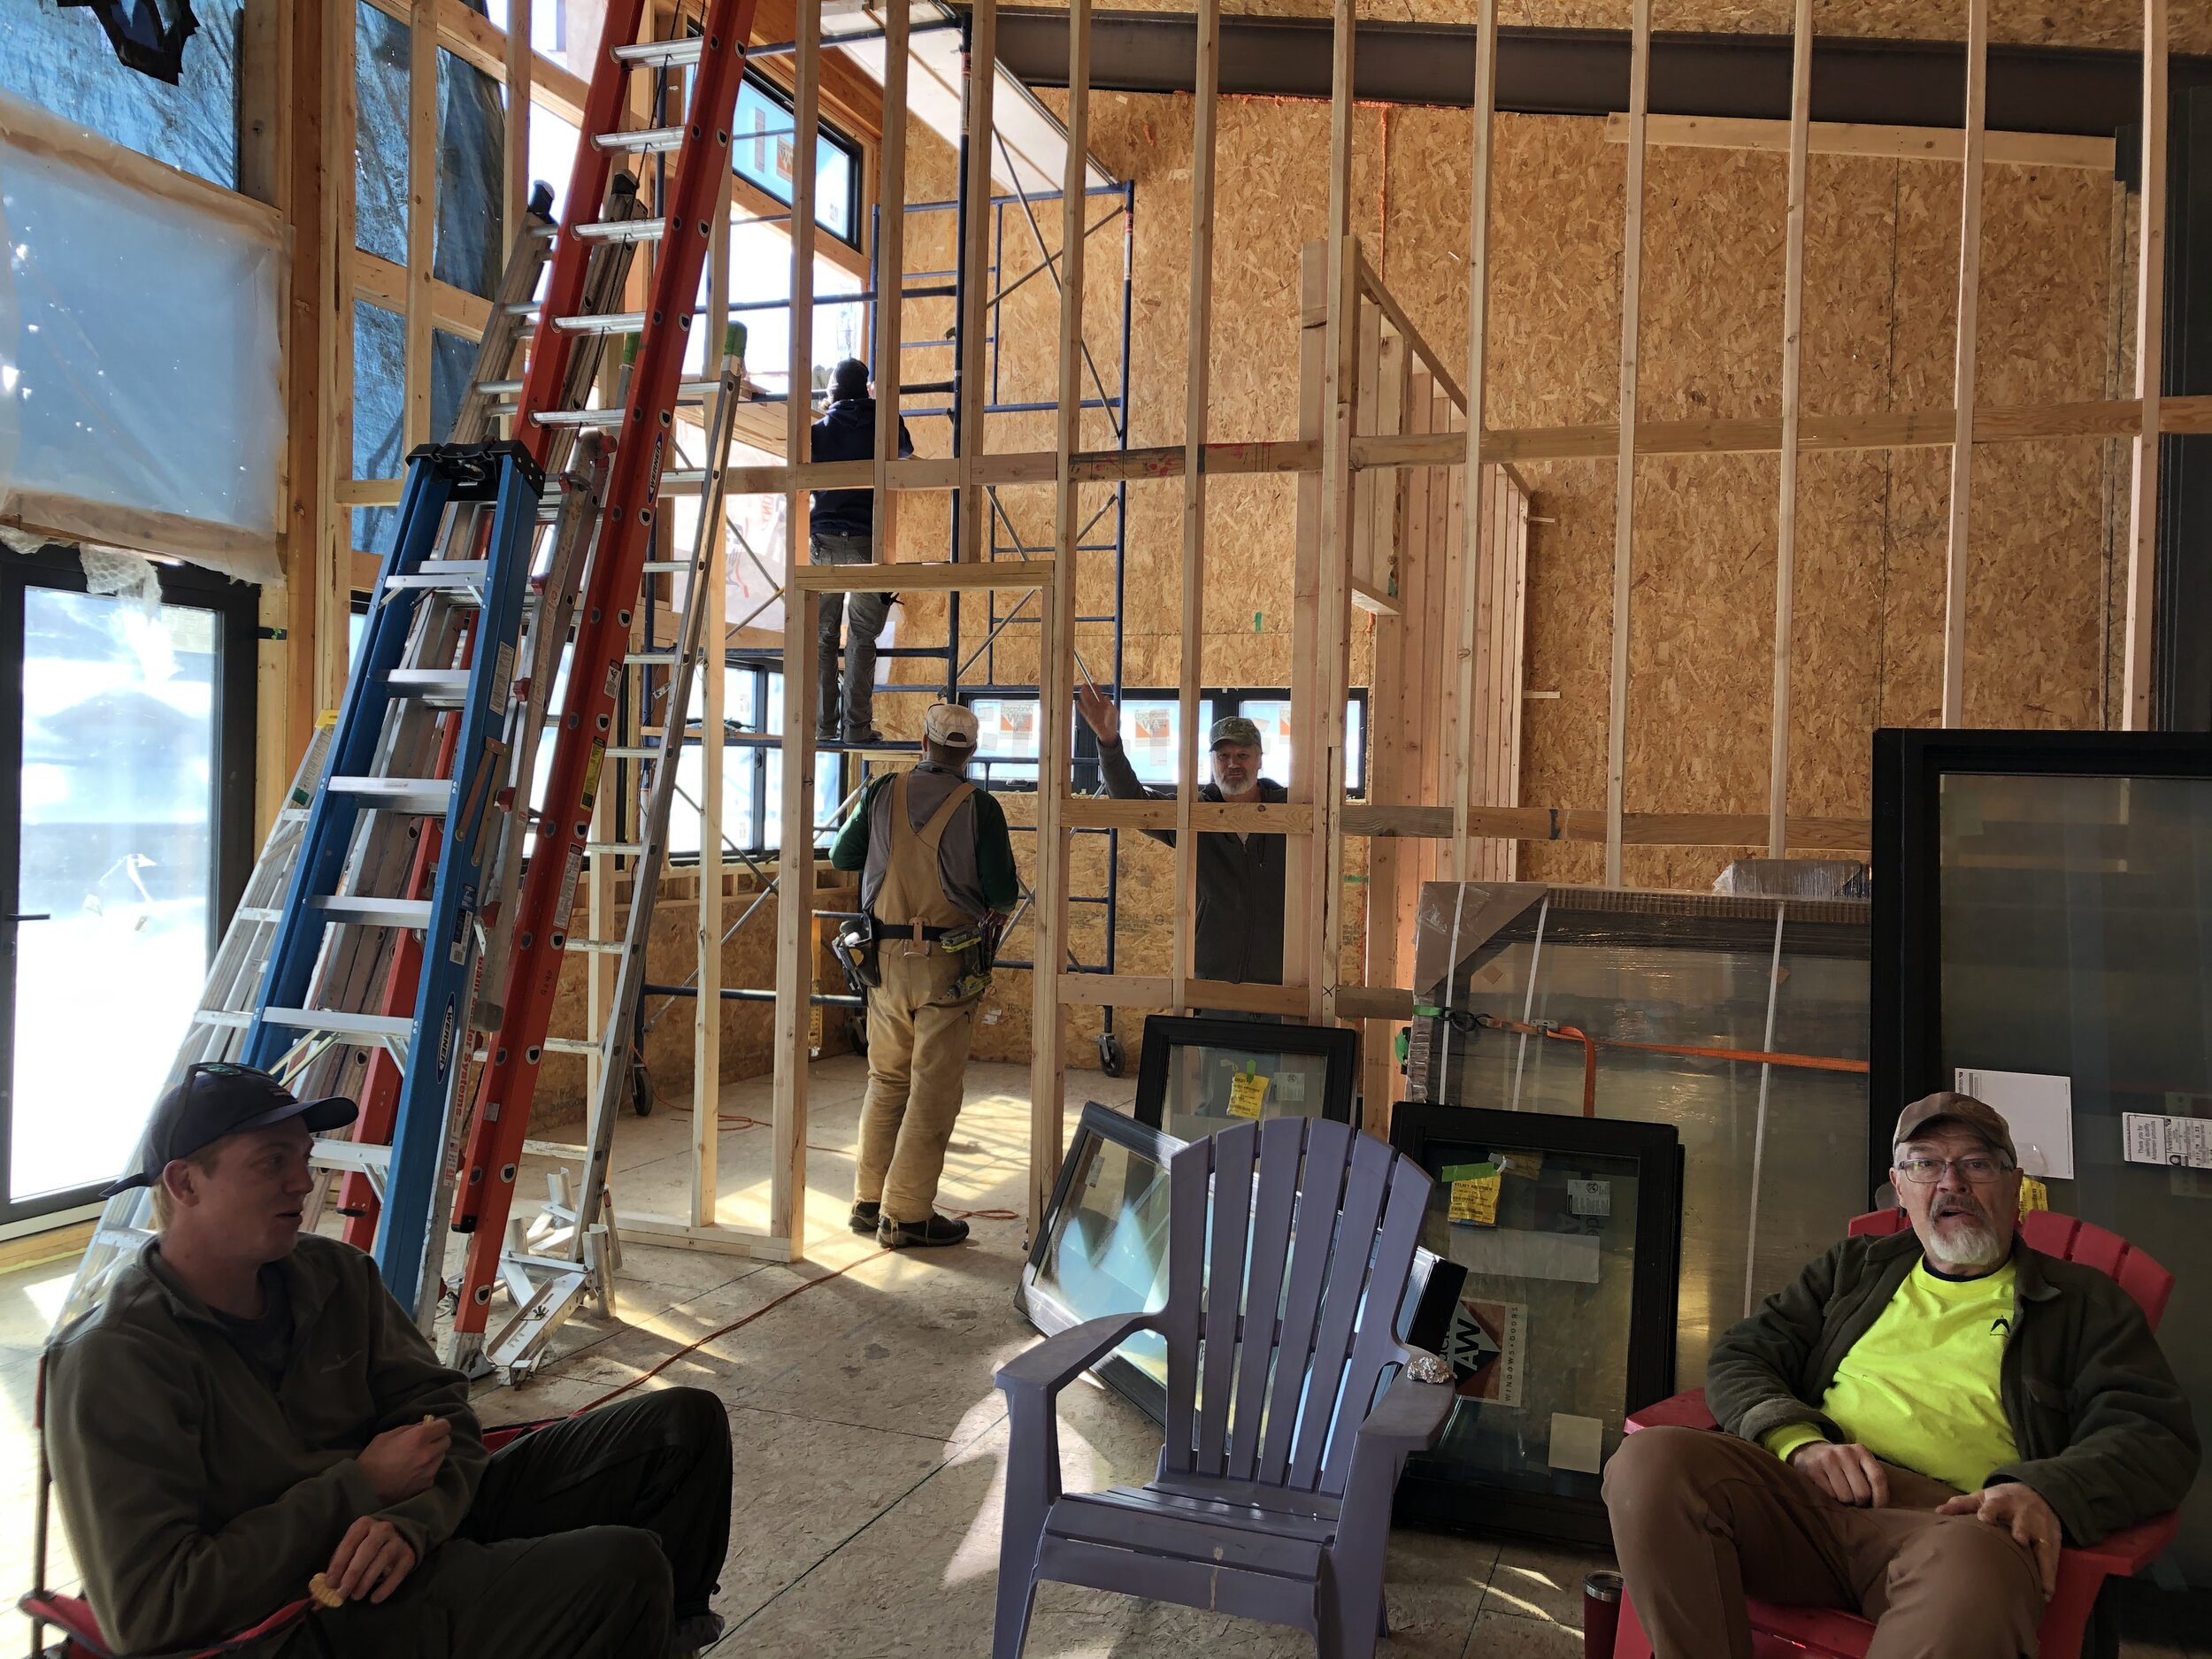
We still have two windows left that we need to build. In the photo above, you can see the big spaces that are covered with clear plastic. From the sounds of it, it’s not overly complicated to do this, but thankfully we’ll have some guidance from folks that have done this before. Why do we need to make these windows? Well, they are wider than residential manufactures will make. However, you can purchase the insulated glass units (IGUs) and window sashes separately and construct the window system onsite. This is how most commercial windows are put together. Thank you to our window gurus, Jame Duran (aka Grandpa Skinner - the greatest woodshop teacher ever) and Shuan Salisbury. Shaun is the builder and architect for our new neighbors, Jake and Annie, who will be building on the lot next door starting this spring. Kelsey and my dad did some additional framing on those two windows and we have the measurements ready to send Shaun.
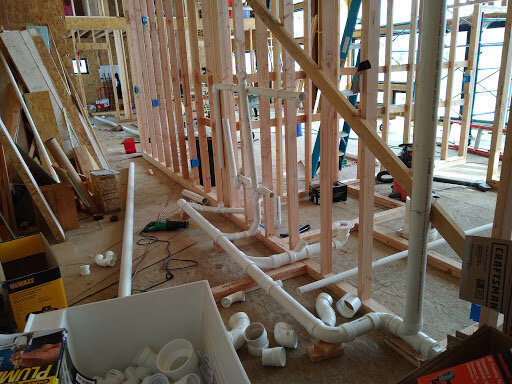
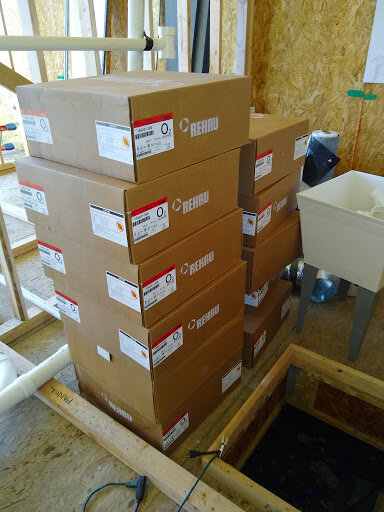
After the window blitz, we switched our focus to the initial plumbing layout and getting prep work done for the radiant floor. Kelsey had a lot of computer work to finalize the radiant tubing layout and get it ordered.

Initial plumbing layout in the mudroom.
On February 28 the radiant tubing arrived and we commenced a huge cleaning spree to move everything from the main level up to the loft. This involved countless trips up and down the ladder and lots of extra organizing. We also brought some of the tools back to the condo and moved our huge locking toolbox to the back of Kelsey’s truck for temporary safe storage of all the tools. Then, we swept and vacuumed and swept and vacuumed until the floor was as free from dust and debris as we could get it.

Initial cleanup in progress.

Progress!
And, ready or not...March is here. March 5 marks the 6-month countdown to get our certificate of occupancy. I’m not sweating….you’re sweating.
Earlier this week, we borrowed our buddy Karl’s laser to help spot check how level the subfloor is. For any of you who have been following along for a bit, you know that we were super diligent about keeping the subfloor dry last winter. This is why! So, all of the tarping and shoveling we did last year paid off, since almost everything was pretty darn level. We have a couple low spots, but those areas will just have smidge more concrete and all will be well. A level floor is important as we want to ensure that the boys’ monster trucks don’t go rolling around willy-nilly.

Spot checking the floor to ensure it is level.
Kelsey got started with installing the tubing in the master bedroom on March 4. Before he laid down the tubing, we installed a vapor barrier on the floor. We used Barricade which is about half as expensive as Tyvek, but does the same thing. The vapor barrier is used for a few reasons. One it keeps the moisture from the concrete off the subfloor. It keeps the concrete from “blowing out” where there are any gaps or spaces in the subfloor. This is important because we will use concrete with a higher slump (higher water content) which makes for a cleaner finish and is easier to work with when laying large flat areas. This also means that it will find any little crack or gaps and we will just end out with concrete in our crawl space. The last reason is the vapor barrier will allow the subfloor and concrete to move independently to reduce cracking. In case you’re wondering, an alternative to the vapor barrier is to caulk every seam of the subfloor, which wouldn’t be too terrible if this was “fresh” sheathing, but since ours has been exposed to more water (even with our diligence) than most, this seemed like the best route.
Then, the tubing was laid down in looping rows with a predefined space in between. The tubing then gets stapled down with a specialty staple gun that we’re renting from our radiant floor supplier, Janes Radiant. We also received a quote from RadianTech but found the team at Janes to be more responsive to our questions and act like more of a partner to our project, than just a supplier.

First tubing going down in the master bedroom.

Overhead view of the master bedroom and bathroom. Zone 1 is done!
After the tubing is secured, we’ll place the 6”x6” W4/W4 (4 gauge) wire mesh over the top of the tubing. The wire mesh helps lessen the amount of cracking in the concrete, giving it a bit more structure.
We also finally got our insurance claim finalized this week! As you probably remember, we had a ton of tools stolen between Christmas and New Year’s. It feels pretty darn good to get that squared away. We obviously needed to purchase the tools in early January, so replenishing our own bank account is a nice way to end the week.
What’s coming up next?
Finish the vapor barrier, radiant tubing, and lay wire mesh in all rooms
Mechanical and initial rough plumbing inspection from the Summit County Building Department
Pour the concrete floor
Install the remaining interior walls
Finish rough plumbing and rough electrical (plus applicable inspections)
Install spiral staircase - ordered from Salter Spiral Stair in Pennsylvania. Arriving Monday!
Install the new panel of our Panoramic Door
Keep plugging away on exterior siding
Grind the steel beams to remove the gunk and rust (dang it, why is this job so hard to do!)
Stain the wood for the ceiling. We plan on doing a select pine rather than cedar, to save a bit of money.
Start bugging Xcel energy about our gas line (insert face palm emoji here)
Thanks as always for your kind words and support!
Happy trails,
Cory
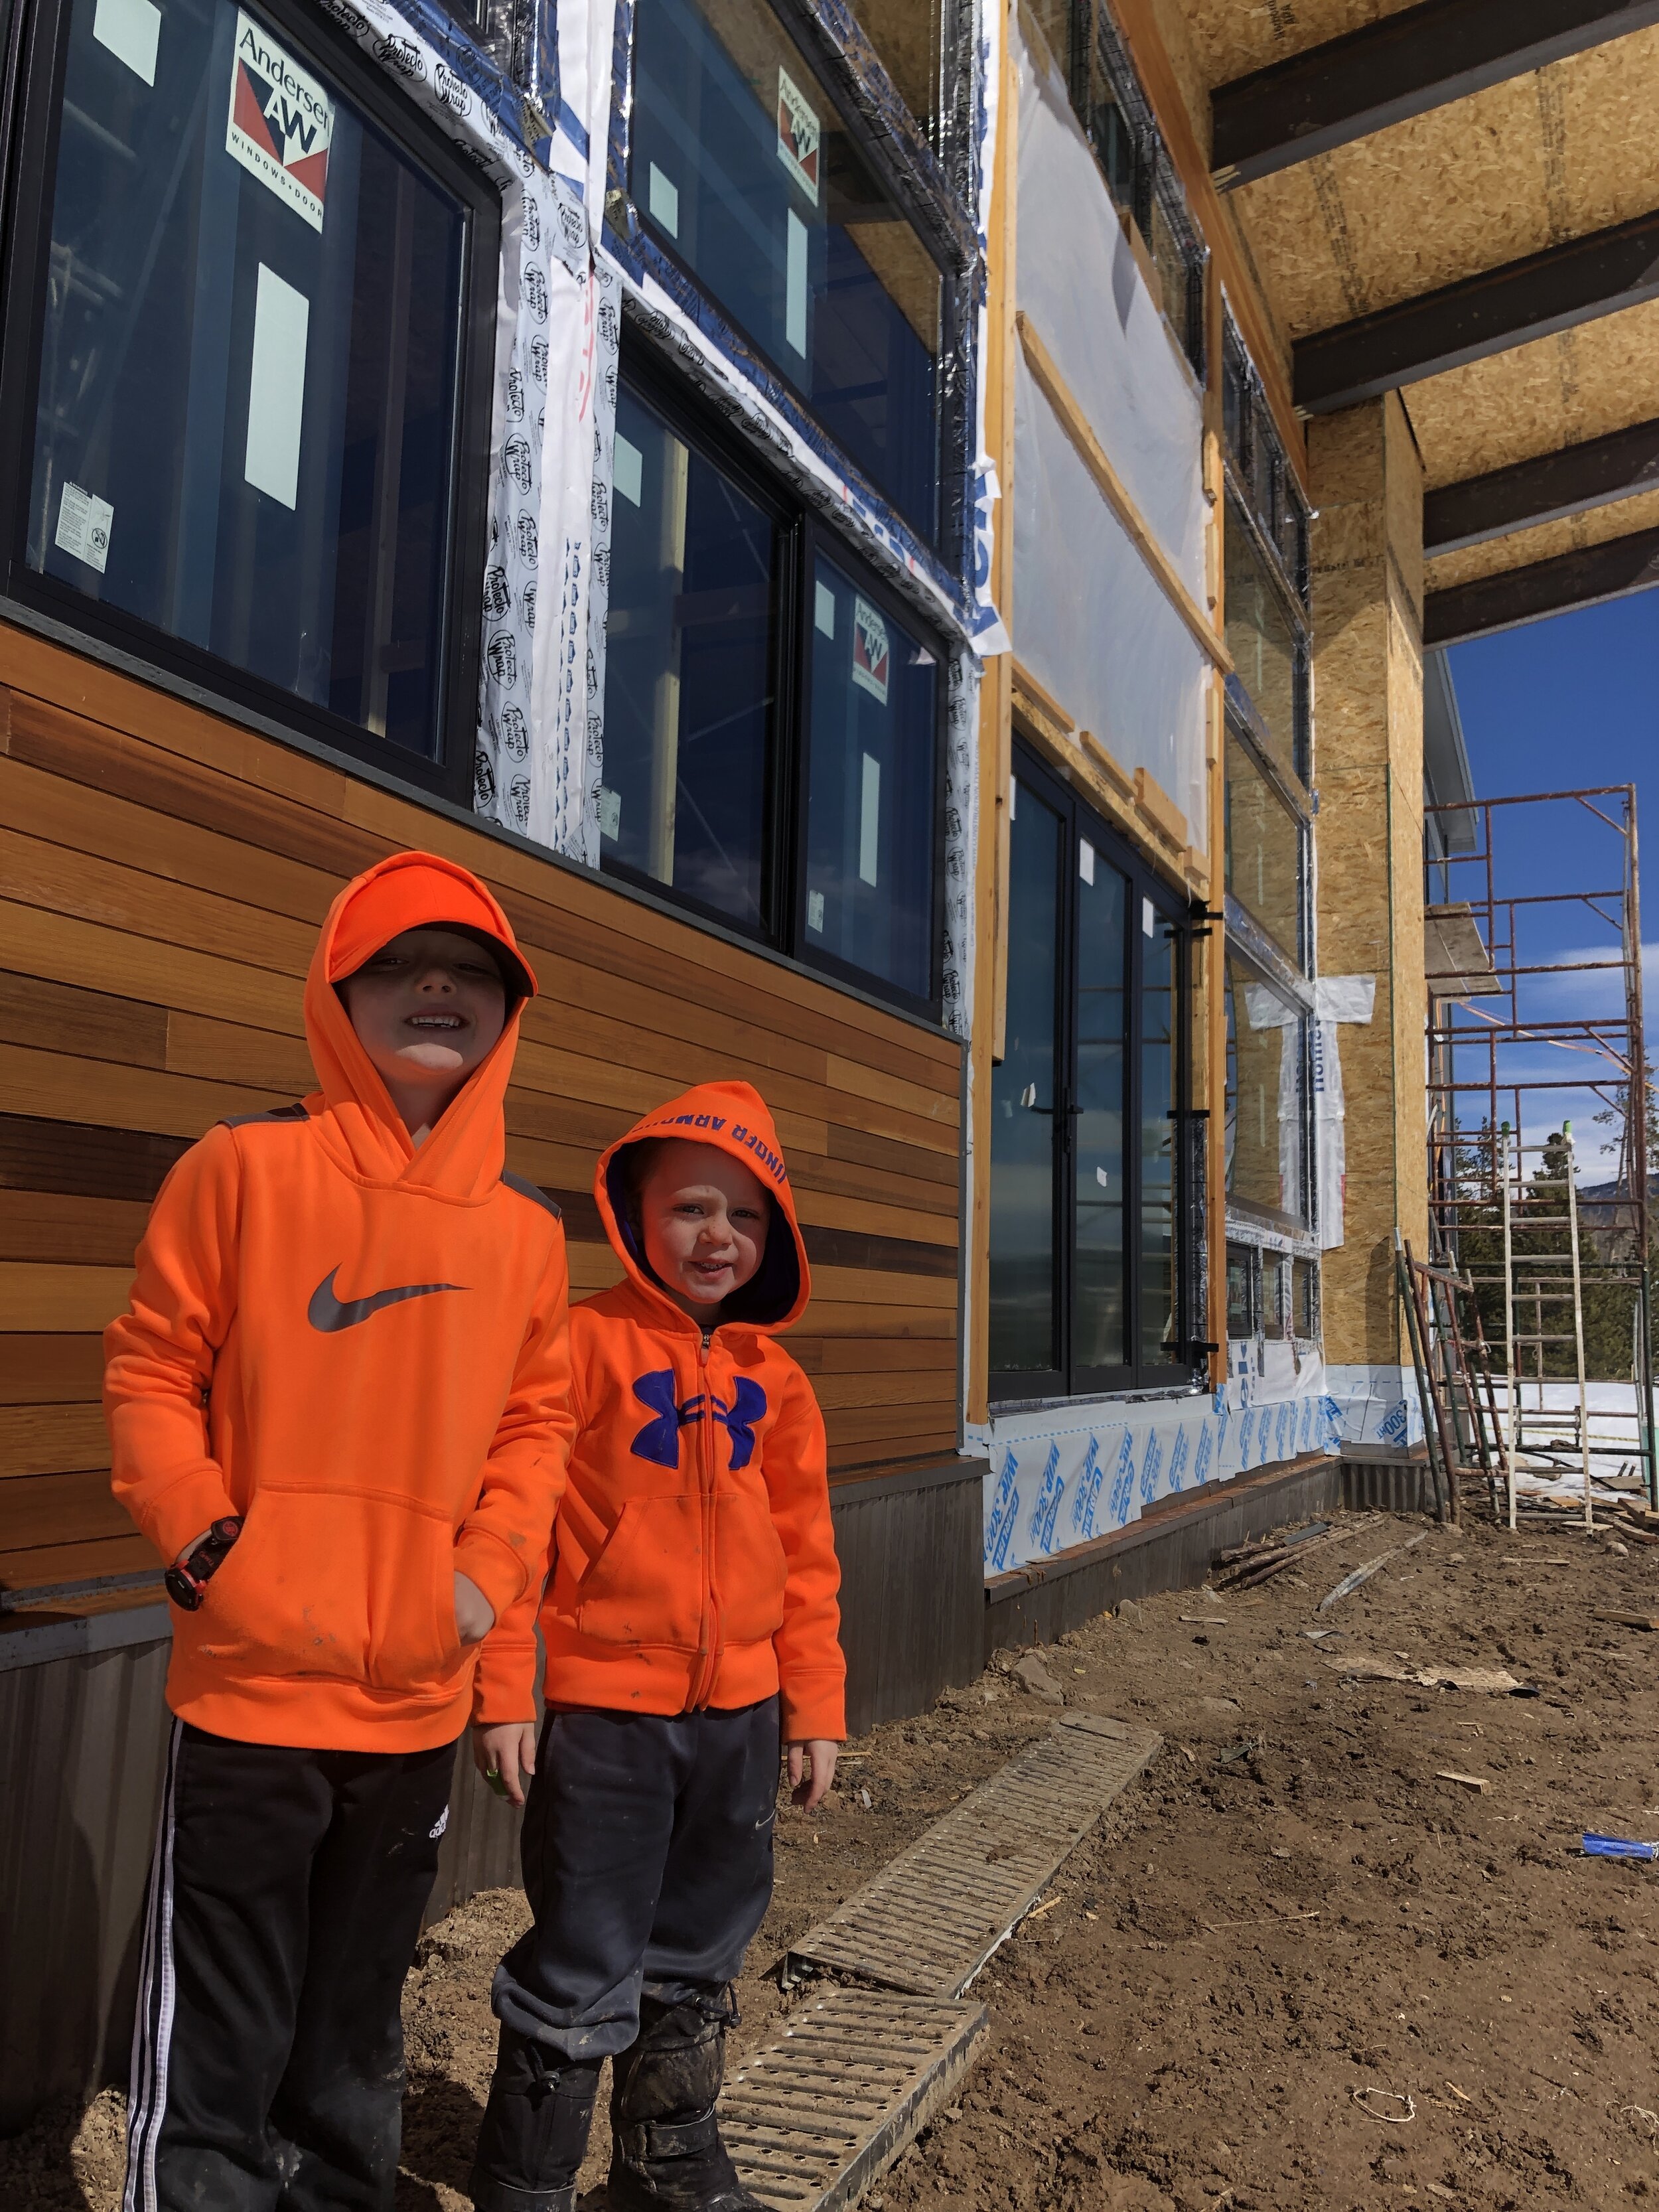
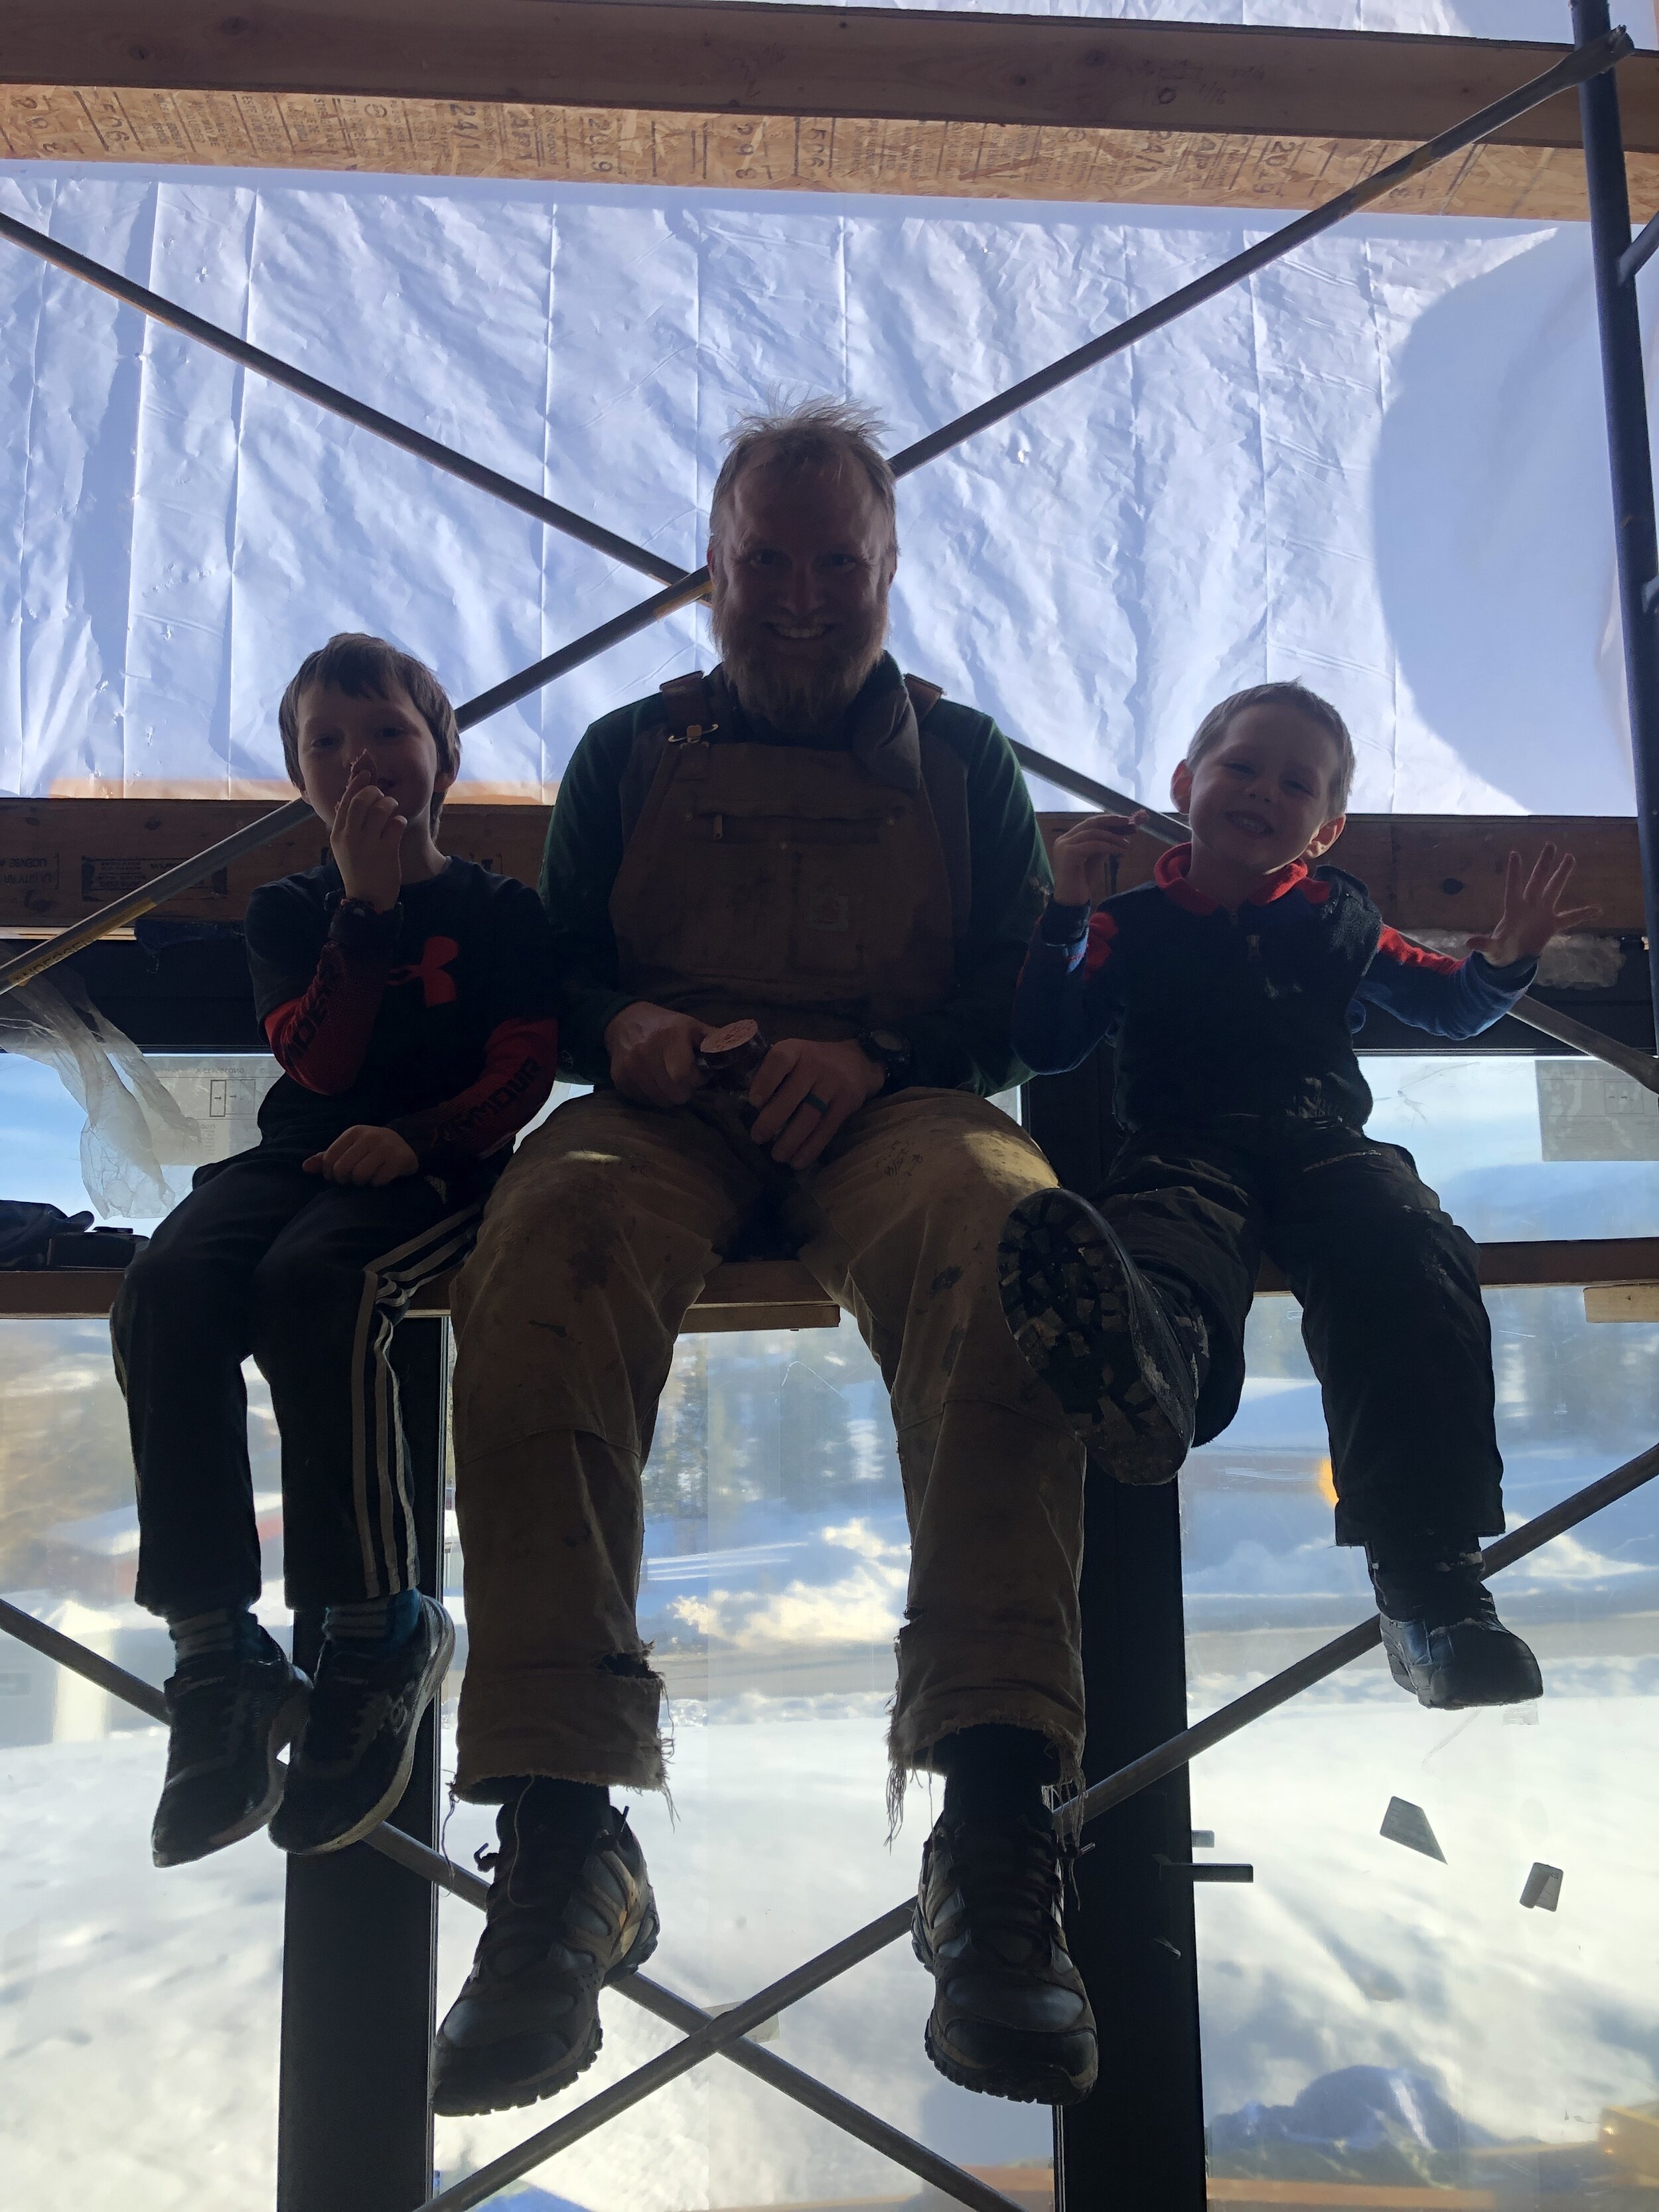
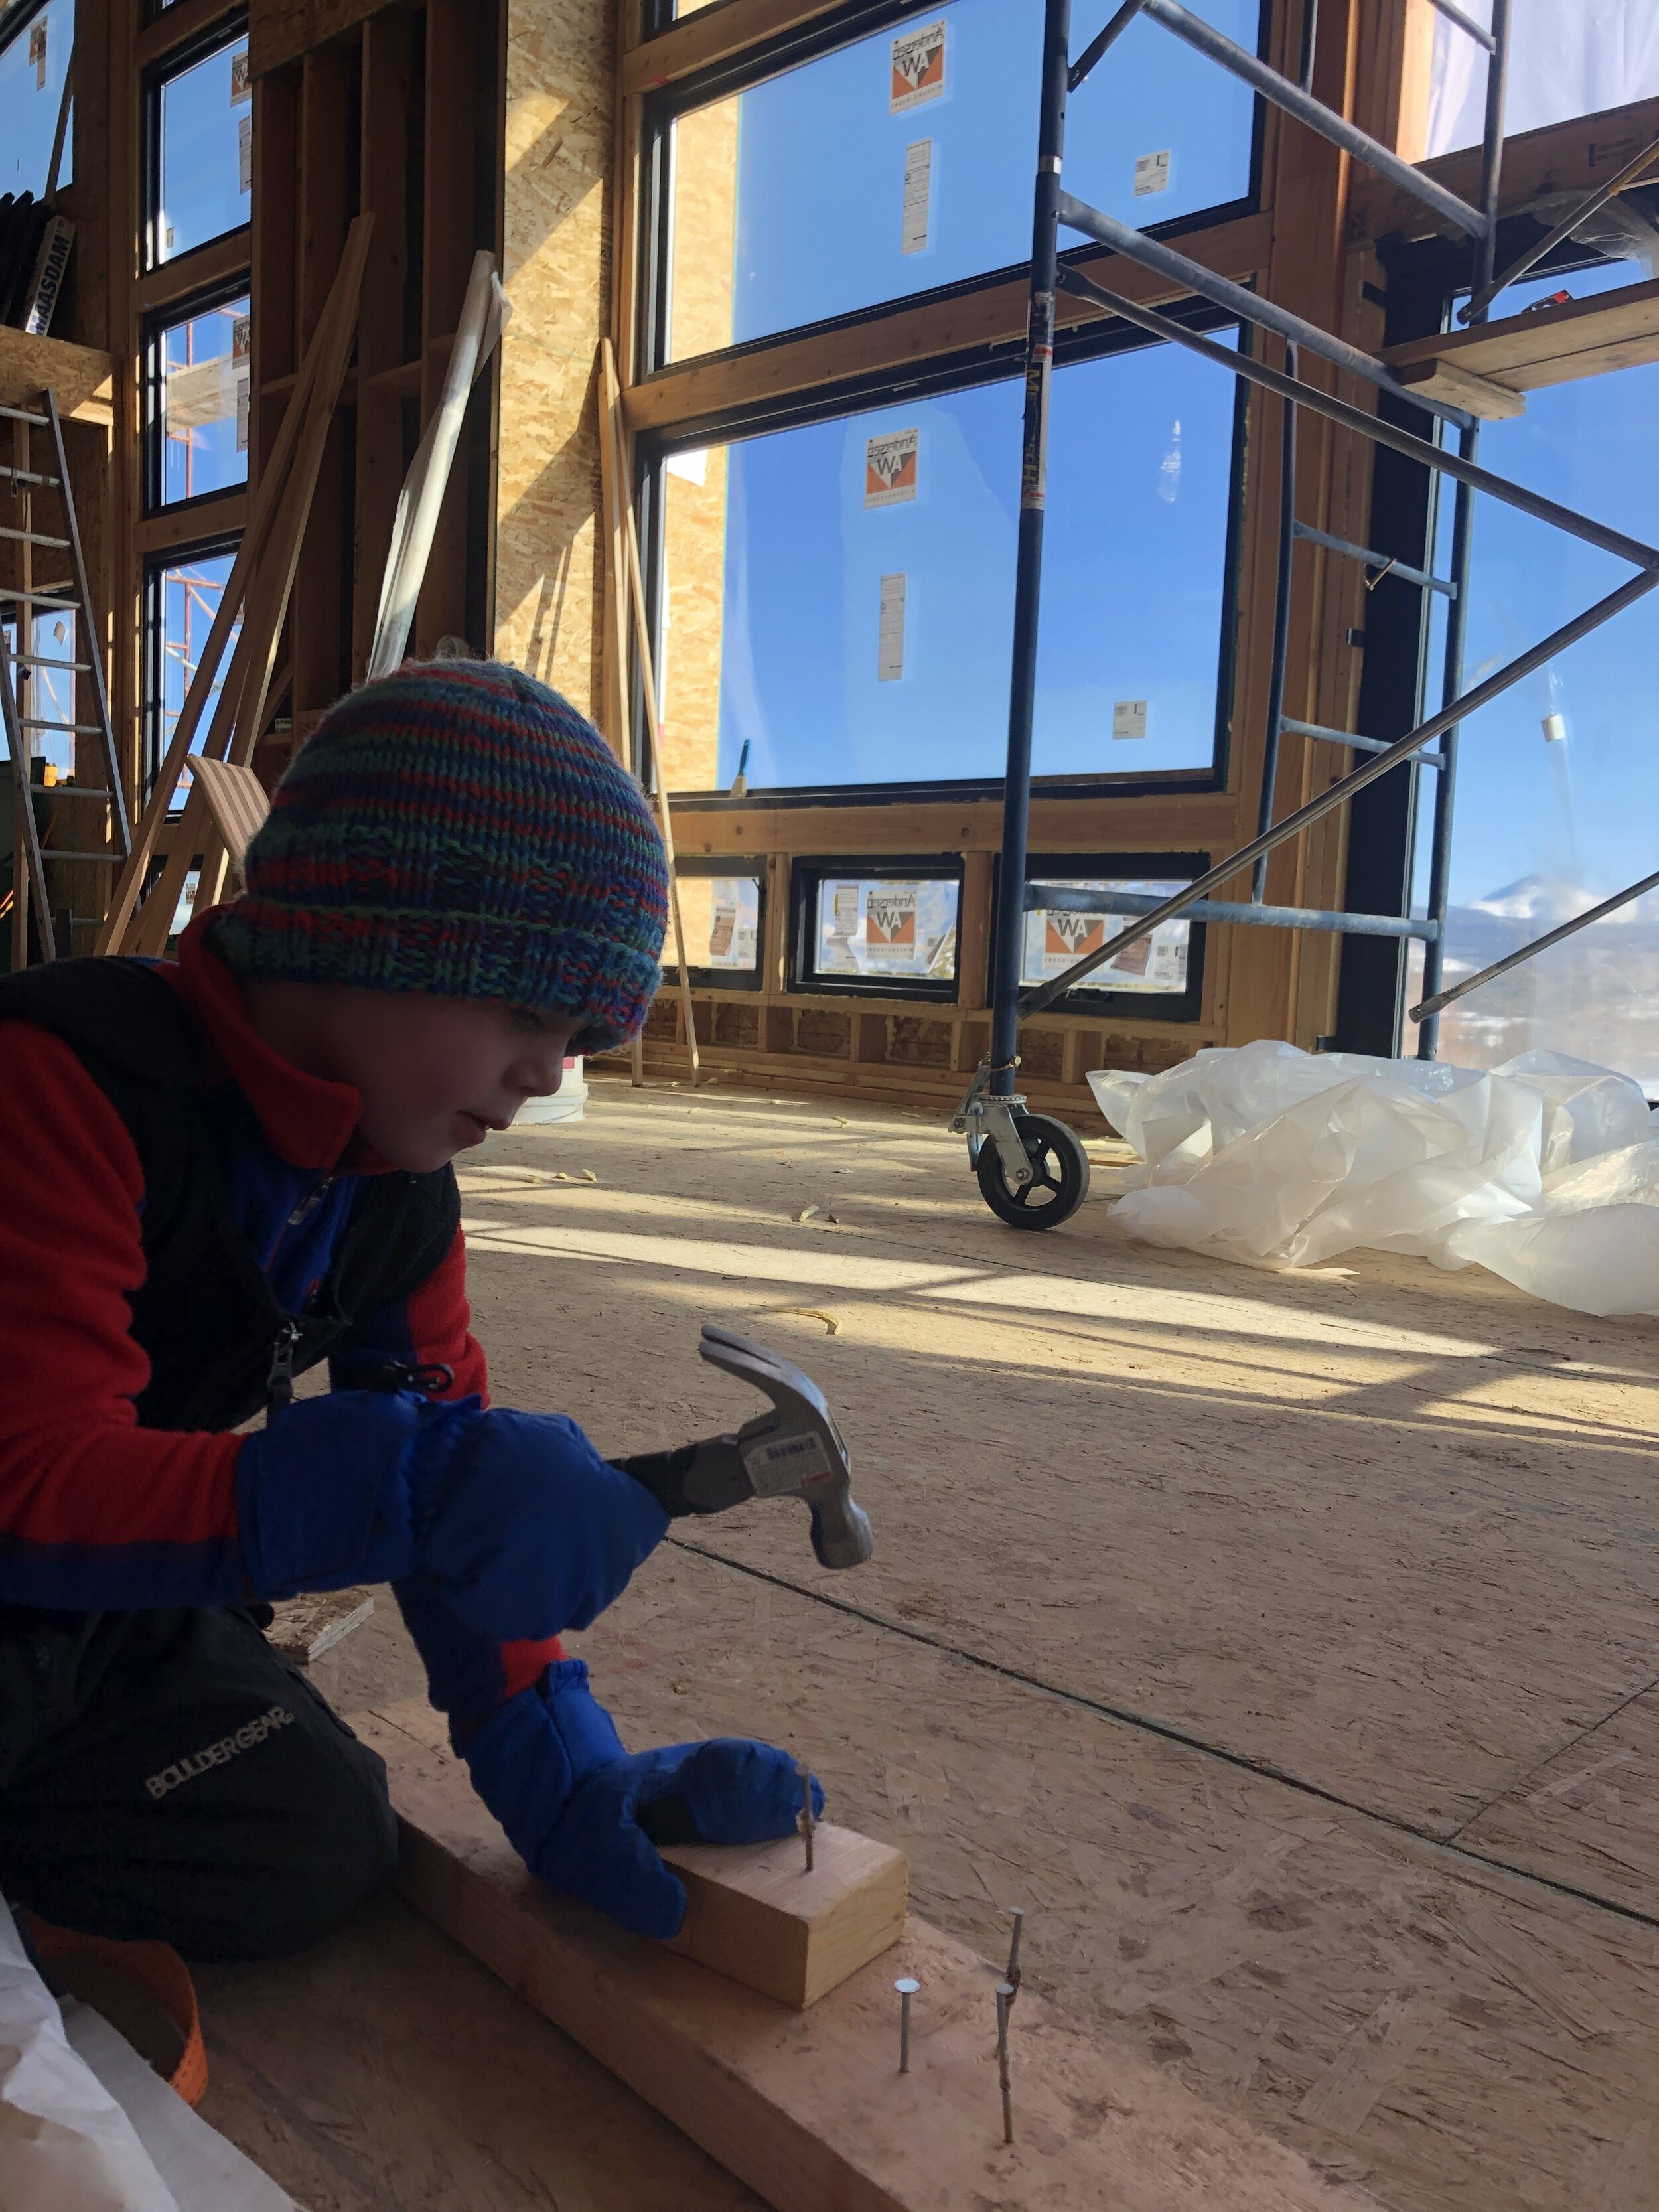
Here are a few more photos from this part of our project. If you want to stay current with our latest happenings, follow along on Instagram :-)