Concrete Floor, Deck Footers, Interior Framing
April Showers bring….a concrete floor!
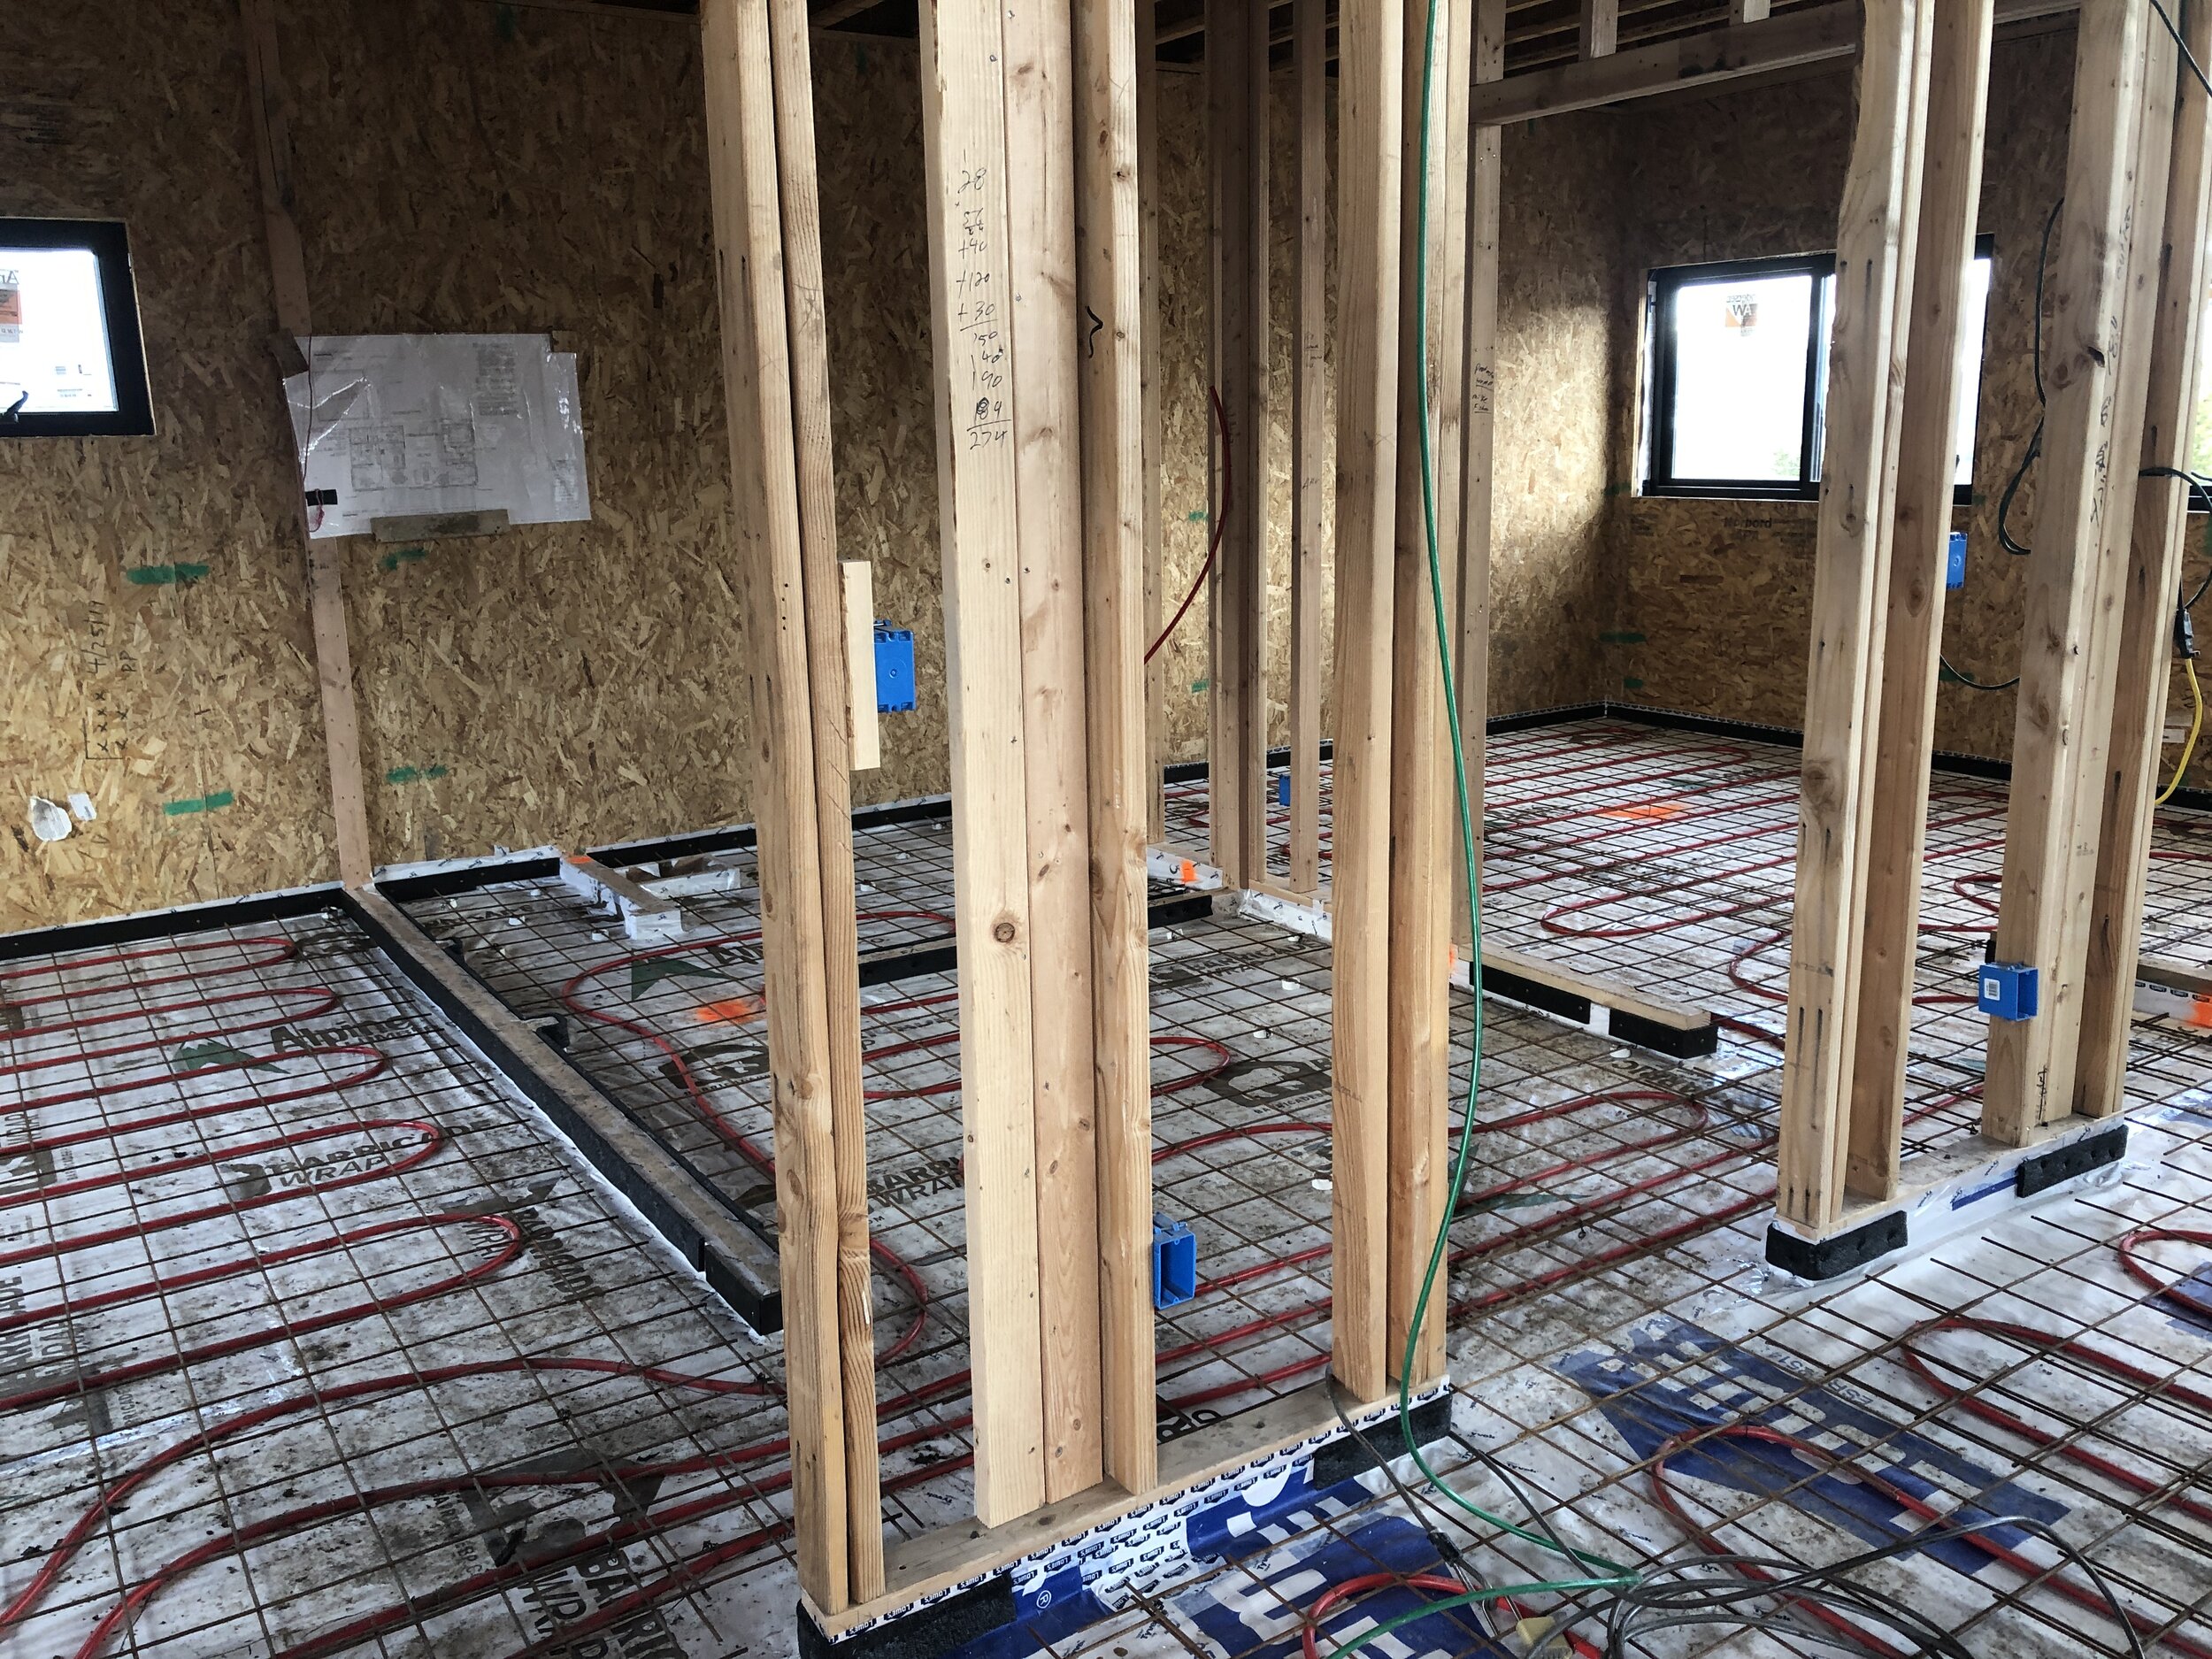
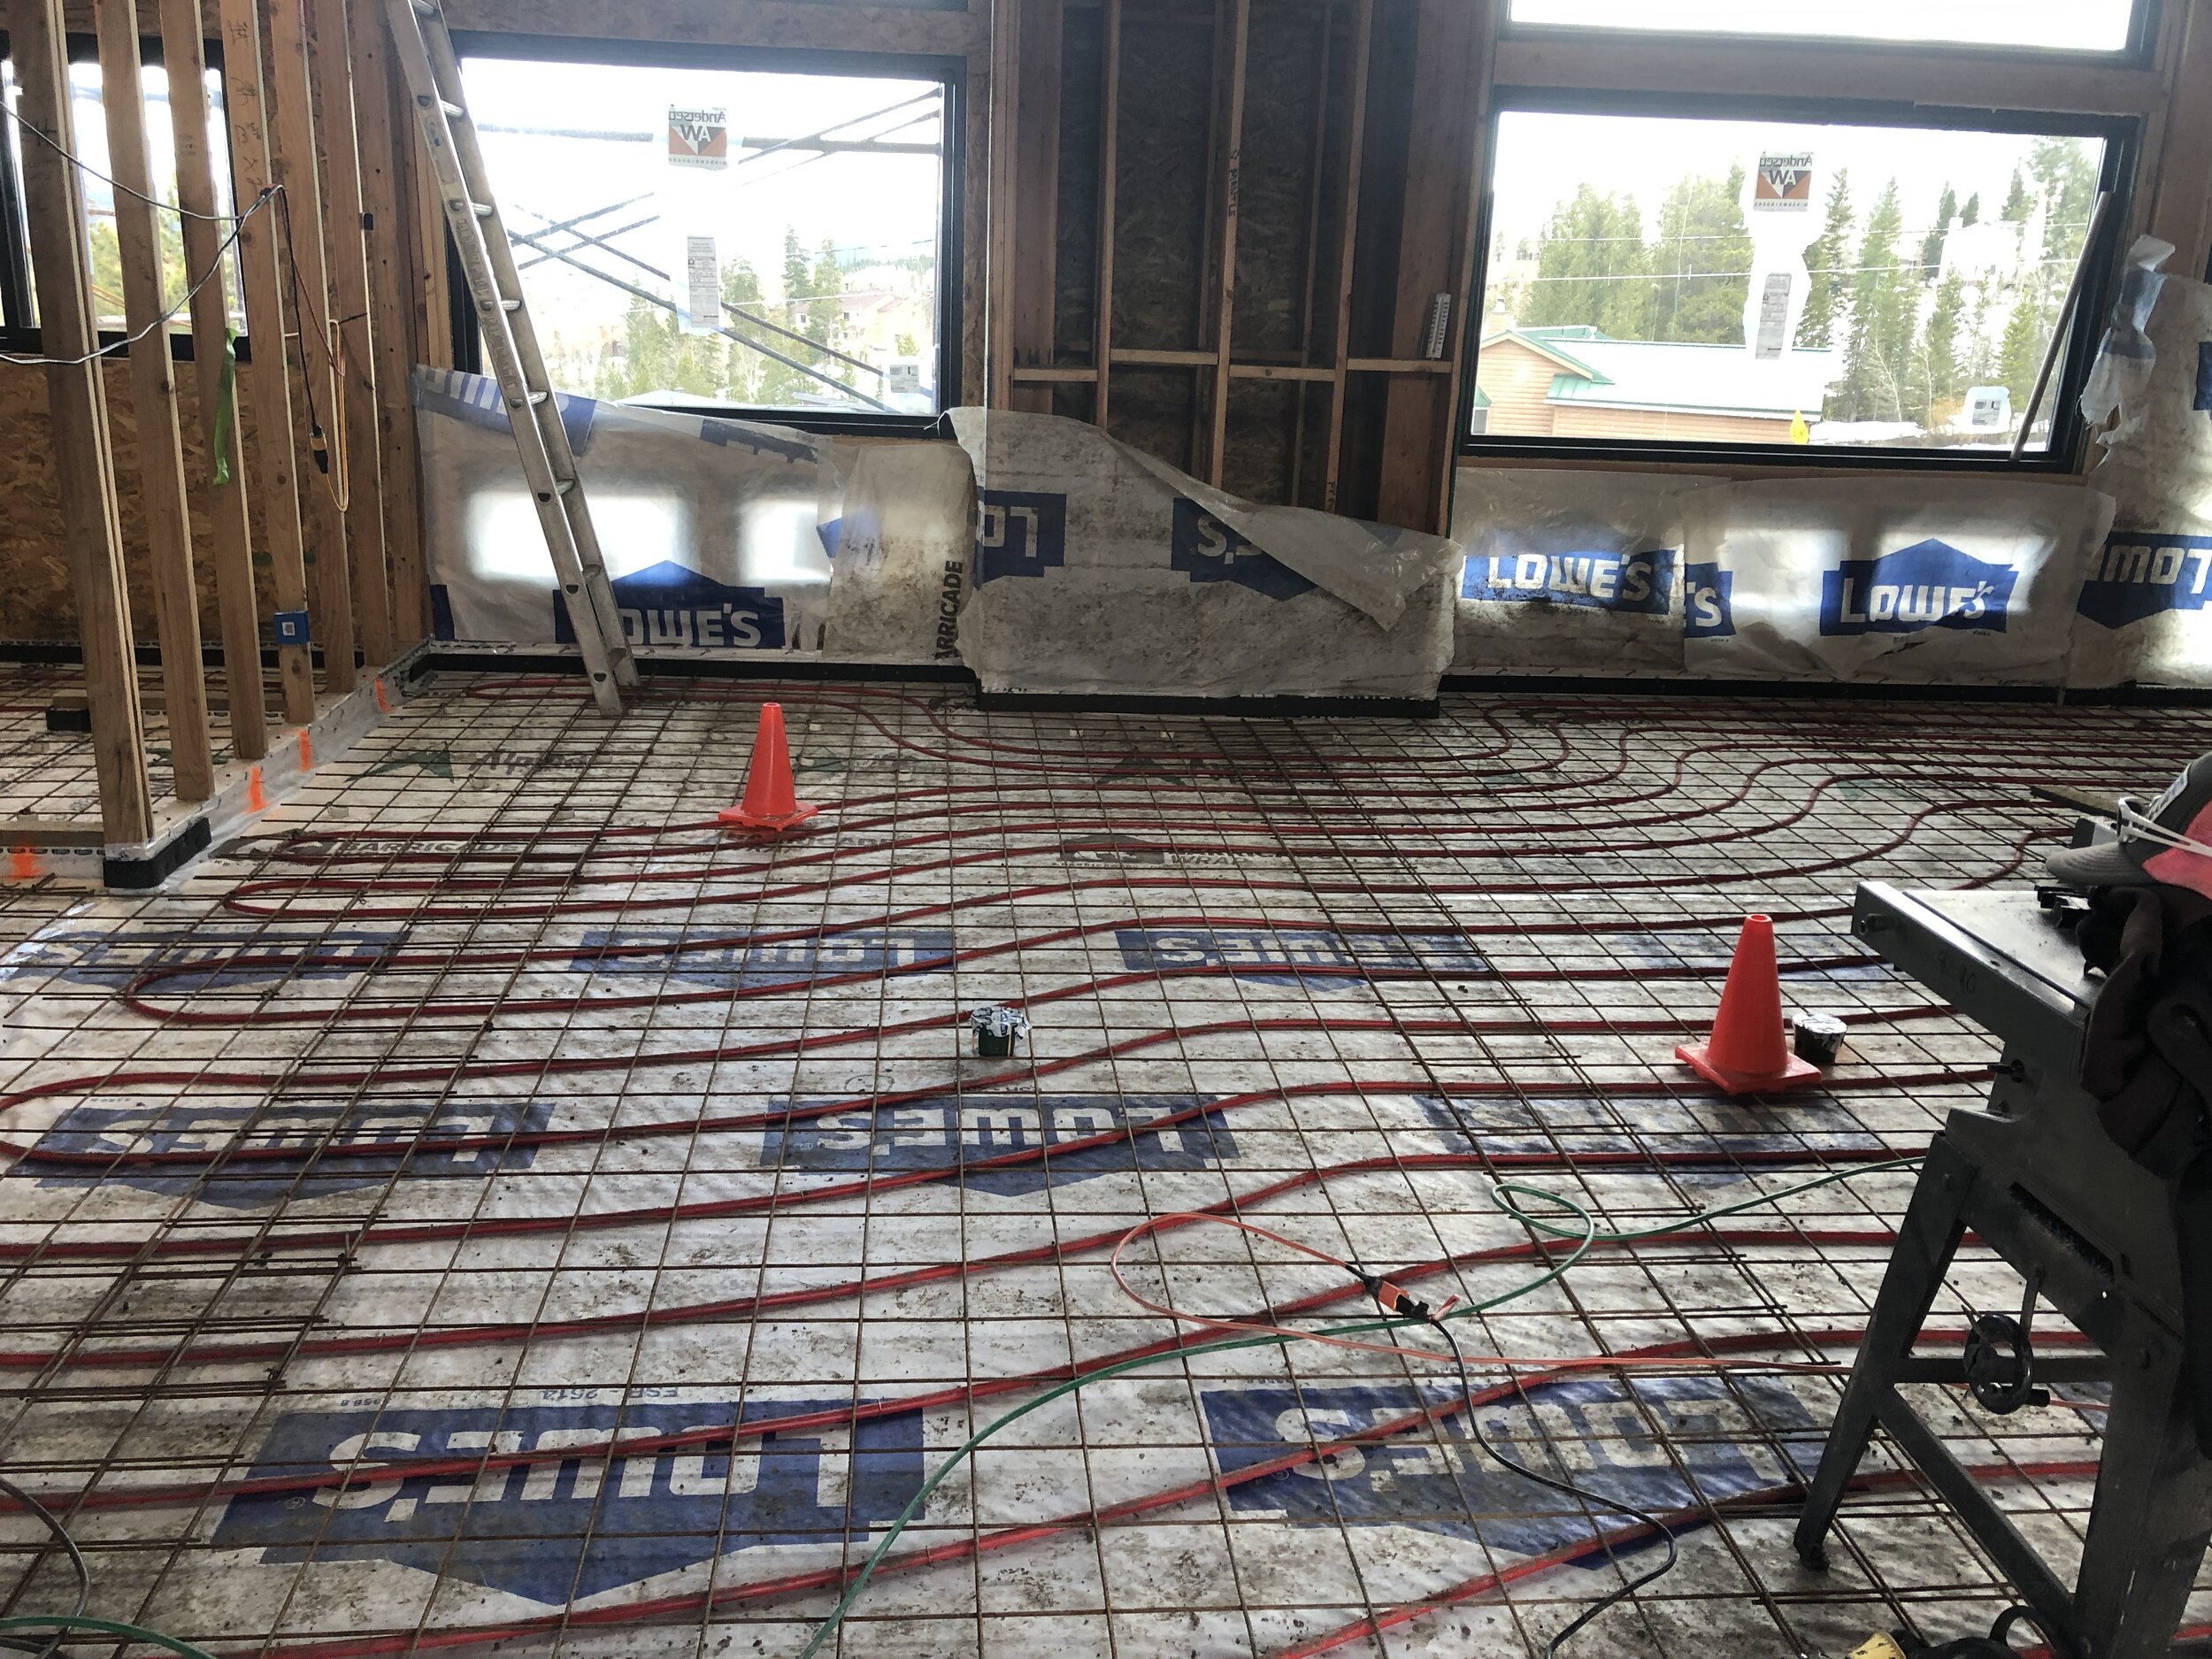
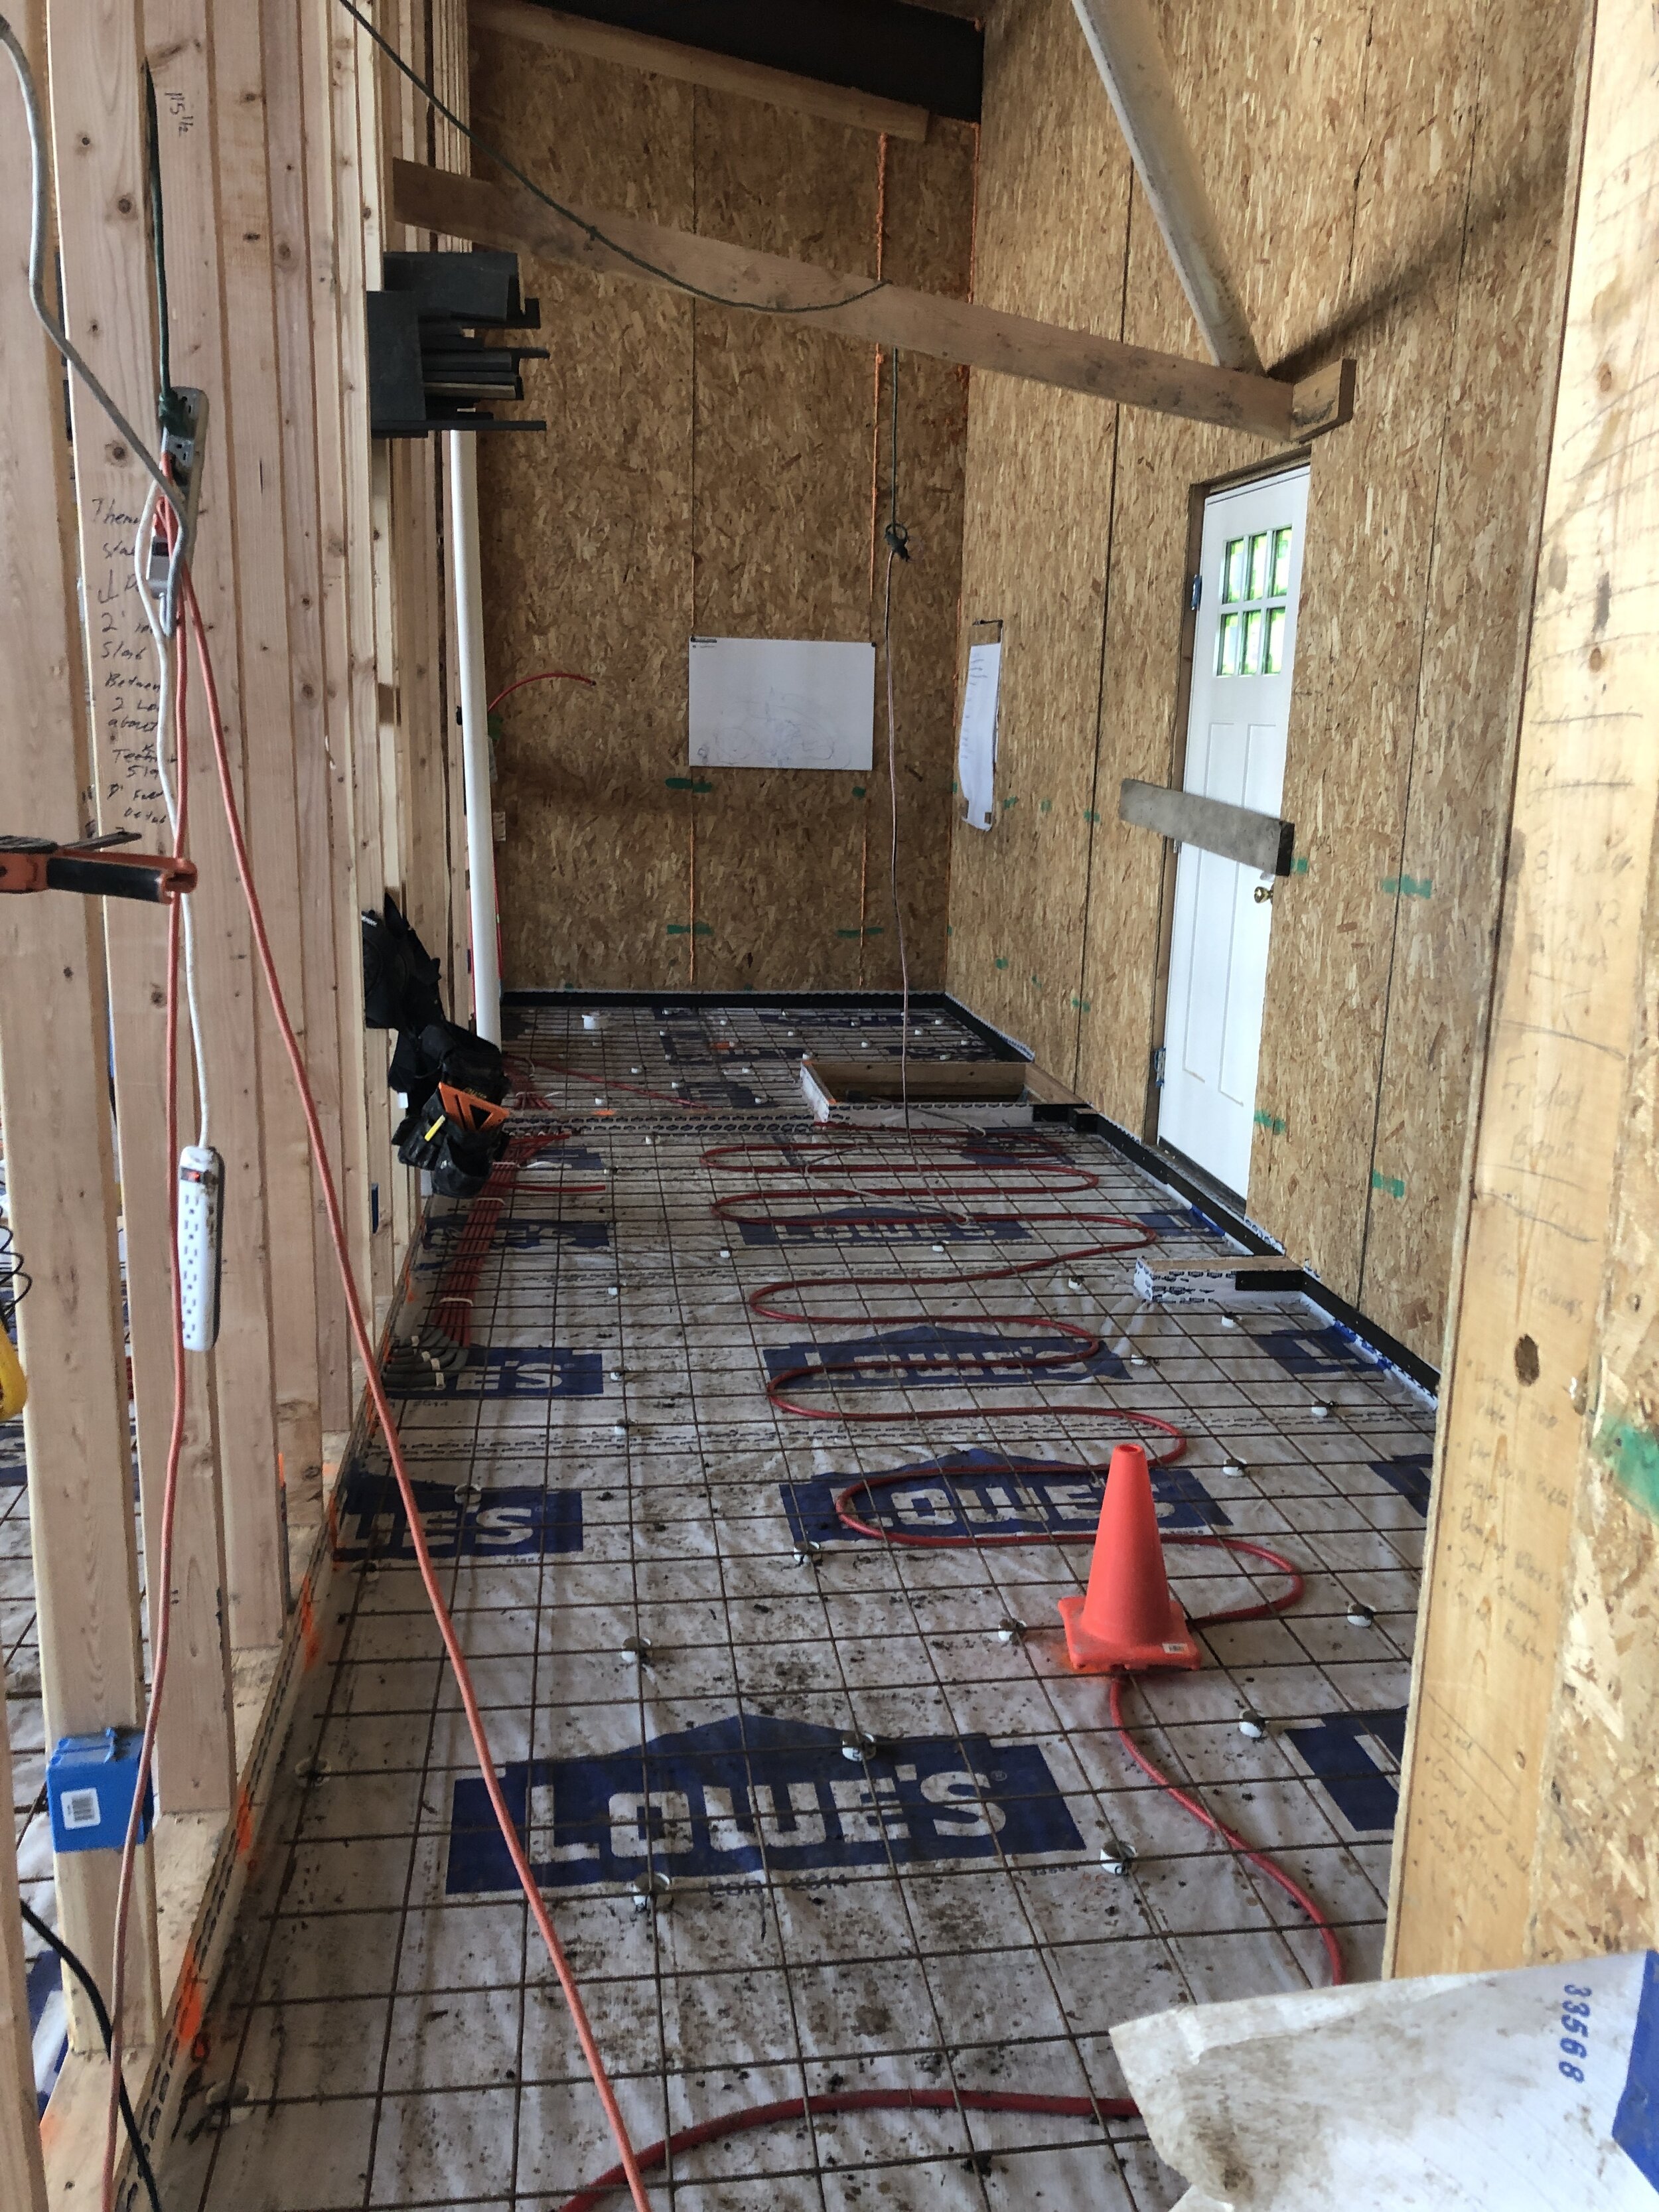
When we left off at our last update, we had just passed a critical inspection, the radiant tubing and wire mesh. Yippee!
That inspection happened on Monday, April 27 and by the end of the week, it was time to pour the floor!

Last look at the radiant tubing and wire mesh before it got covered up!
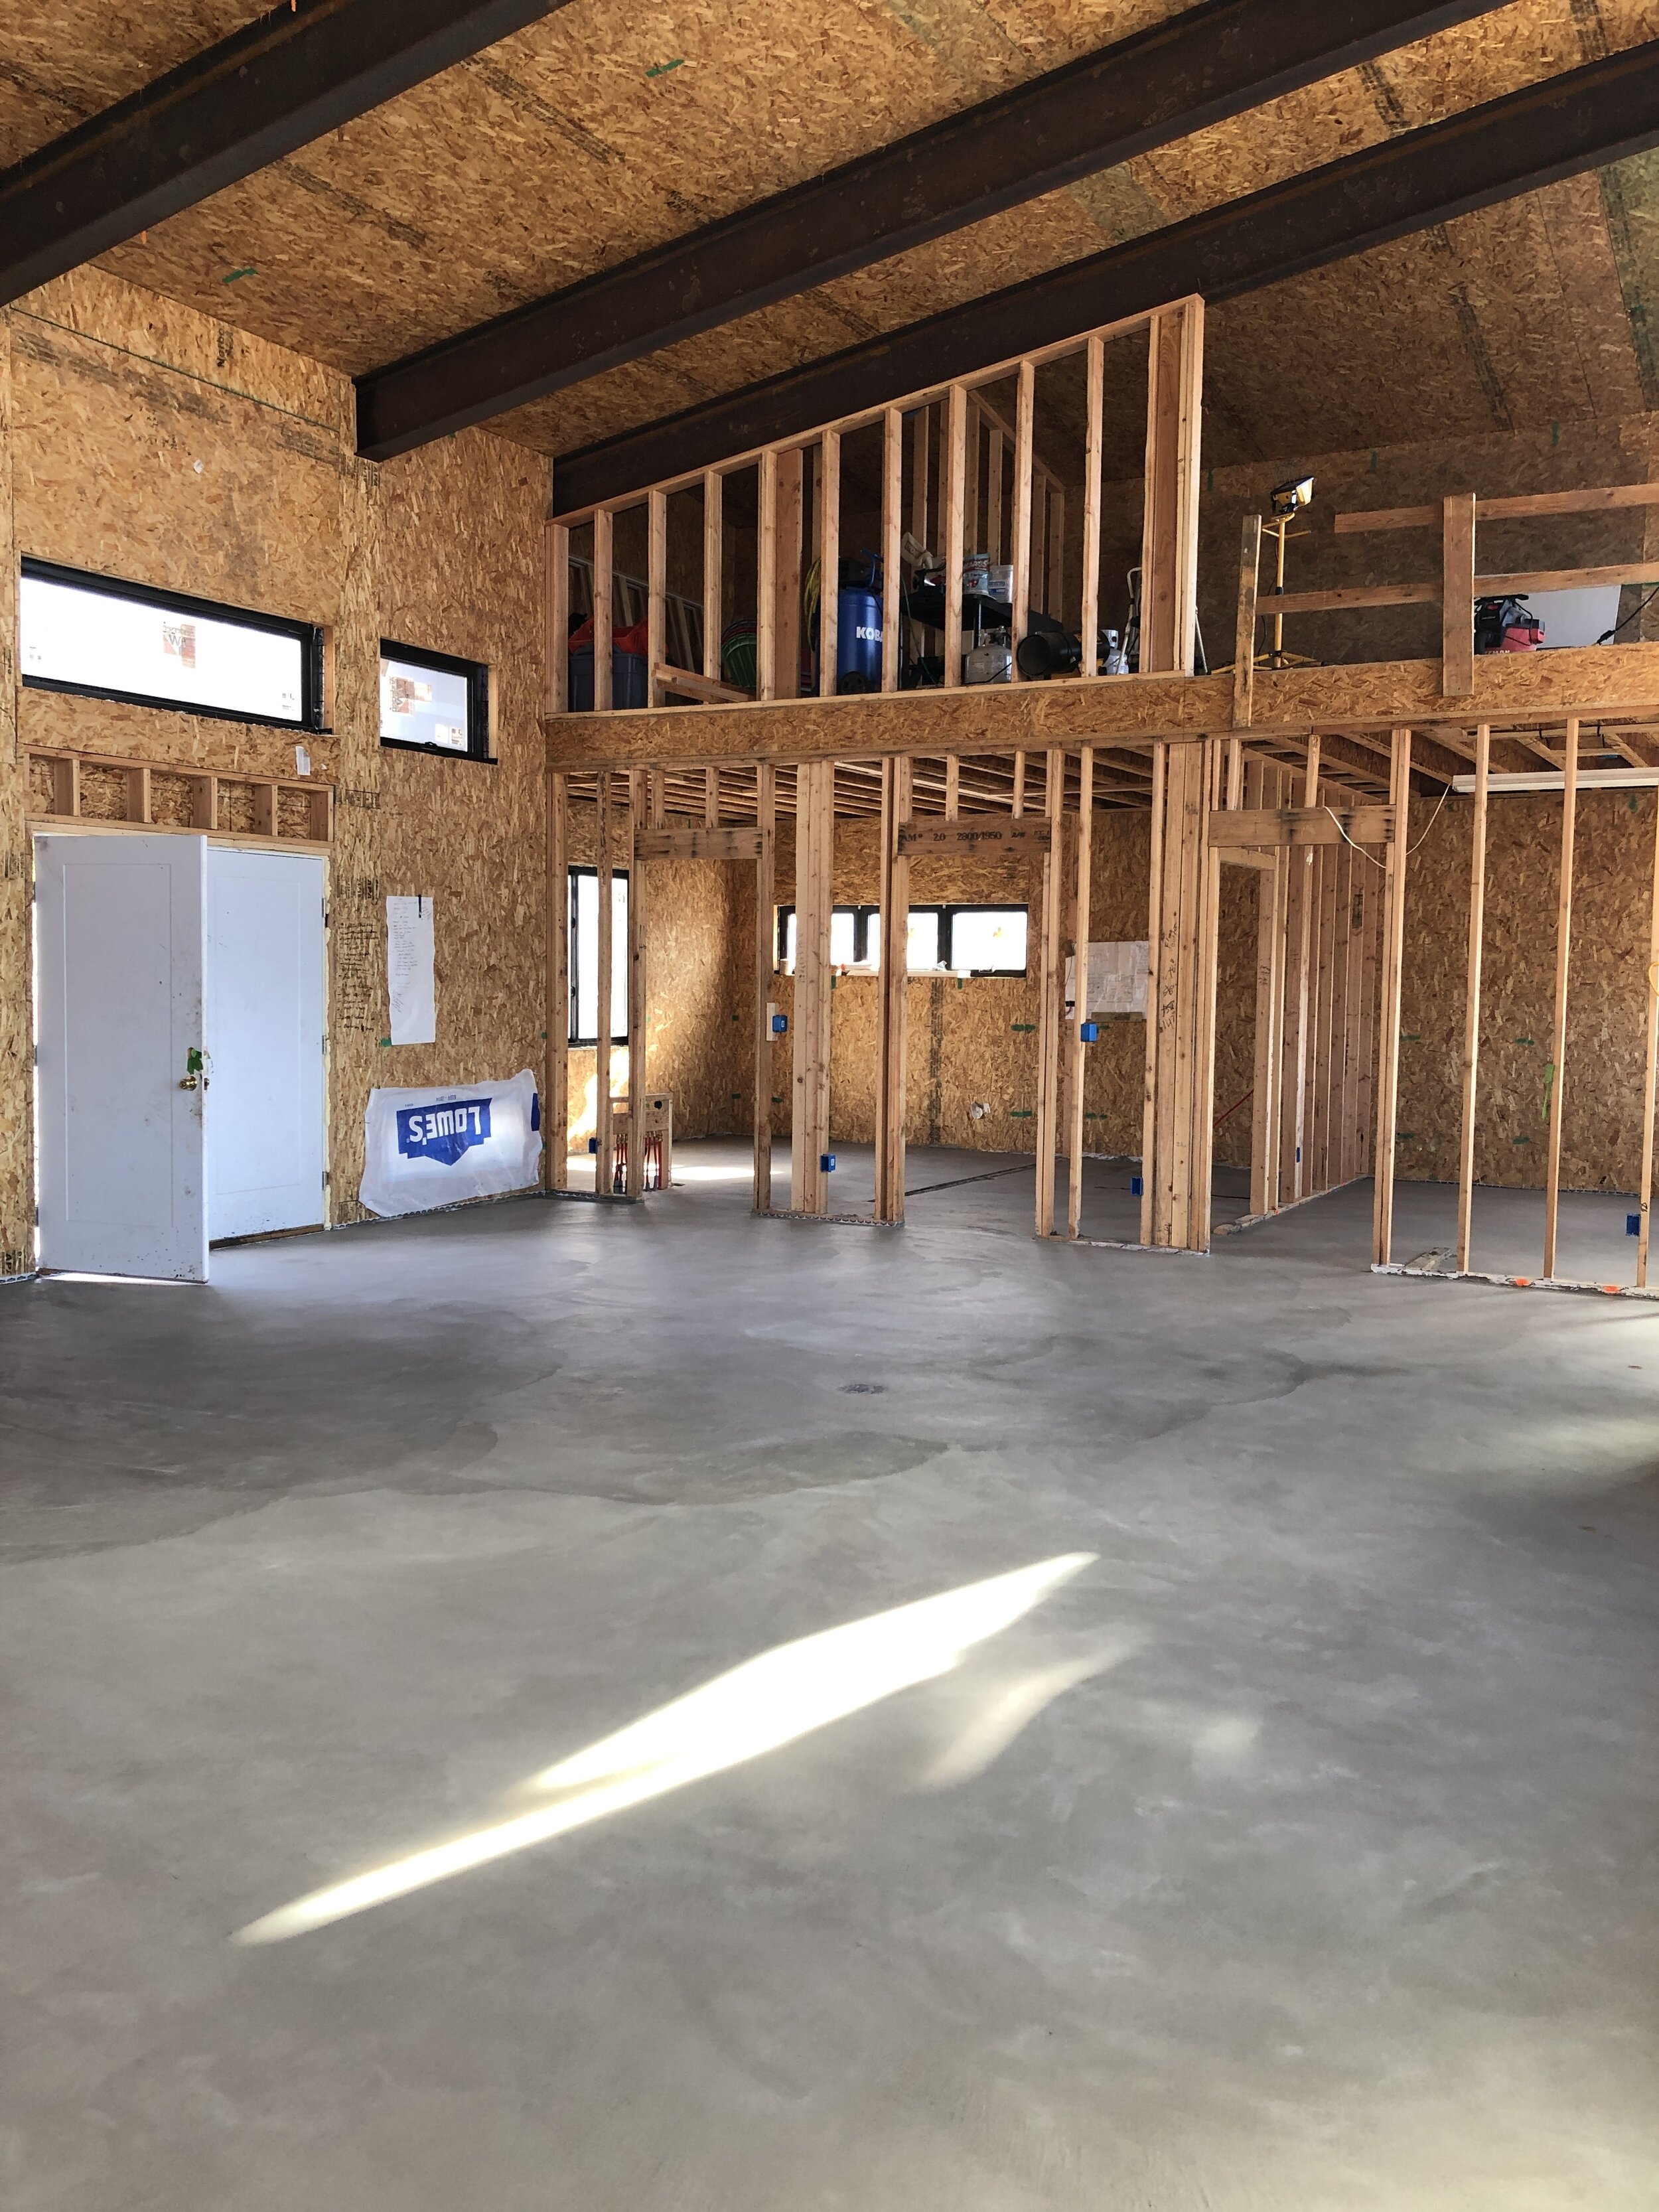
The concrete floor will be our final finished floor, so getting the pour done is a huge deal. And, it allows us to keep moving forward on all of the interior projects. We’ll grind and polish it once we get a bit further along.
When Kelsey gets nervous about things, he quits eating. I tend to have the opposite reaction. So, for nearly two days before we poured the floor, he worked super long hours to get all of the final prep work done, skipping meals along the way. He installed more expansion joints along walls and corners, got the holes for the deck footers dugout, and did a ton of cleaning to get as much dirt and dust up from the vapor barrier below the radiant tubing.

Getting the deck footers + rebar ready!
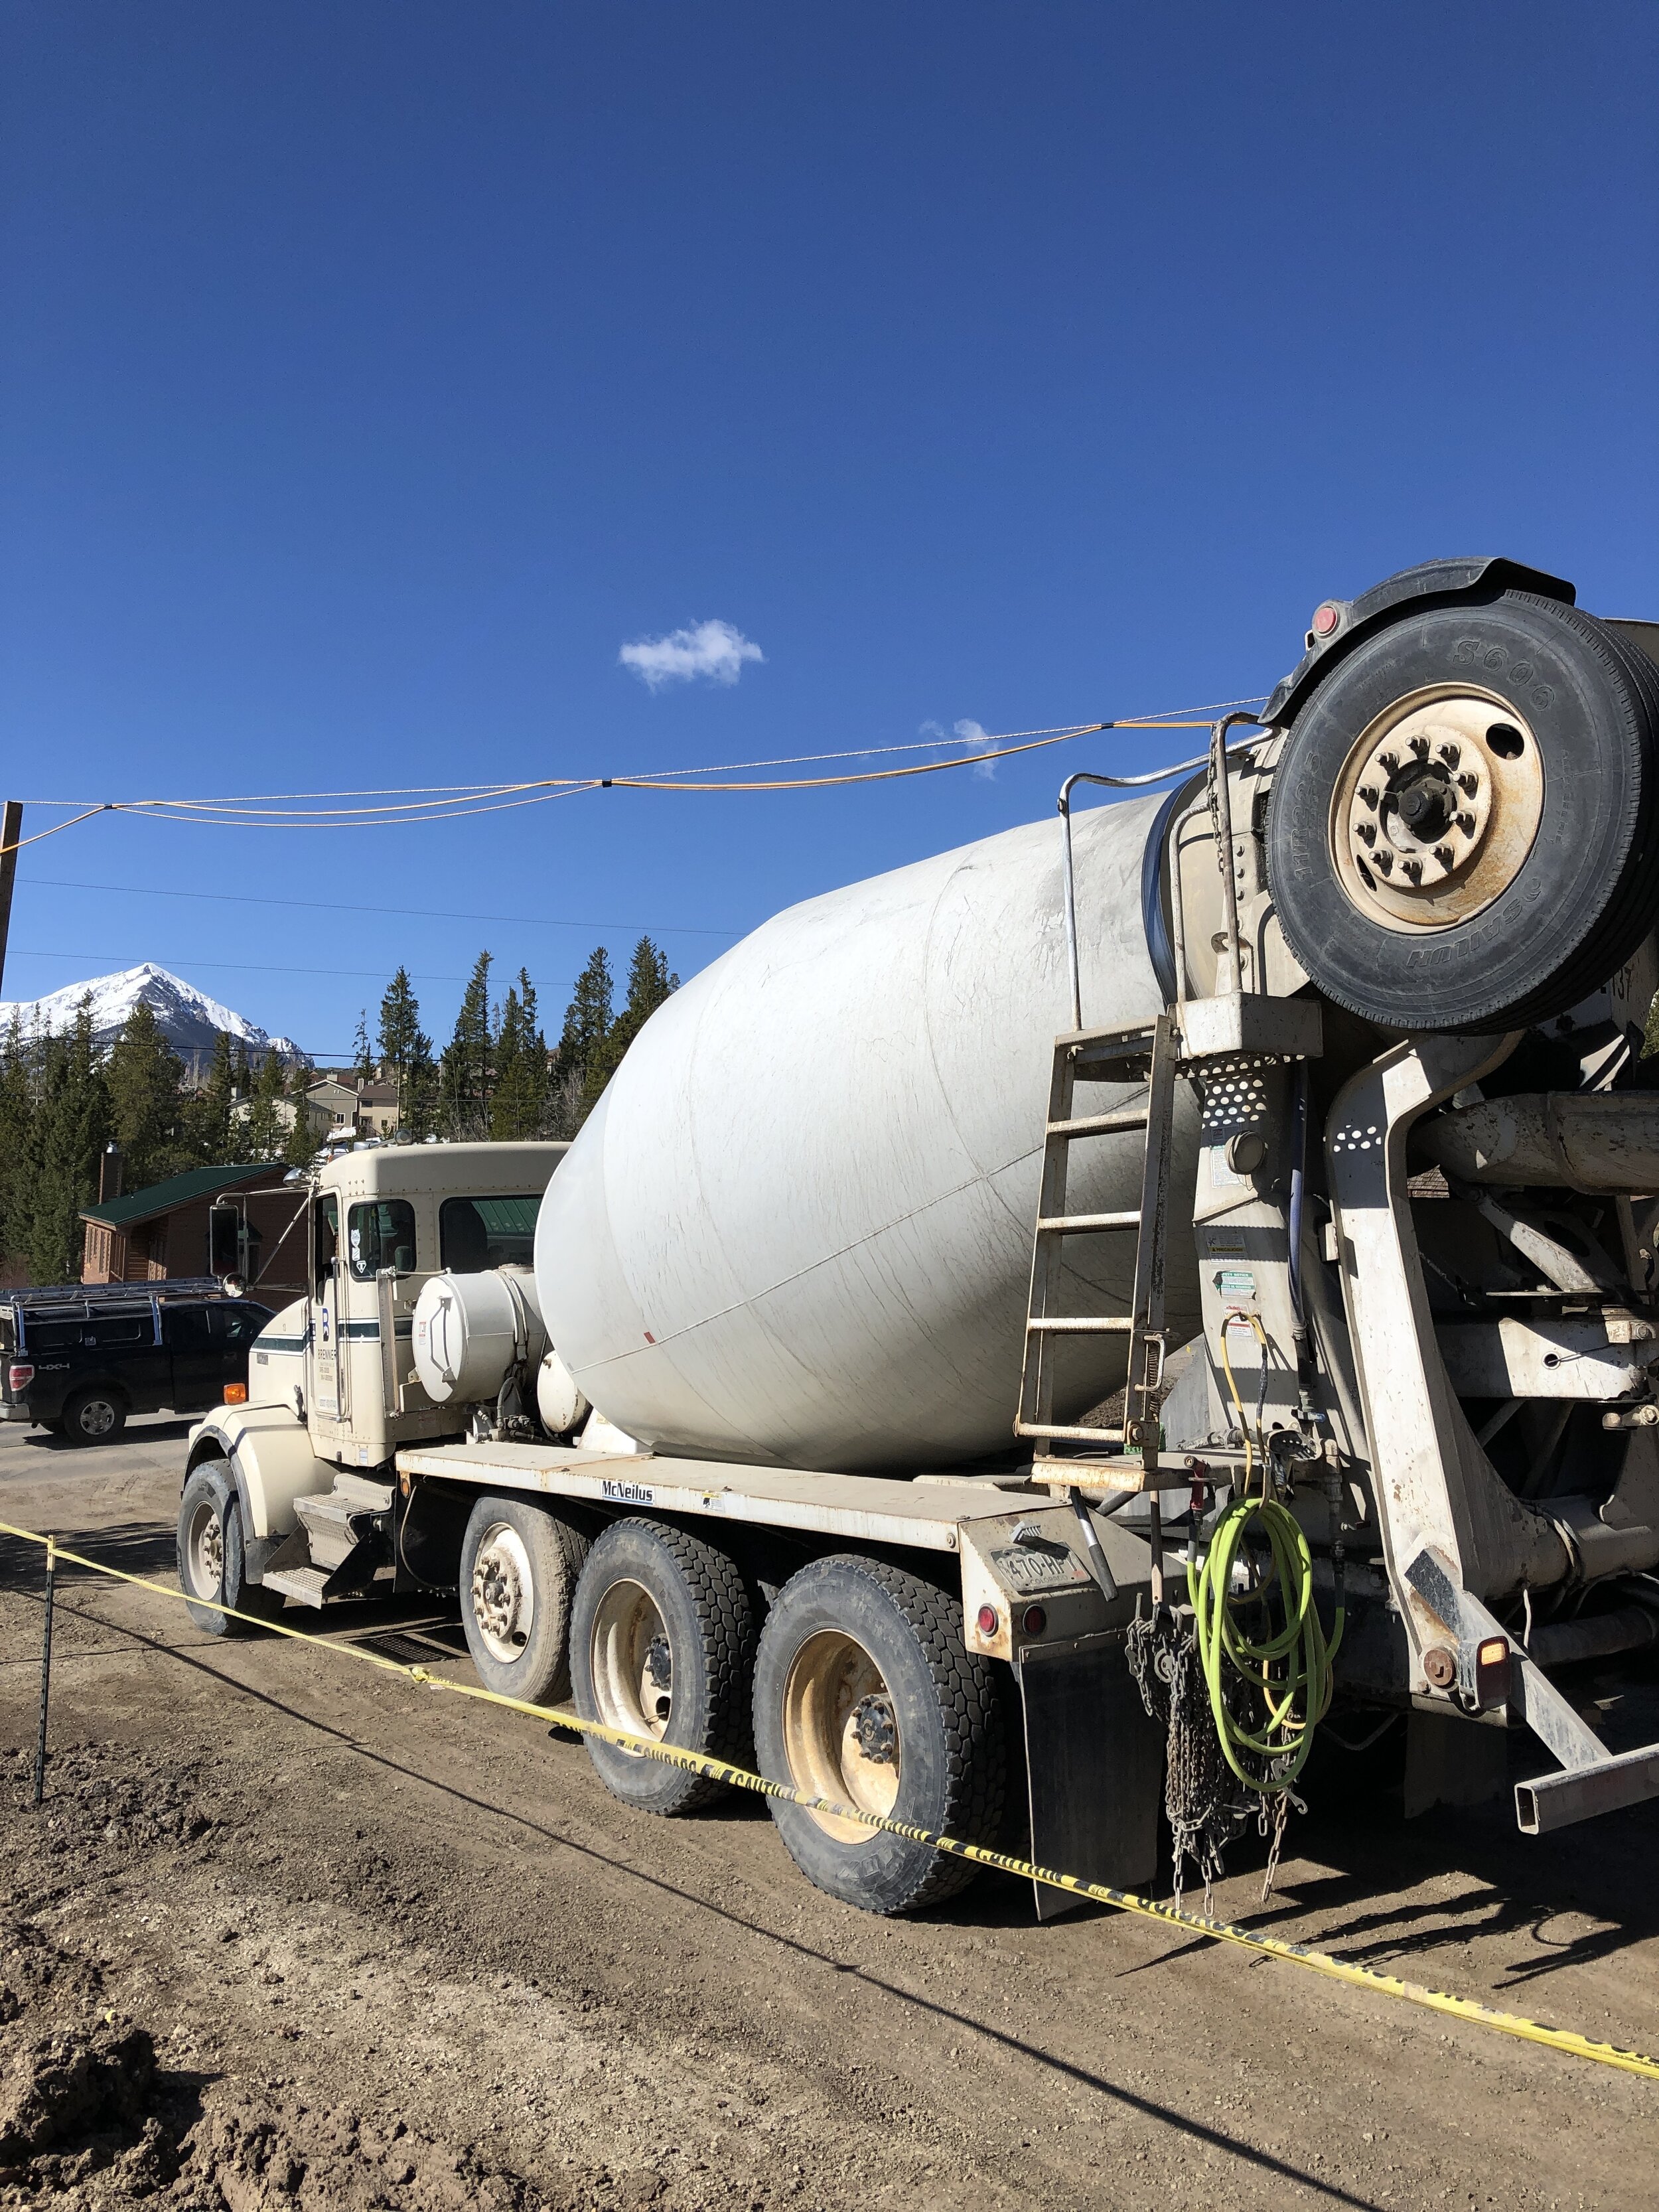
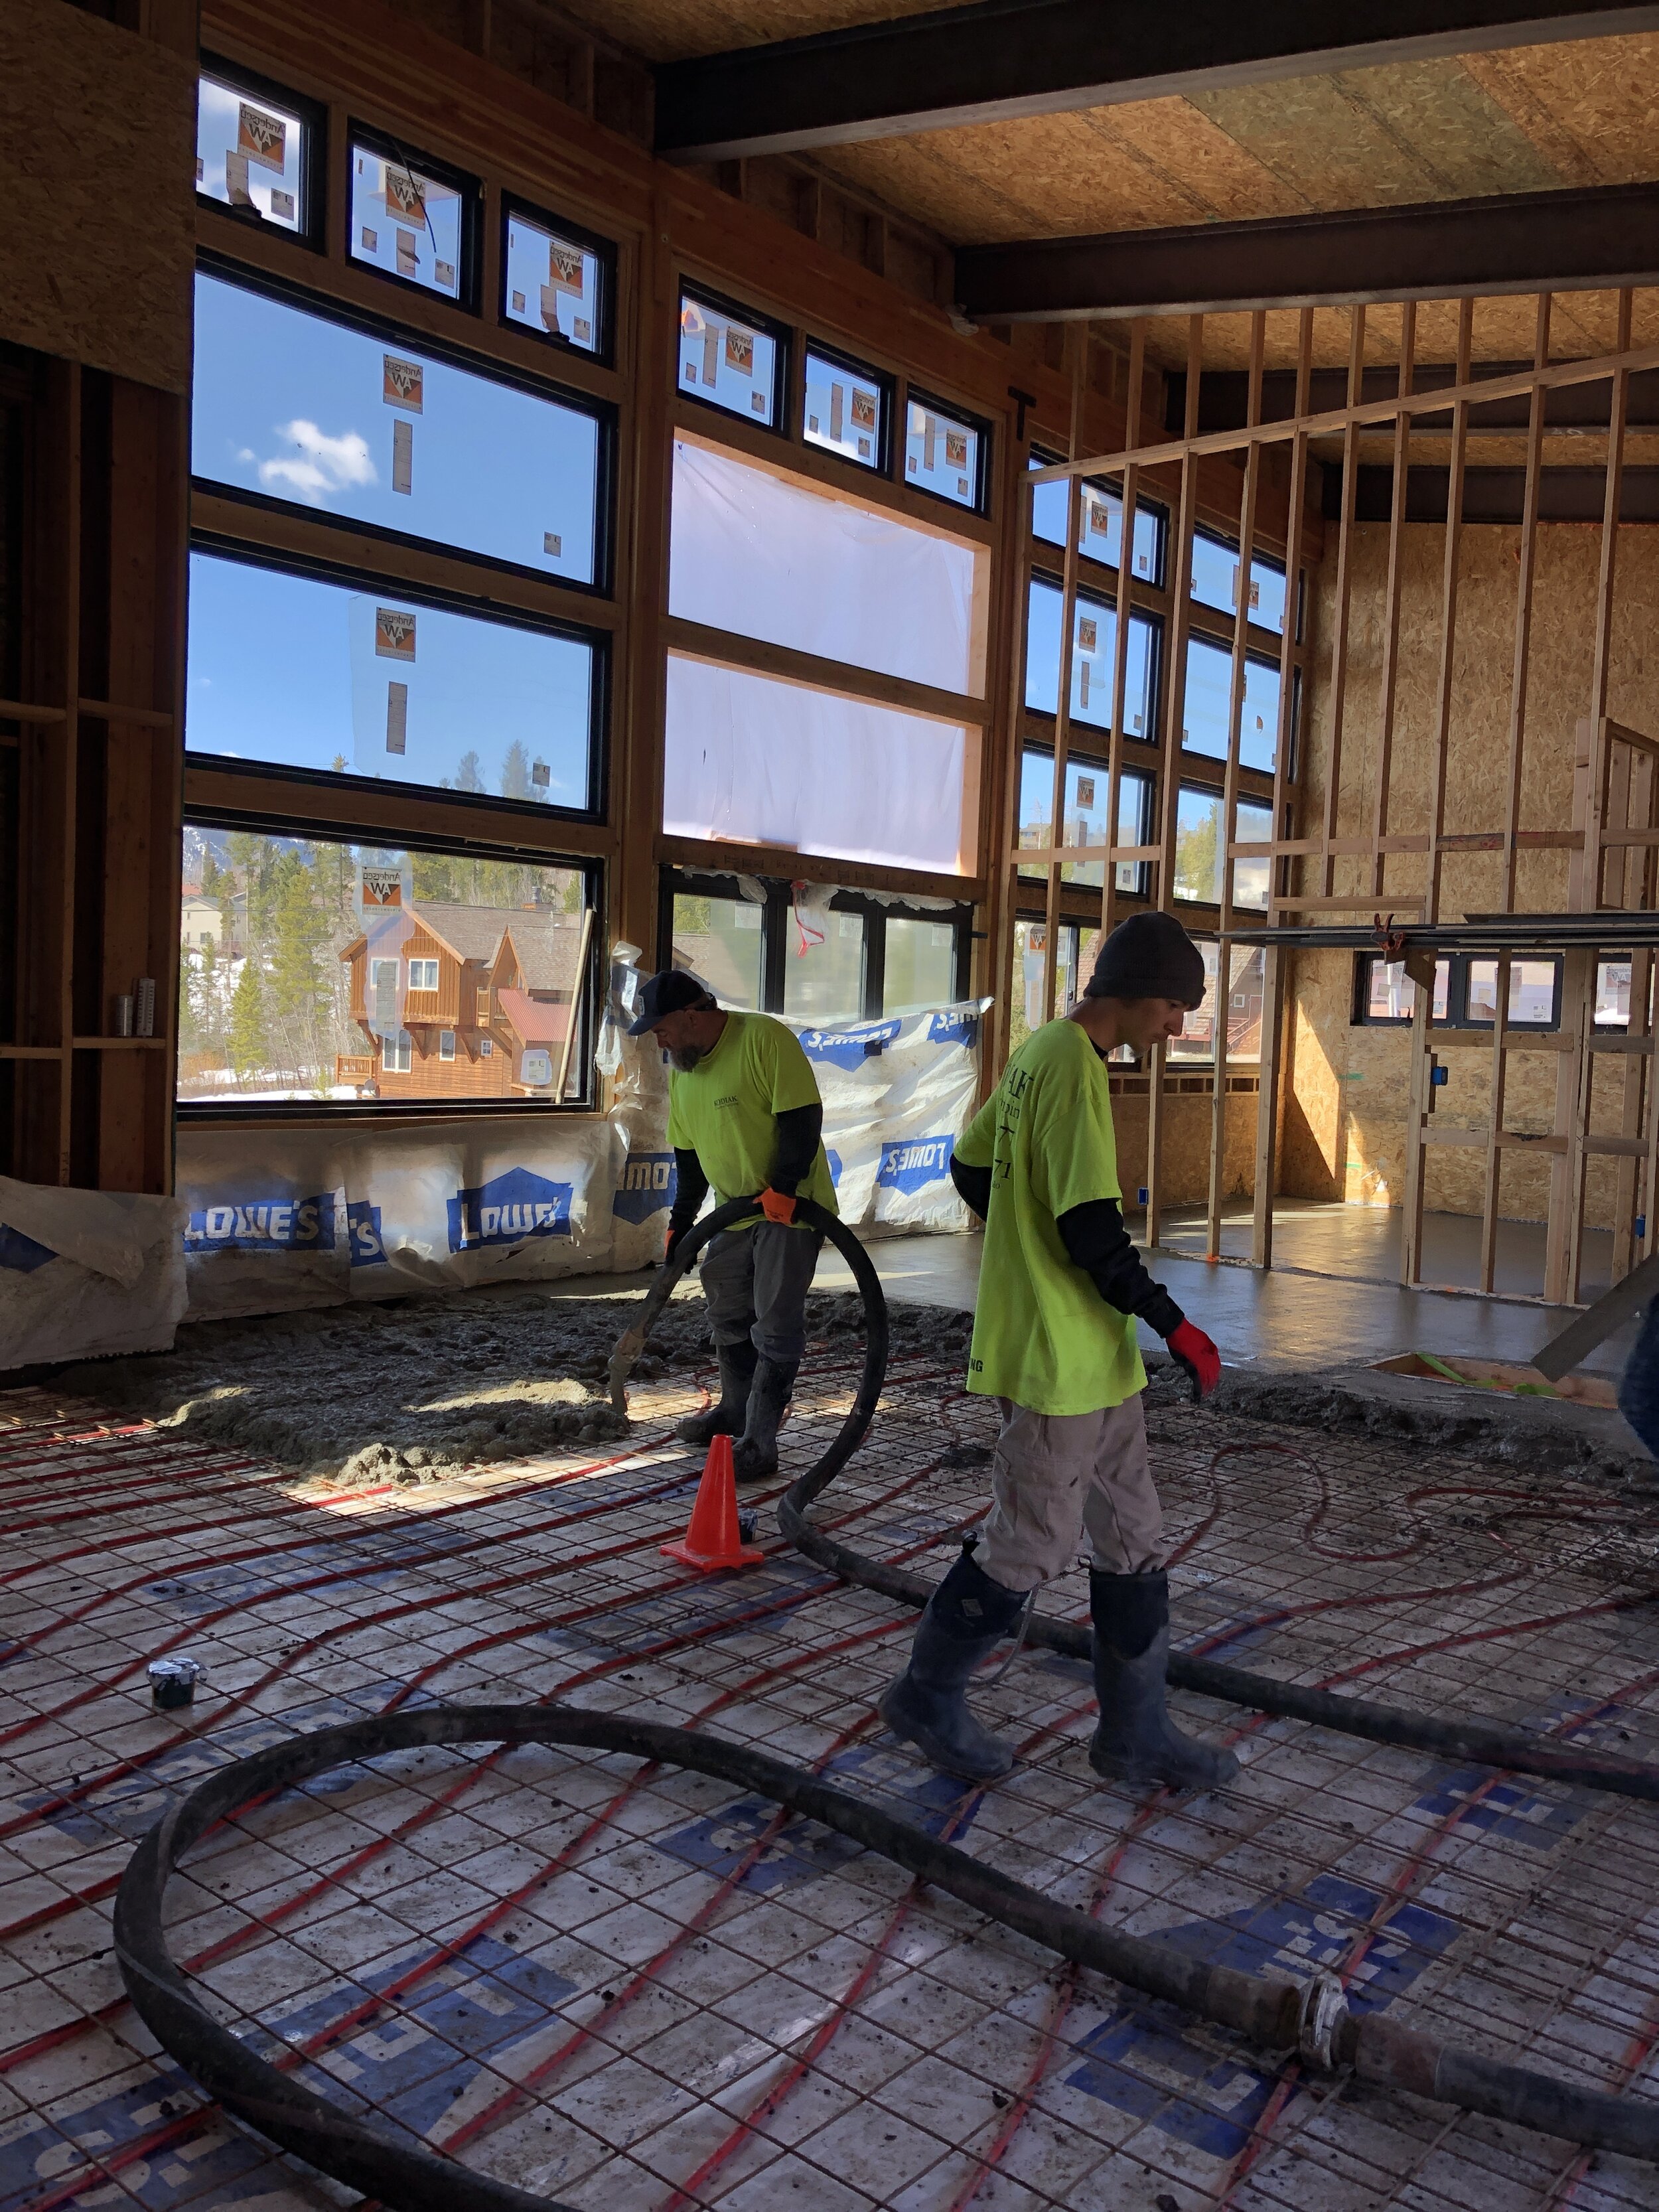
Friday, May 1 rolled around and it was time to pour! The concrete pumper arrived, the finish crew was there, and then the big concrete truck arrived. Everything worked as planned and the team was efficient and fast.

Bluebird day to pour our floor!
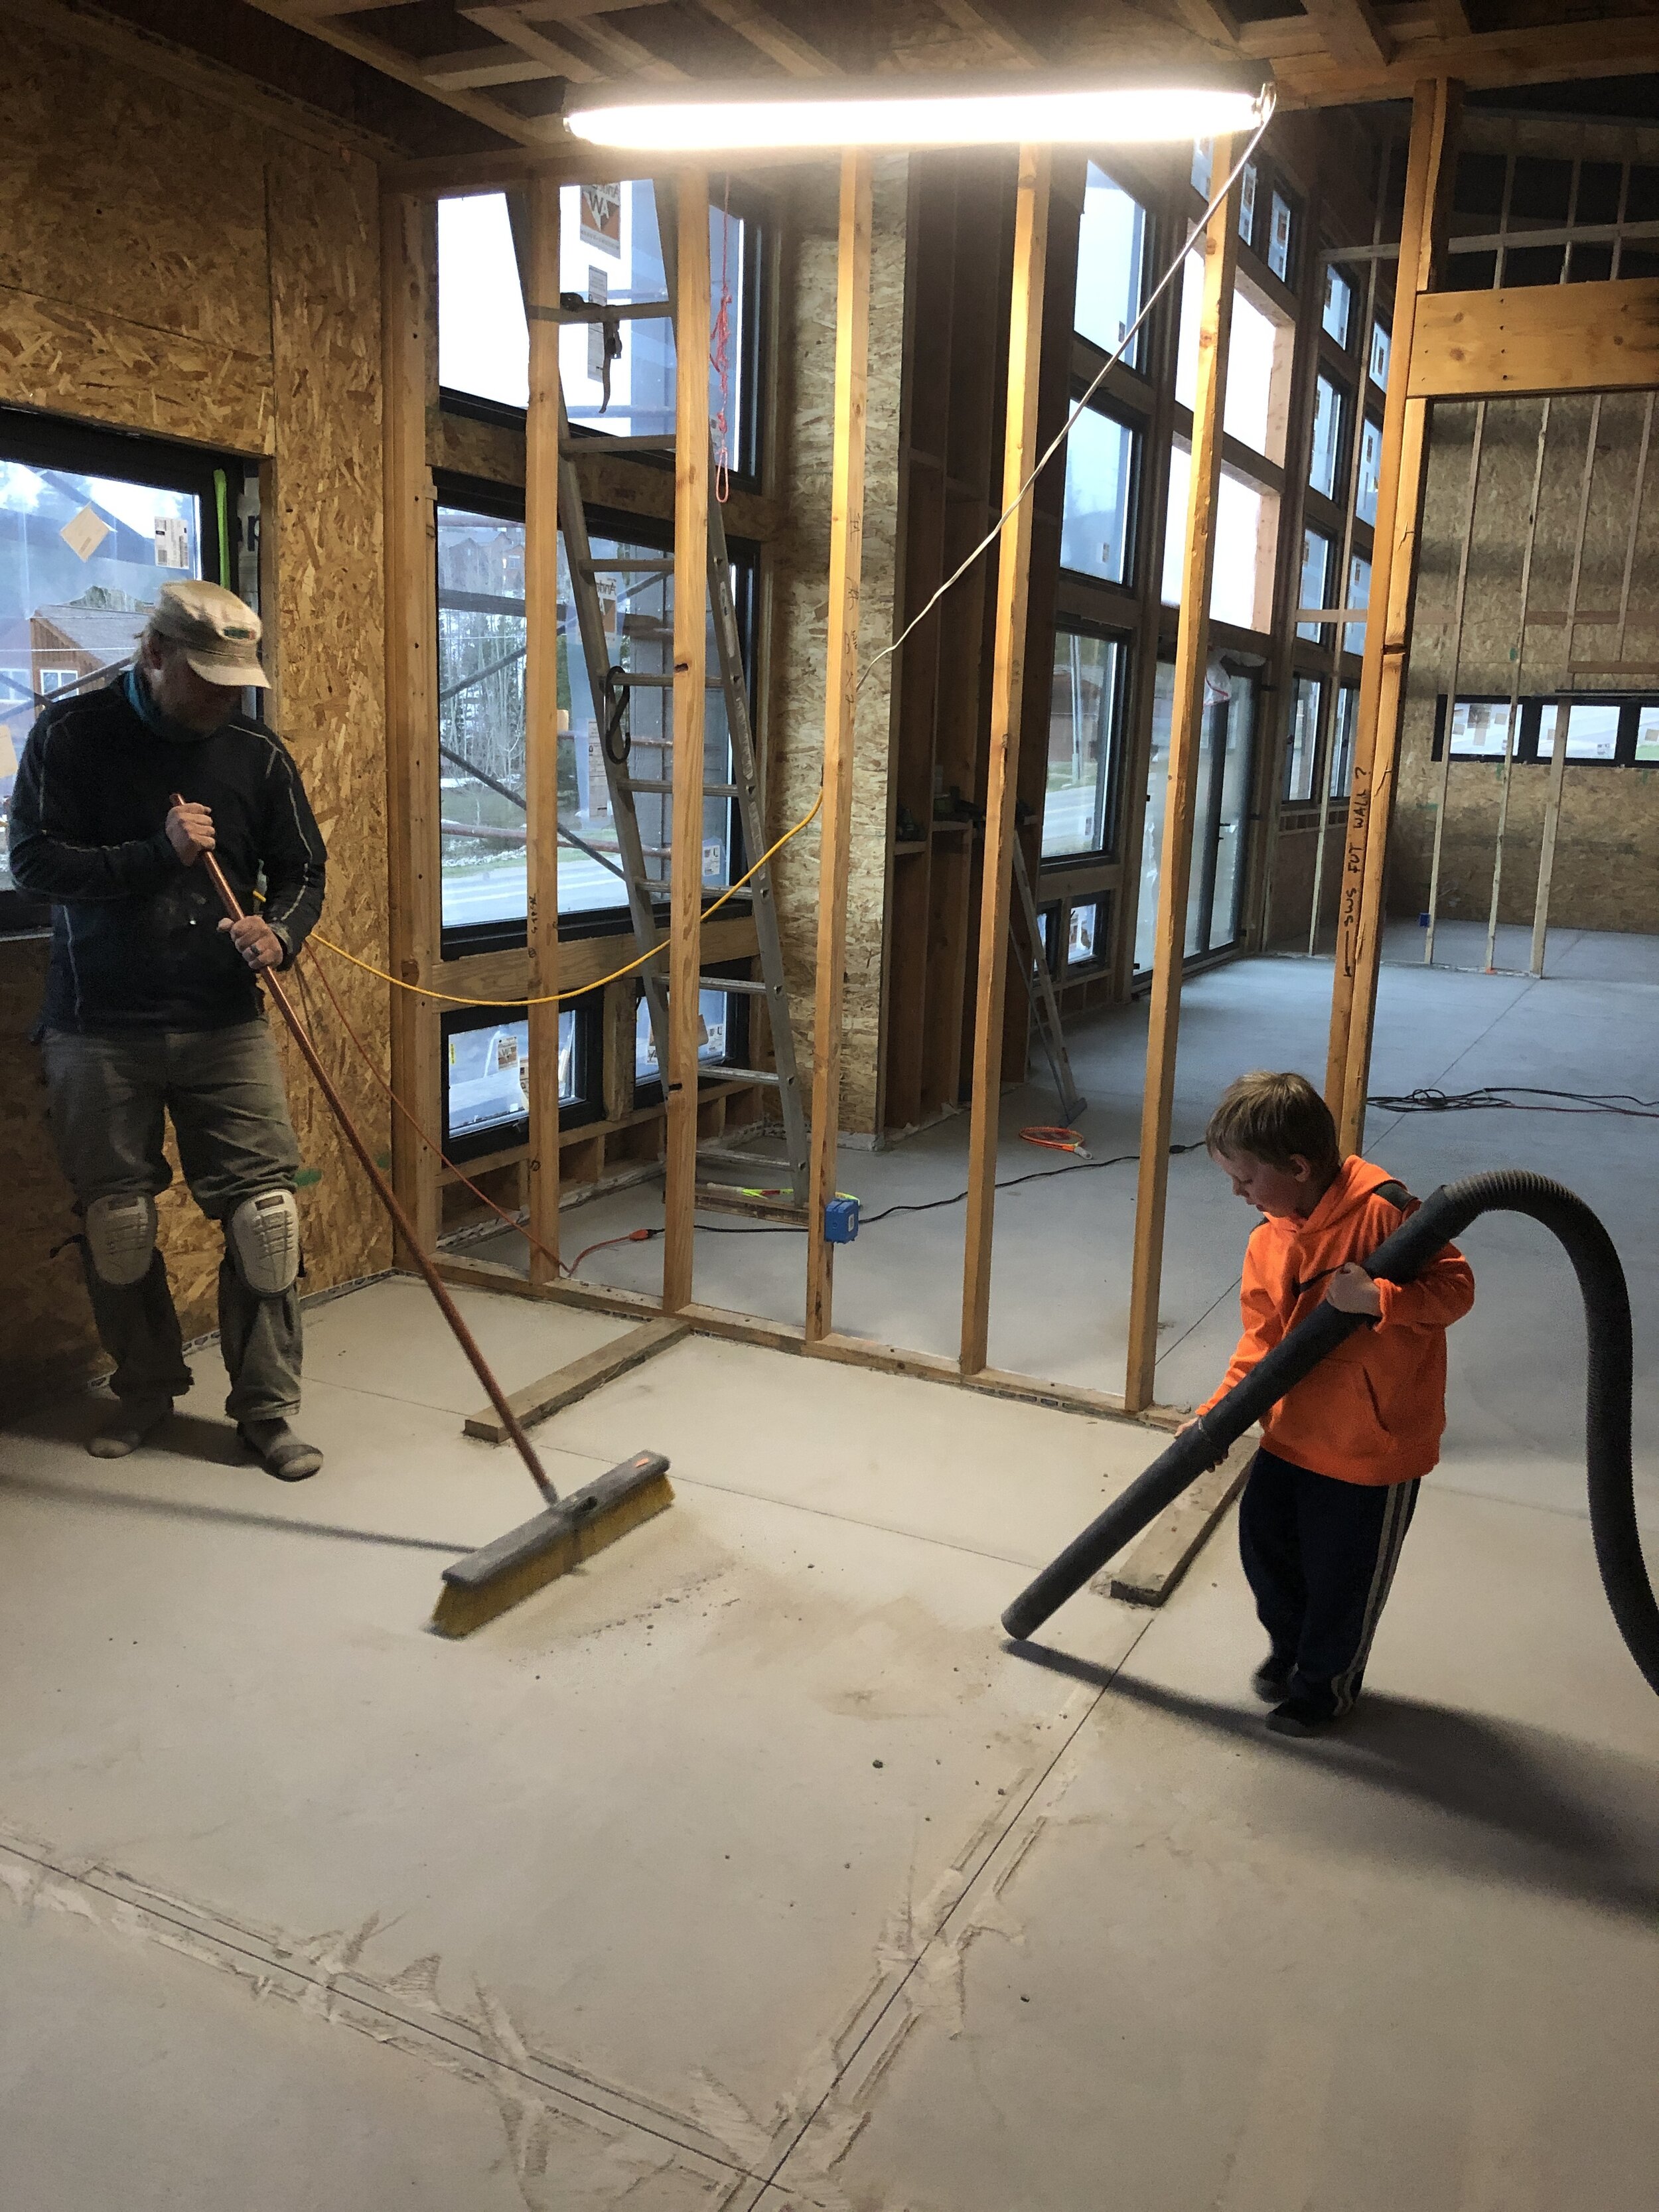
The kids loved watching the crew work and it was fun to have them on-site to witness such an important milestone process.

Team Orange watching the concrete floor go in.
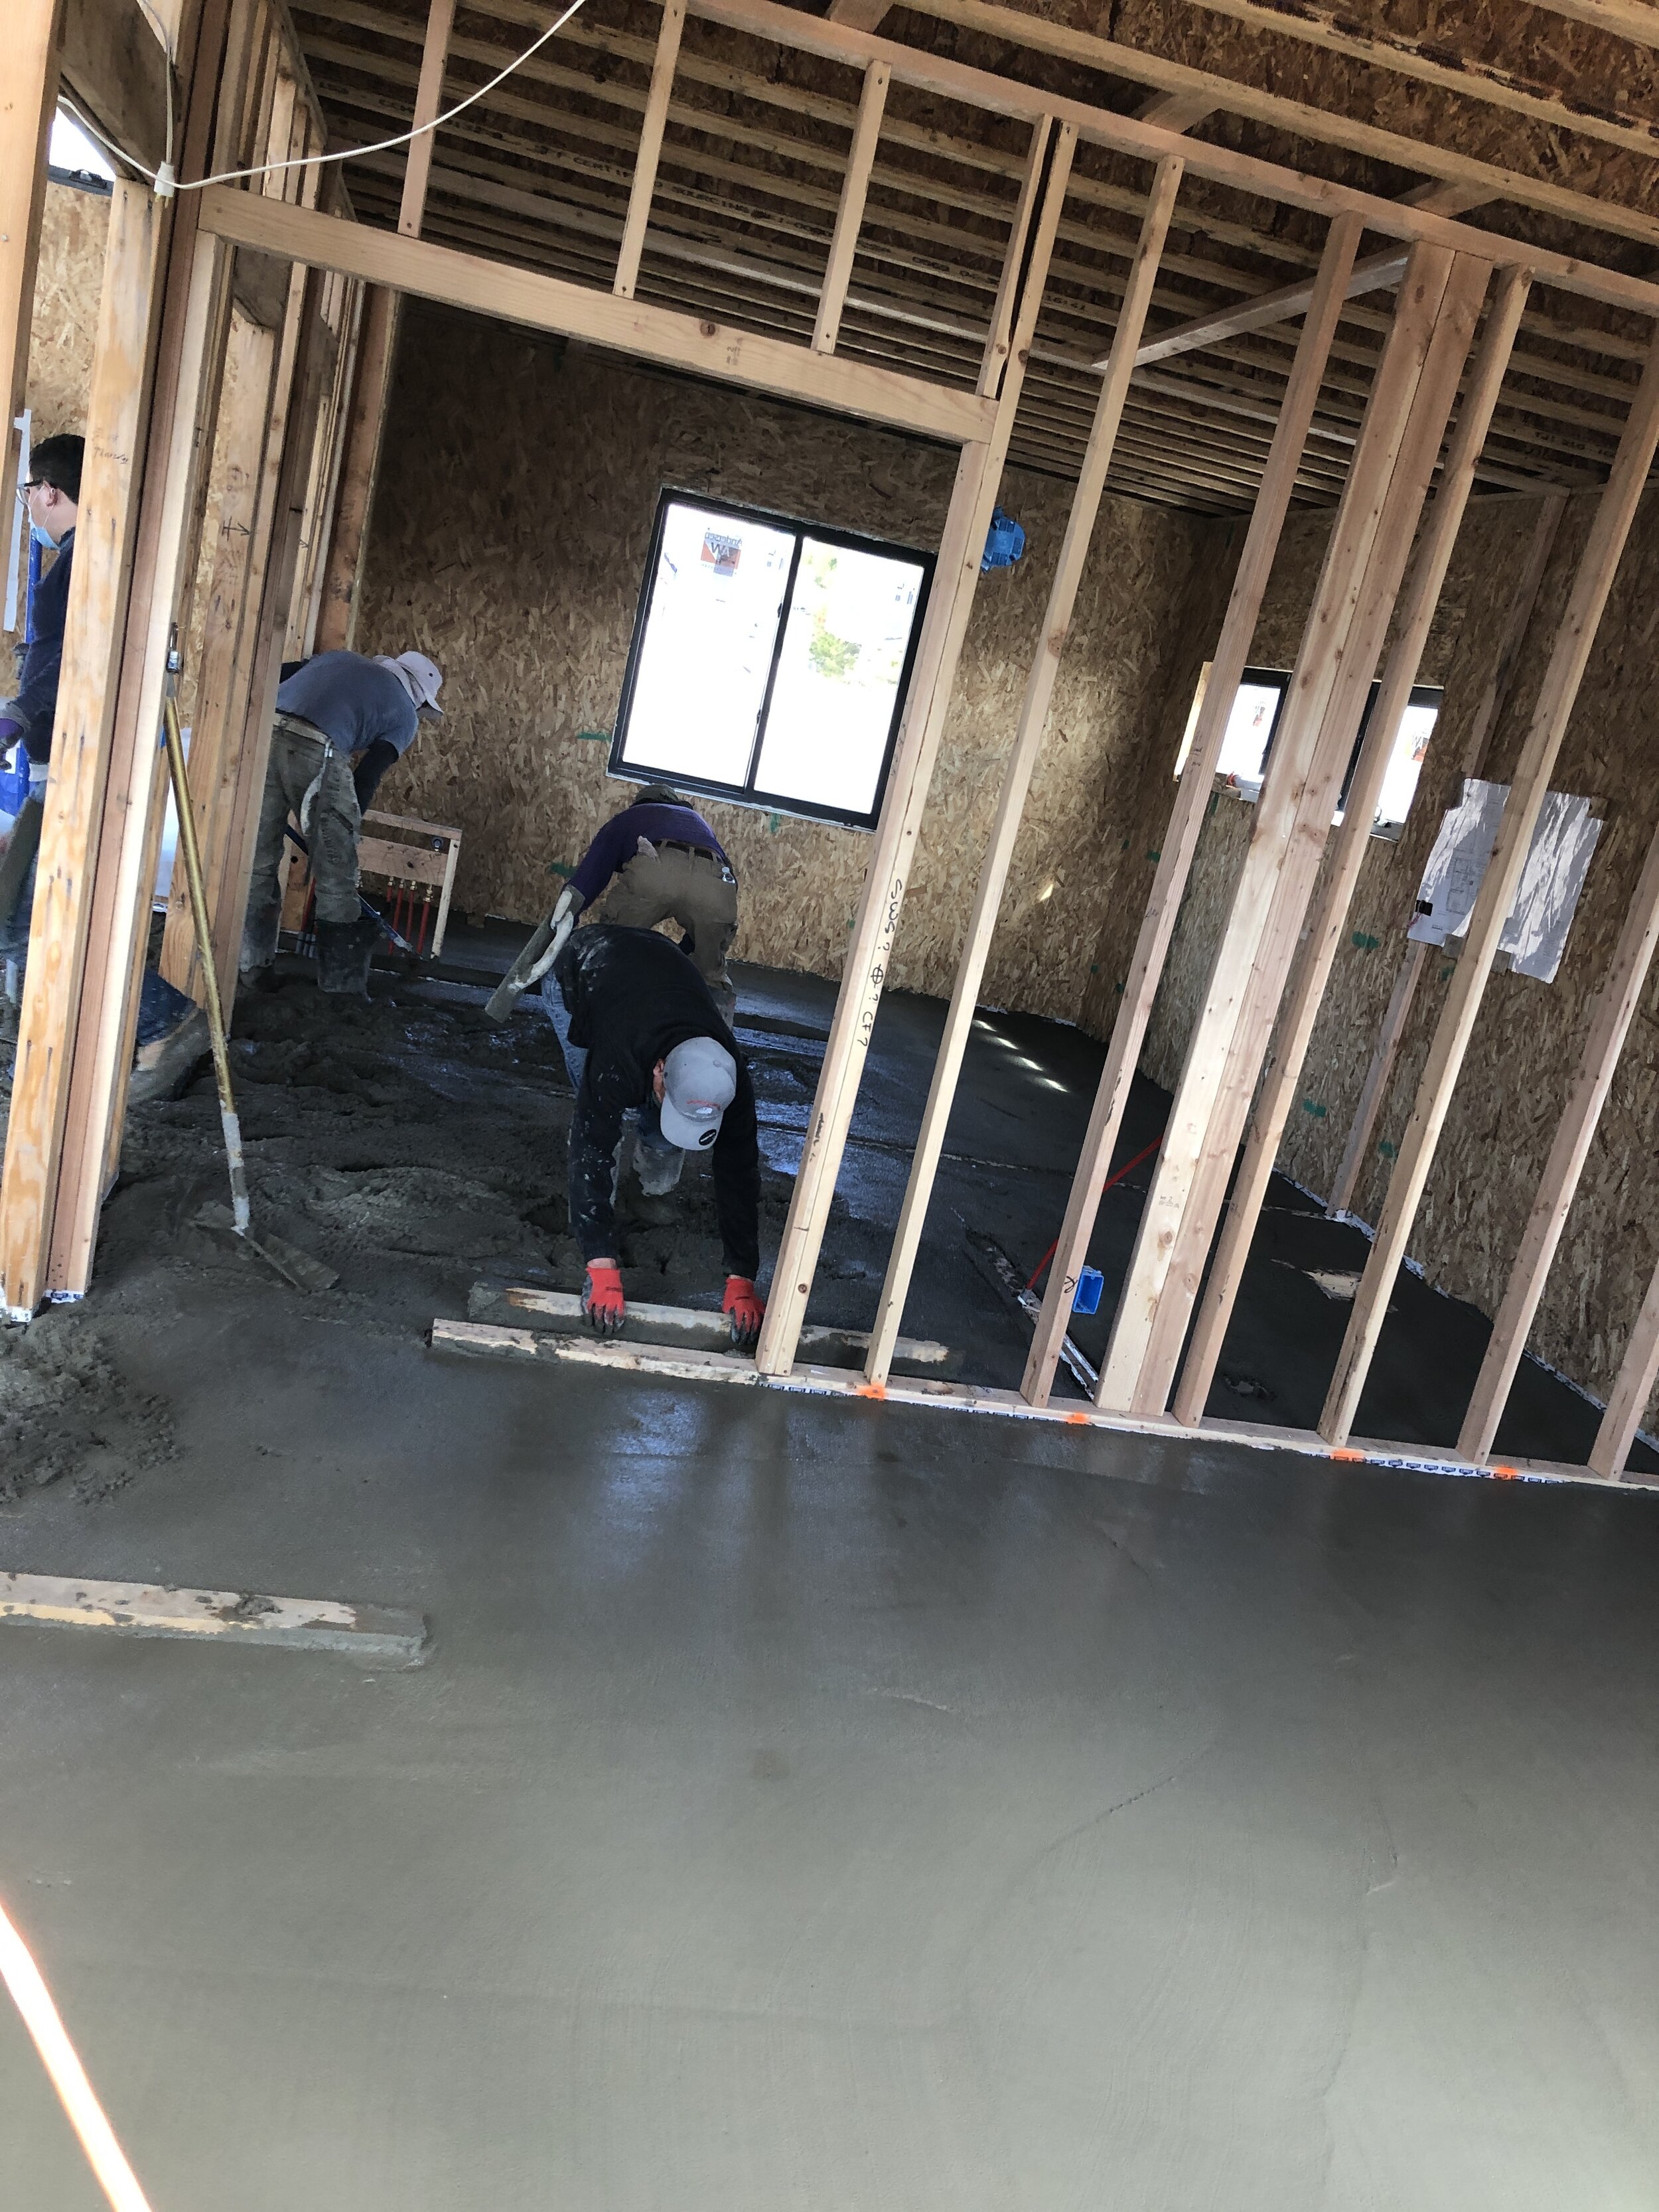
We had about 1800 square feet to pour and they finished it all up by early afternoon.

Boys room, bathroom and guest room concrete going in. We were watching from scaffolding outside.

Looking toward the mudroom and kitchen.
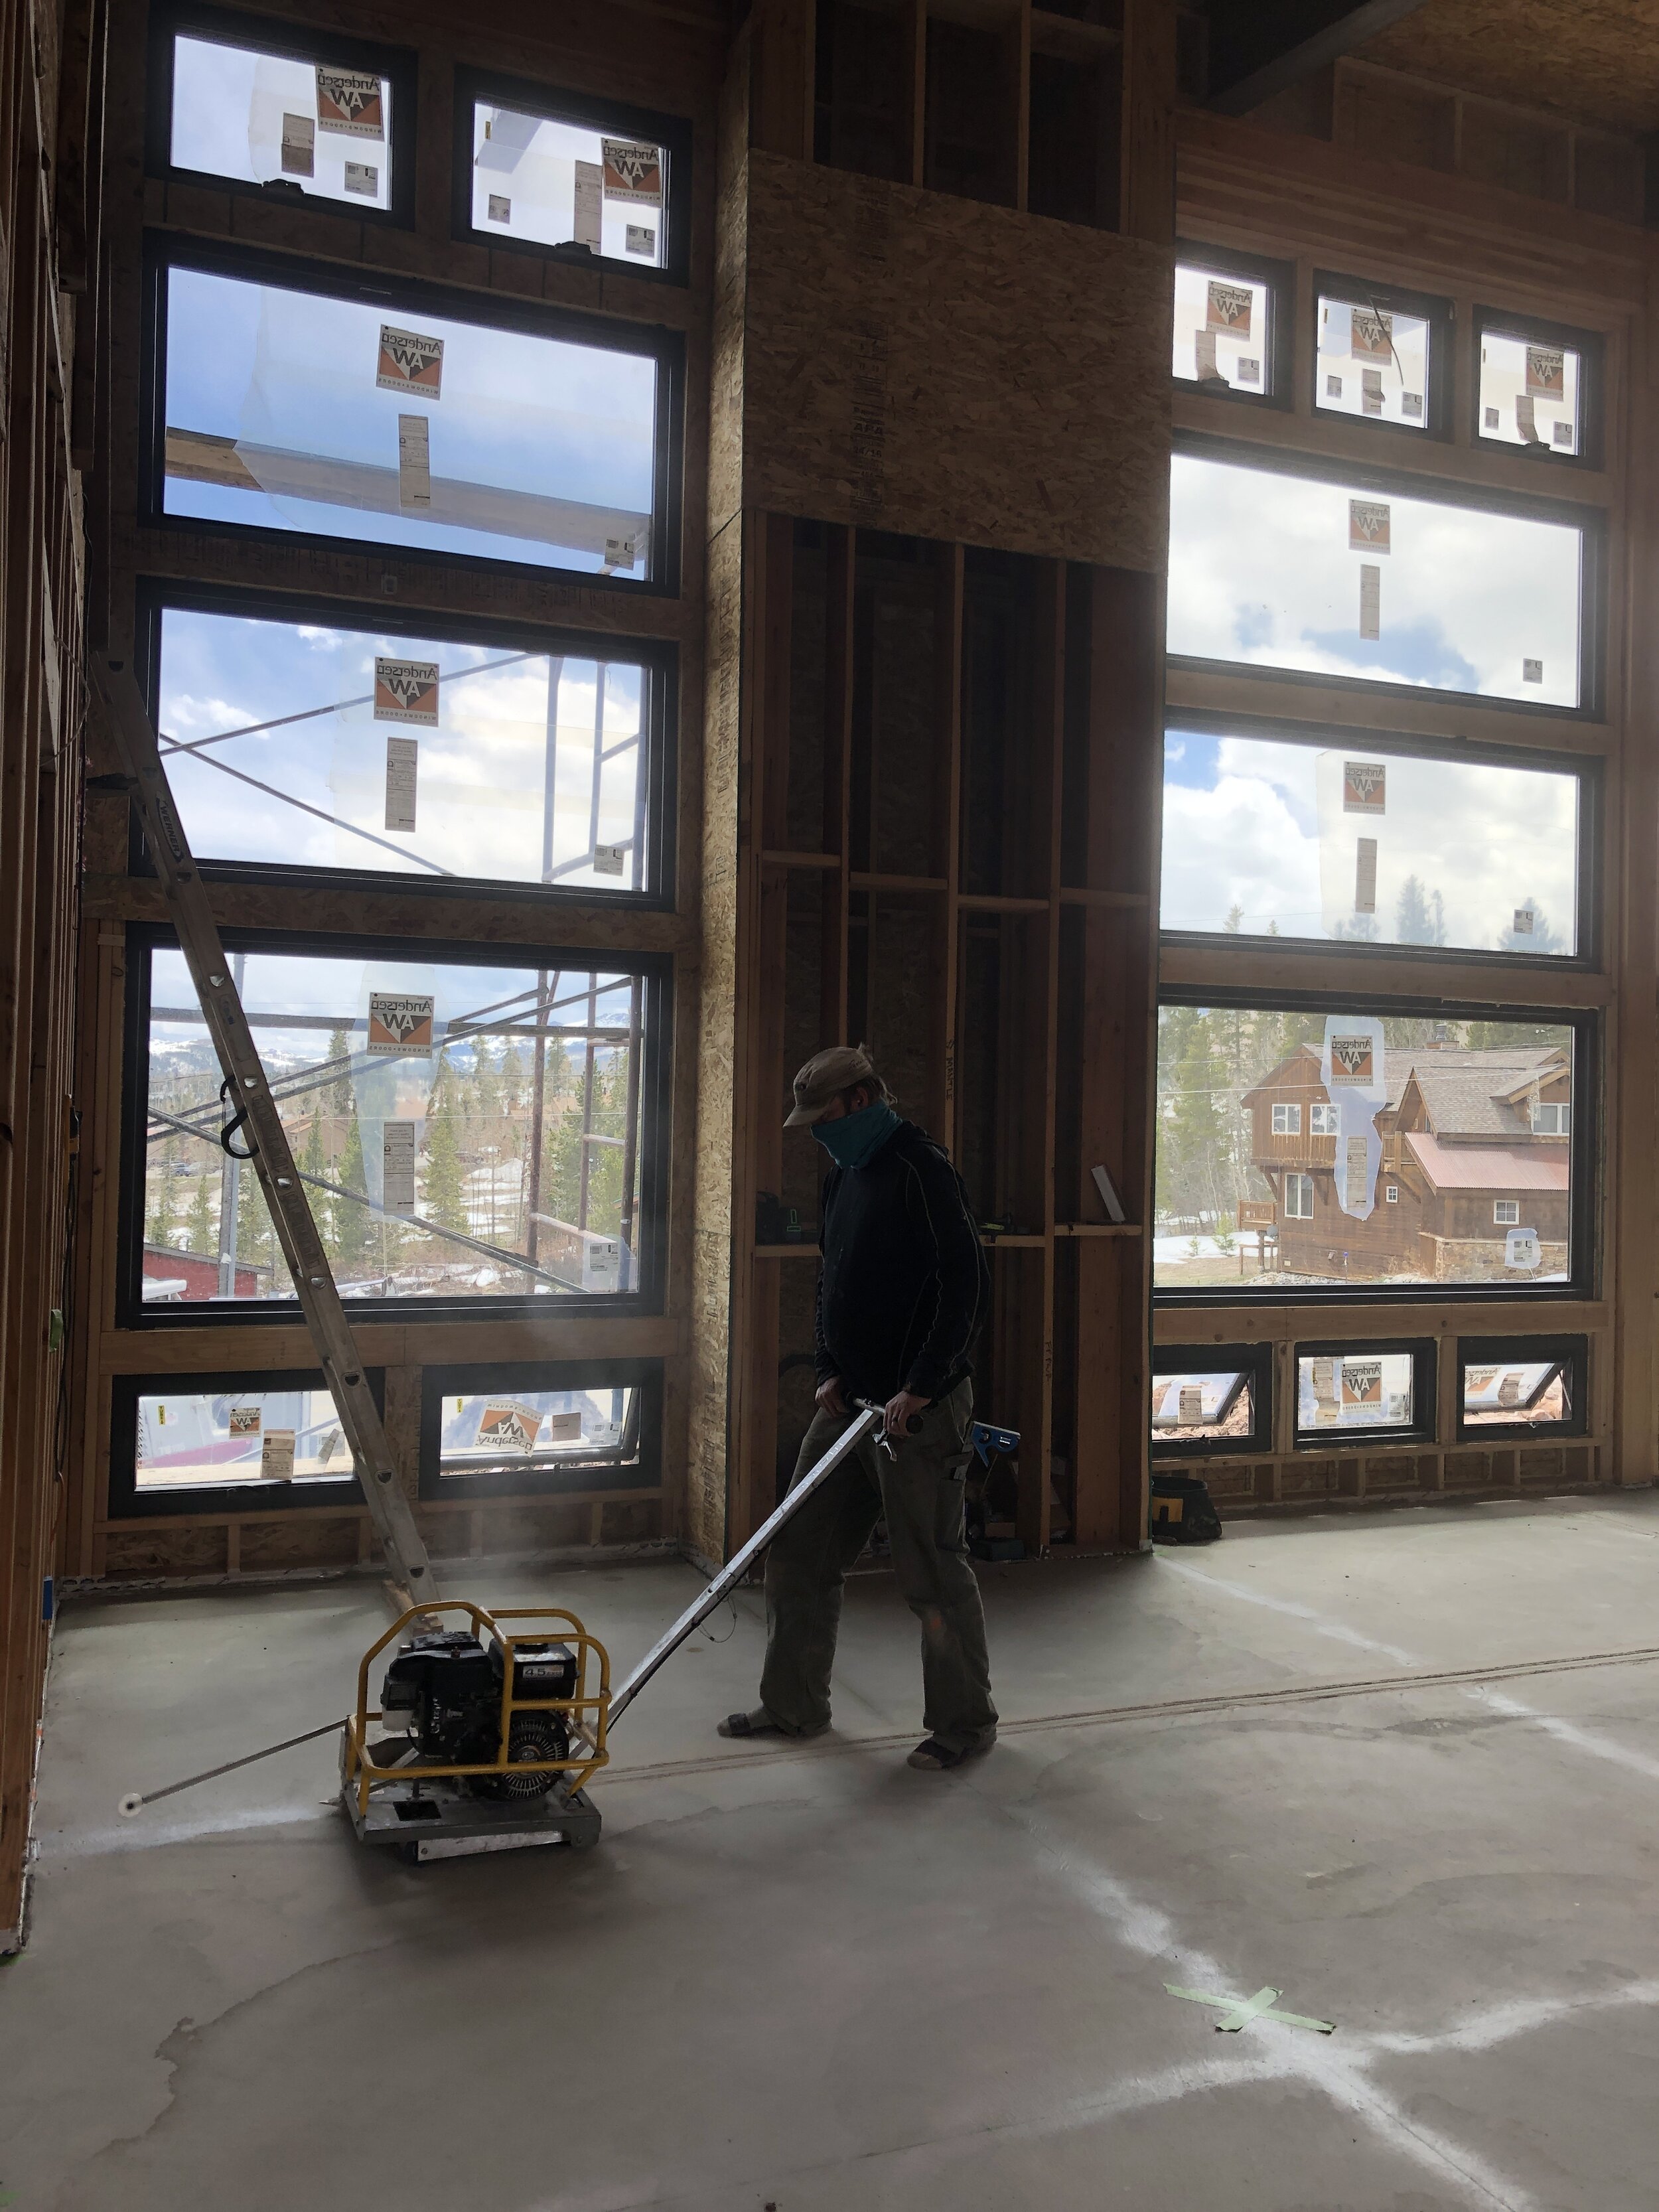
The next morning it was time to cut the expansion joints. Ideally, this is done 12-24 hours after the concrete is poured. This is not to be confused with the expansion joint fibrous material that we installed along walls and corners, these are the actual cuts in the floor to minimize cracking. Ideally, there is a cut in a grid pattern no more than 75 square feet. We decided to err on the side of caution and do it in basically 8x8 grid (64 sq. feet). The areas most prone to cracking are along doorways and corners, so we set up our grid along these critical spots. Kelsey borrowed a saw from our buddy Bill and we worked to get it all mapped out. Using a laser, black chalk line (won’t stain the concrete like blue/orange/red chalk), and tape measures, we got it all marked for cutting. After we snapped the chalk line we sprayed some clear spray paint over the line. This way when the saw goes over it, the chalk doesn’t get blown away. Thanks for the pro tip, Bill!

Cutting the expansion joint for the master closet. The concrete was still curing, so no shoes allowed!
The saw was set to cut a .6 inch cut, or 20% of our 3 inch floor. We definitely didn’t want cut the radiant tubing!
Cutting the expansion joints took the majority of the day on Saturday. We’re thankful that Mom was able to hang with the boys and keep them occupied while we got this done.

Cutting the joint that will start near the kitchen island and go across to the boys’ bedroom/bathroom
Before we could finish the final interior framing, we needed to install the bathtub in the boys’ bathroom. We had thought about doing a tub and then tiling the walls, but to help save a bit of money, time, and to make the tub as easy to clean as possible, we went with a one-piece system.

The whole family is here to haul this gal inside! Not too heavy, but definitely awkward!

Fun fact - Mom and Dad have a similar photo of me and my brother when they were building our family home in 1991-92!
We got the tub on sale at Home Depot (we paid $700 for it) a few months ago and compared to some of the one-piece tubs of old, it’s got a clean and modern look to it! We installed drywall behind, installed the drain and overflow, placed mortar below the tub to help make it very sturdy underfoot, and got it settled in plum and level!

First, drywall behind the tub before installation.

Had to hold the tub up while the guys were messing with the drain/mortar.

Drain and overflow glued in!
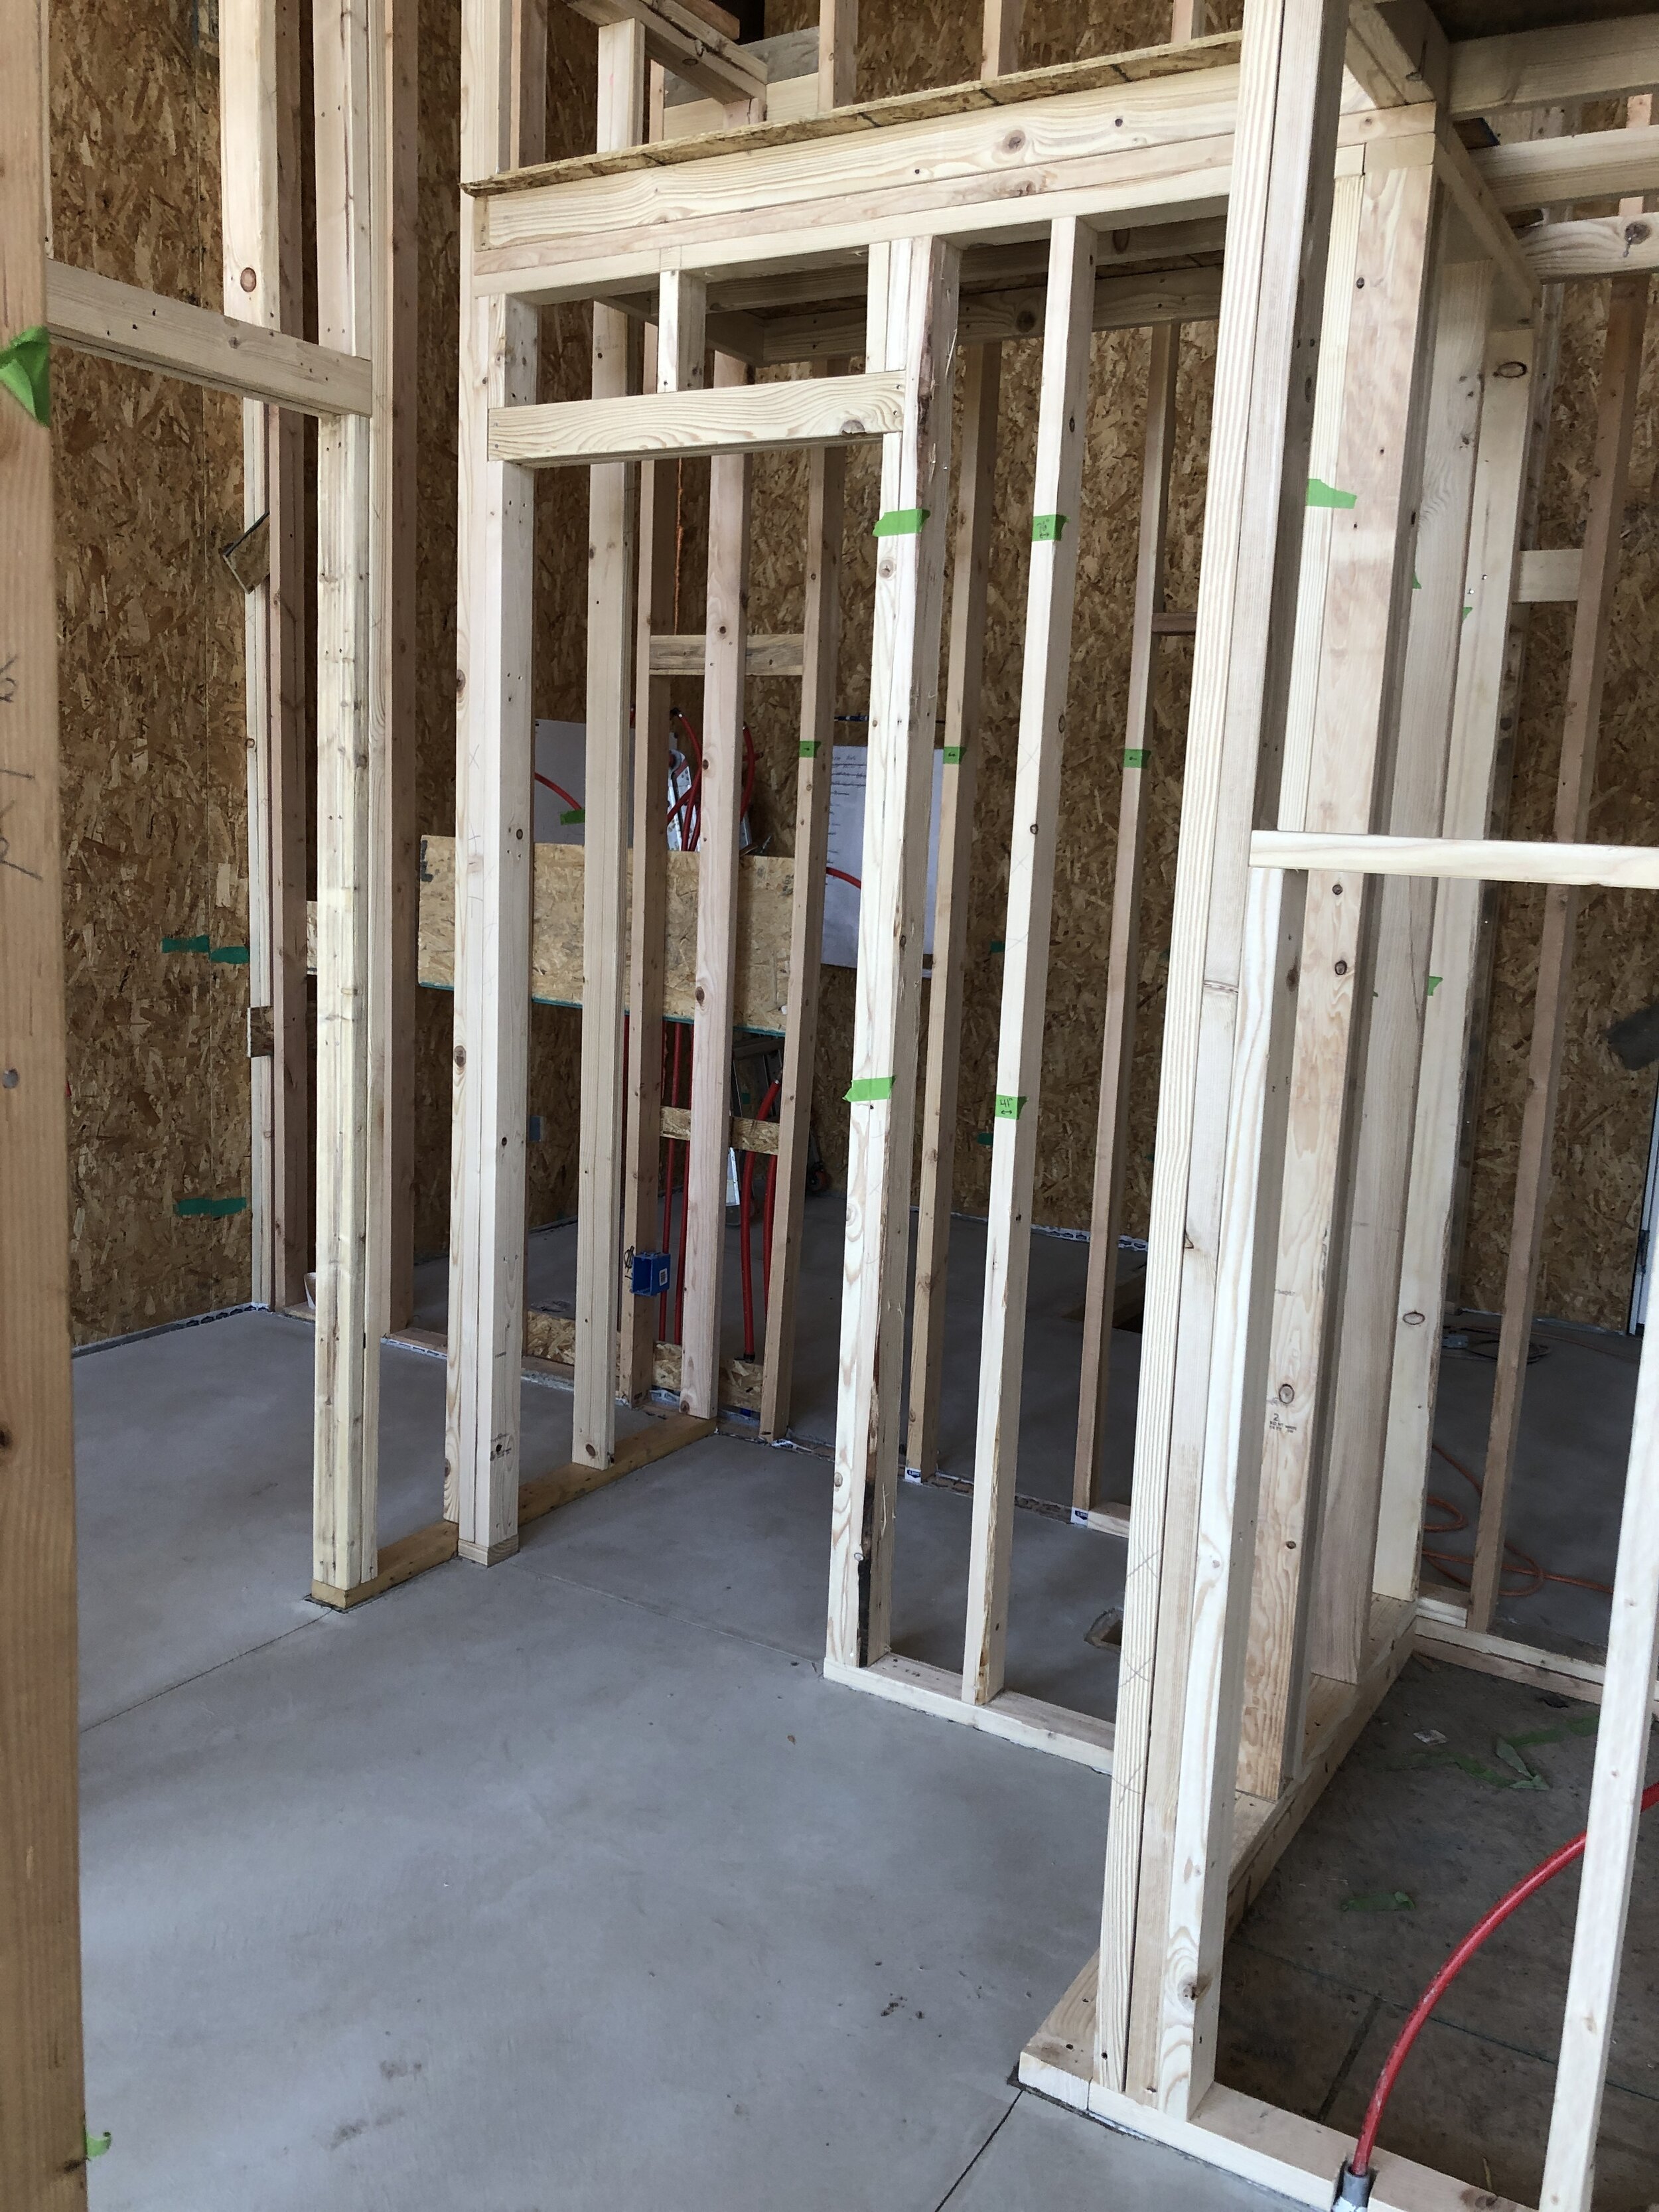
Then, it was on the more framing of the interior walls. We had deliberately left as many walls open as possible to make it easier for the concrete crew to work. We had framing left in the boys’ bath, master bath/closet, guest closet, the wall between the boys’ bath and guest bedroom, boys’ closet, and the utility room. As always, this took longer than we expected, but it was super helpful to get it done before Kelsey’s trusty helper (aka my Dad) had to return to Michigan for the season.

Framing the future location of the master shower.
The other big deal that happened - our gas line FINALLY got installed! For those of you that have been here for a bit, you know this has been an ongoing saga. But, it’s installed now - after more than 18 months since our initial application. Whew.

Hallelujah! The gas line is finally installed!
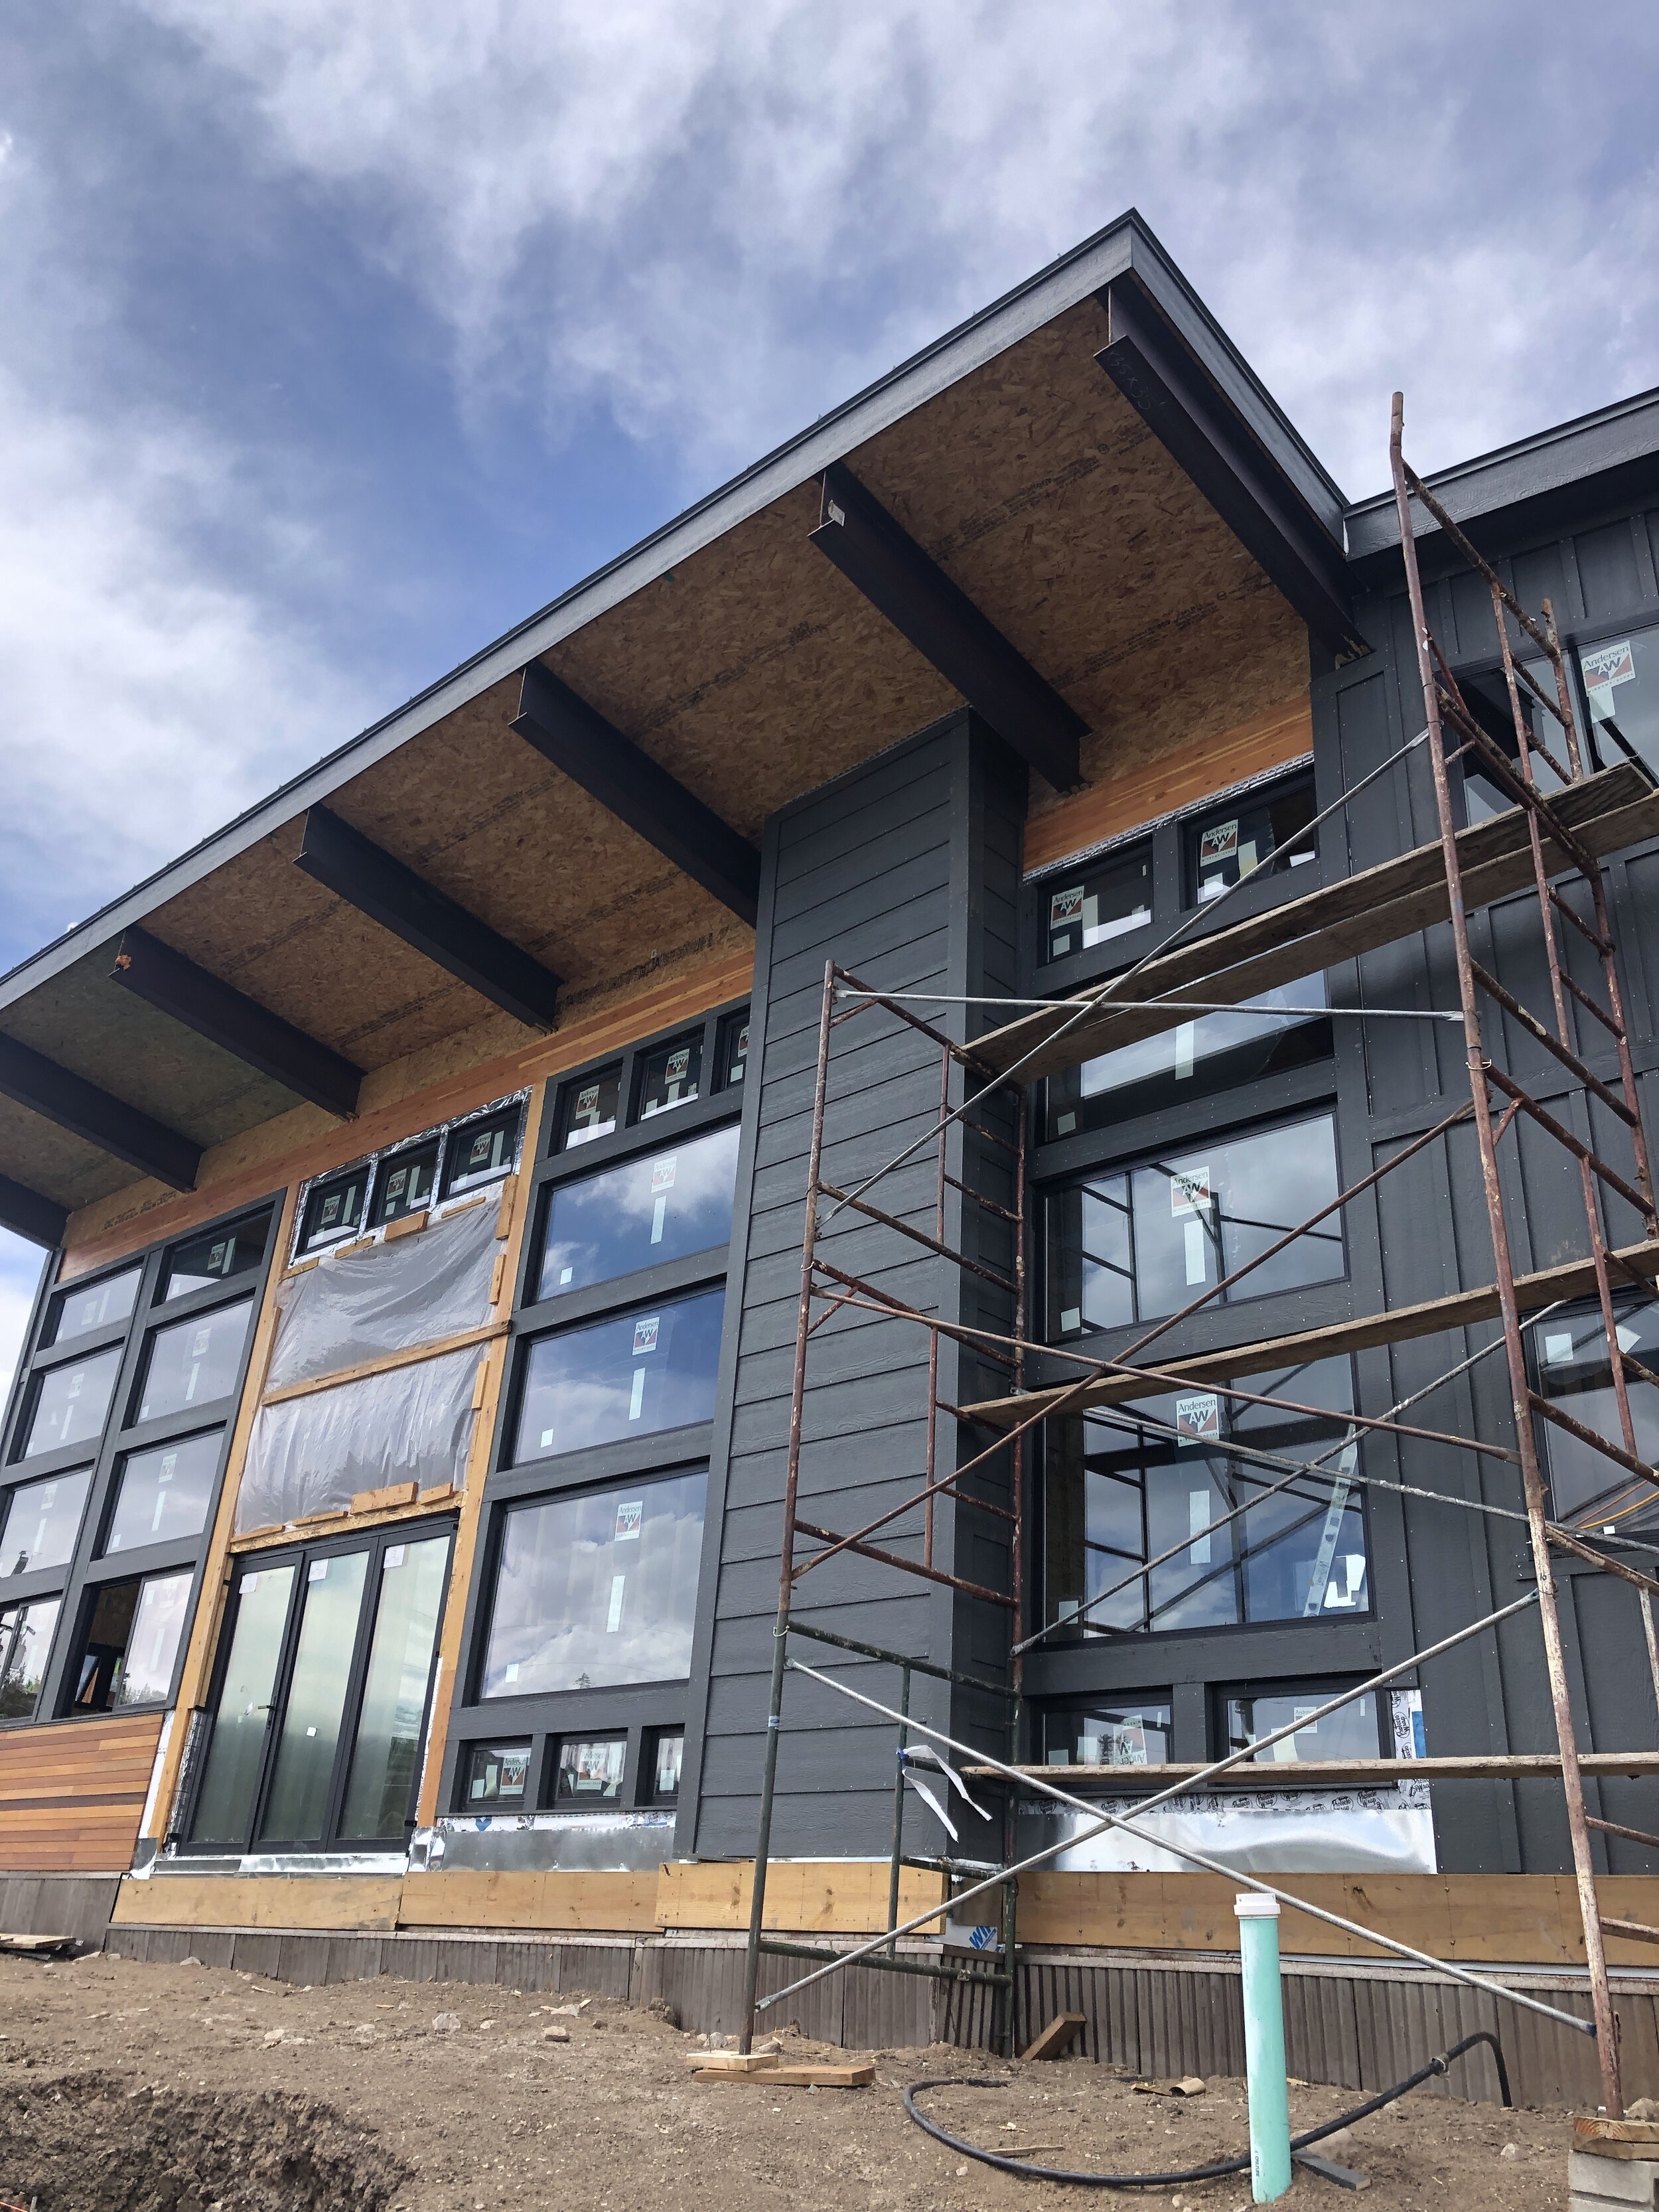
The next big project is to install our final two windows. The windows above our panoramic door were too large for commercial window makers, so our buddy Shawn hooked us up with a glass supplier who could make a custom size. Kelsey ordered the aluminum channels, which we’ll paint to match the rest of the windows. After these two windows are installed, we can finish the last of the trim and the window wall will almost be done! The darn plastic that has been covering the openings has been working fine, but it’s time for some real windows!
And, last but not least...our Quaran-Team went from 6 to 4 this week. Mom and Dad left Wednesday morning to head back to Michigan. They were so generous enough to hang a few weeks longer than planned to help with homeschooling and the house. We are so incredibly grateful for the extra help during this wild time. I’m sure they are looking forward to a bit of peace and quiet, but we know that we’ll miss them a ton. And, you should see the stocked pantry and freezer that Mom left for us! We have a little challenge in the works to see how long before we have to go the grocey store for non-perishable items. Any guesses? If things go as planned, we’ll have our certificate of occupancy by the time Mom and Dad come back in September (and probably won’t have purchased anything non-perishable all summer). Fingers crossed on the CO and the groceries. Ha!
What’s coming up next?
Install the final pocket door frame (this will complete all of the interior framing!)
Finish rough plumbing
Build the remaining two custom windows. The glass units are here, then we’ll paint the aluminum sashes, get them installed
Finish the rough electrical.
Have the county do a rough framing, rough electrical, and rough plumbing inspection
Grind the steel beams. I know, we’ve been talking about this one forever...
Hang and finish drywall (we’re hopefully going to hire this project out!)
Install the gray board and batten siding above the glulam beam on the south side
Stain cedar for exterior soffit and install (this will be above the glulam beam on the south side, the big overhang on the front).
Install our spiral staircase to the loft (already here and ready to go!)
We hope that all is well in your neck of the woods. We’re missing job site visits from friends on the weekends. We hope to welcome you all back to the 9,290 home soon!
Stay well,
Cory
Here are a few more photos from life and our project during late April and early-May.