Prepping for Drywall
Man, oh man! It’s been a busy two weeks! After we passed all of the BIG inspections, it was time for a big press to get ready for drywall, including one more inspection.
Drywall feels like such a huge step. It’s kind of amazing that when you think about building a home, you imagine what appliances you’ll pick, the faucets for each bathroom, or the paint colors for all the spaces. In reality, these things are the final choices you make. There is so much that goes on before all that fun stuff.
Thankfully, the items that will be forever hidden are almost done!
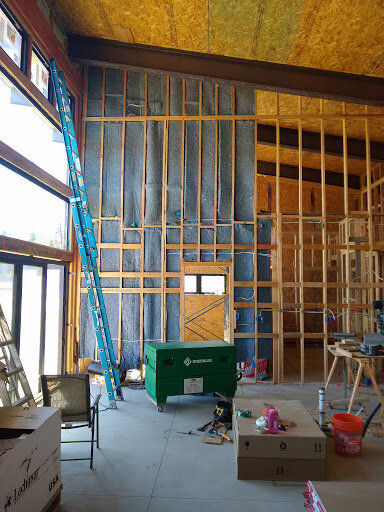
Our SIP panels are the biggest source of our insulation, but we still had spaces that needed extra insulation including the rim board in the crawl space, rim board in the boys’ room and the guest room, the chimney, and a few places below or above windows.
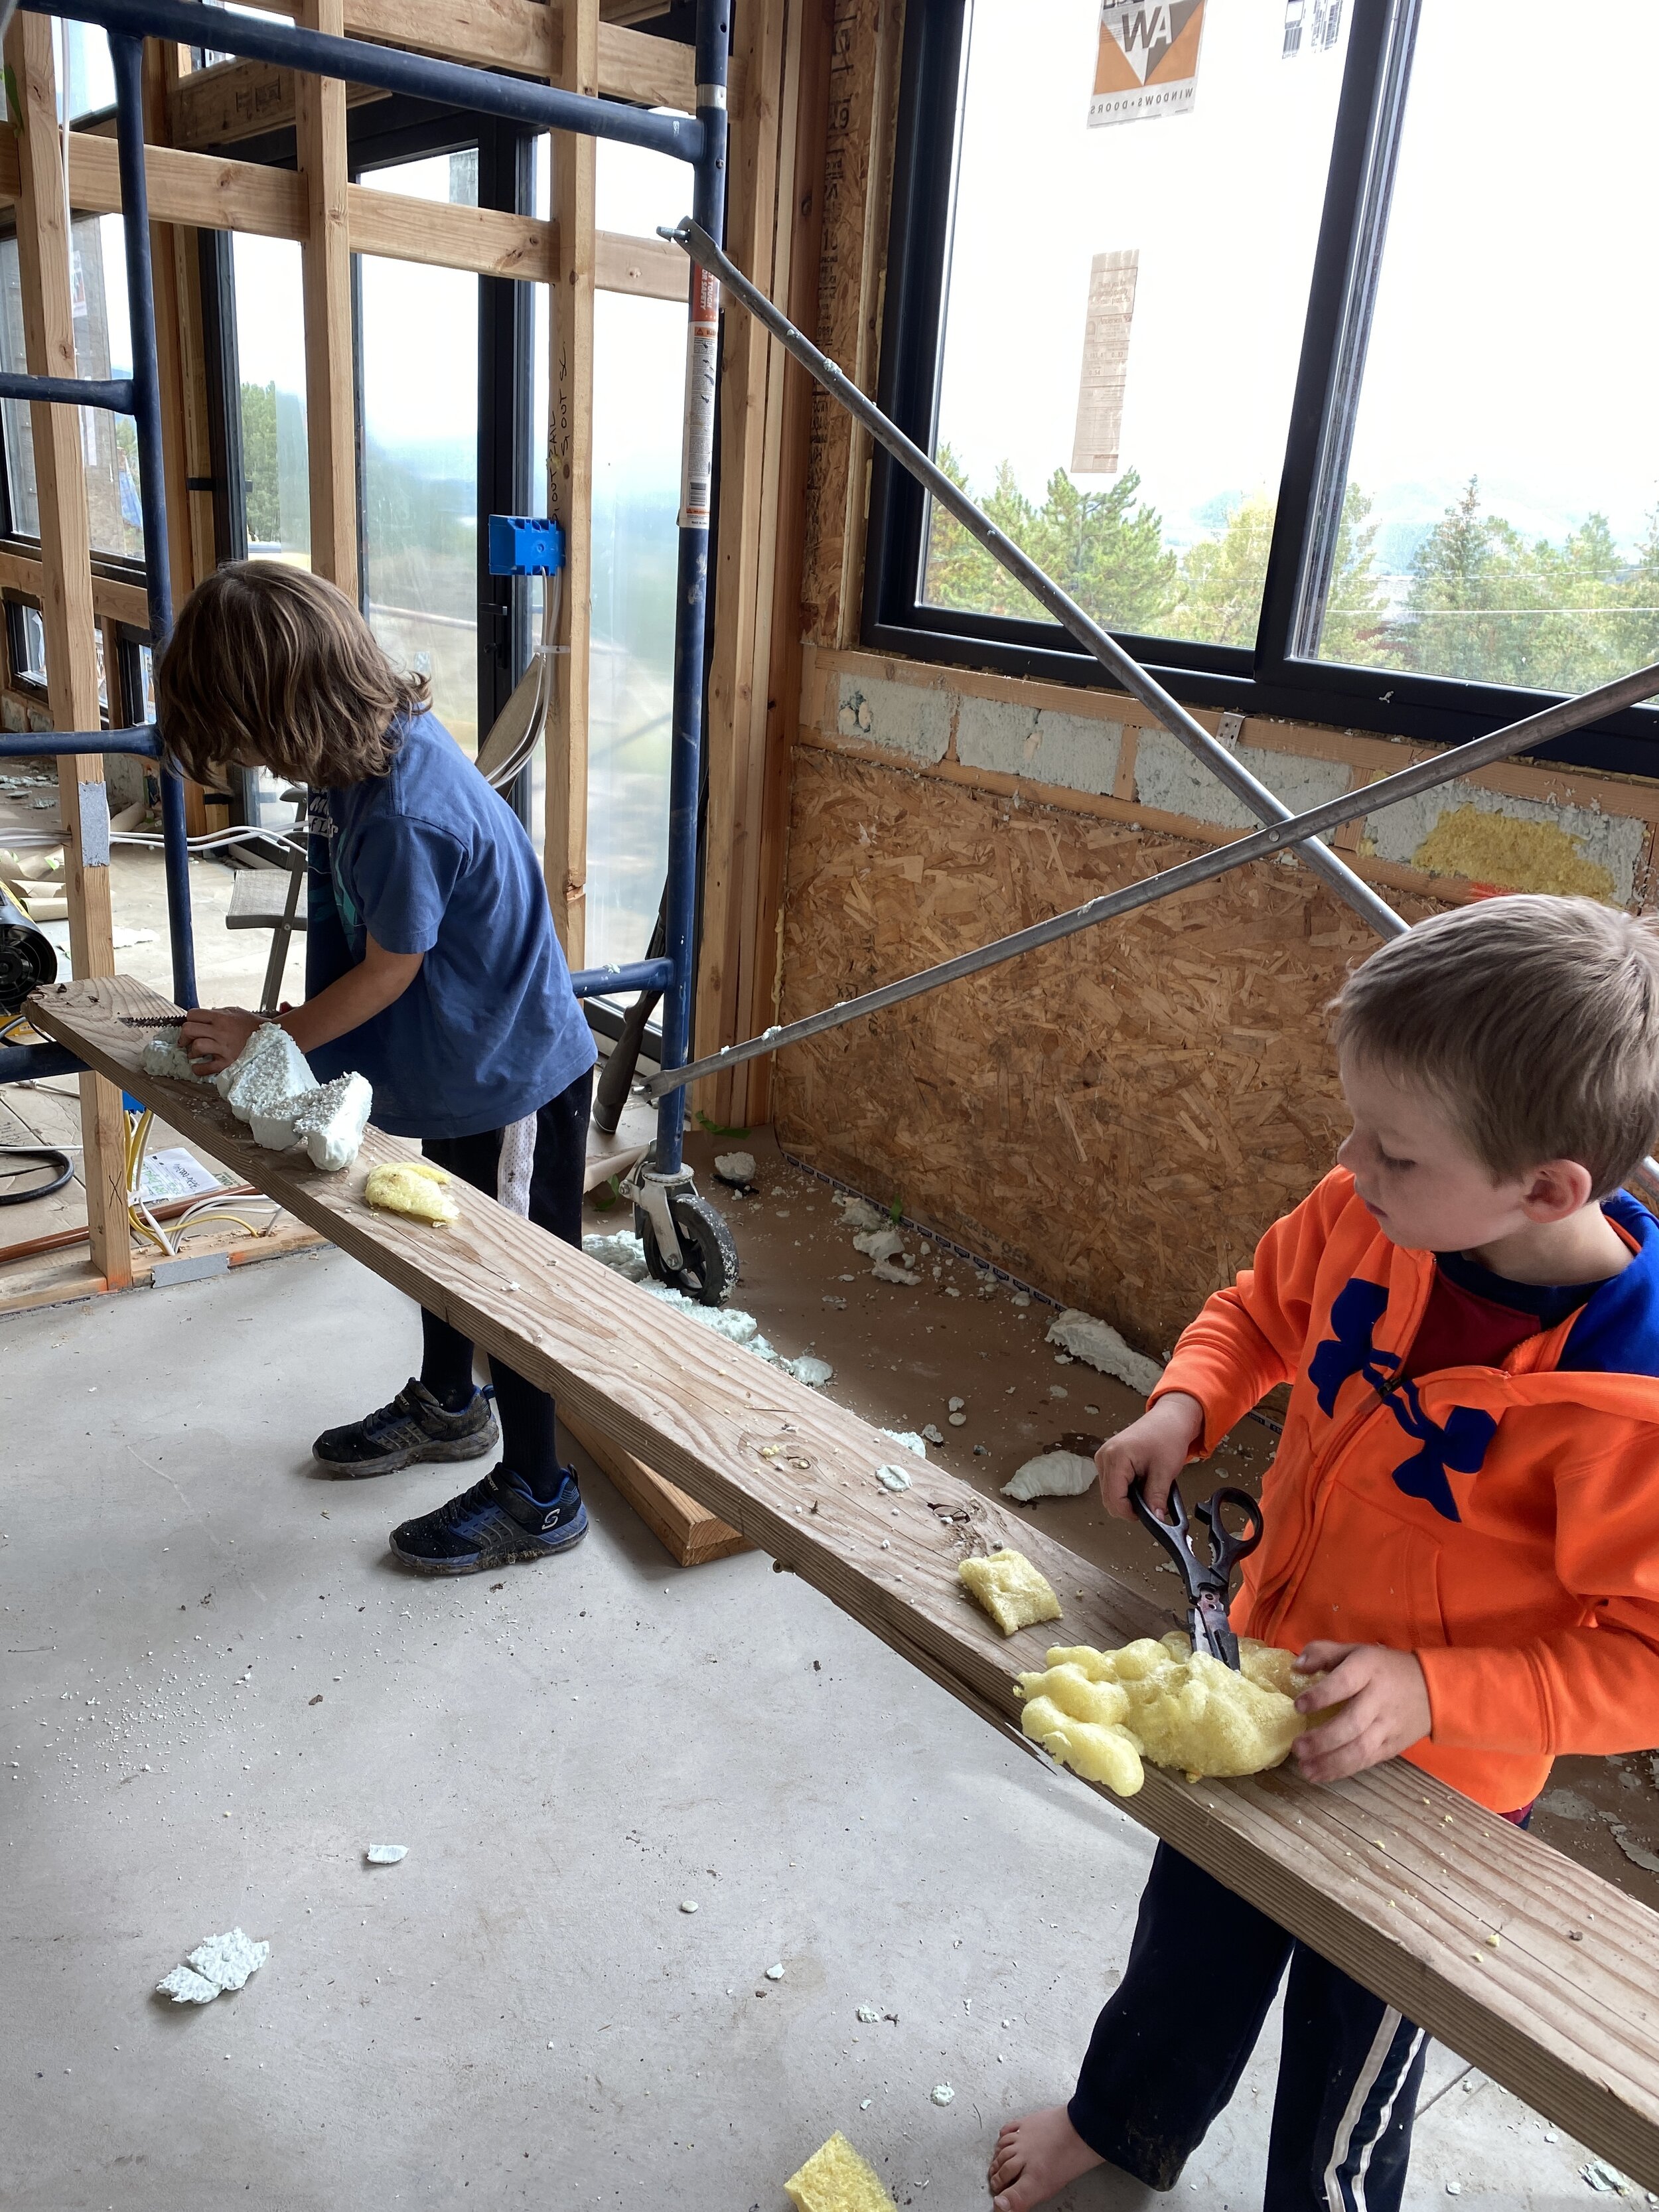
We chose to use spray foam insulation to get a really tight seal and the appropriate R-value. We used a spray foam kit that is designed for DIYers like us. Kelsey found Foam It Green and they sent everything we needed to be successful. As with most projects, the prep work is the most important step. The prep work is even more vital with spray foam since you only can pause spraying for 30 seconds before you need to replace the nozzle. Kelsey got all suited up with a Tyvek suit, his respirator and gloves. The foam is nasty stuff, so you don’t want to breathe the fumes or get it on your skin. I wore an N-95 mask and we gave the kids the iPad to watch a movie outside while we got to work. When we started spraying, I was in charge of moving ladders and moving the boxes of foam so Kelsey could swiftly move from one spot to the next. Over the course of a few days, Kelsey got everything sprayed to the right thickness to meet the insulation requirements.

The foam comes in two canisters and then is activated once they mix together.
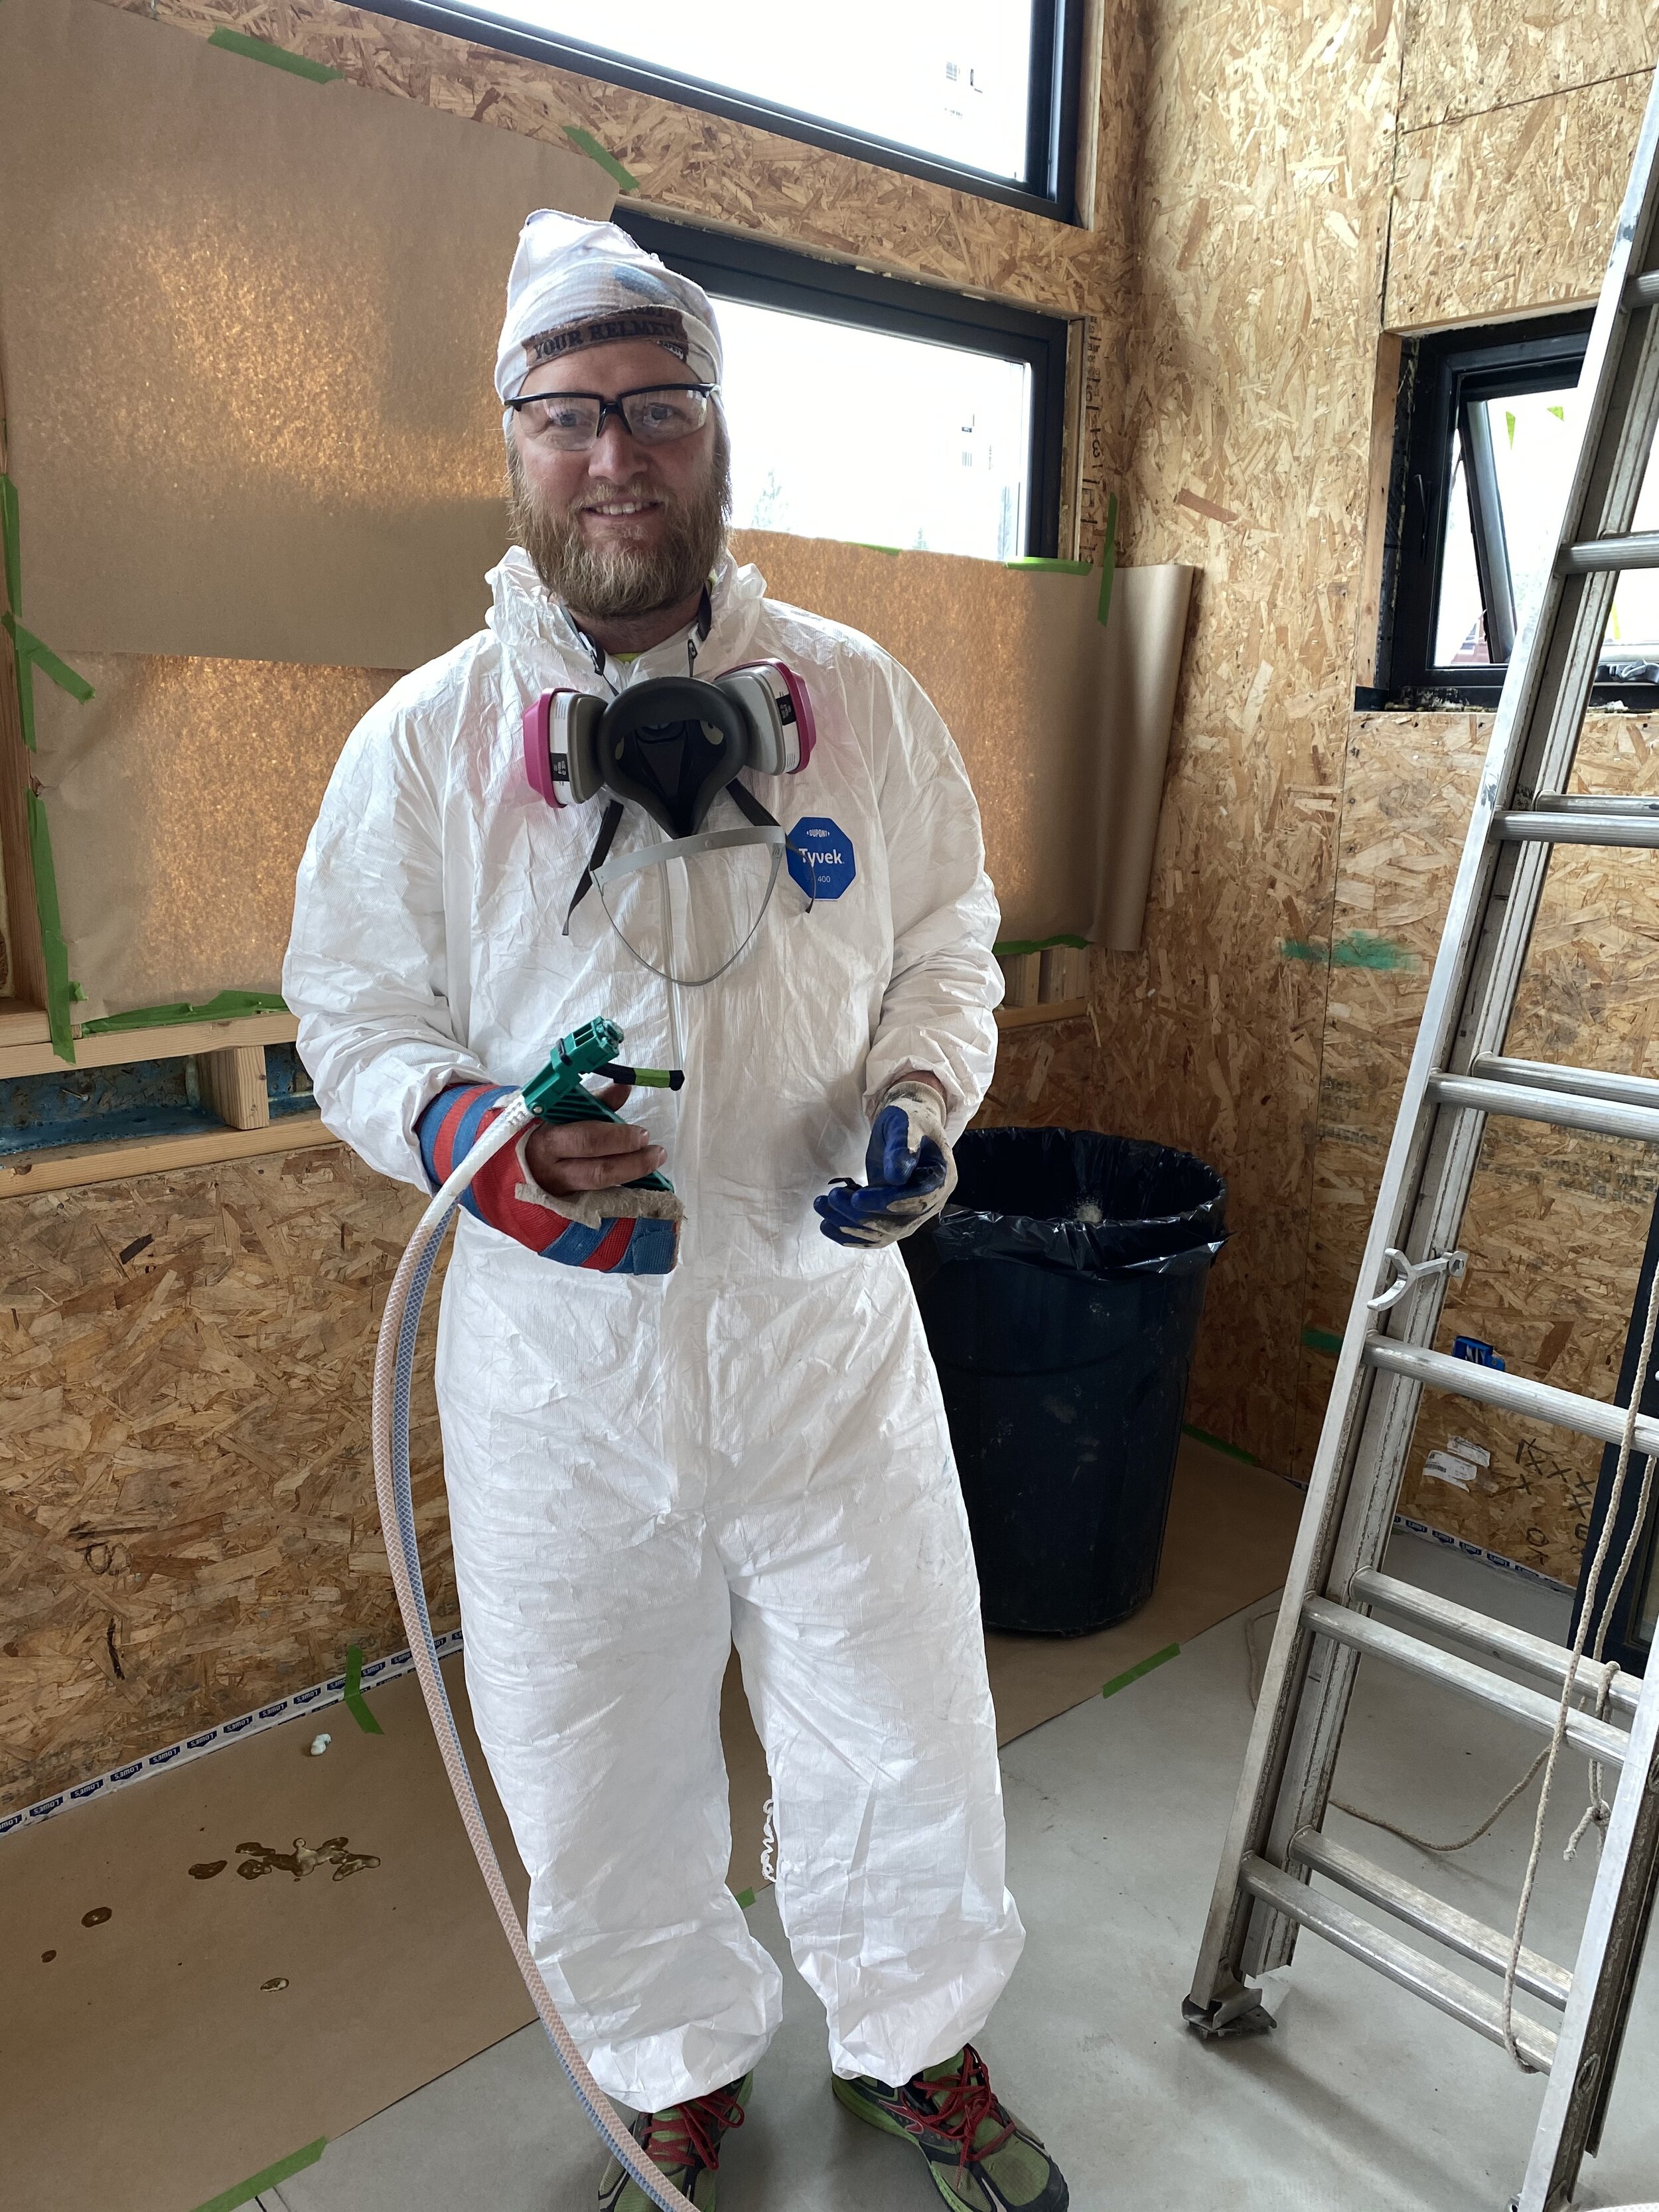
Ready to foam! Or, just look like an astronaut. :-)
The night prior to our insulation inspection, we filled out an insulation certificate that basically documents all of the insulation we used in all parts of the home. We made it look super professional so that he would be prepared to talk to the inspector about what we had used. When the inspector arrived he said “Oh, you have a SIP house. You’re good. And, this certificate is great. All set!” Kelsey said he was there for about 5 minutes. Another inspection passed!
After the spray foam was underway, we started the sound insulation. Since our home doesn’t have any hallways, it was important to us for the rooms off the great room to be peaceful and quiet. Since I work from home, I wanted an office that was quiet as well so that if they kiddos happened to be home and playing, it wouldn’t be too loud for calls. After researching our options, we decided to use a recycled denim product by Ultra Touch. This had similar specs to the more expensive Rockwool product. We had briefly looked at fiberglass insulation, but the sound dampening qualities are not nearly as good as denim or wool. Even better to use an 80% recycled product and not to be all itchy from fiberglass! The only downside is that the denim was challenging to cut, but overall the install was pretty simple. We gave ourselves a $1,200 budget to fill as much as we could and actually ended up with being able to return about 5 bags!
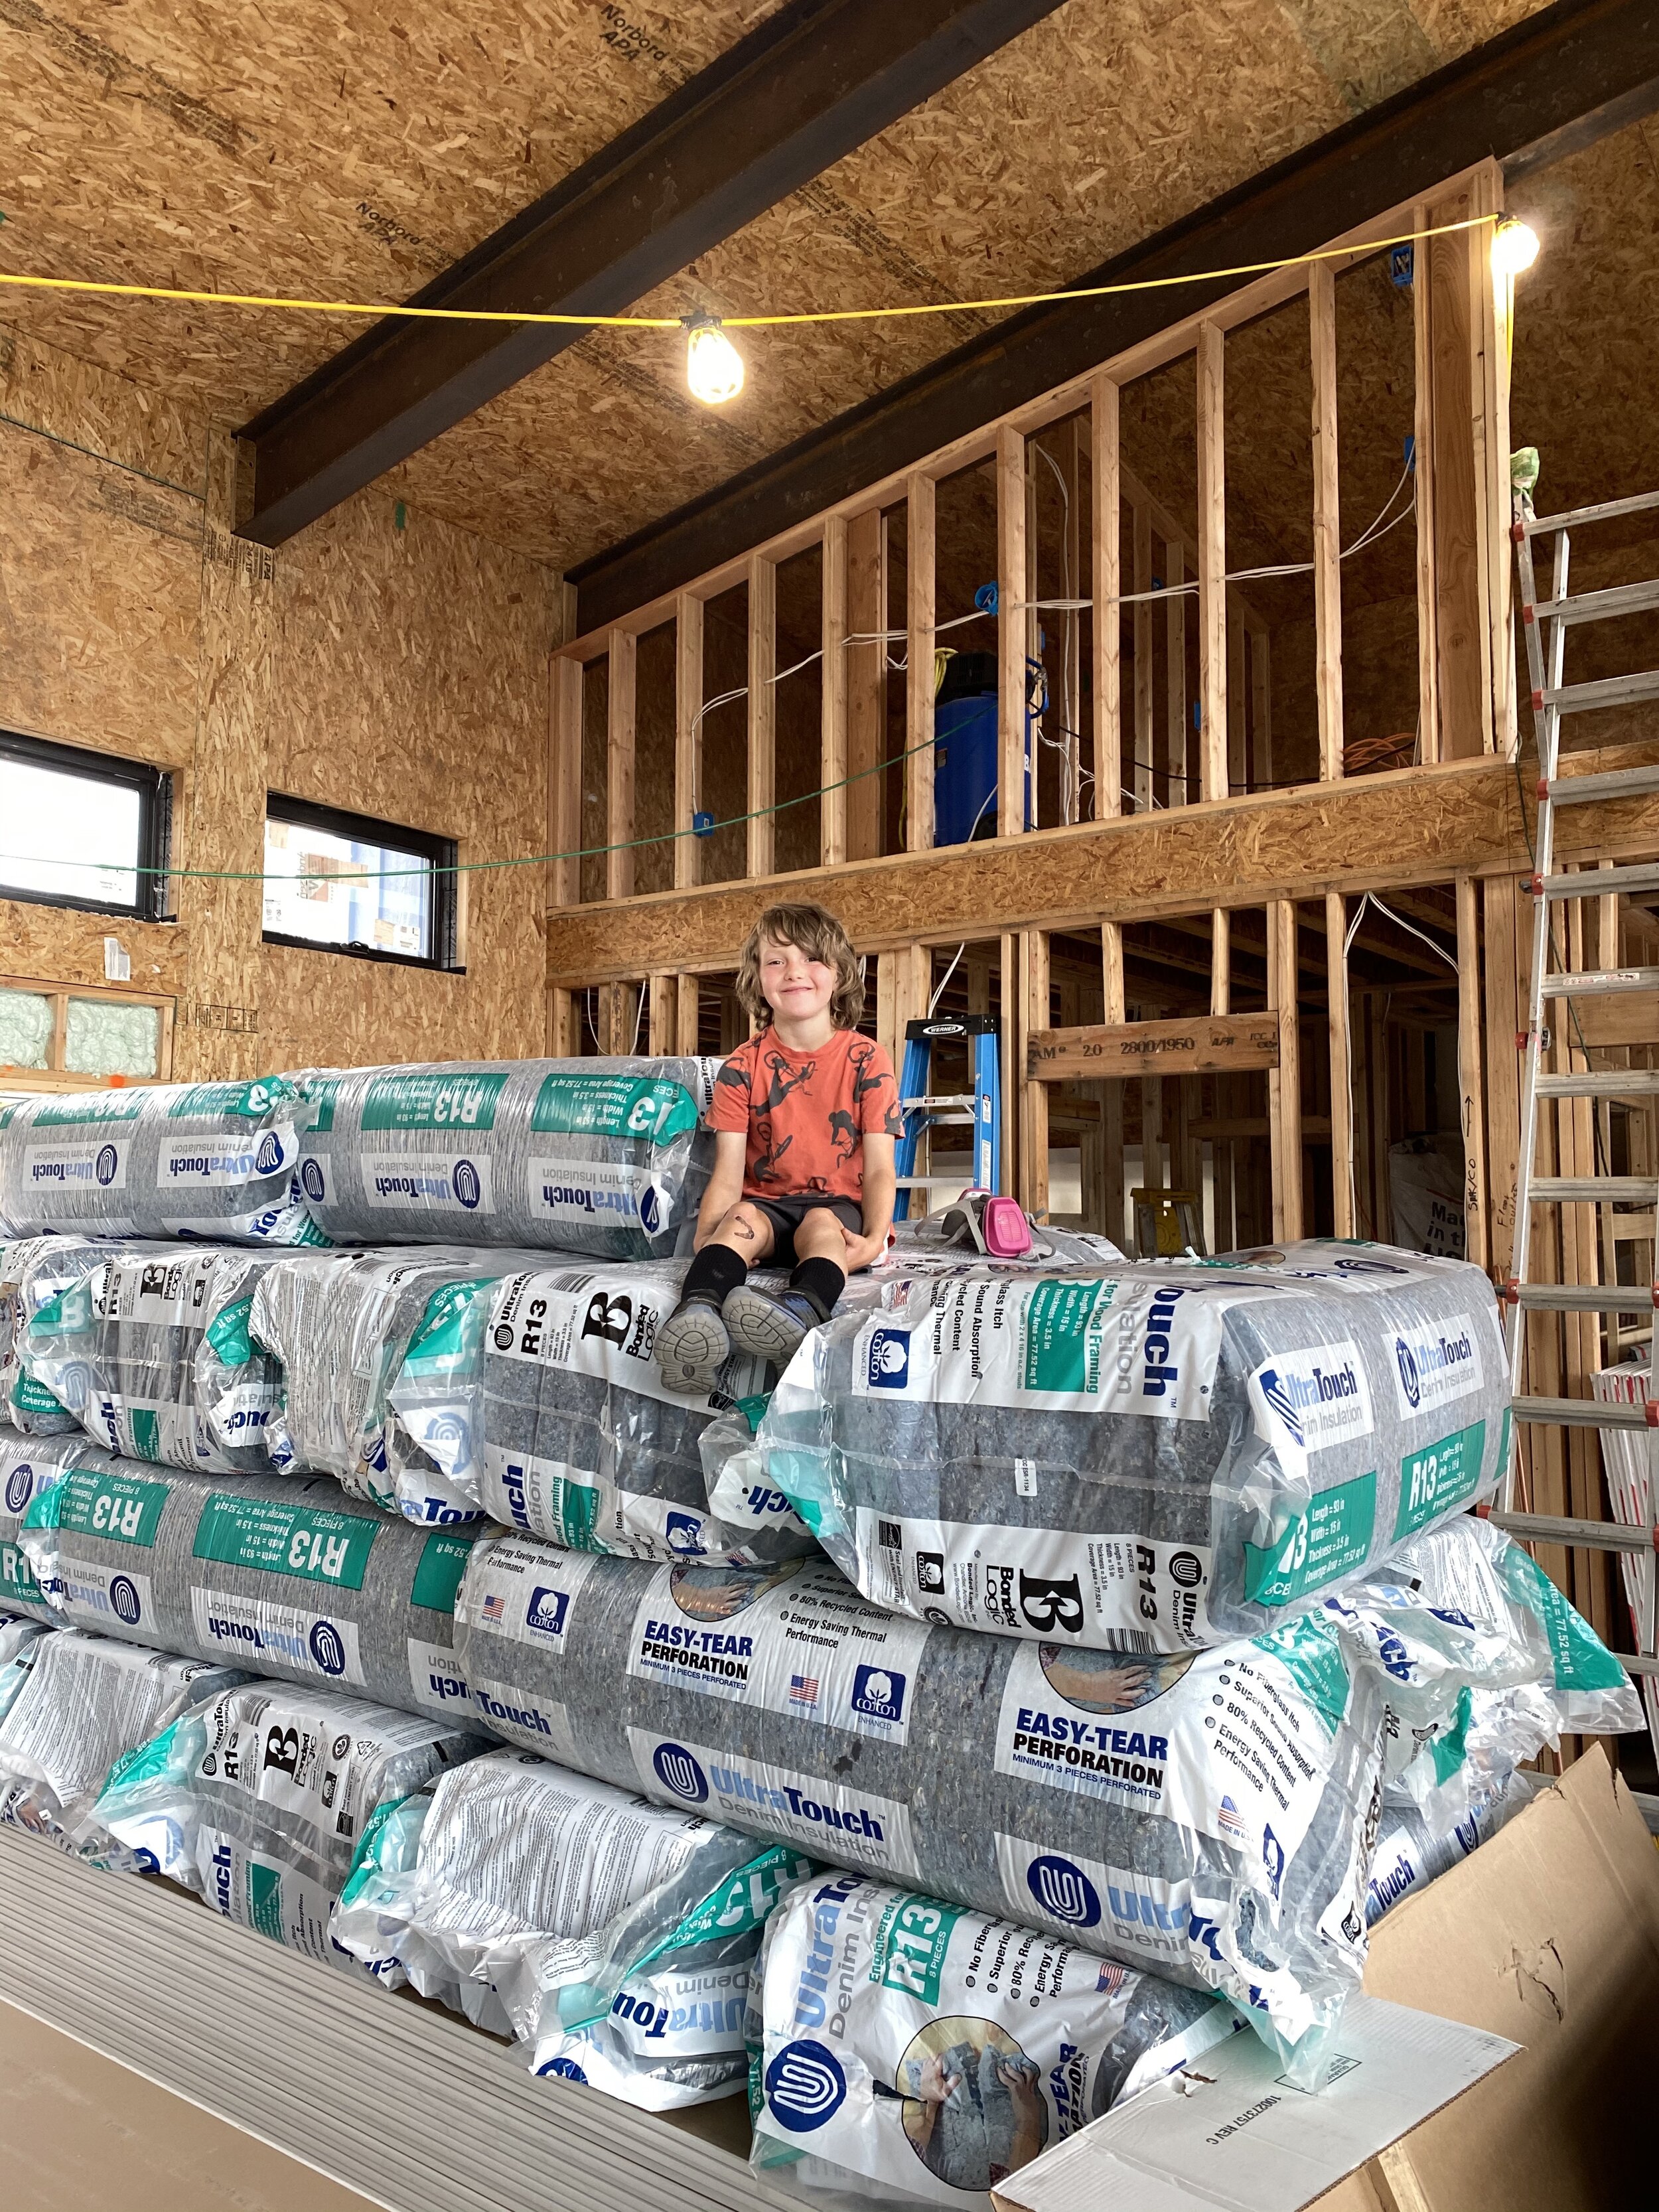
King of Insulation Mountain!

Sound insulation in the office!
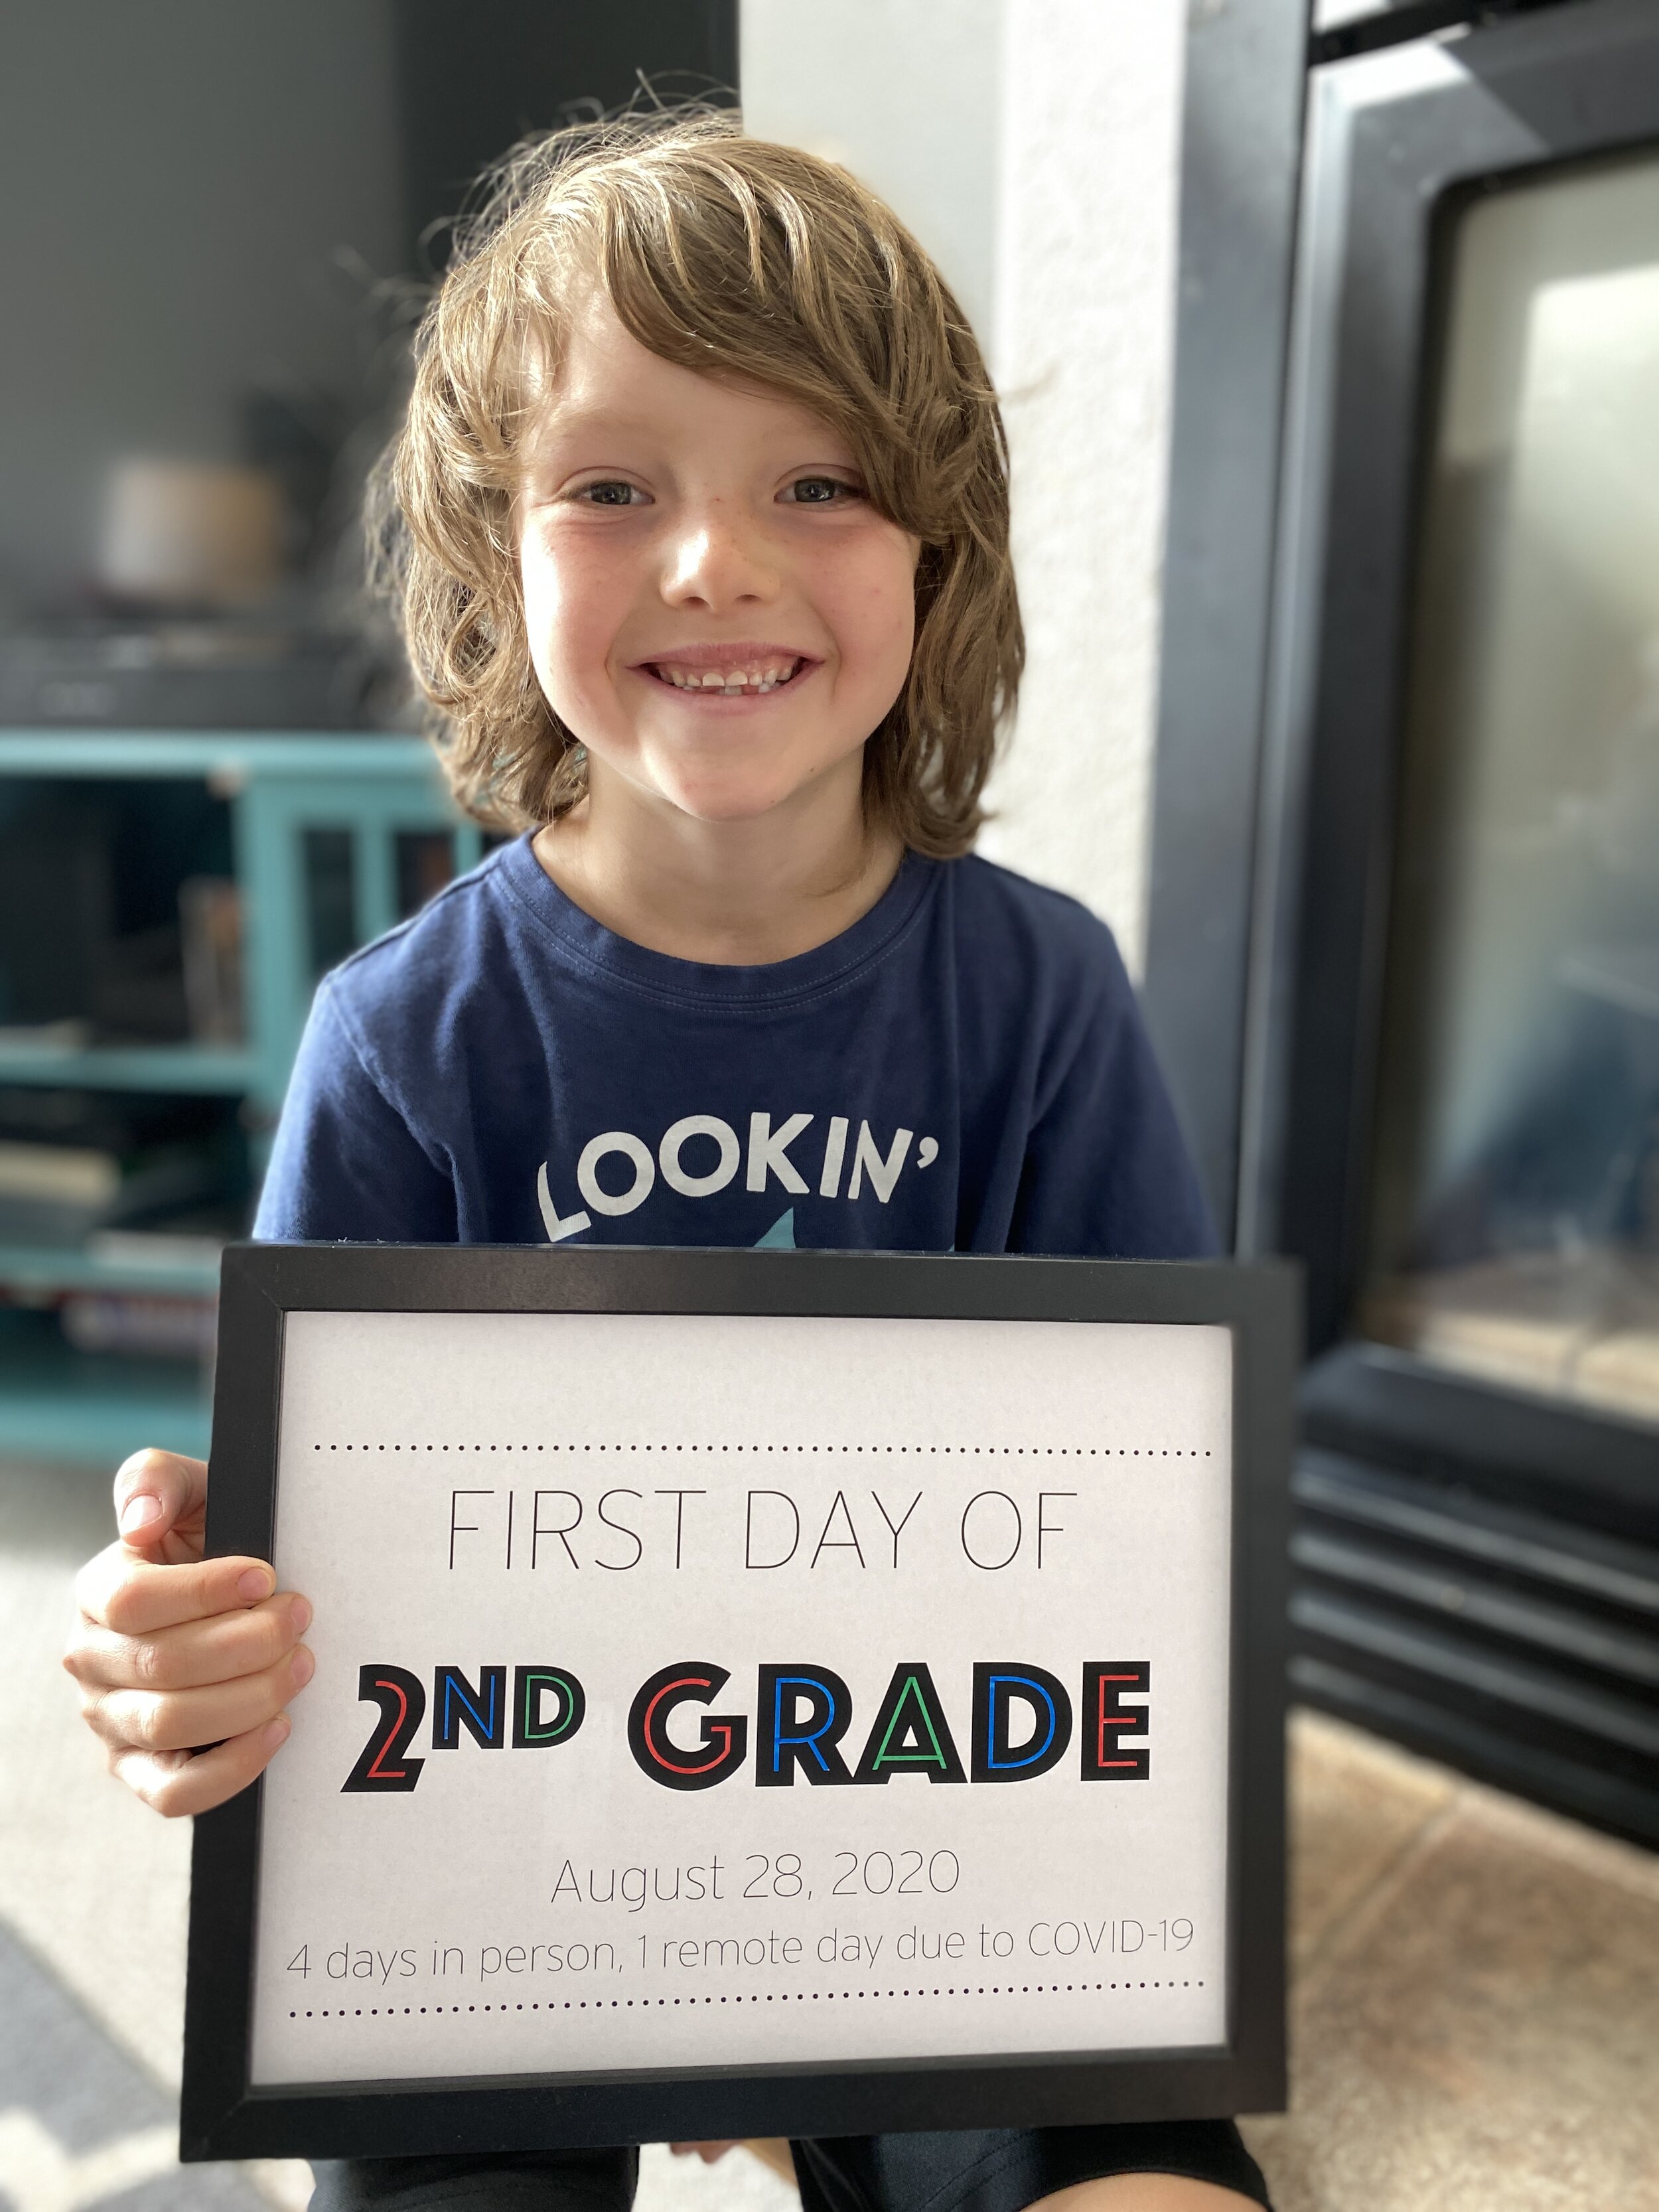
In non-construction news, Laird started 2nd grade! Here in Summit County, the elementary age kids are going to school in-person four days per week, with Wednesday as a remote day. His teacher seems really great and he’s excited to be back in the classroom! And how about that hair?! He hasn’t had a haircut since right before 1st grade. School pictures are this week and then he says he’ll be ready for a little trim.

2nd grade here he comes!
Ok, back to construction updates.
In addition to the sound and foam insulation, we needed to add some extra nailers for drywall and other nailers for installing cabinets, or other heavy things. Kelsey had hired a handyman to help with some of the sound insulation and other prep work for drywall. We were thankful to have Brian at the house for a few days to wrap up some of these projects!

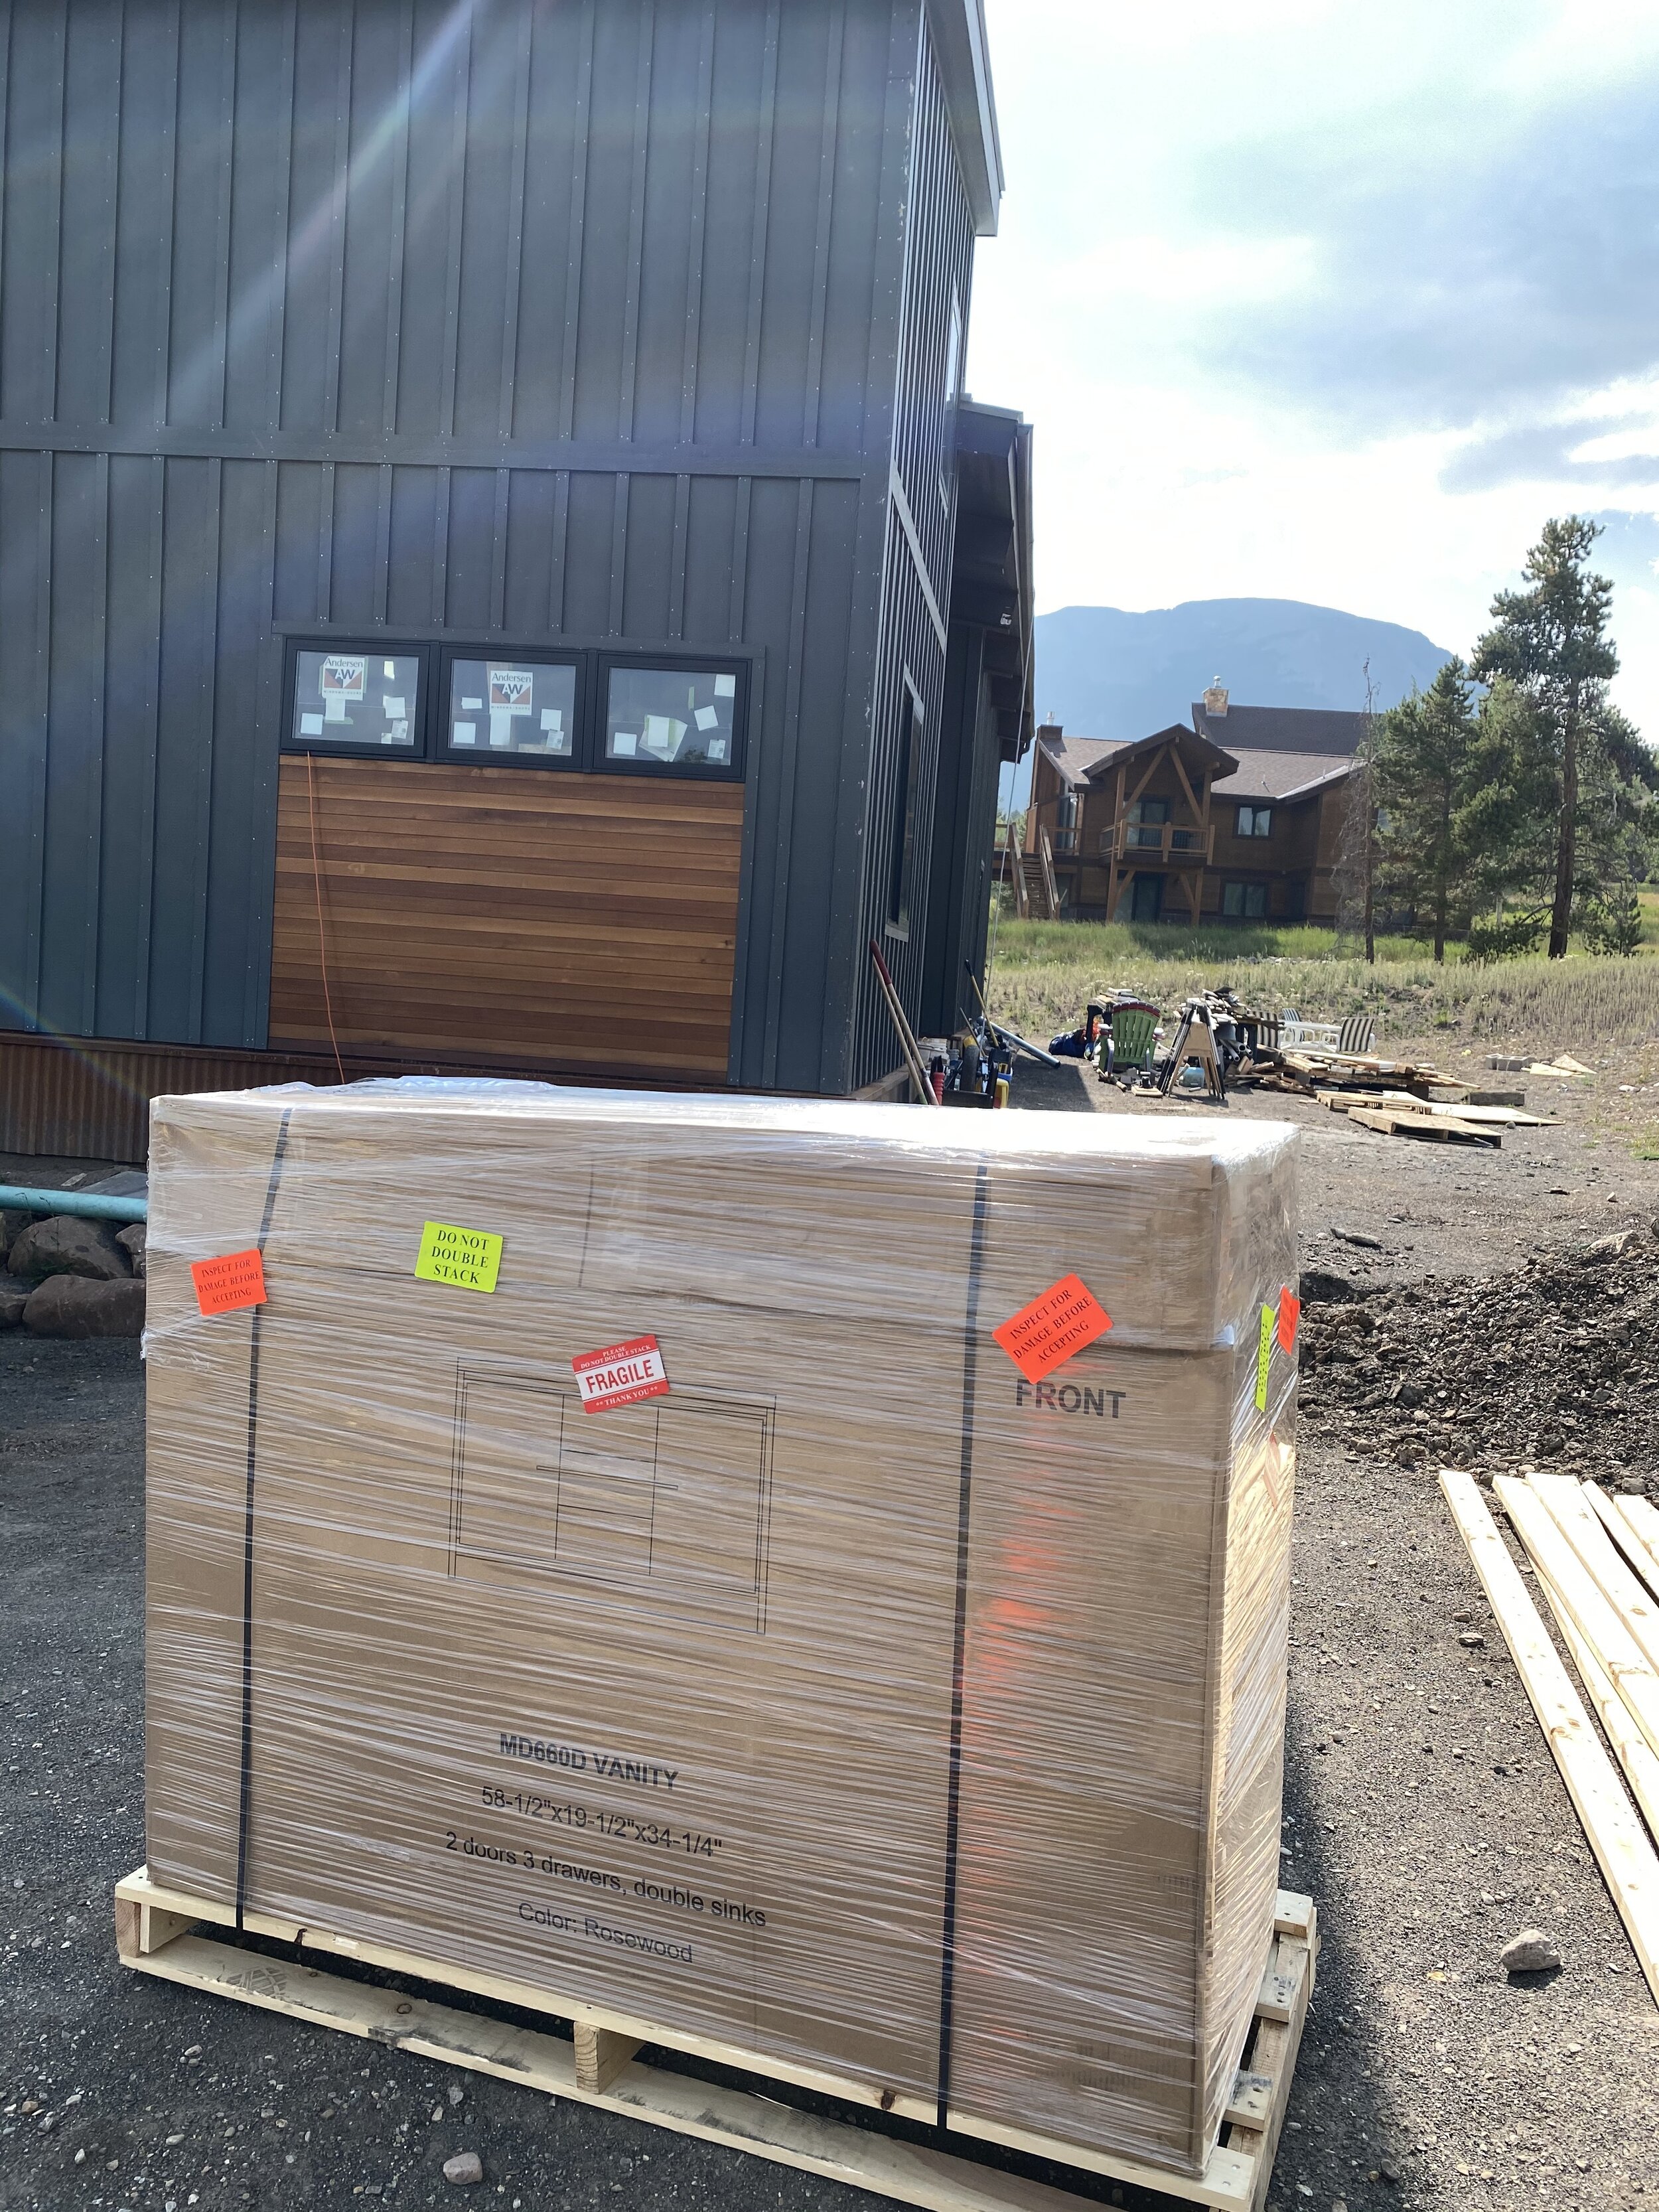
Material on site! Love having everything staged and ready to go!
We also spent a ton of time taping all of the seams in the SIP panels. The tape acts as a final vapor barrier and is installed on the warm side of the house, in our case, the inside. The taping took quite a long time, however the material we used from a company in Denver, Protecto Wrap, was super easy to manage. We used this same tape for all of our windows as well.
Our good friend, Kat, worked one day with Kelsey to help finish the taping. Thank you so much, Kat!!

Working on the taping in the master bedroom. Our ceiling is about 20 feet tall, so it was pretty high up!

Thank you, Kat! You’re the BEST!
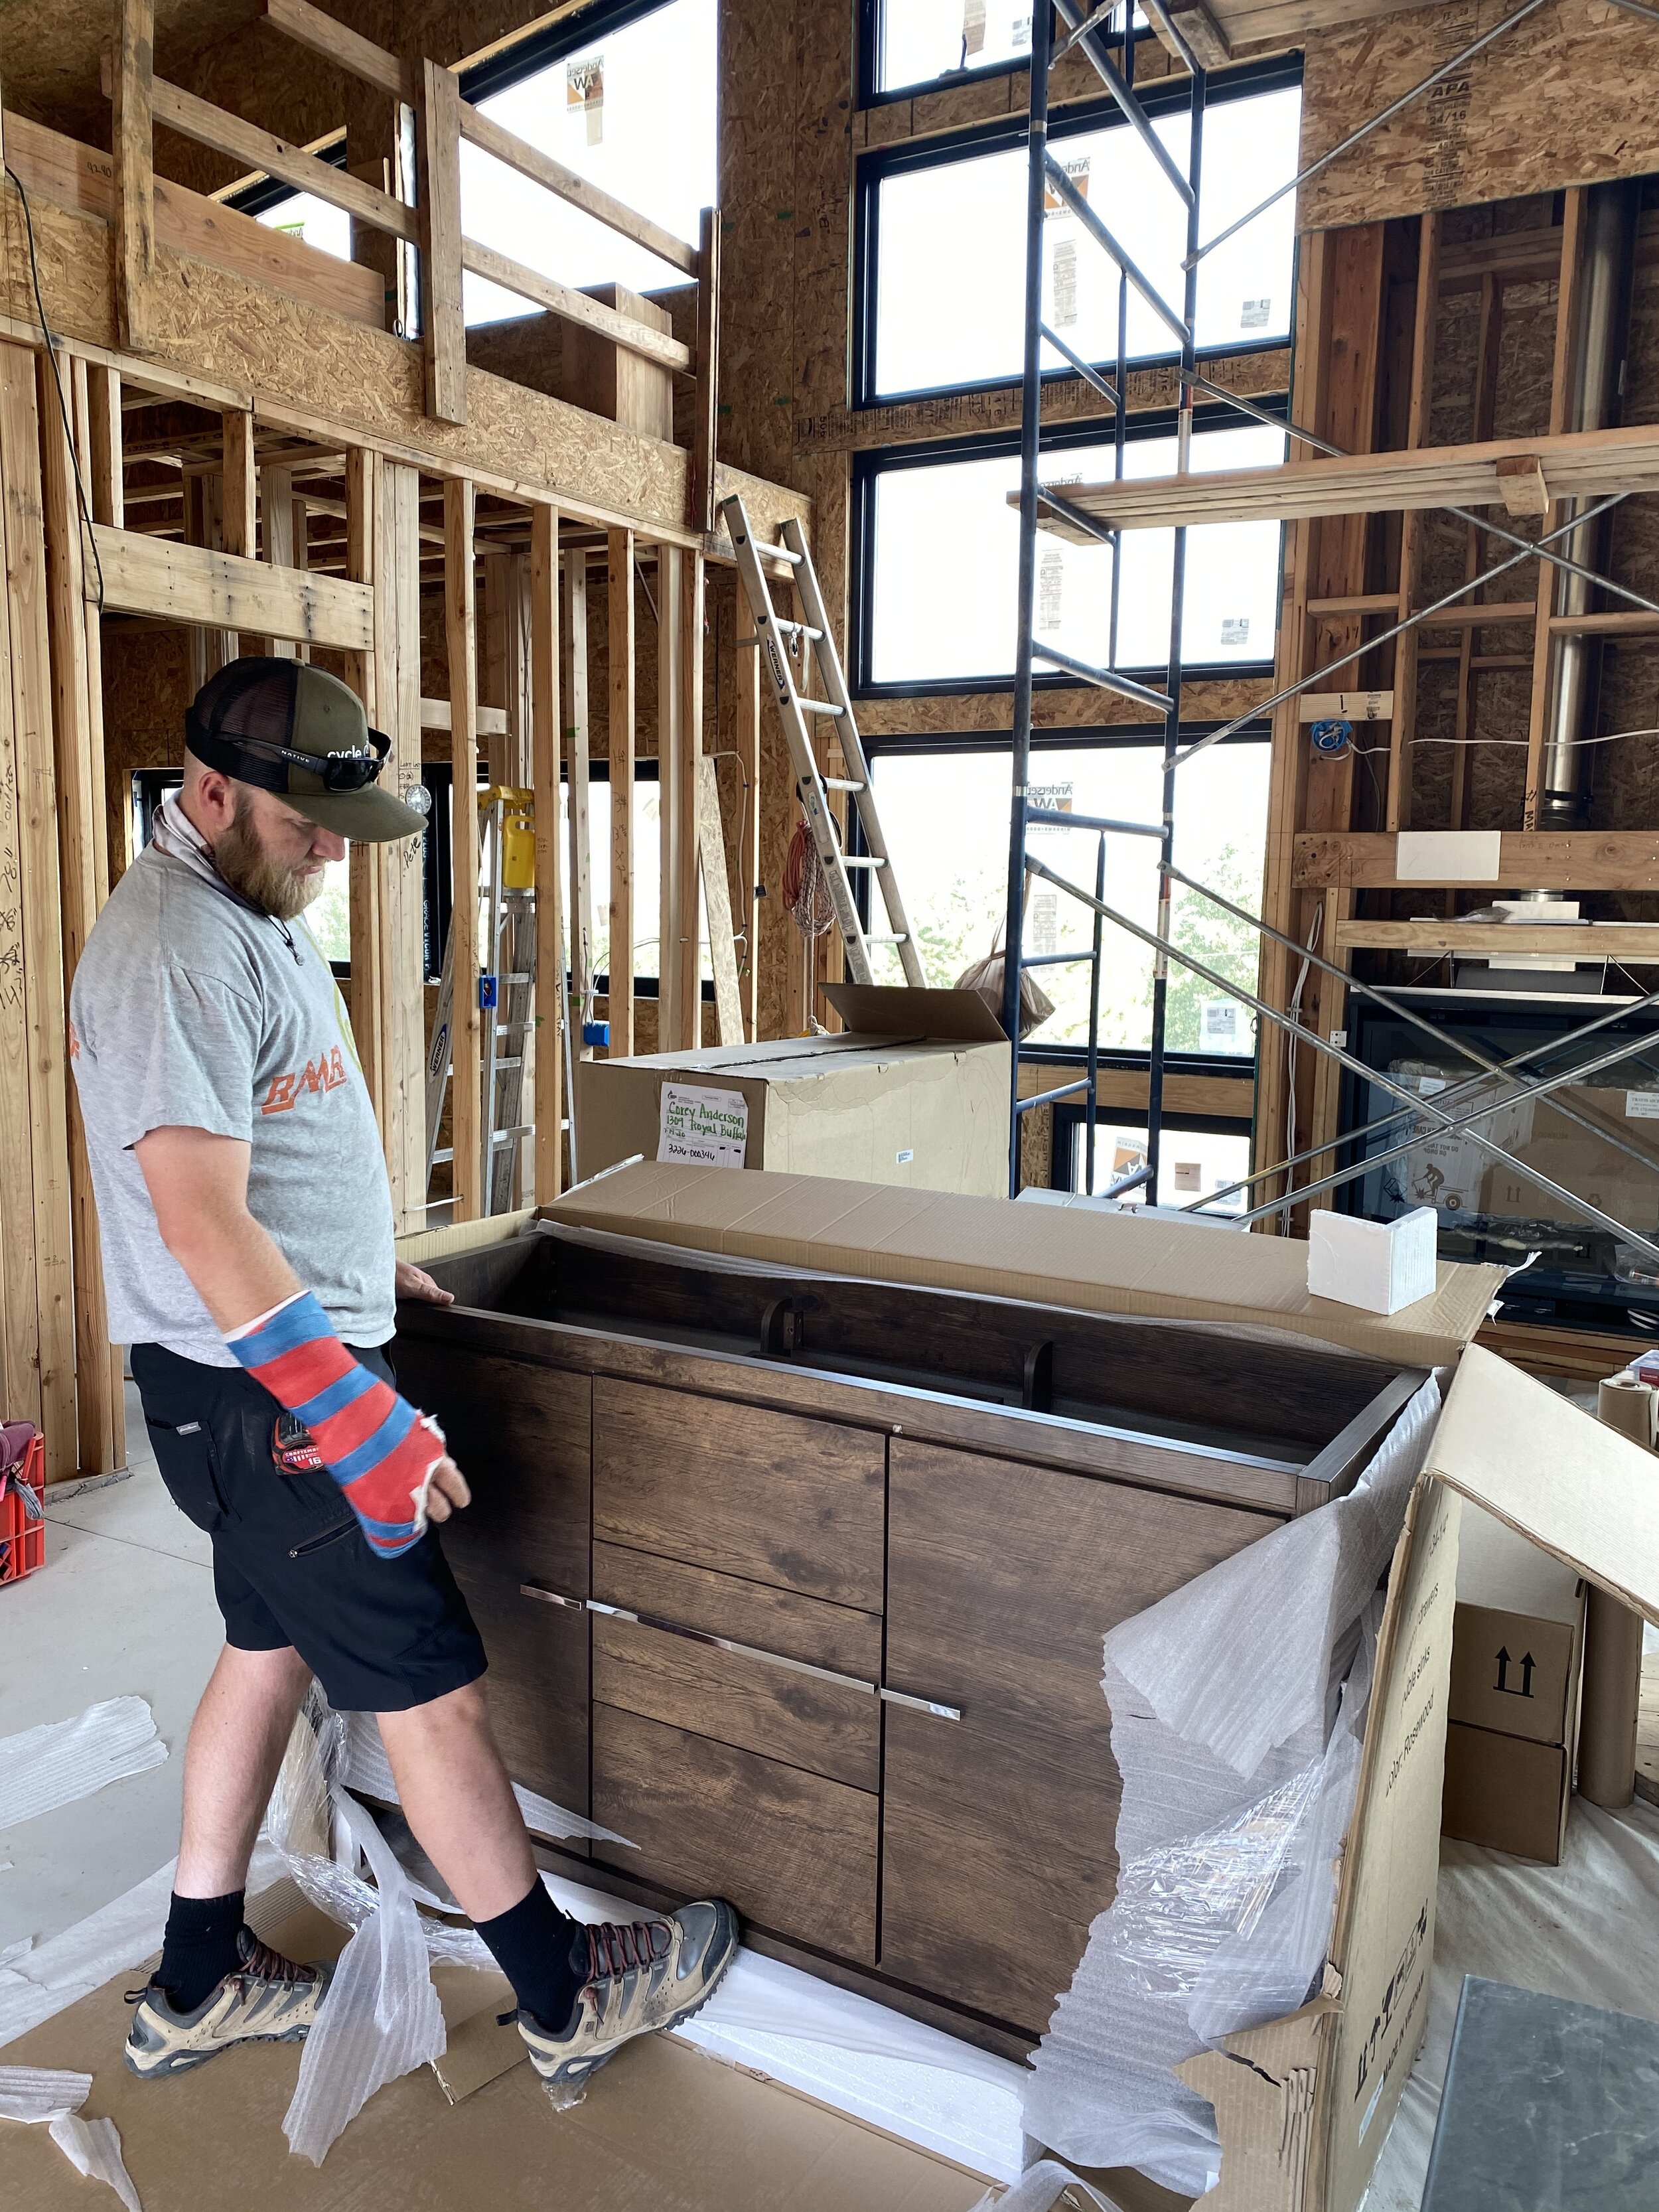
On Wednesday this week, Kelsey got his cast off! Hopefully that is the last broken bone in this family for quite some time! He says that his hand is still really stiff and it feels like he has lost some strength in his wrist, but we’re hopeful that with some exercises and stretching he’ll be back to normal soon.
To add some Andersen touches to the interior of our walls, we wrote some of our favorite quotes and song lyrics on the studs. I had seen this idea on Instagram and knew it would be a fun thing to do in our home. The boys even signed their names in their bedroom!

Four Family!

Our nightly affirmations written on the studs in their room.
After Kelsey wrapped up the sound insulation late on Thursday night, he added a few pieces of sheathing to the areas that we foamed. So, we’re officially ready for drywall! Our crew will hopefully get started today. Originally they told us Friday, but then didn’t show up yesterday so fingers crossed that they’ll be ready to roll today!
What’s coming up next?
DRYWALL! Our drywall guy, Adam, says it will take about 2 weeks for the hanging and finishing.
Install the gray board and batten siding above the glulam beam on the south side of the house.
Install the trim around the windows above our panoramic door.
Stain the cedar for the exterior soffit and install. The wood got delivered this week, so I’ll get started on sealing this soon.
Once drywall is complete, we will buff and seal our concrete floor
After we finish the first polish on the floor, we’ll install the wood on our ceiling. Then, it will be time for super fun stuff like our spiral staircase, cabinets and light fixtures!
We’re still hopeful to have a certificate of occupancy by November 1. We’re thankful that Mom and Dad will be arriving back in Colorado today to lend a hand for a few weeks, which will definitely help!
Thanks for all of the positive energy and encouragement. We’re getting there!
Enjoy your long weekend,
Cory
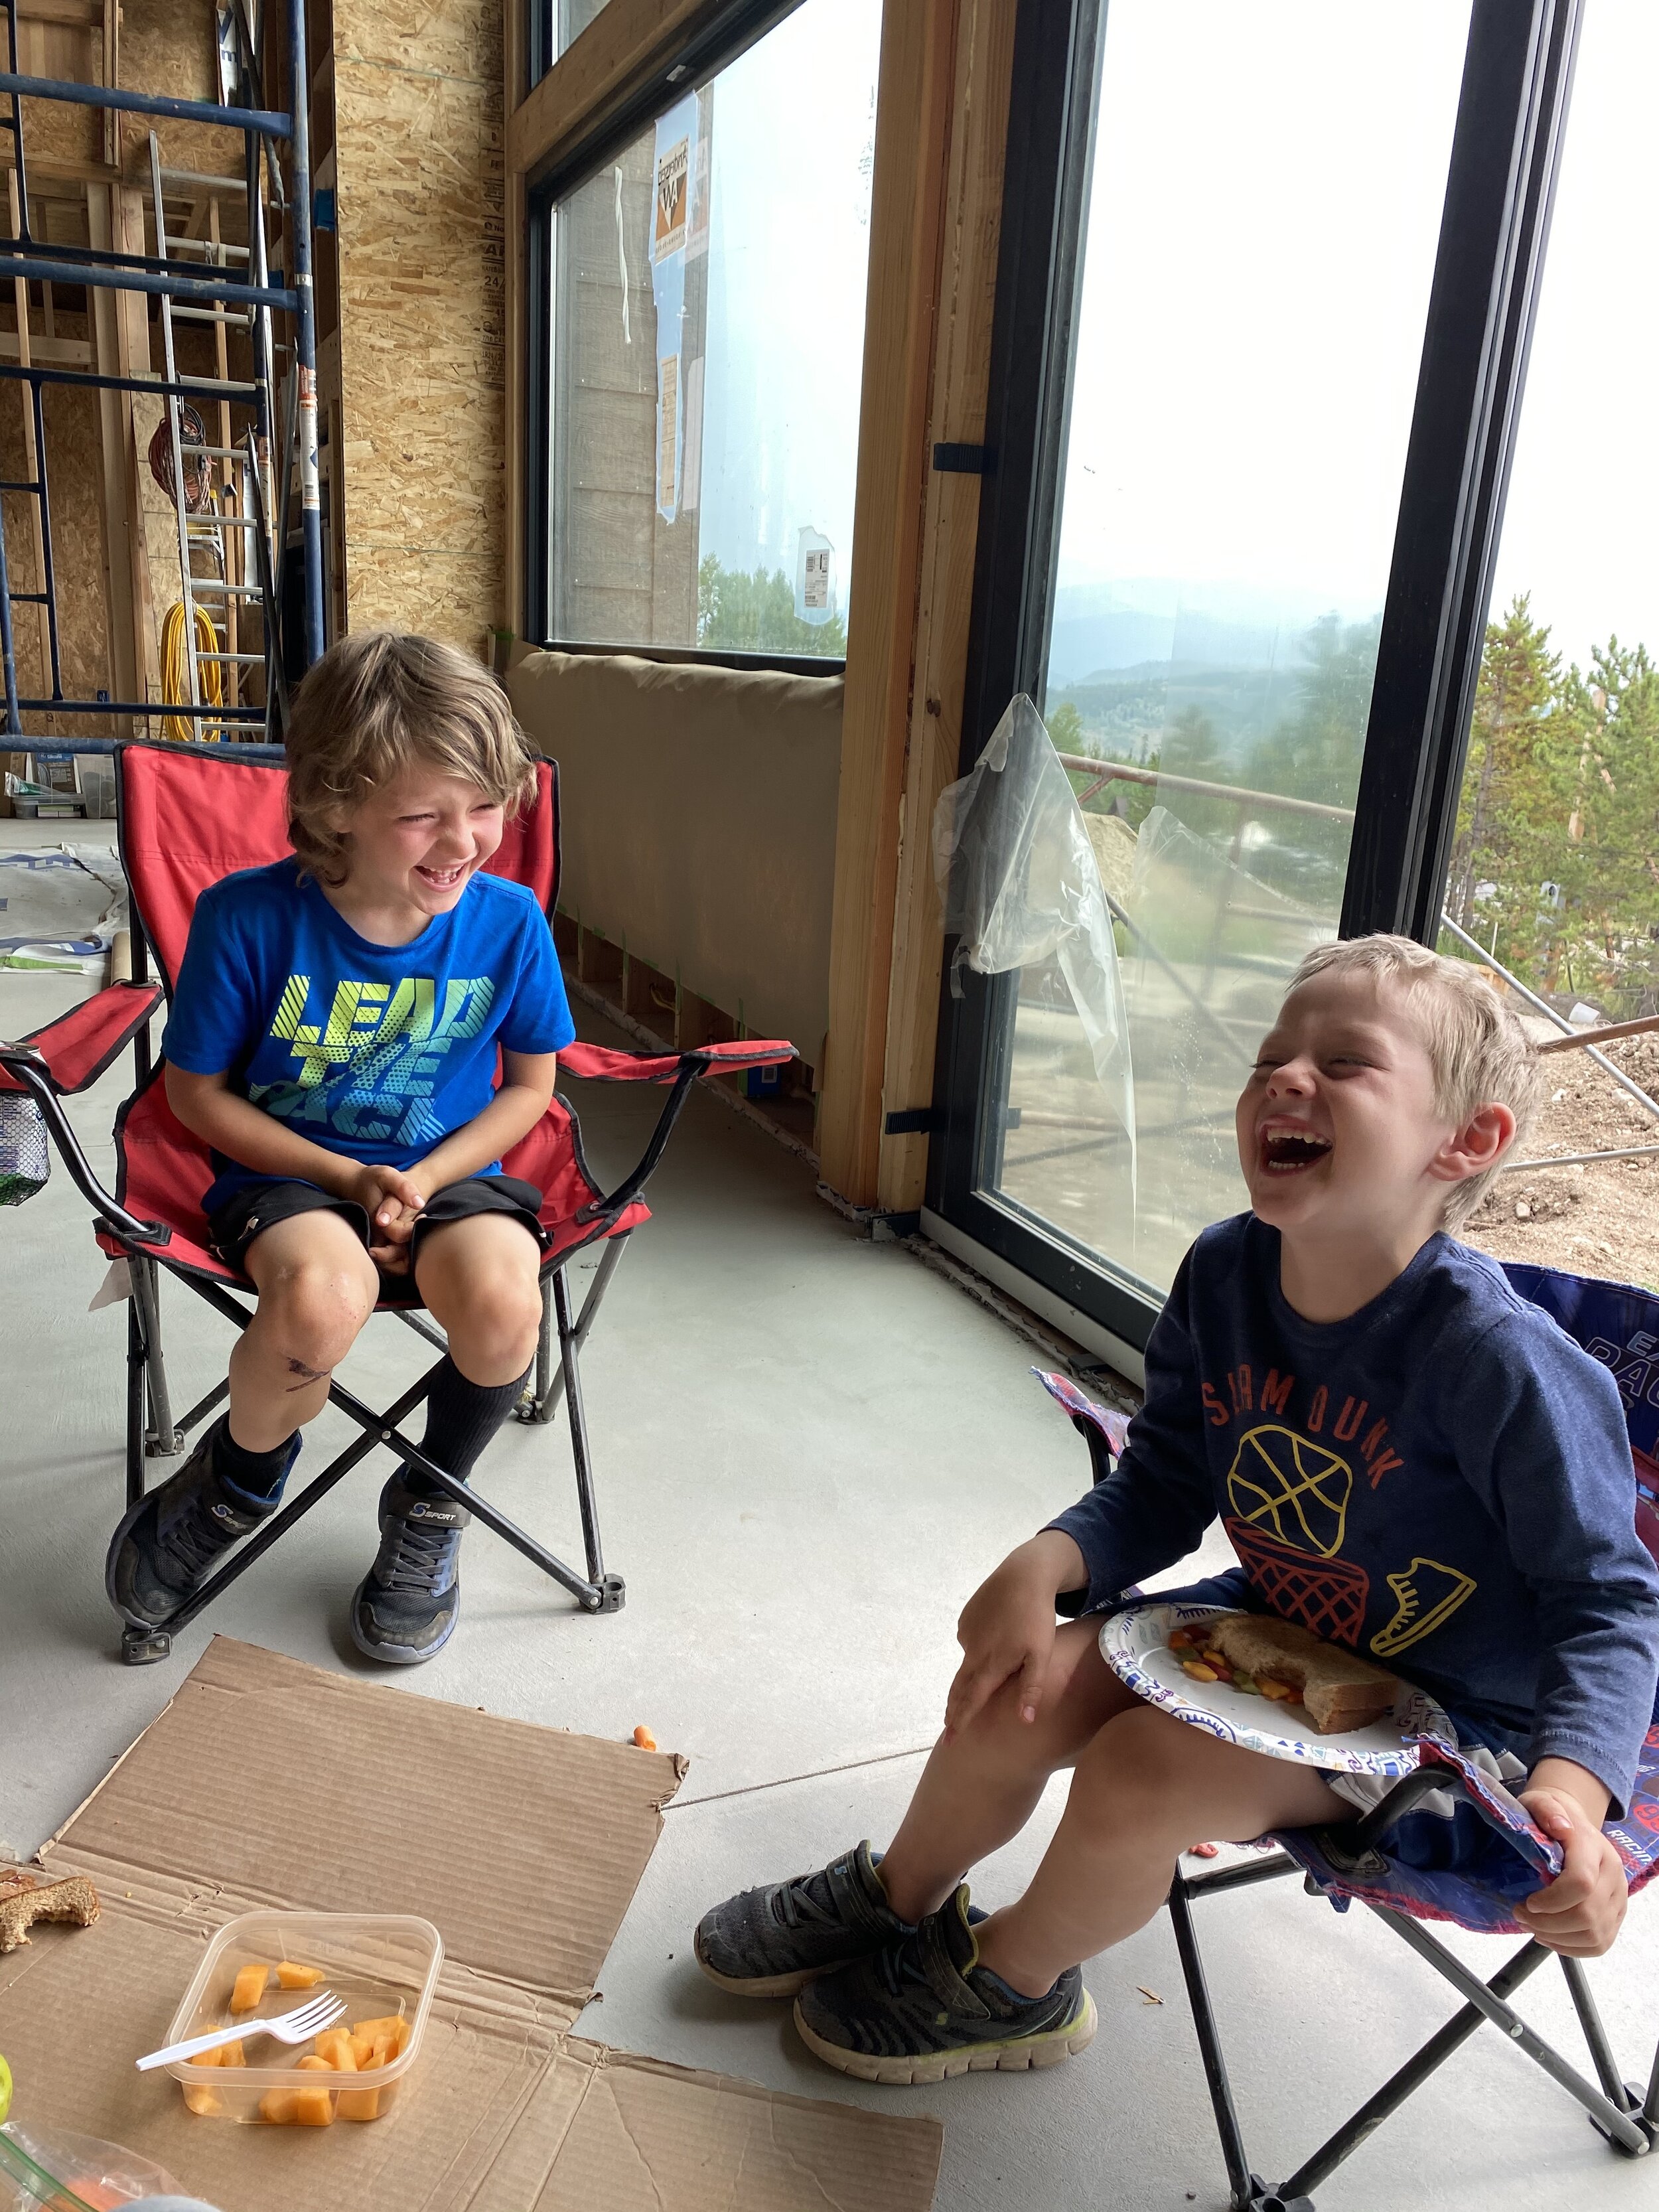
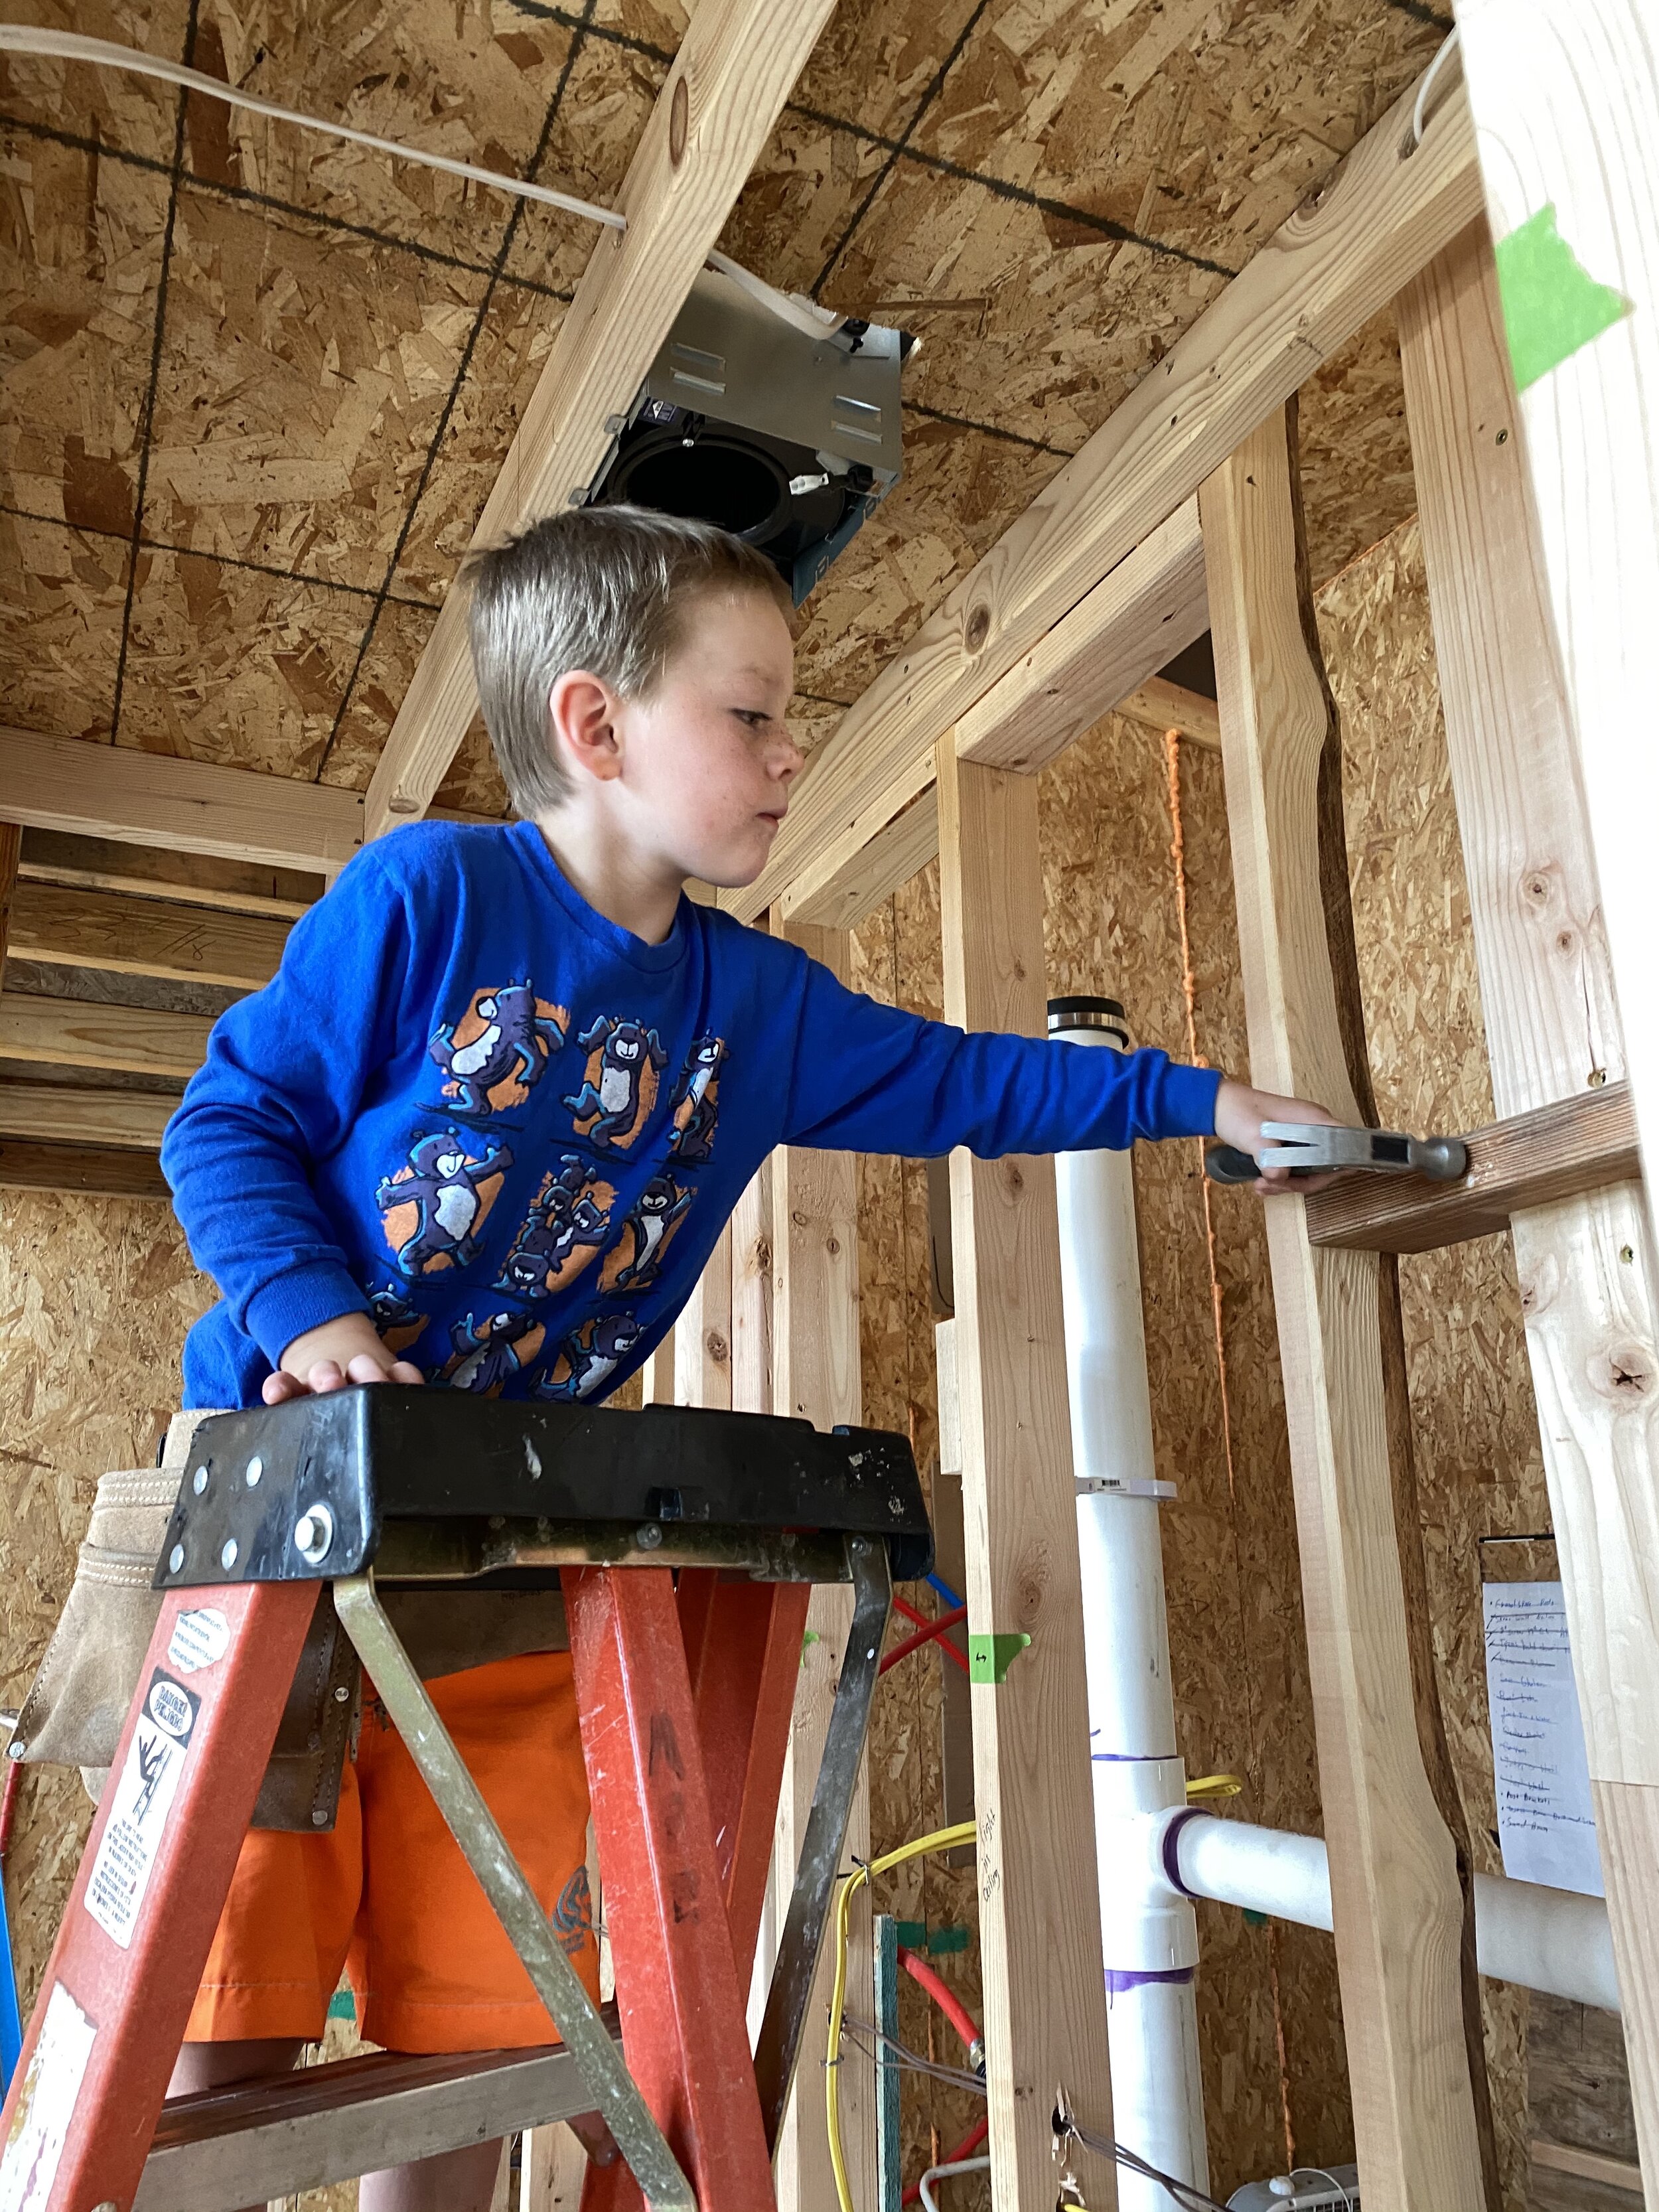
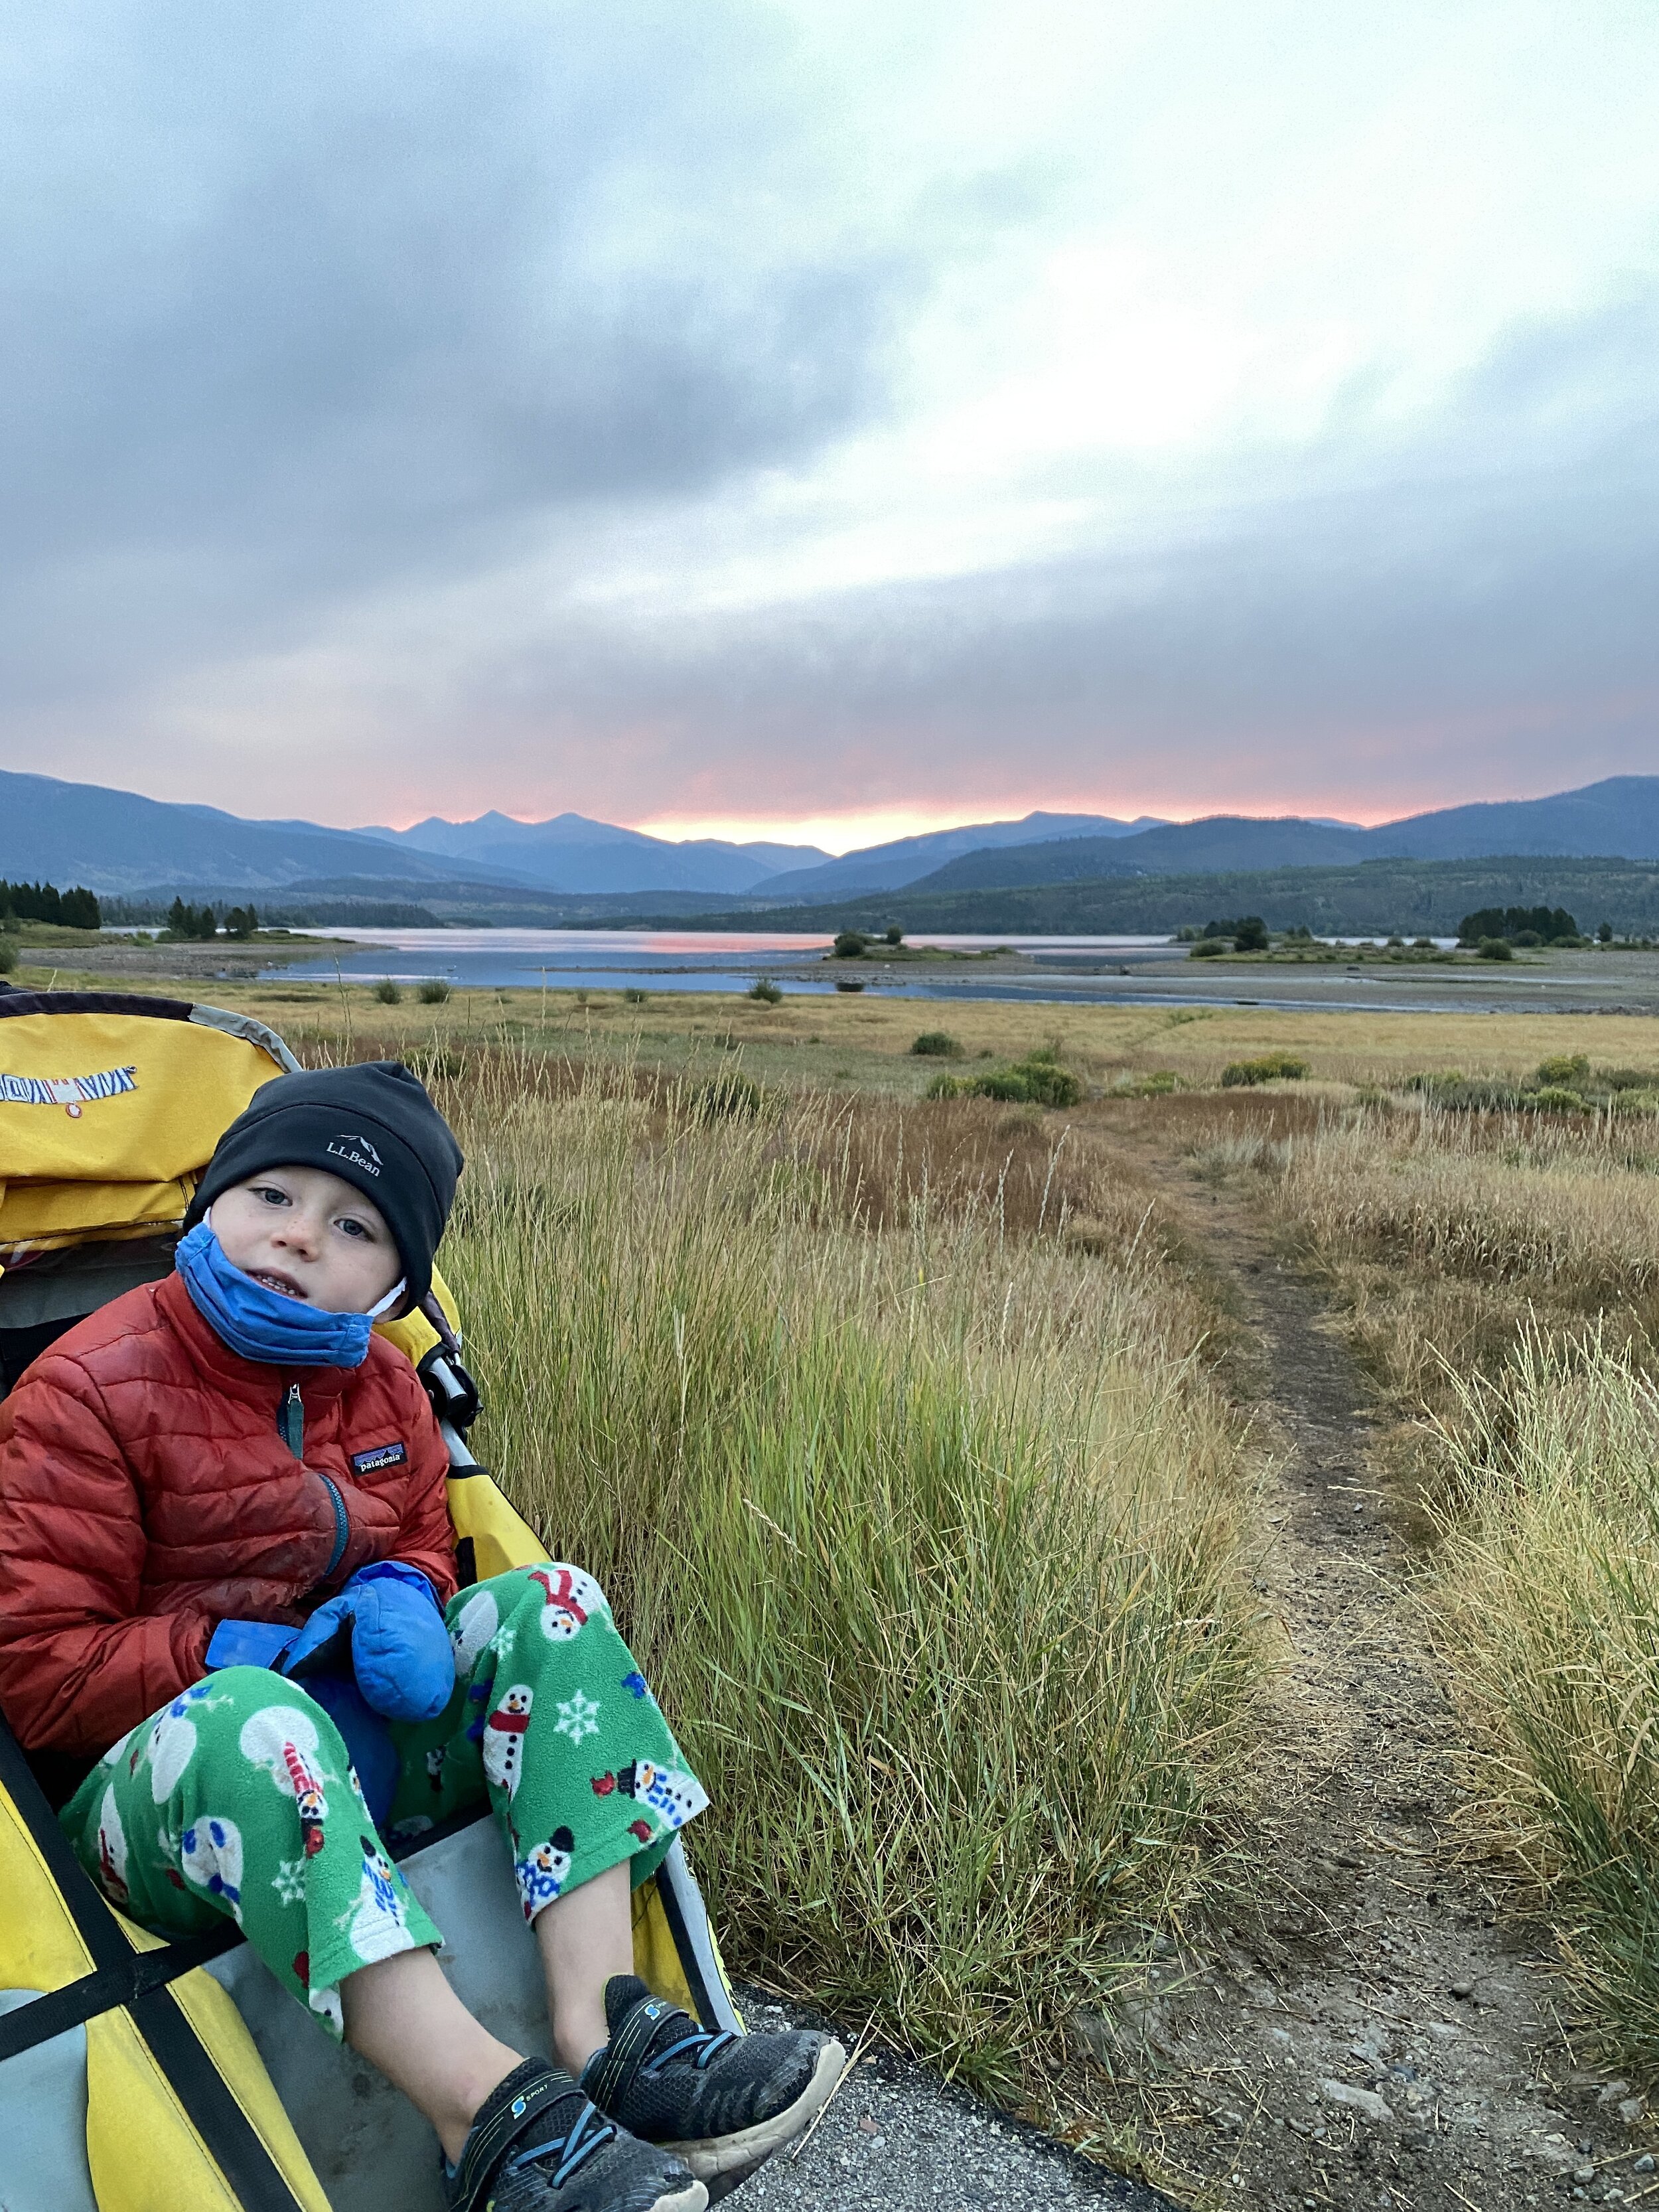
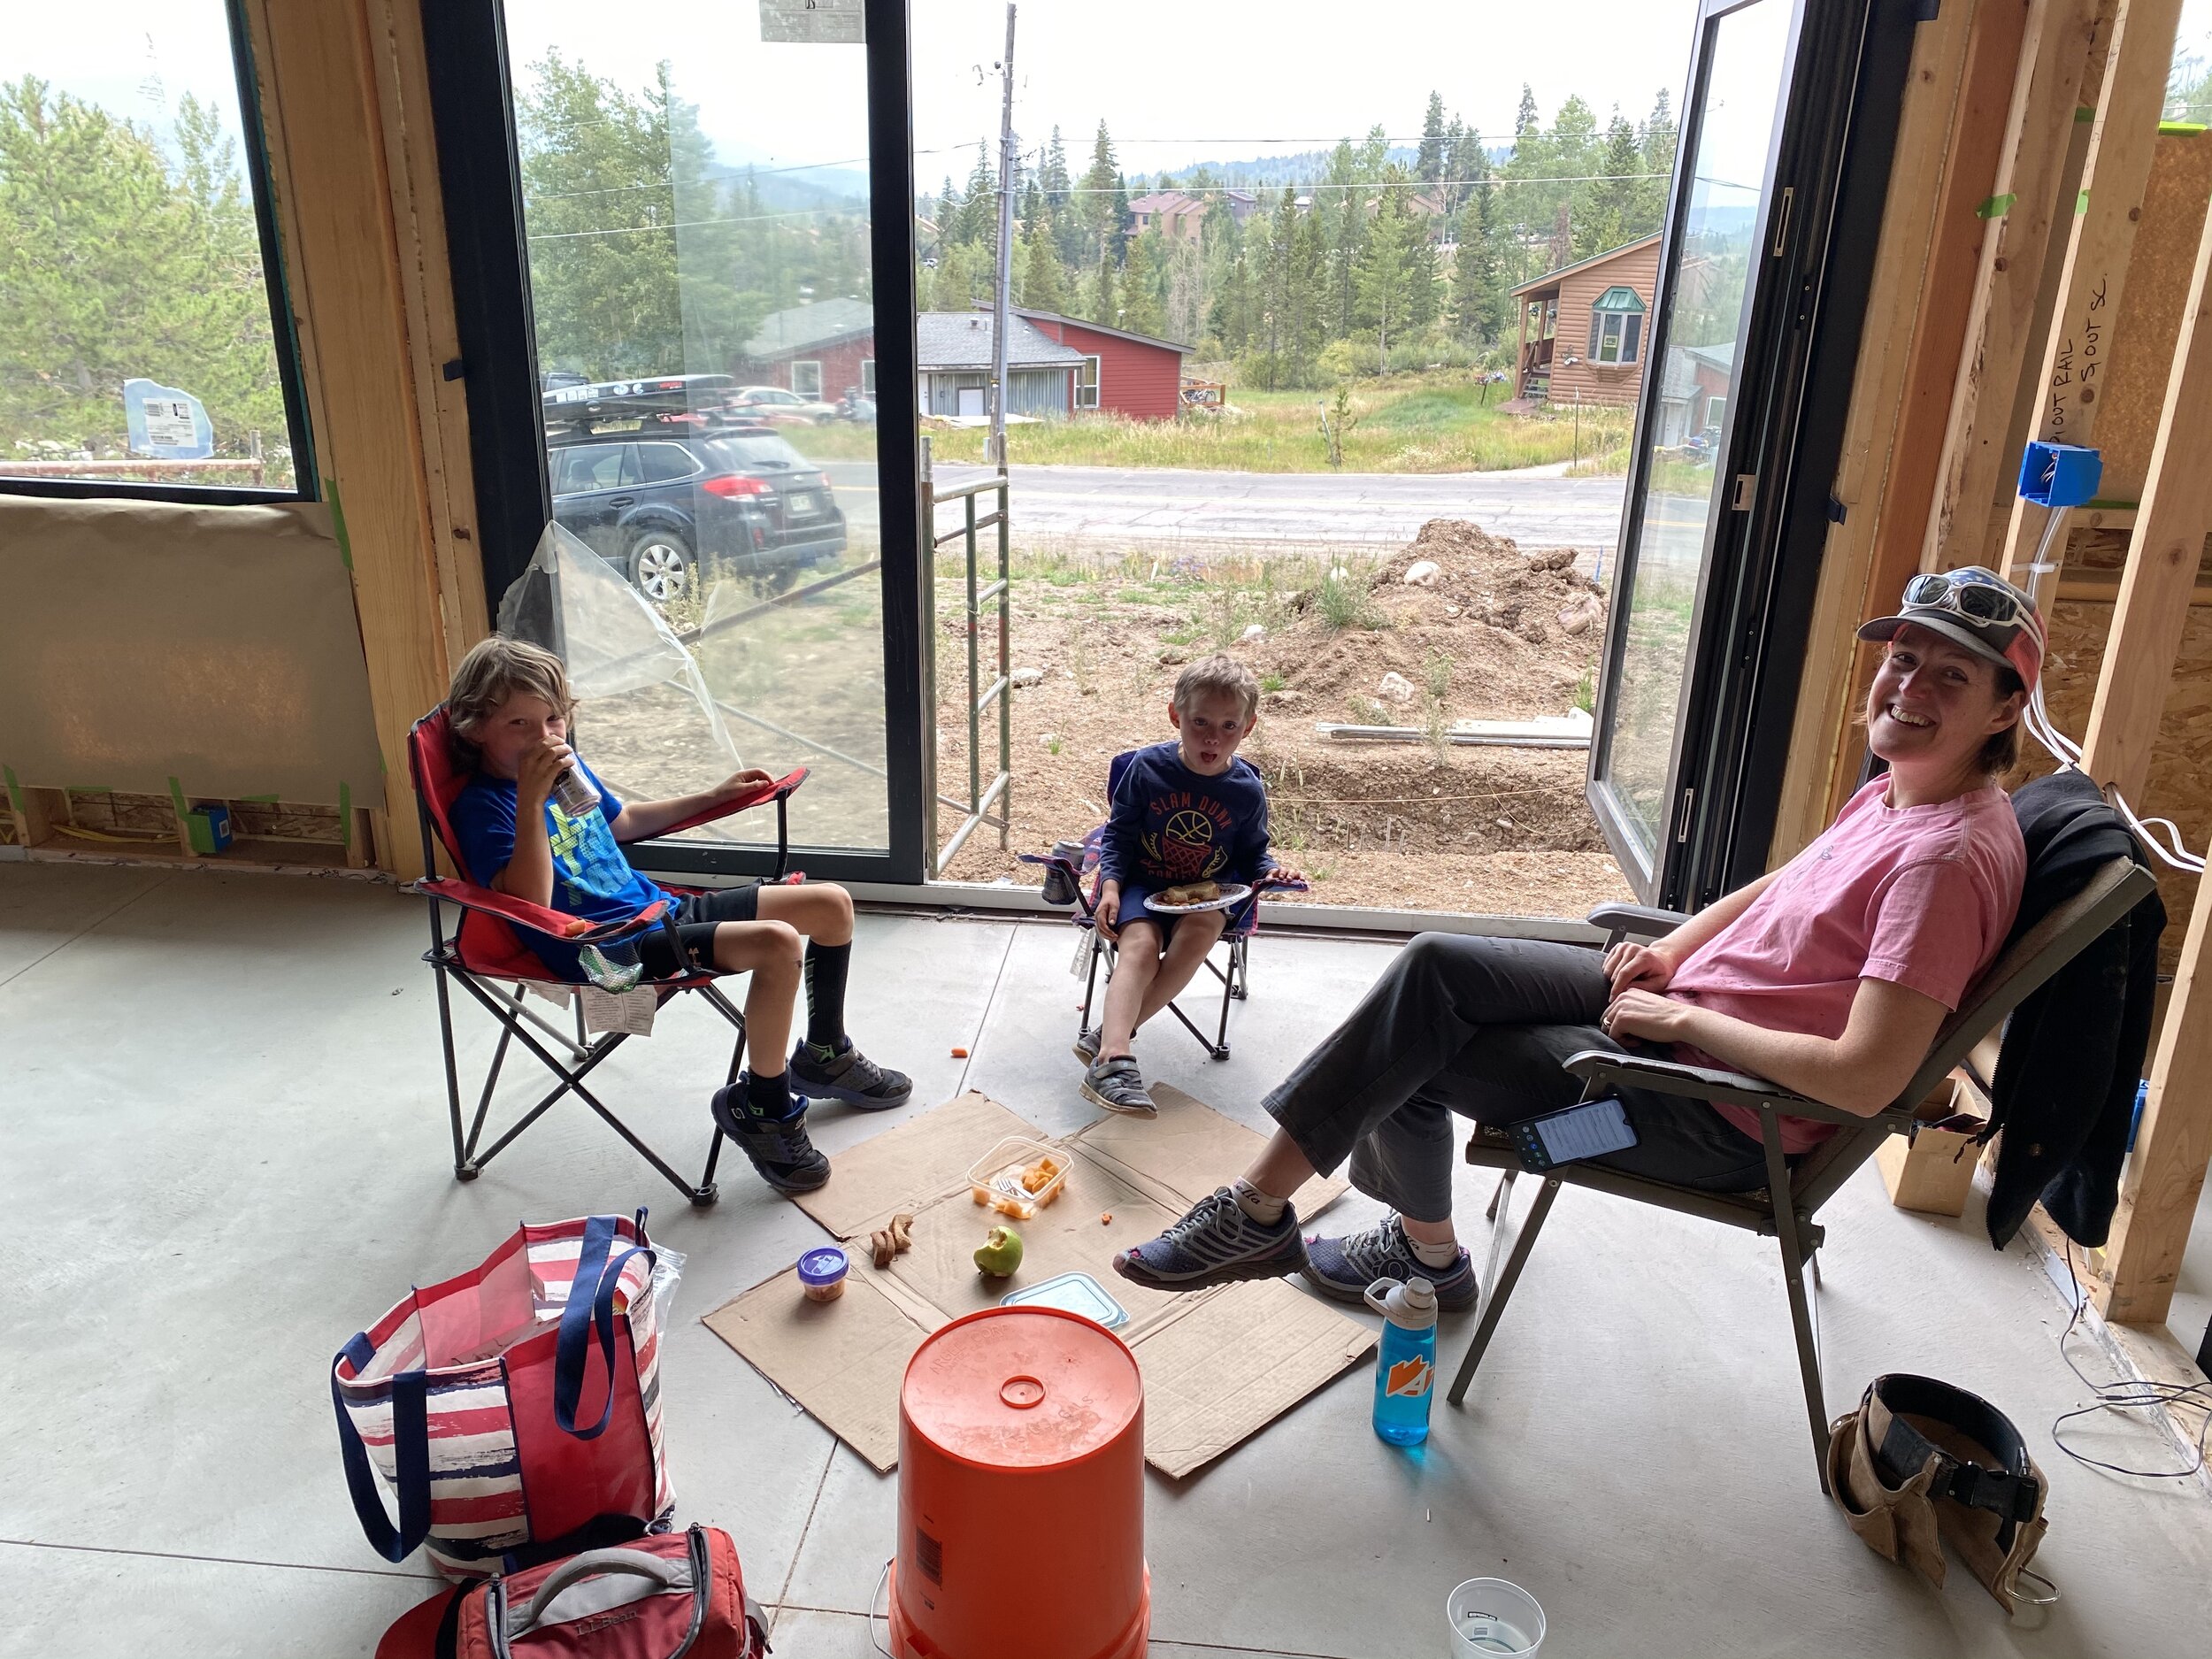
Here are a few more photos from construction and life the last couple of weeks.