Painting, Trim, Exterior Soffit, Polishing the Concrete Floor
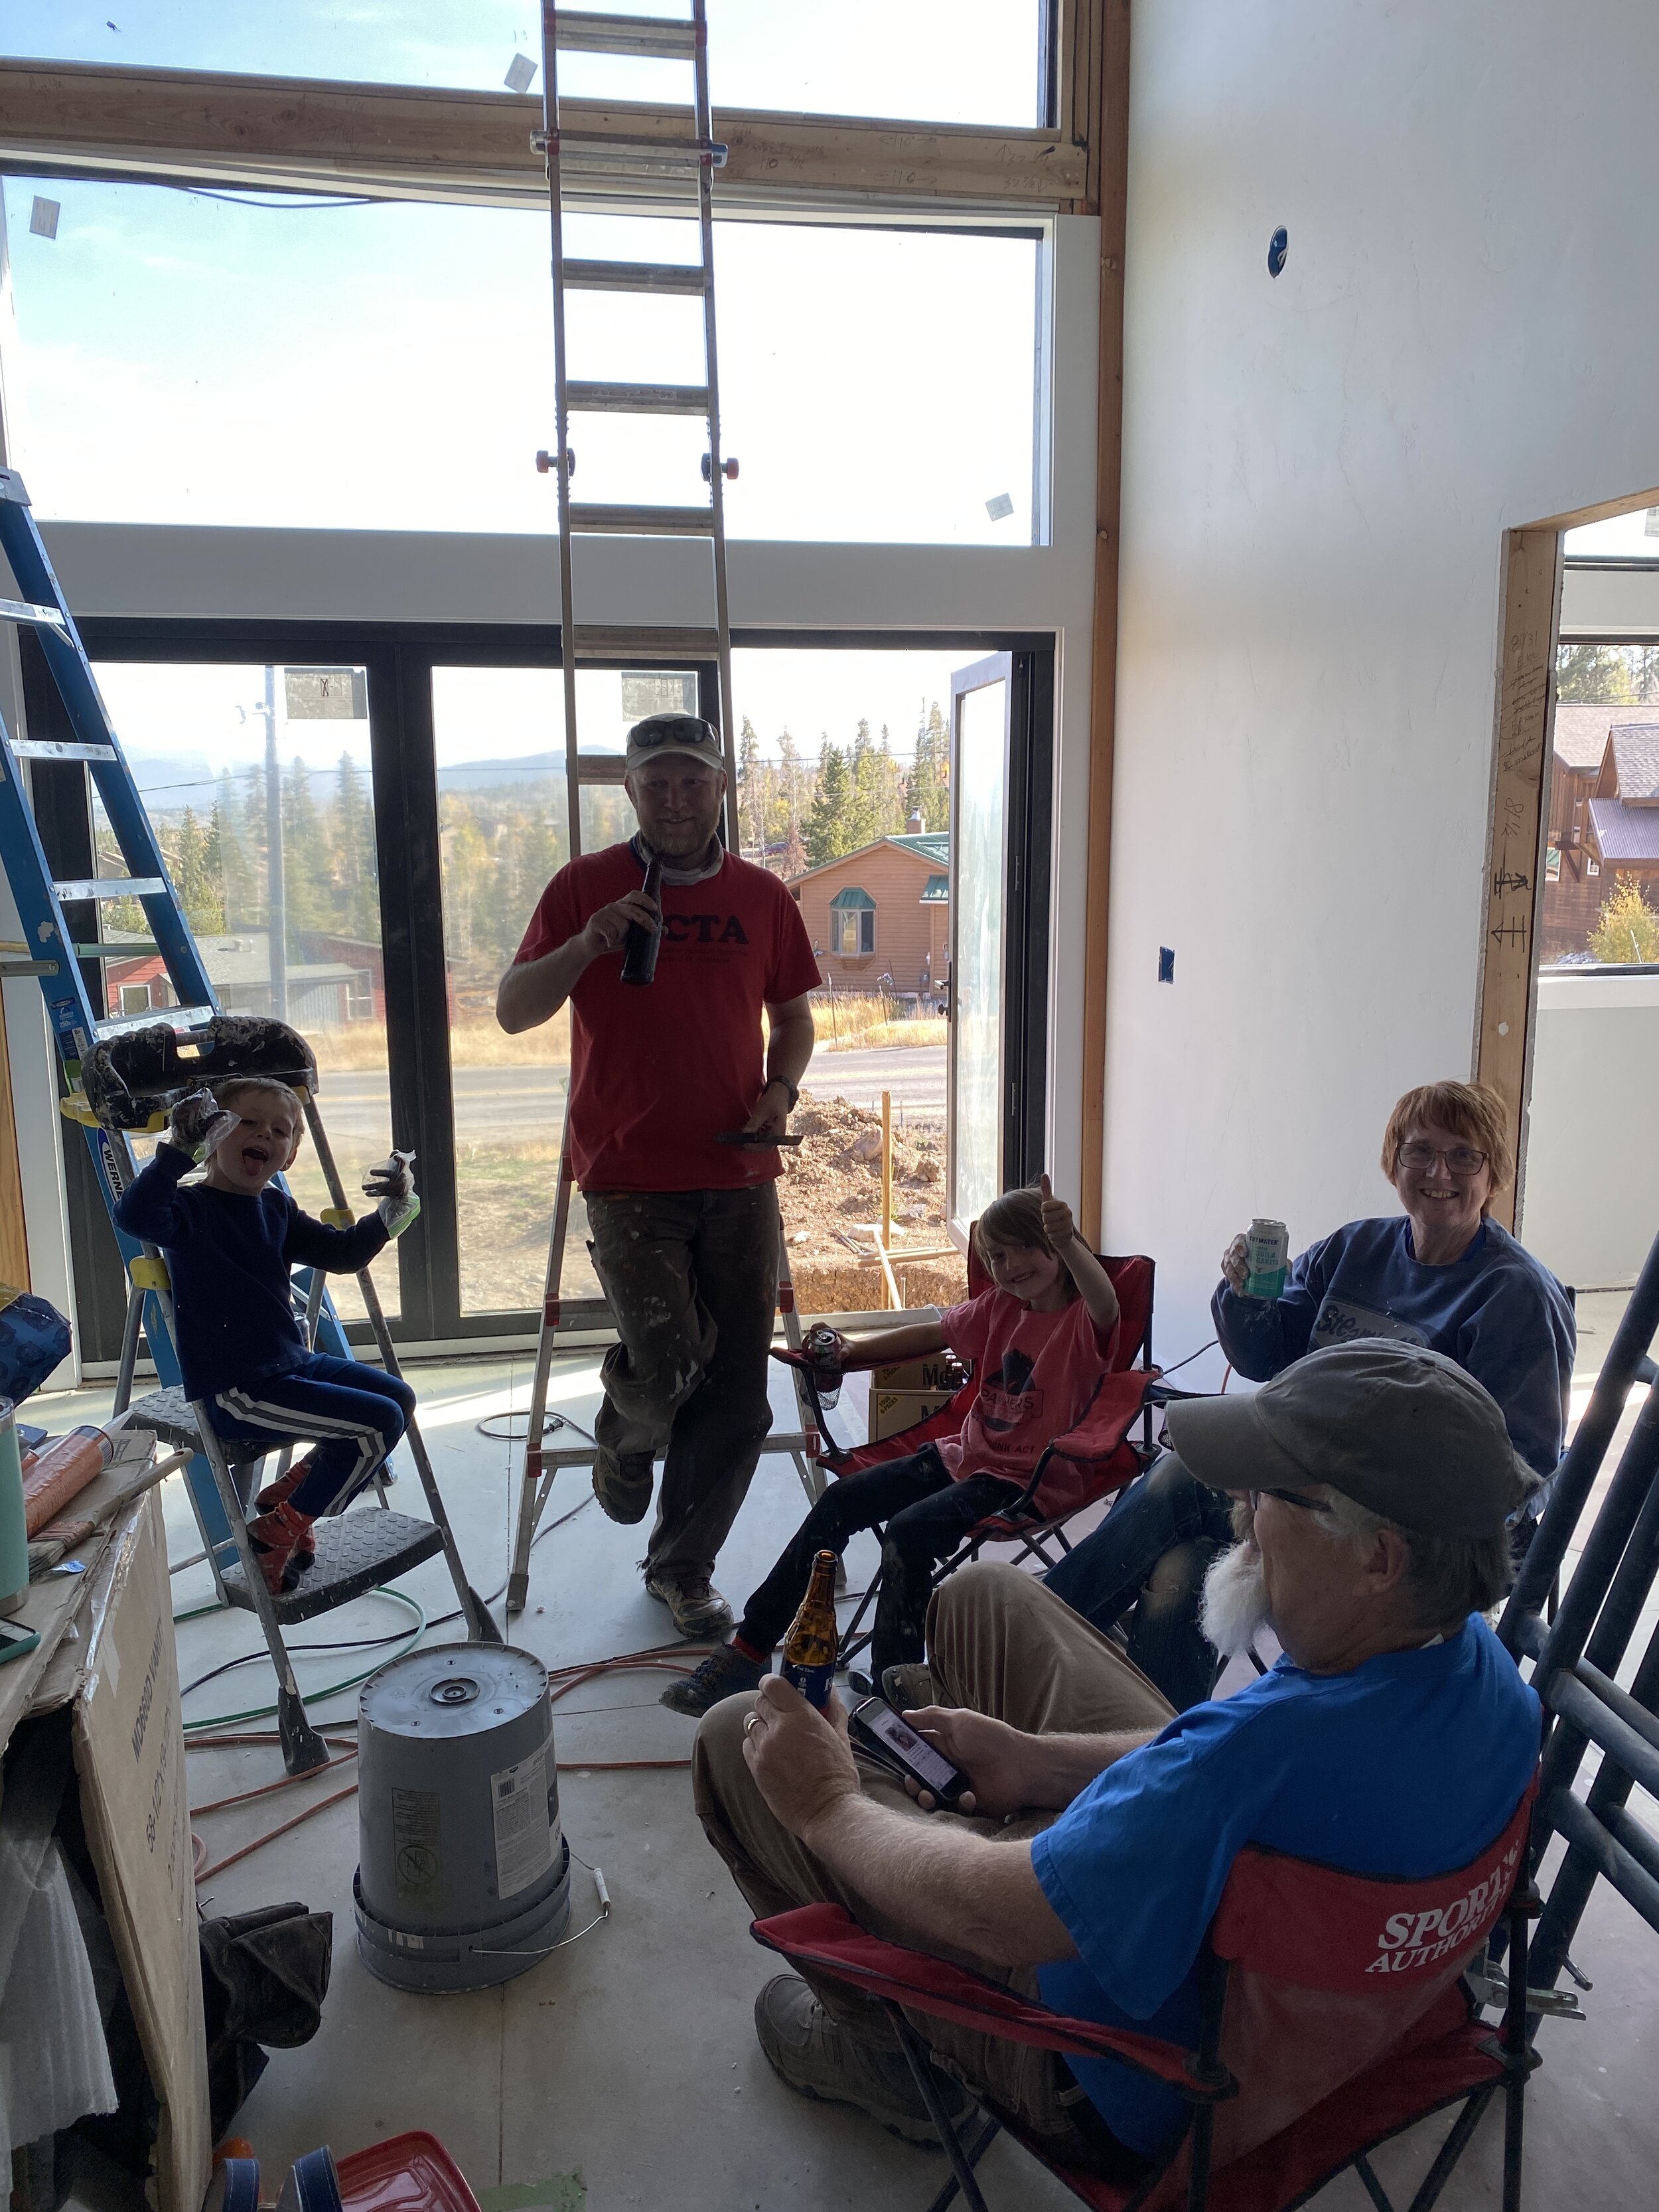
After a flurry of activity, Mom and Dad left for Michigan on October 18, staying about 10 days longer than they originally planned. They arrived on Labor Day weekend and hustled at the house every day. They did take two drives to see the fall foliage and took one trip to Breckenridge to get a crepe from Crepes a la Cart, but other than that it was all work. We’re so appreciative of their time and effort! It was a huge boost to our morale to wrap up some big projects while they were here!
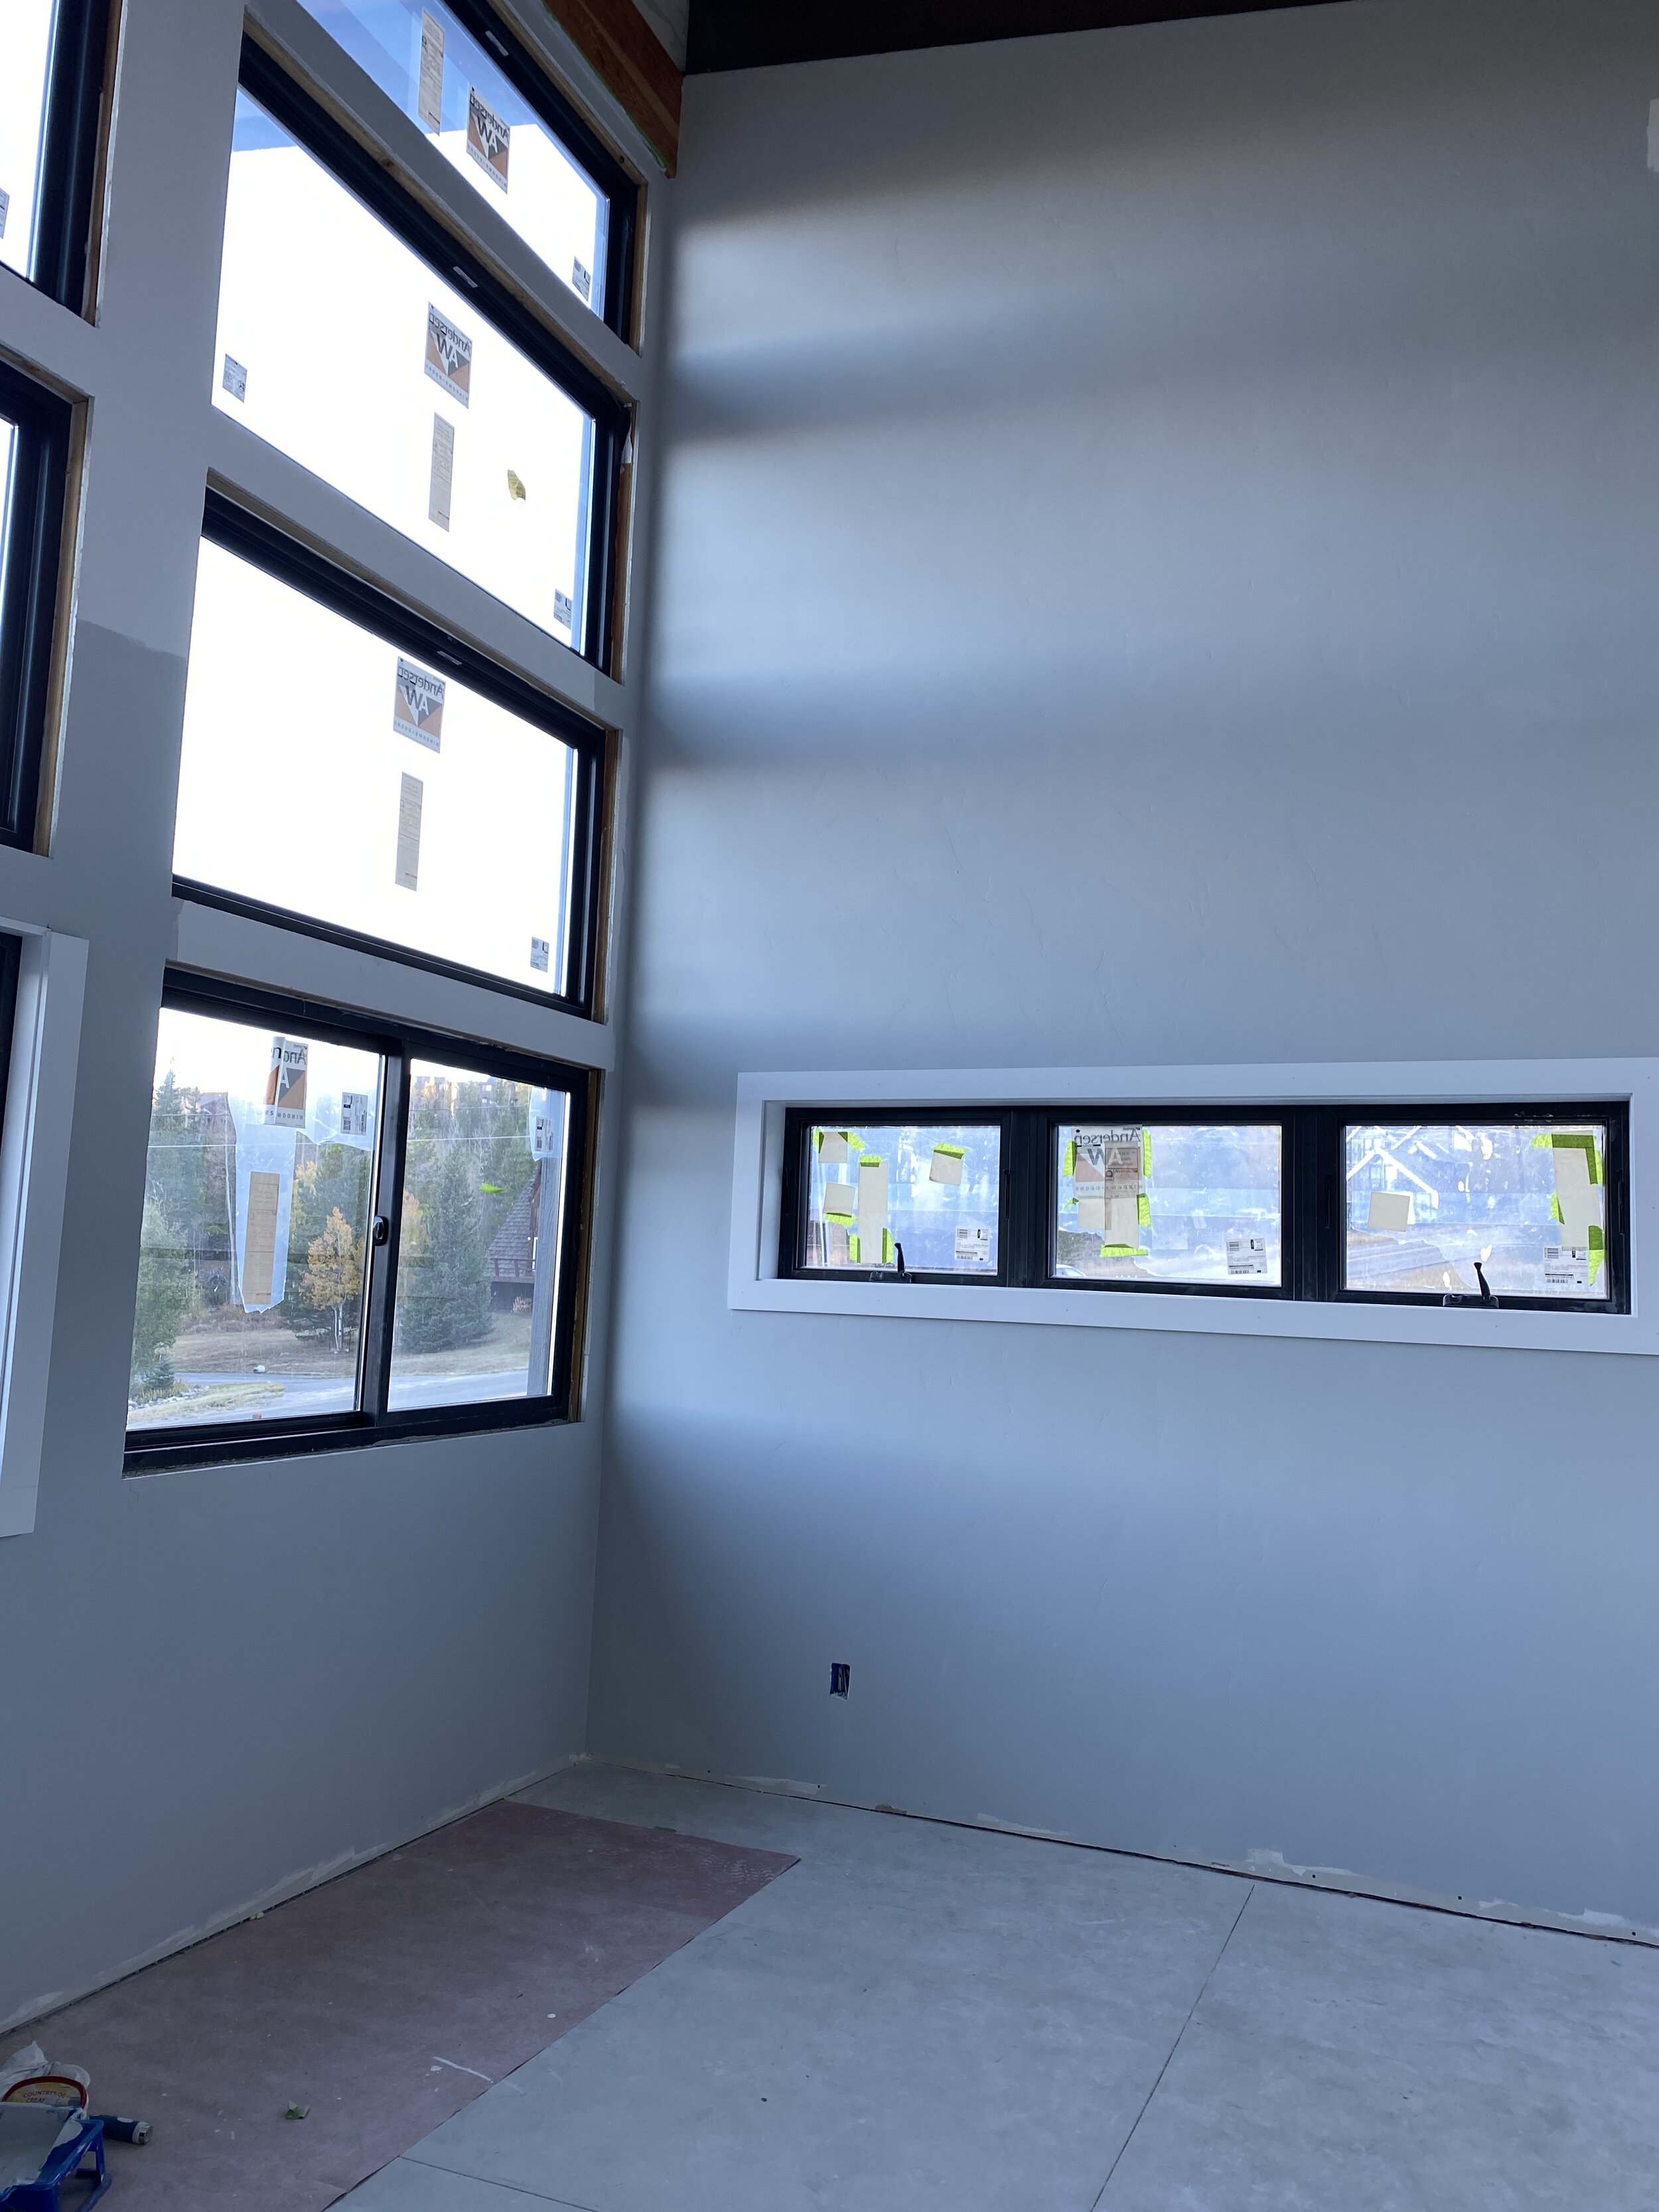
It was a full on painting blitz for a couple of weeks! With the exception of the small space above the glulam beam, every room is fully painted. We went through nearly 20 gallons of primer and then about 15 gallons of paint. Whew. It’s a good thing my Mom enjoys painting, because she basically spent her entire “vacation” painting walls, ceilings, and TONS of window trim.

Mom painting the master bath.
Our neighbors are currently in the early construction phases and just applied tar to damproof their crawl space. Our curious Corbin wanted to see what that was all about and submerged his hands totally in tar! Don’t worry - it wasn’t hot tar. After trying every sort of cleaning option on the job site, we learned from Google that canola oil can remove tar. After 30-45 minutes of soaking his hands in two huge bags of canola oil, it came off! Hopefully you never need this tip! Whew. Another story for the book.

Tar all over! We had to throw all his clothes away too.
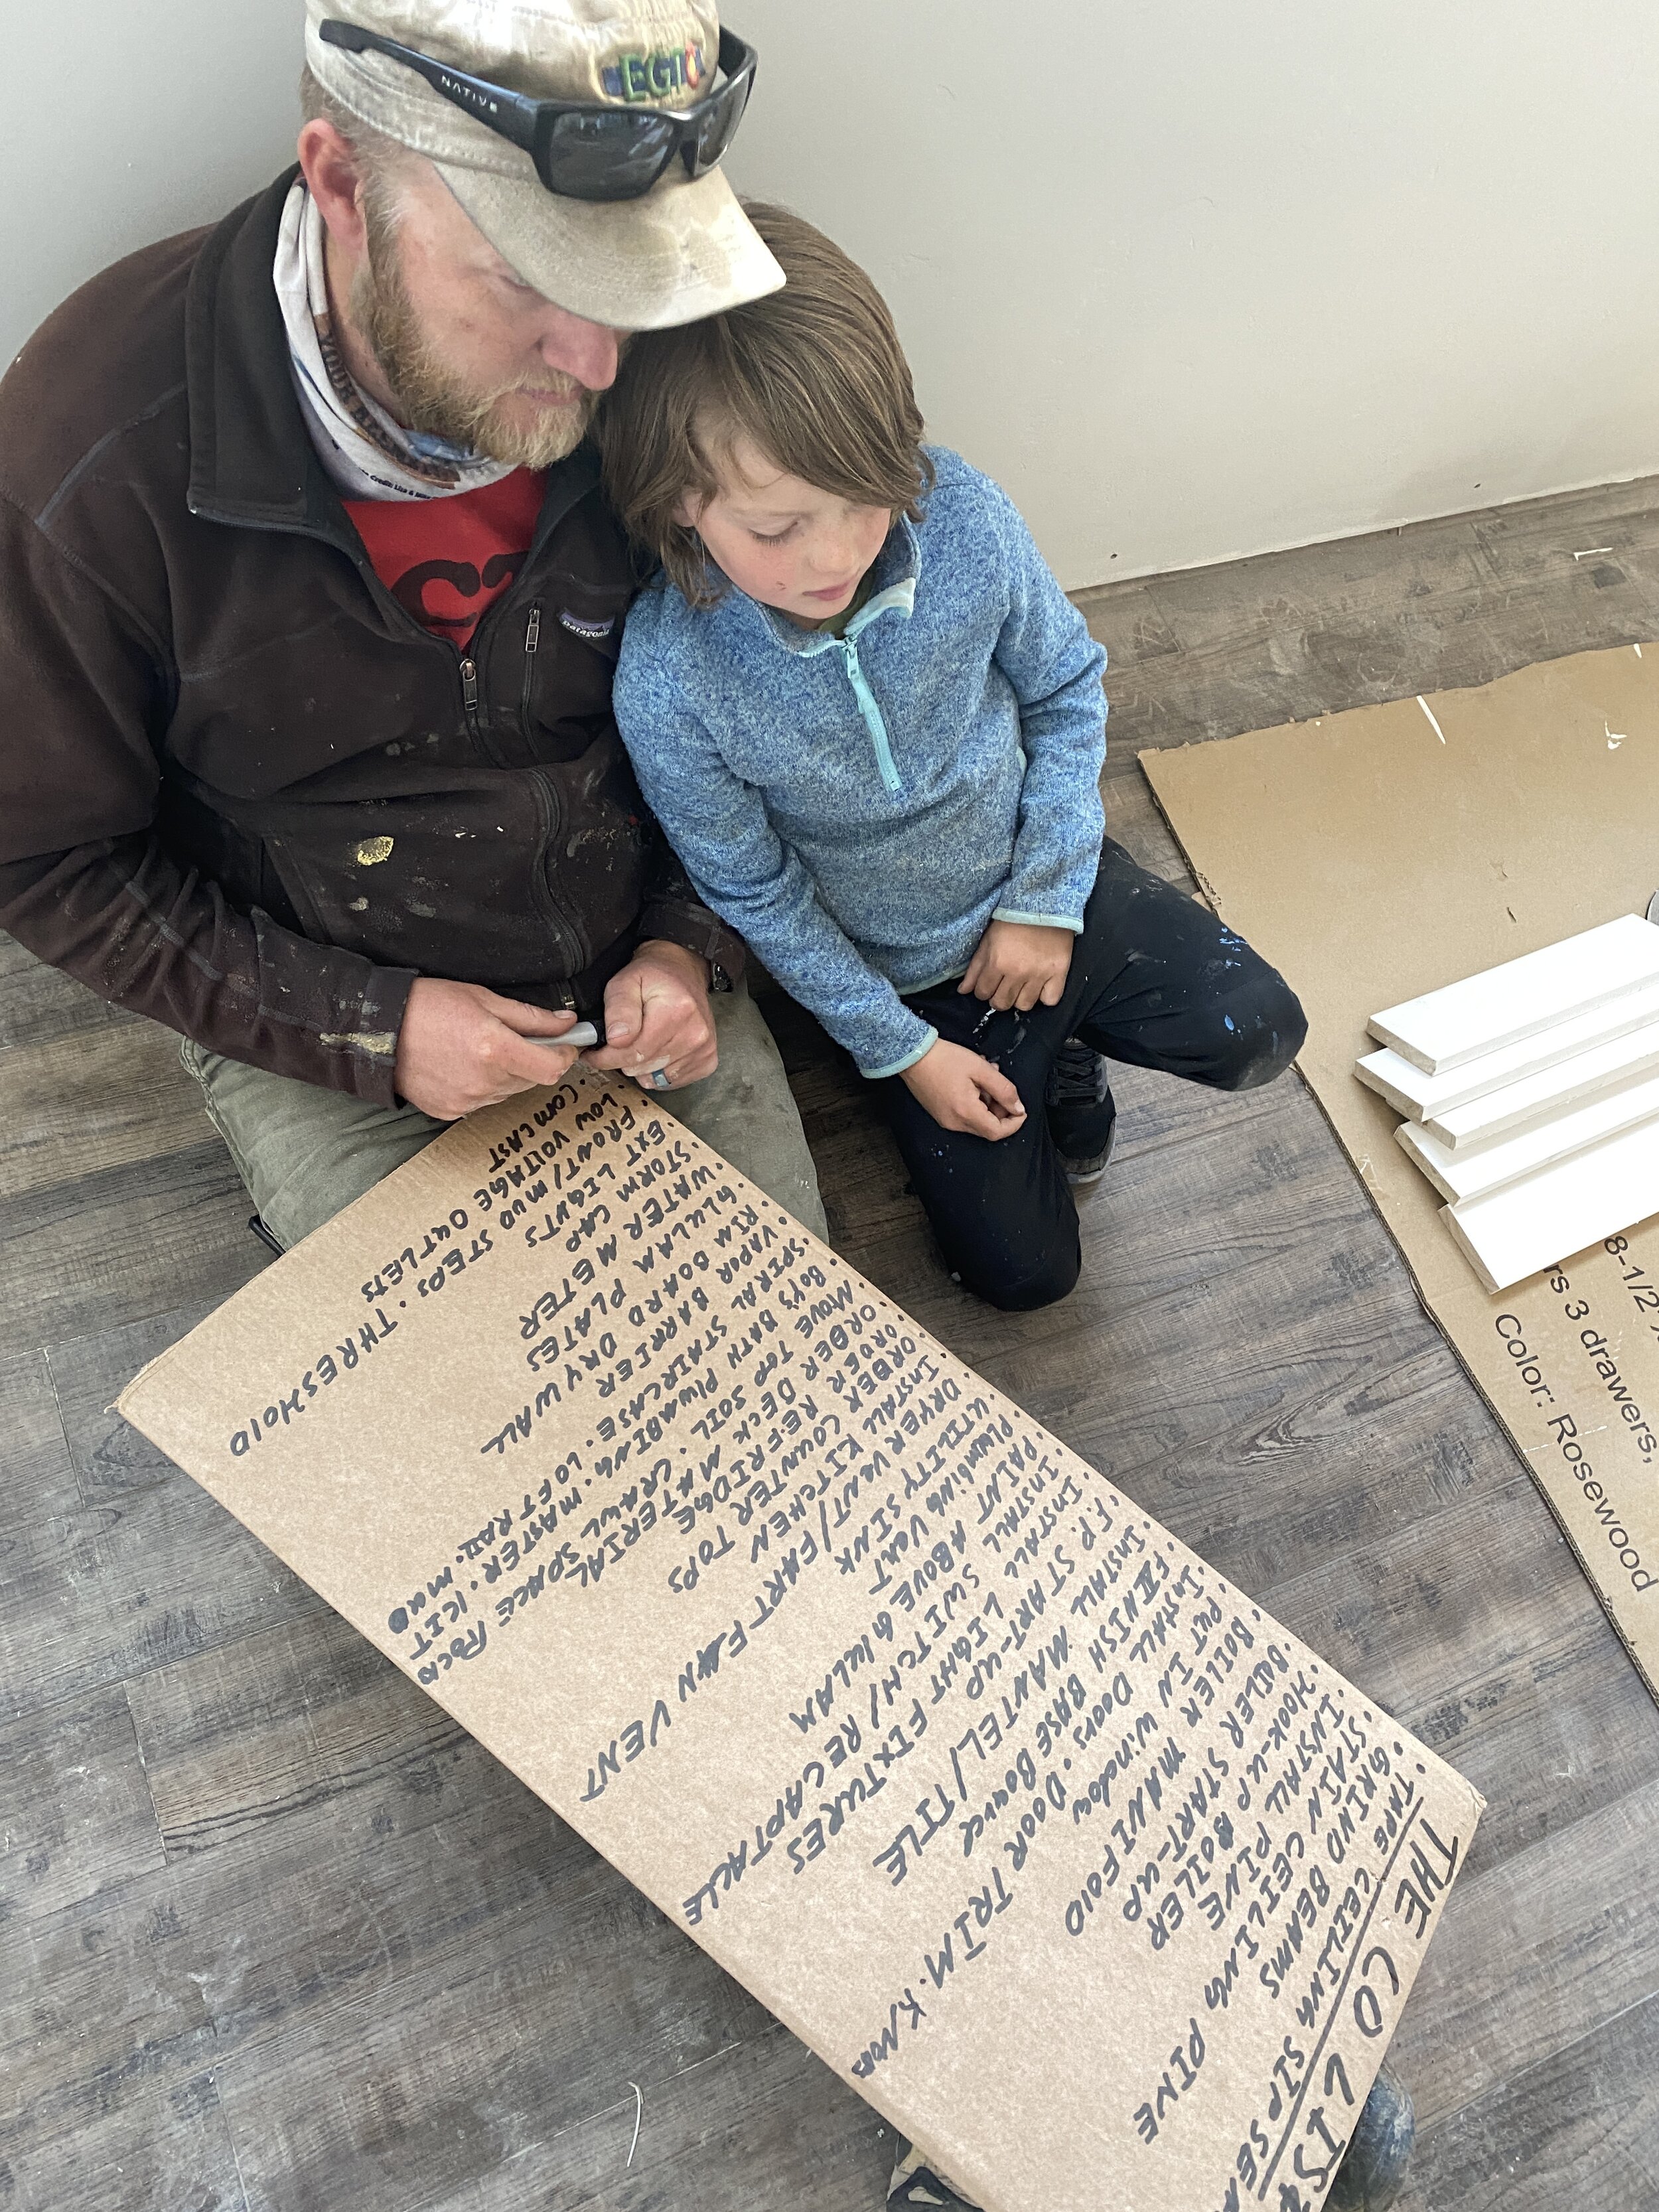
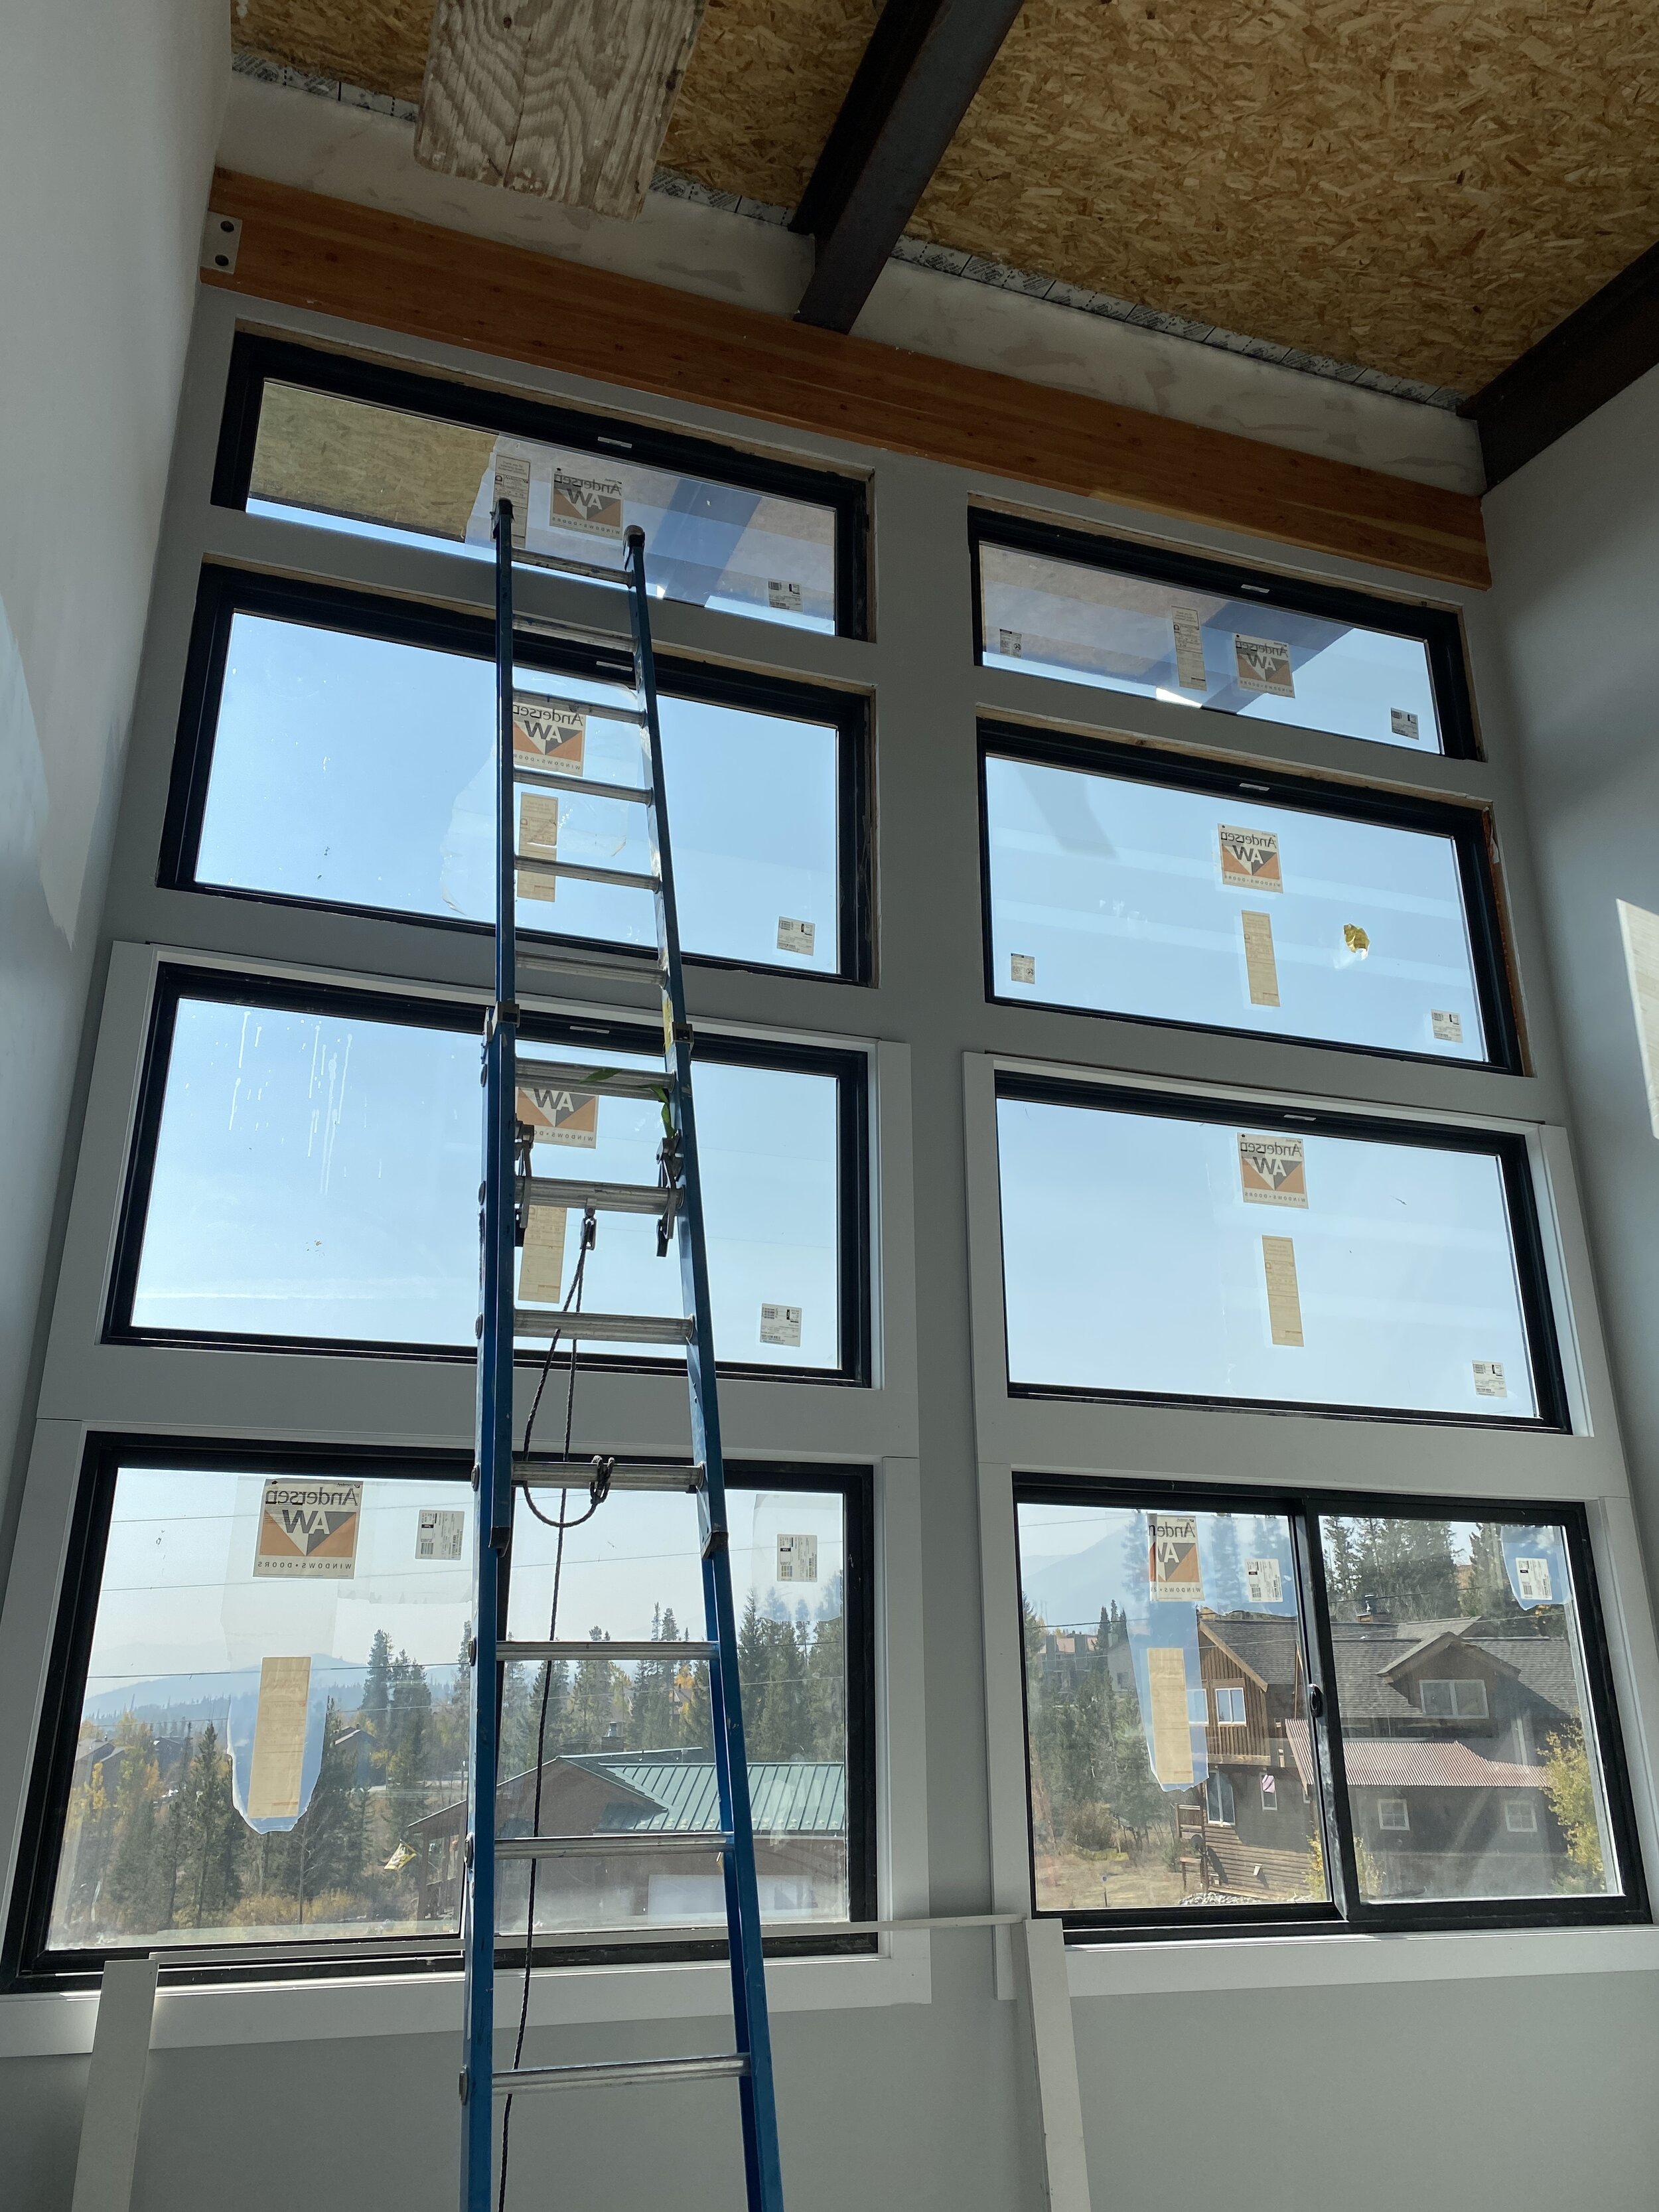
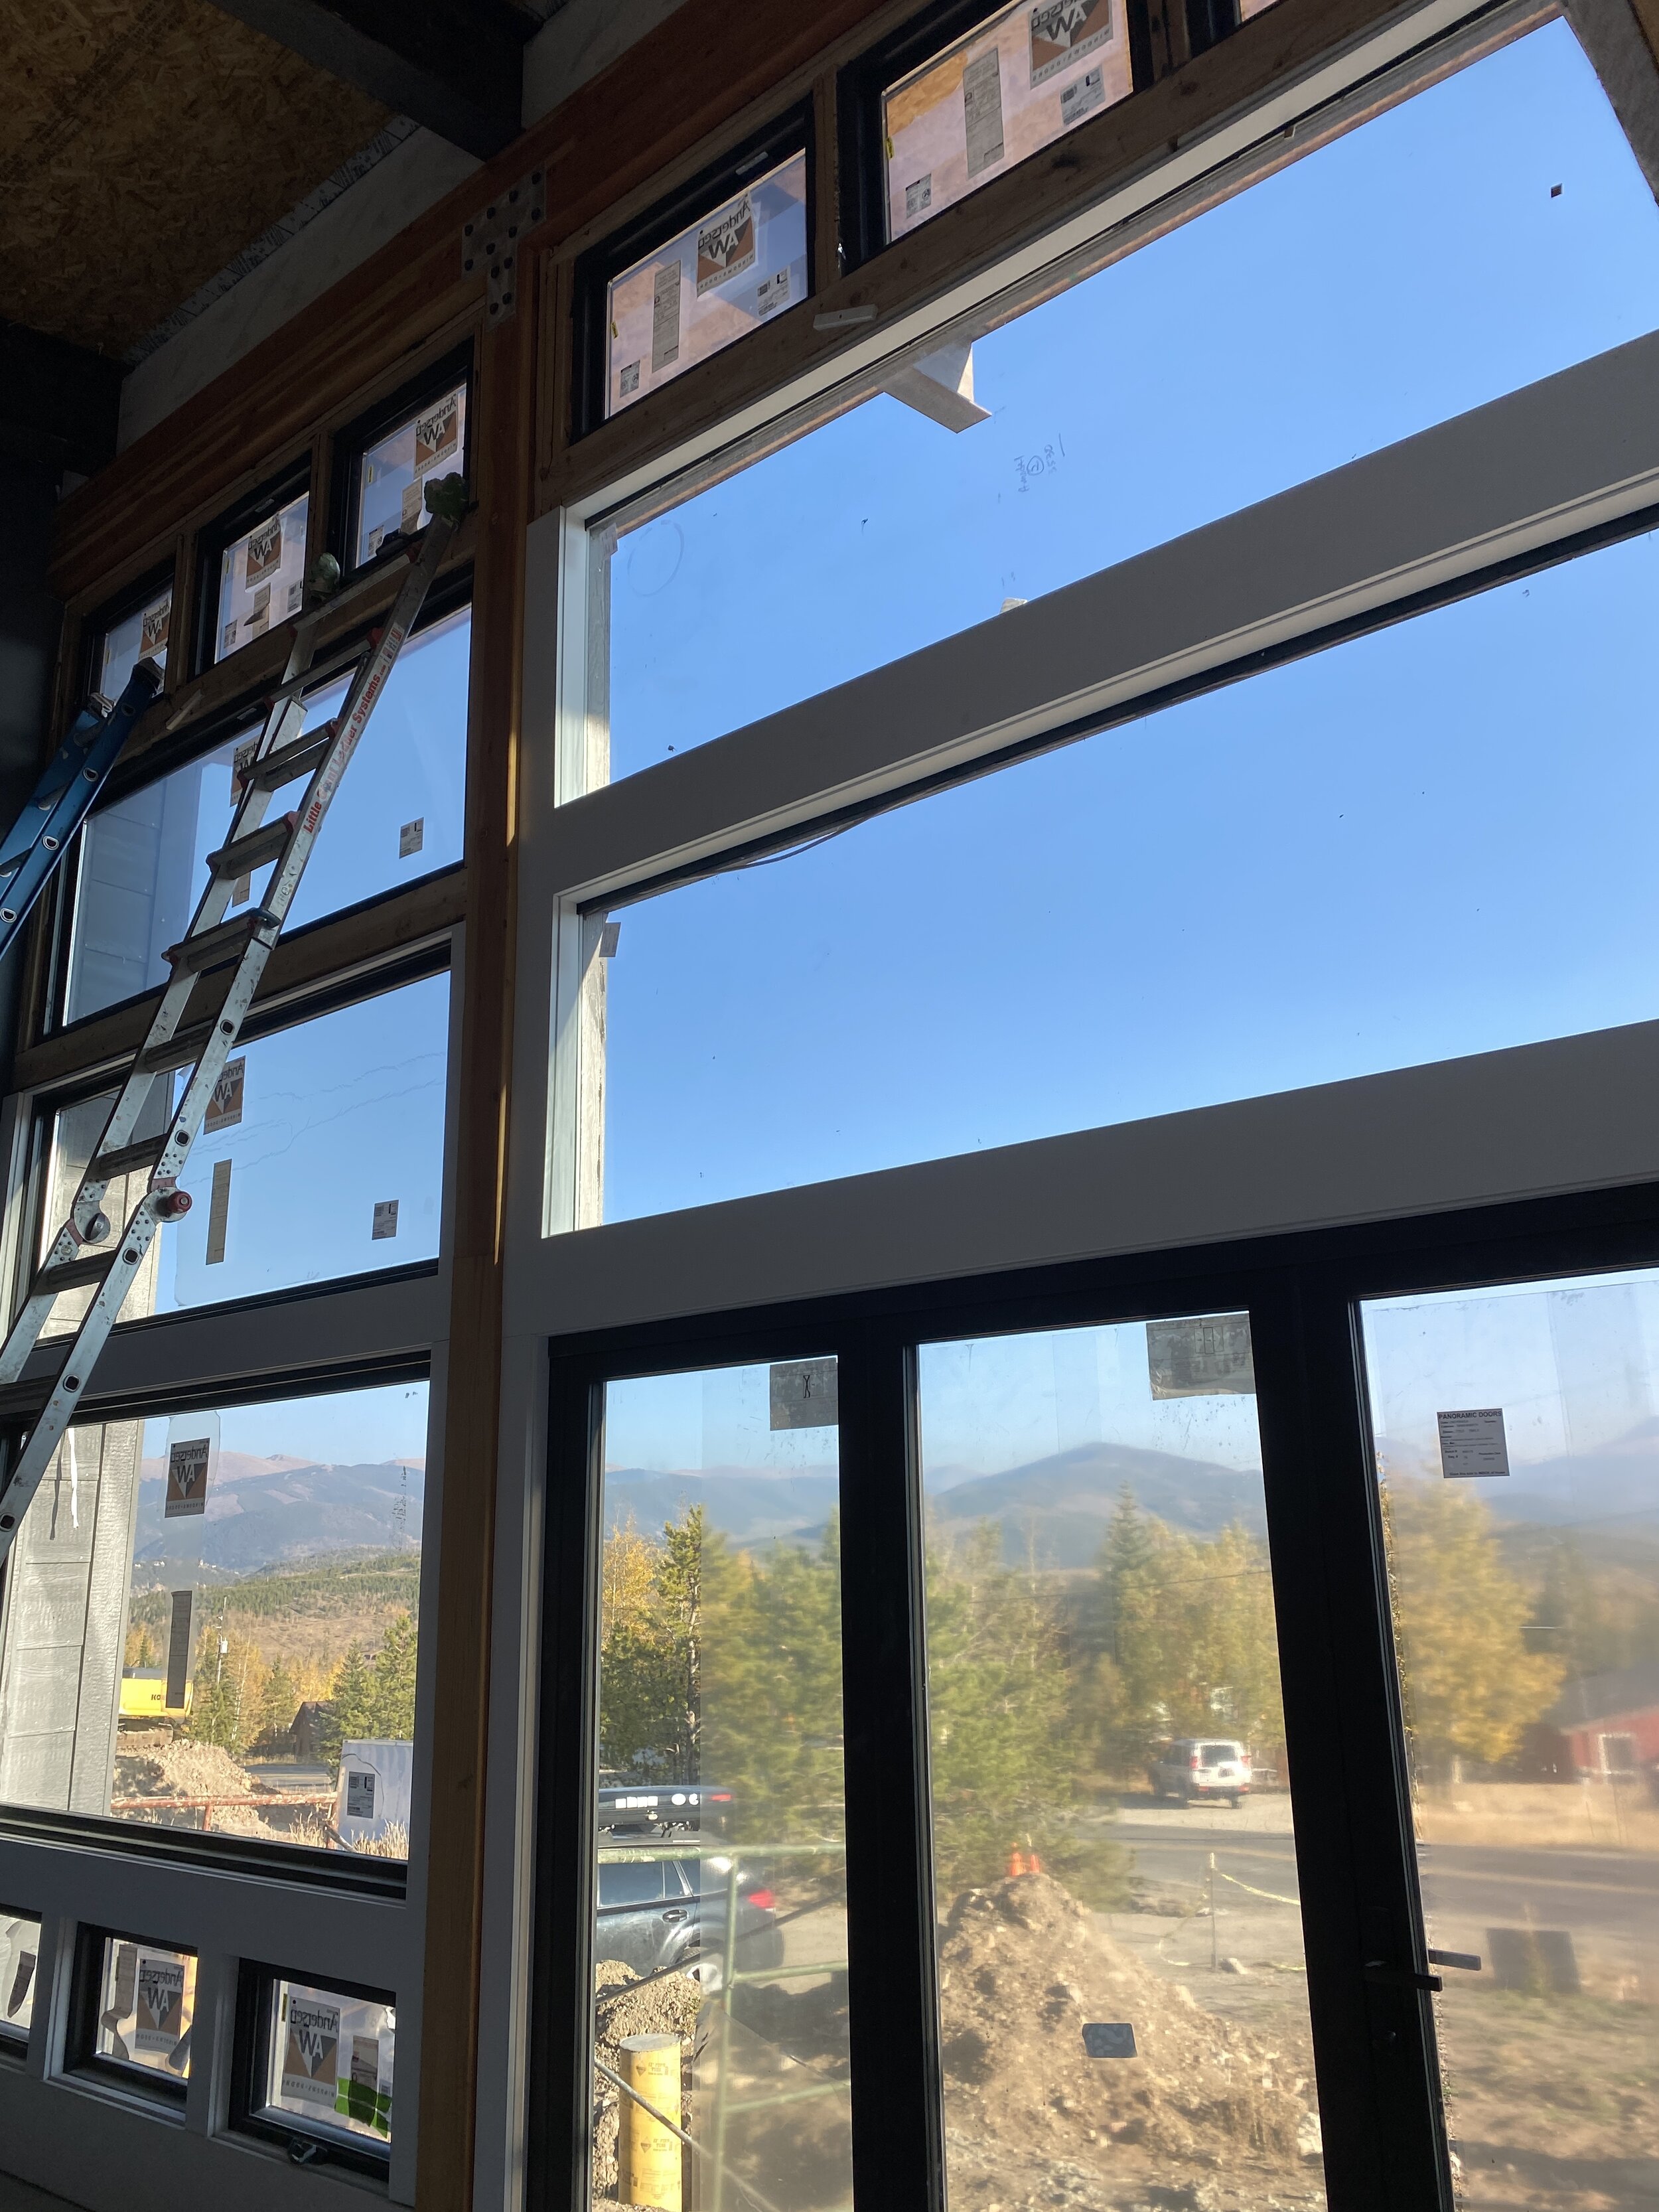
While we were busy painting, Dad was working on building and installing our window trim for all 42 windows! He built each individual unit out of pre-primed finger jointed pine, then Mom would add two coats of paint, then the whole unit would get installed. He had some nifty tools that made this job much easier including a Kreg jig and a small handheld planer. He’s been anxious to install window trim for a long time. We love the clean lines and simplicity of the trim LOVE how everything turned out.

Master bedroom window trim going in!
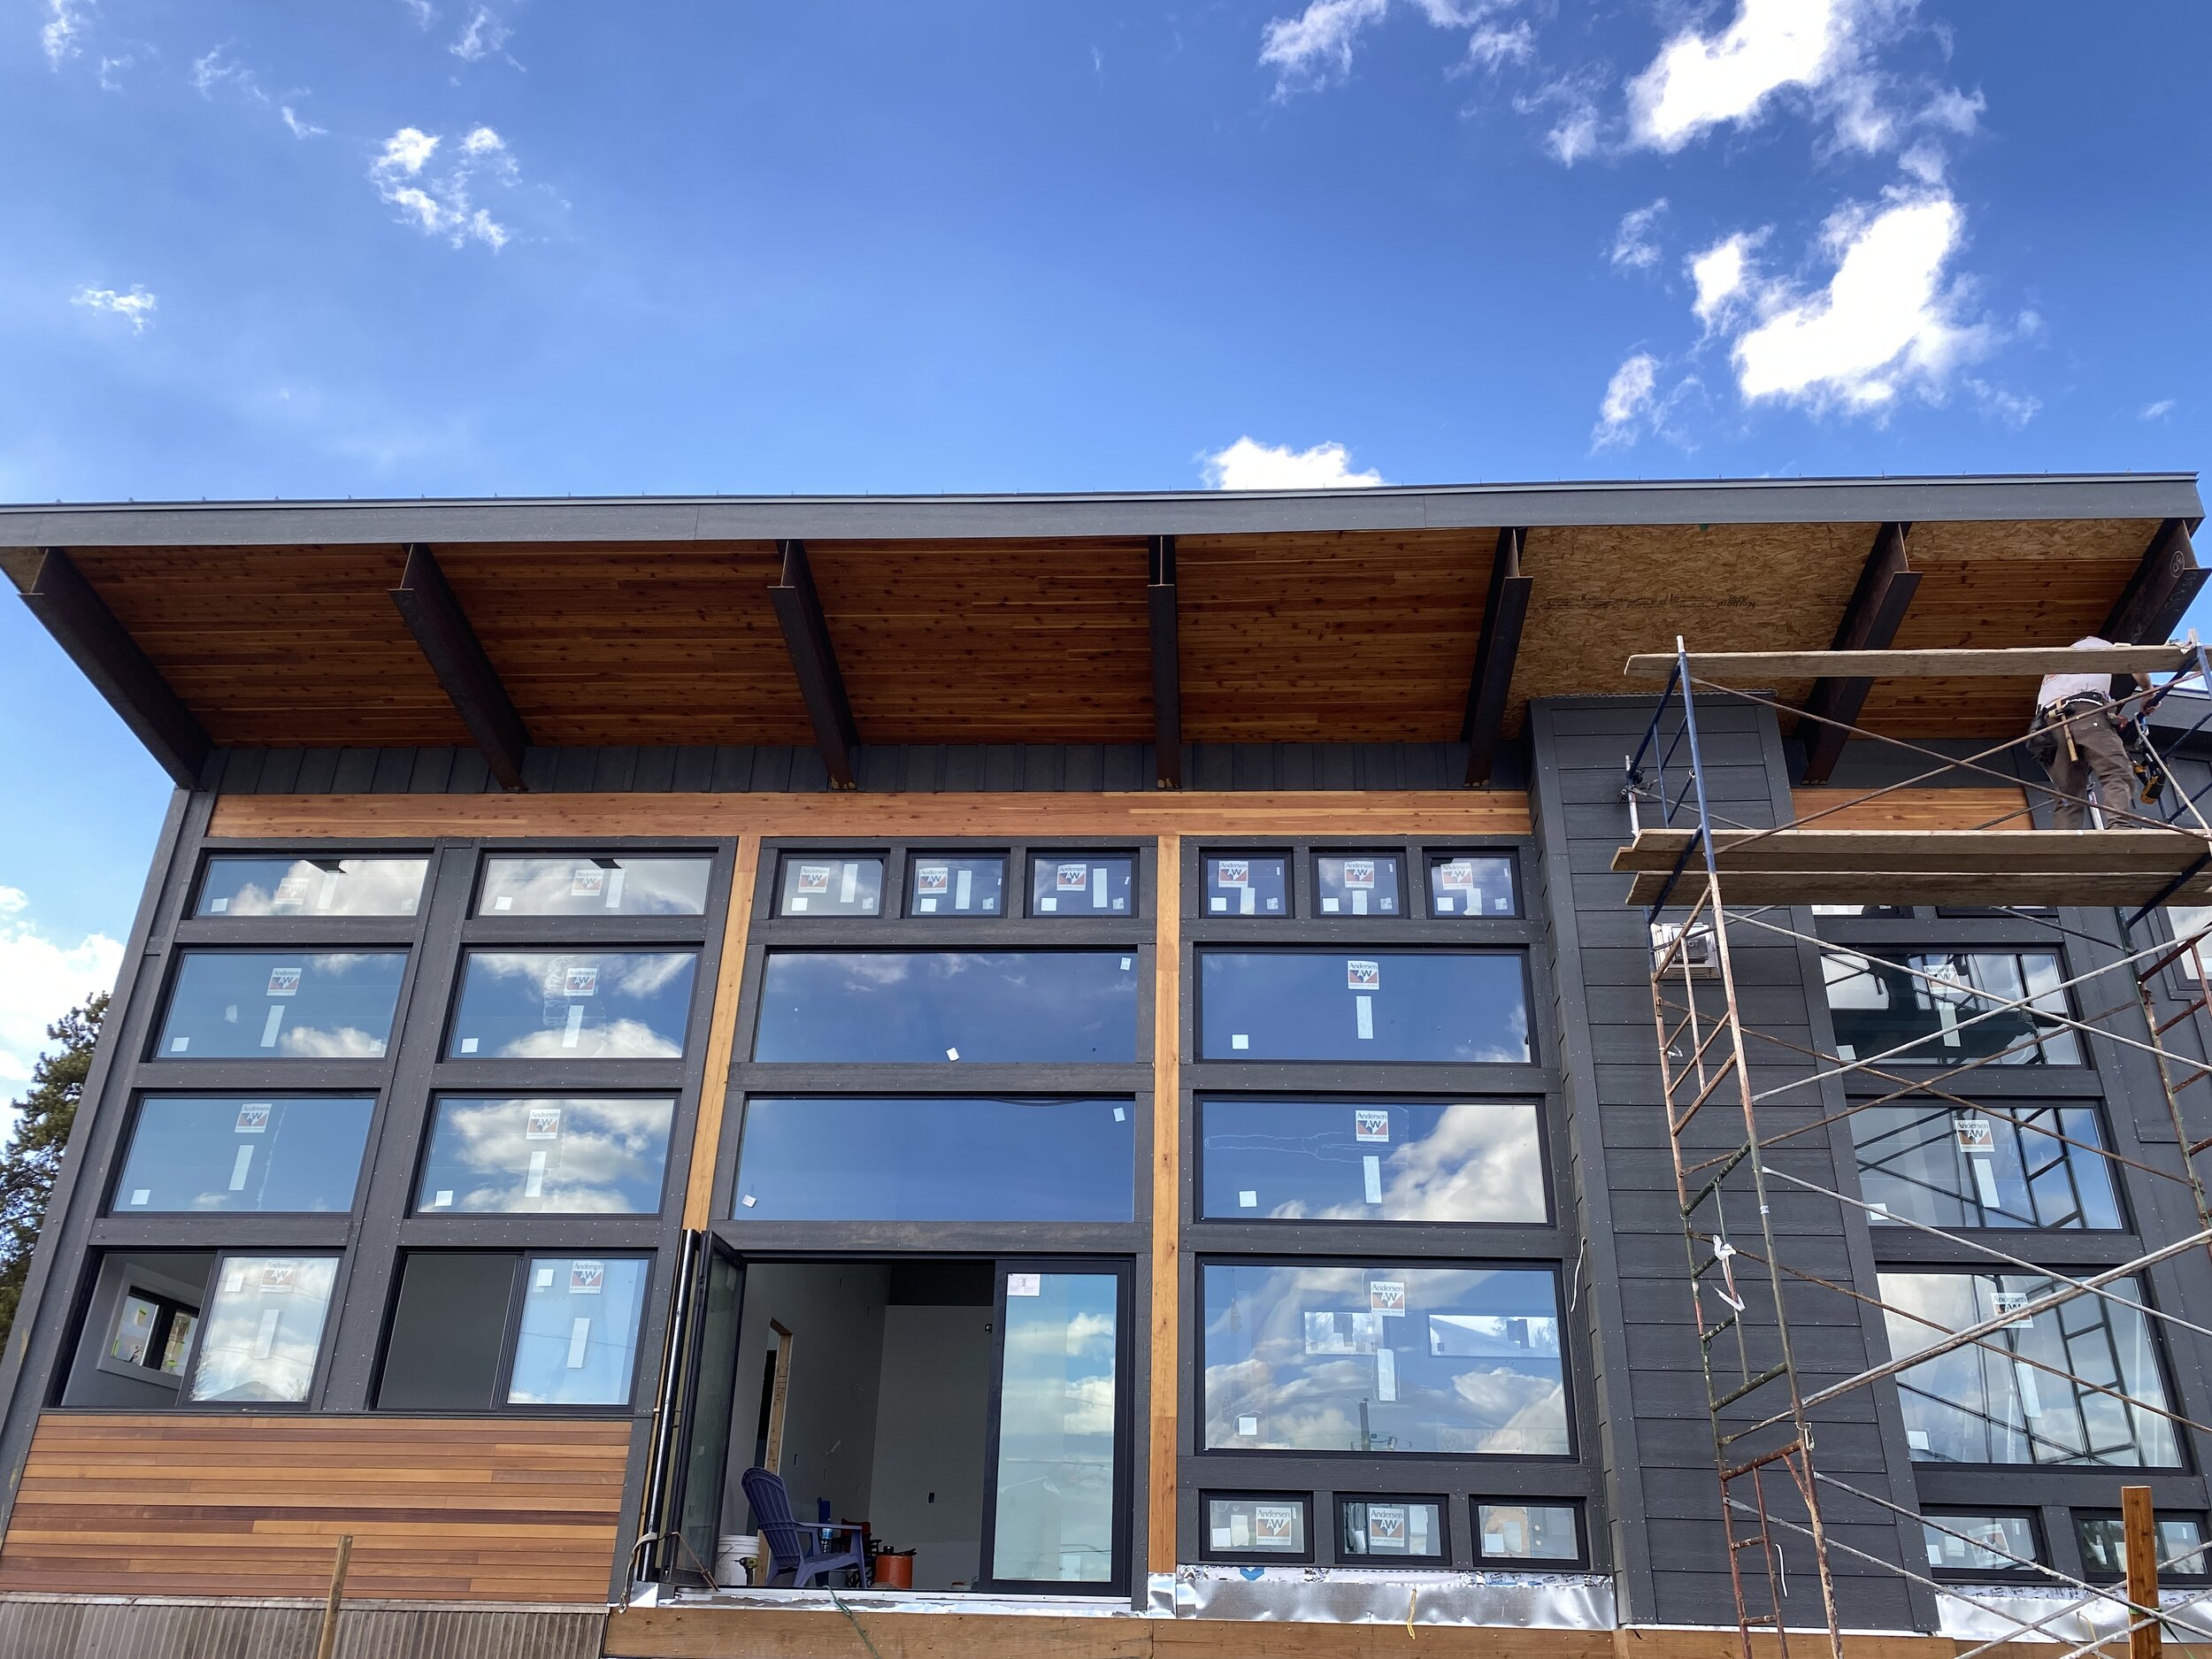
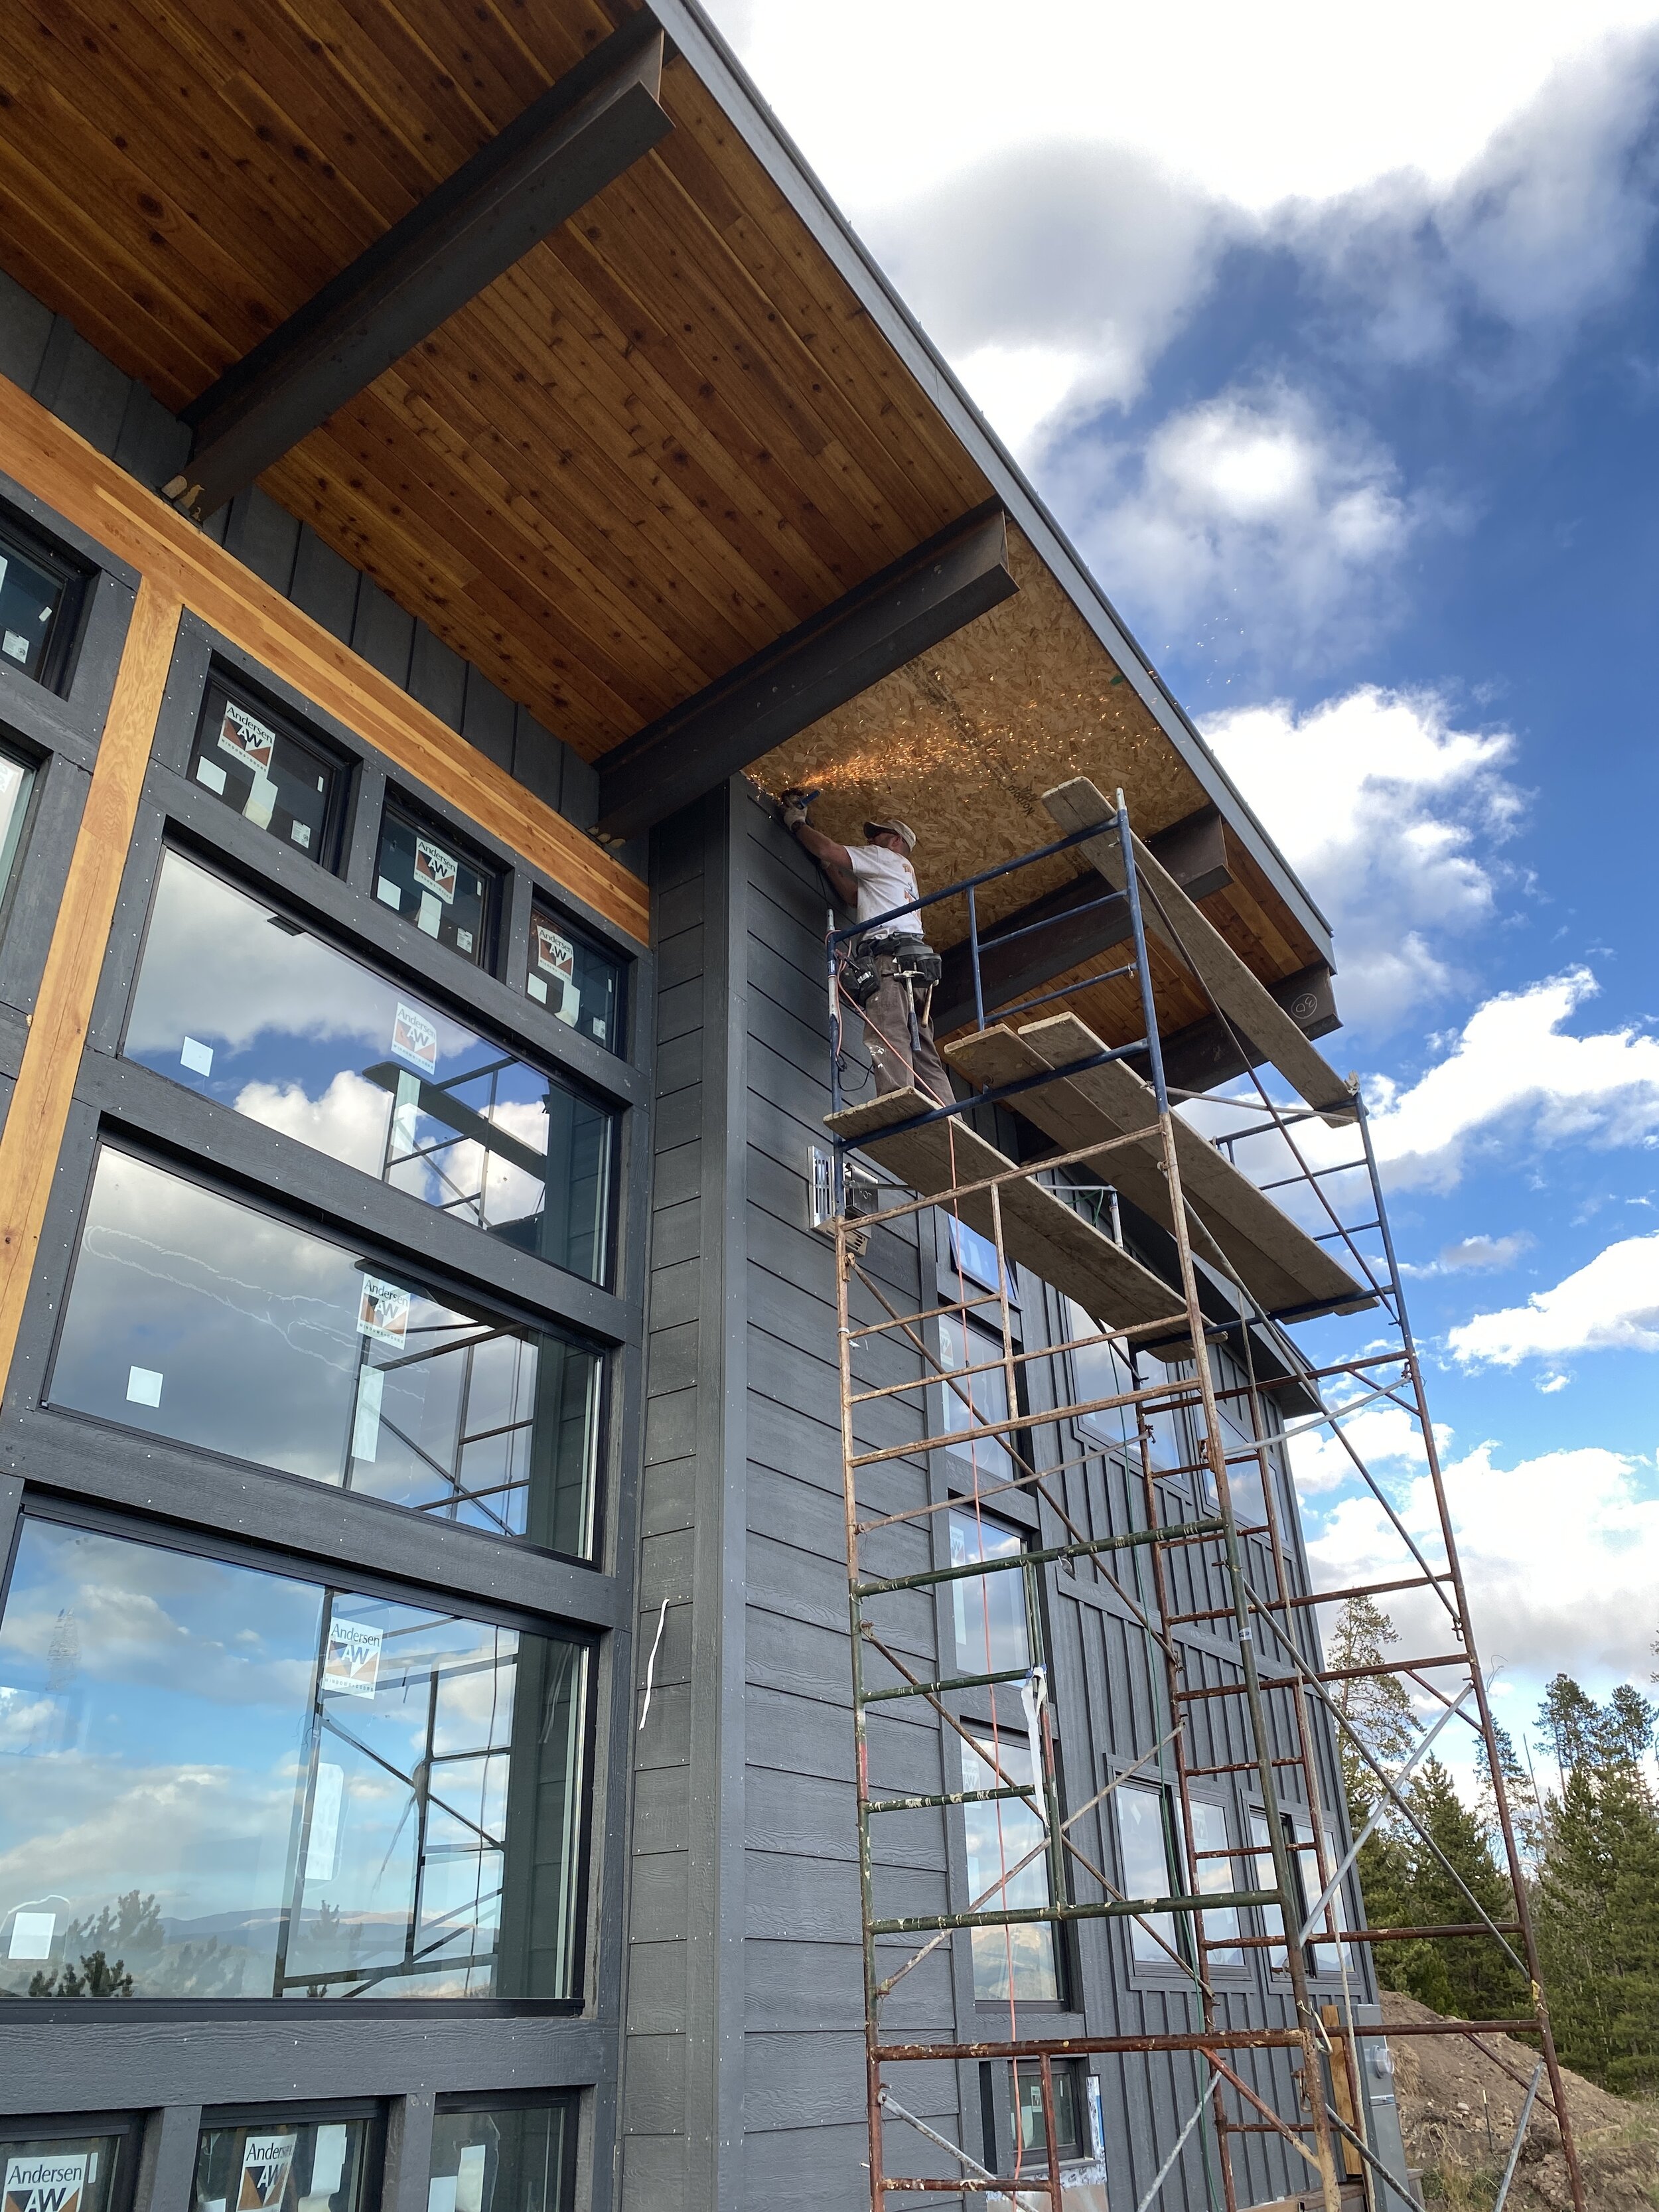
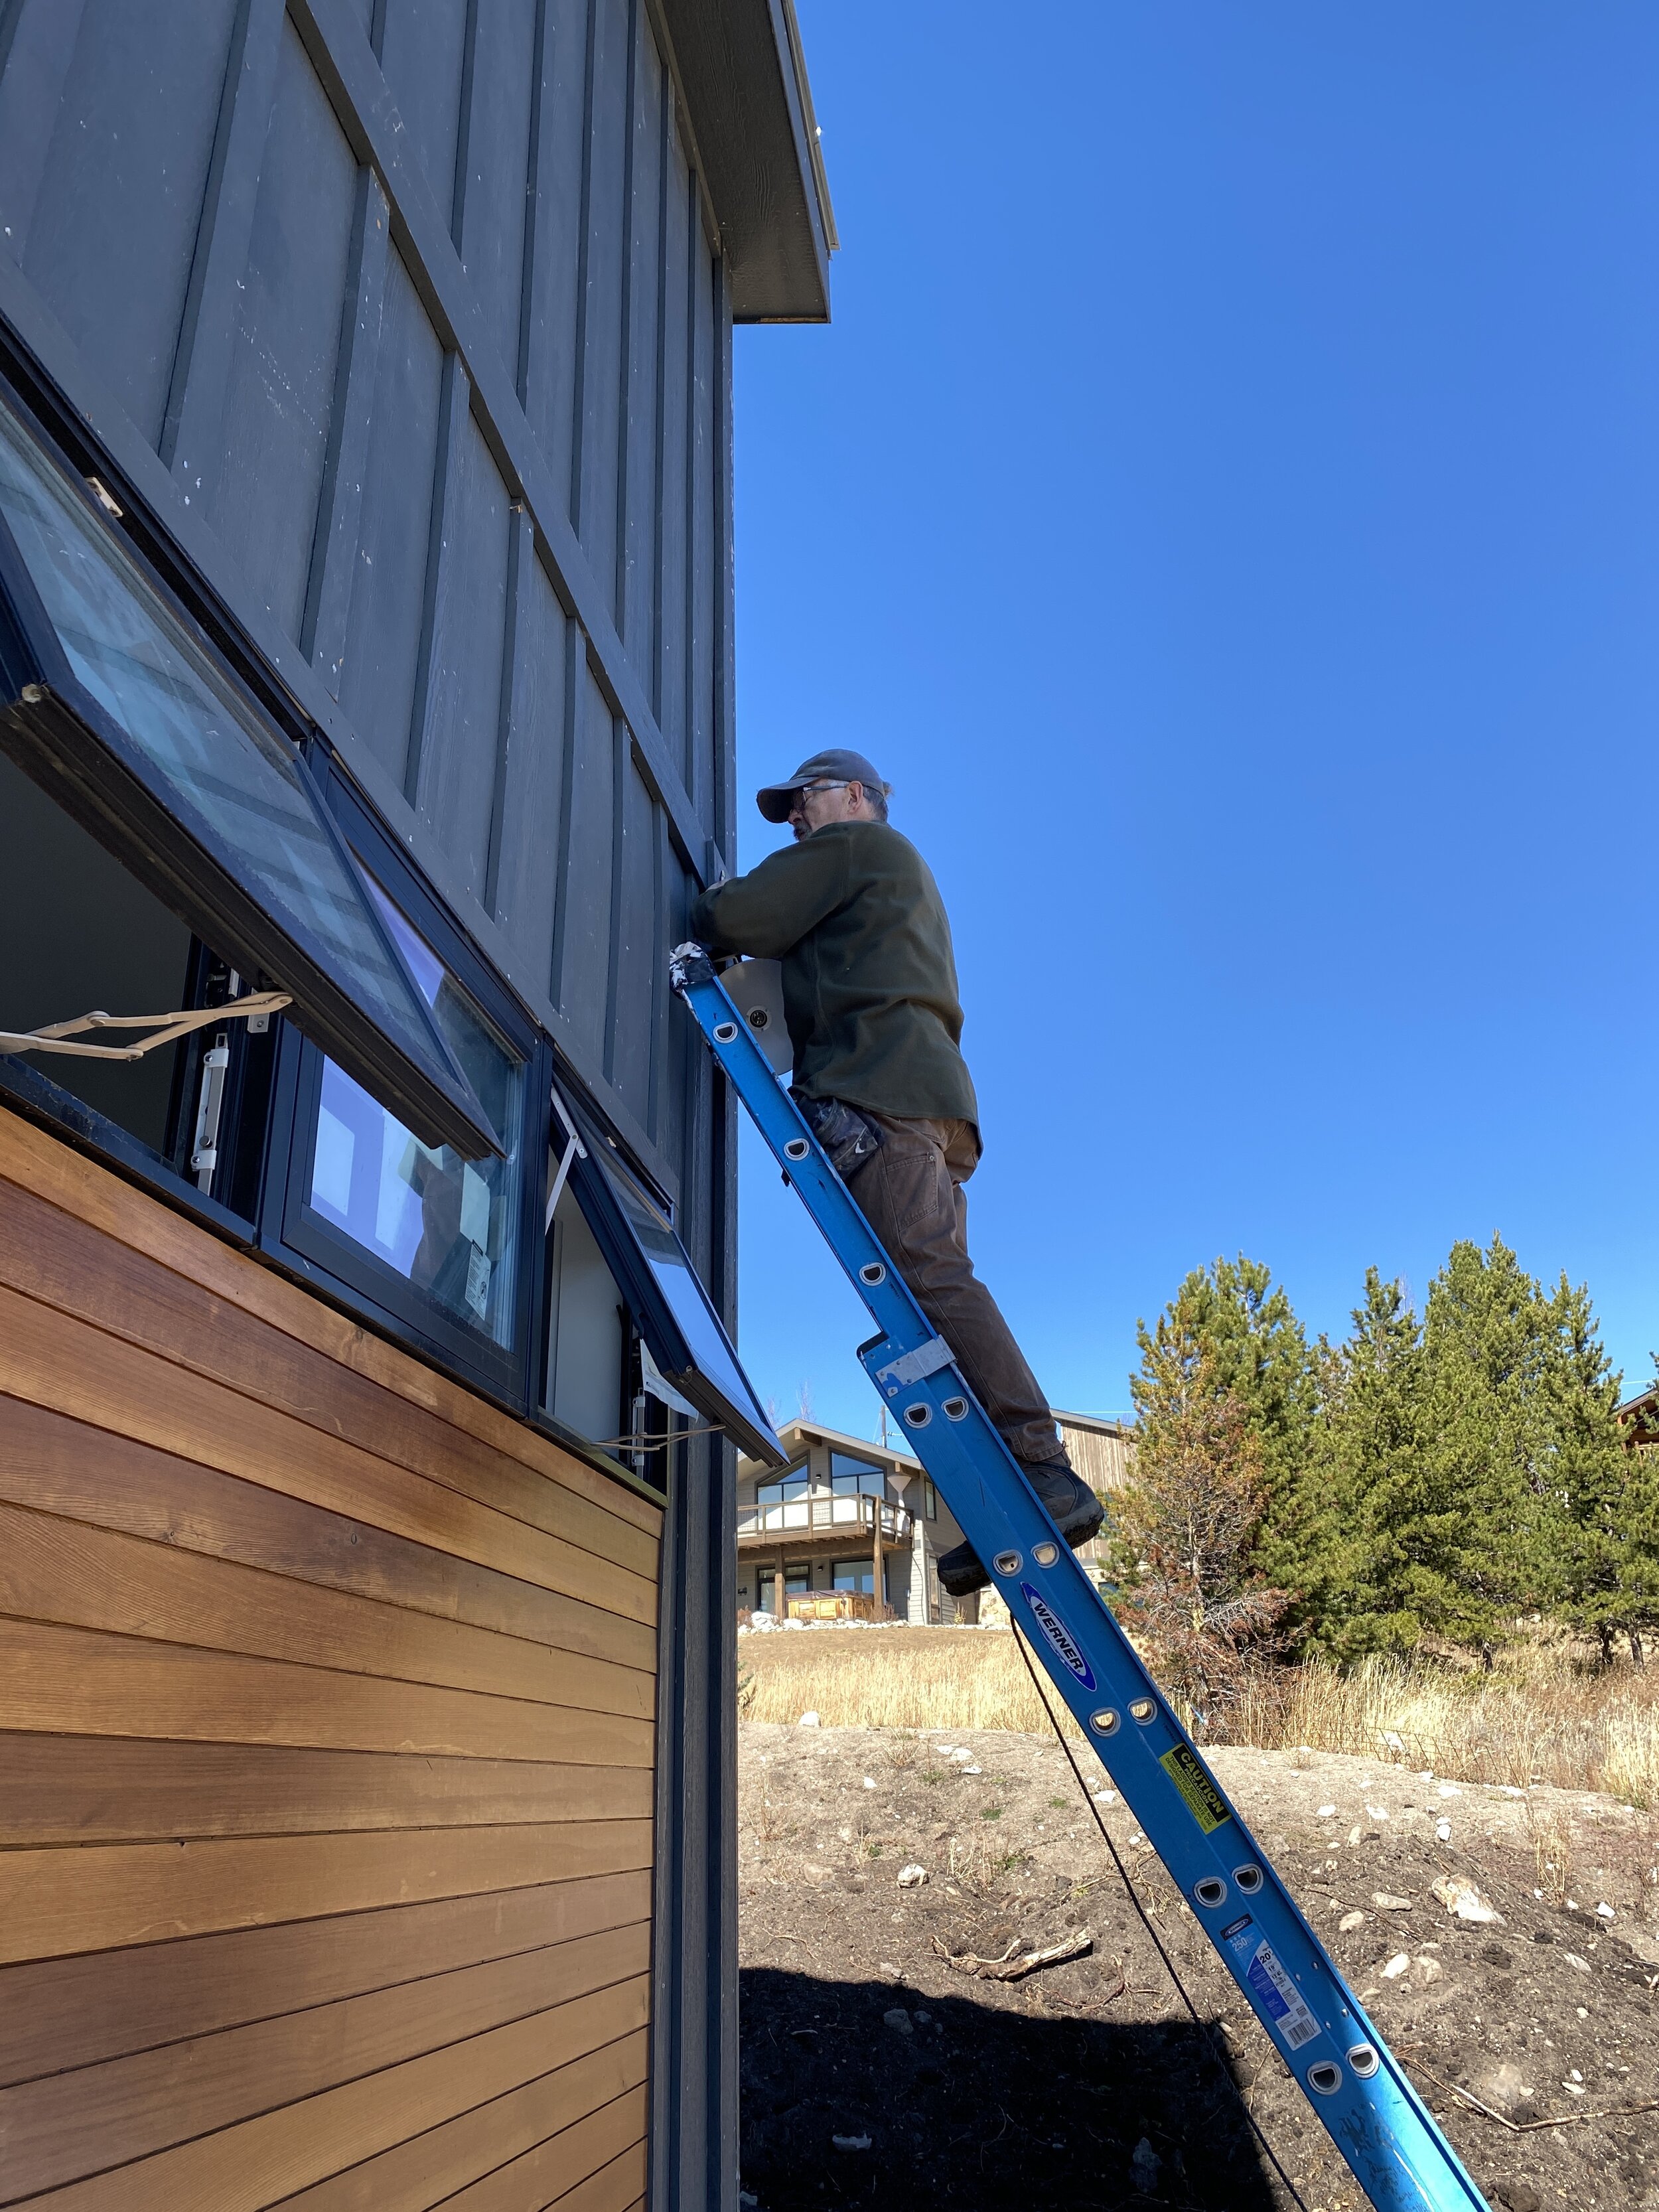
We ended up having to wait about 2 weeks longer than we expected for our concrete floor grinder machine, so we switched gears to our exterior cedar soffit. The cedar was already on site and after a couple days of staining all sides with Penofin oil (two coats on the exposed side, one on the non-exposed), we were ready to monkey around with setting up the scaffolding for installation.

Oil going on the backside of the cedar.

Cedar is ready for install!
Kelsey came up with a good system for us to get him boards up to the top using a rope pulley and a bucket. The ground crew was happy to not have to crawl up the scaffolding for every single board!

Soffit in progress!
While were on the final big section with only 5 boards to go, a snow storm blew in and the winds were so strong that we lost power! Kelsey and I were turning into ice cubes, so we were ok with calling it a day!

Early in the snow when we were still smiling. Then the flurries got even bigger, the wind picked up and the power went out. Then, we were just cold, wet and bummed that we couldn’t finish the last section.
The soffit installation took about 4 days to complete. In reality, the hardest part was moving the scaffolding for each section. We had that little bit to finish up, but we decided to hit pause on the cedar since the floor grinder machine was finally ready to pick up in Denver!
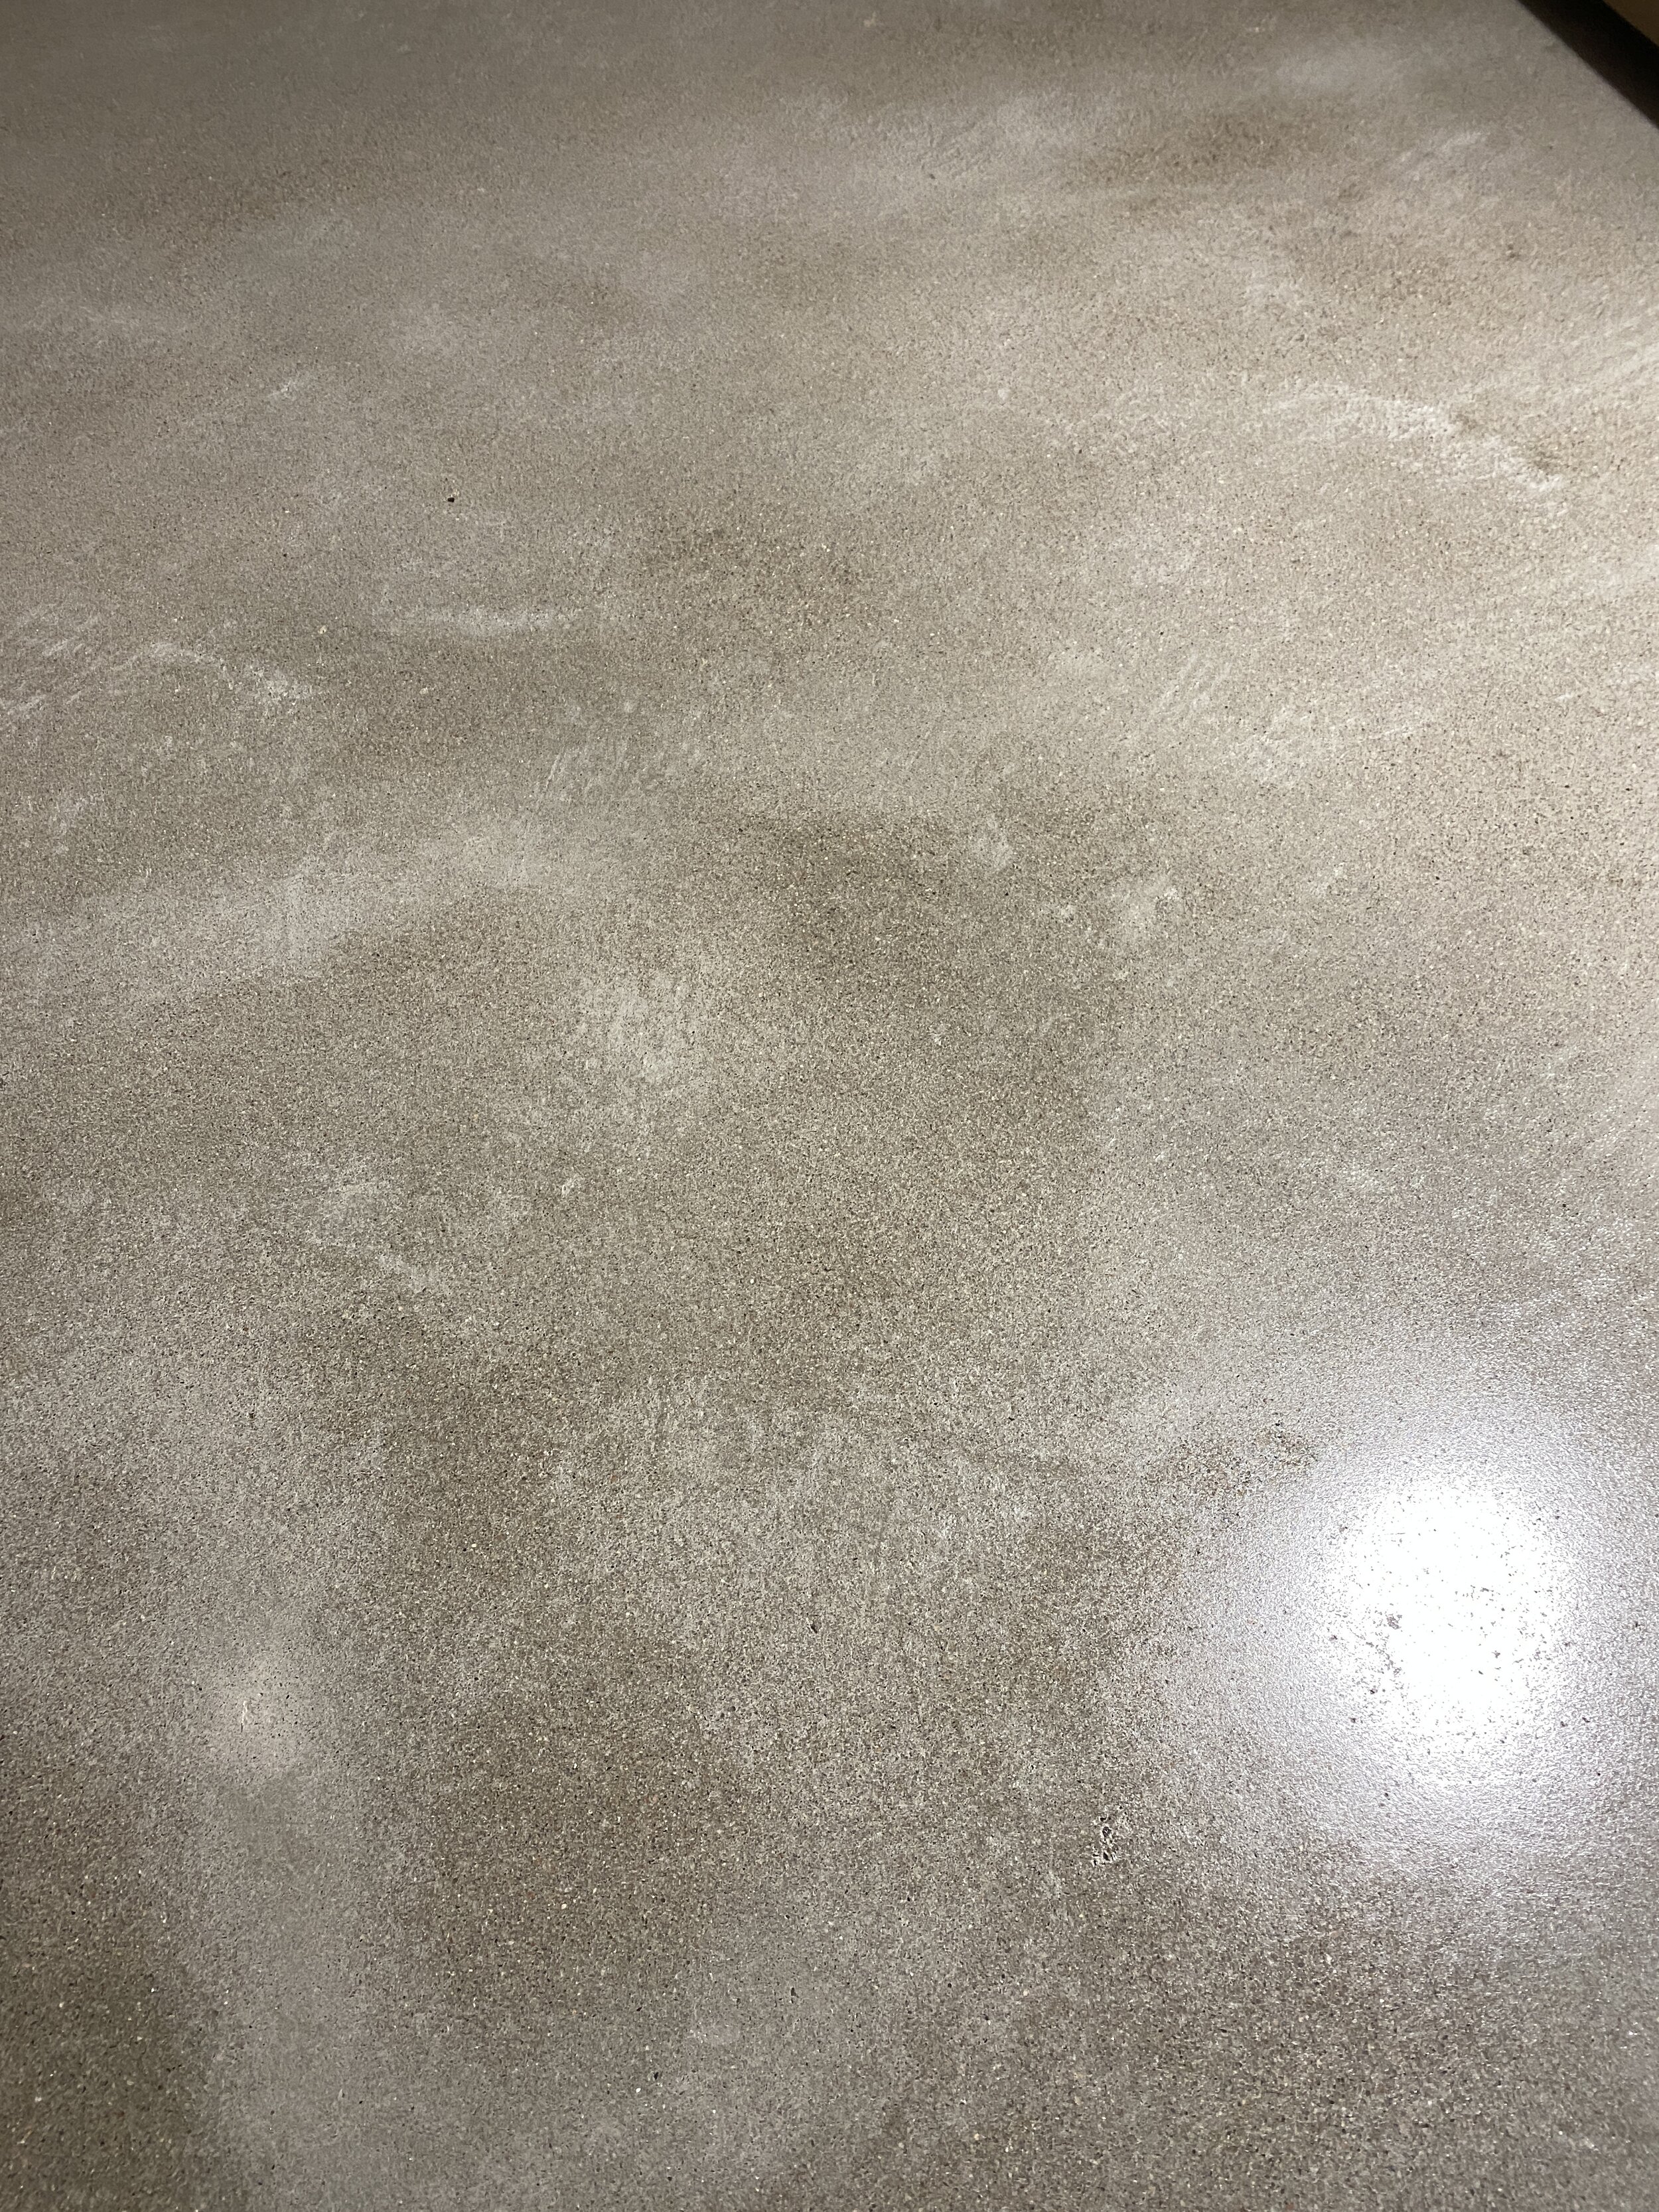
In all honesty, the floor grinding experience was a bit of a slog. Chad at Jon-Don was very helpful, which came in very handy since we ran into a couple of issues. Long story short we made 6 trips to Denver to pick up items that should have been included in our order, or to get new supplies when the items we already picked up weren’t working as planned.
We were hoping to be able to see some of the aggregate in the concrete, but ended up seeing more “chatter” marks from the concrete trowel in more places than we had hoped. A bit of perfectionism was creeping in and both Kelsey and I felt a bit frustrated with this process, but in the end concrete is a material where each floor is unique. Kelsey likes to say is has a lot of character. If we wanted to have a super uniform look we would have picked a different material. After living with it for a few days, I’m starting to like the imperfections and it’s kind of neat to see the differences in each room and the spots that look absolutely perfect side by side.

The floor grinder is finally here!

The big red machine is the vacuum unit. We were so happy to have paid for the rental on the vacuum as we sucked up about 40 lbs. of dust!

Hand grinding a few spots where we had spilled some oily stuff on the floor.
After grinding the floor with three different levels of sanding pads, it was time to apply the potassium densifier solution. This helps to harden the surface of the concrete. You spray the material on (using a hand pump sprayer like you’d use for your lawn), then spread everything evenly with a microfiber mop. The application only took a couple of hours to do.
Once the densifier was applied and dried, it was time to apply the polish-guard. The polish is there to provide a water resistant finish. The polish was applied in the same way as the densifier, using a spray bottle, then the microfiber mop to spread it evenly. Mom and Kelsey applied two coats.
After a few hours of drying, the floor could be walked on again! The polish isn’t overly shiny, which we like, but does have a bit of a sheen to it. We’ll need to spray on additional polish guard every few years, or as needed in higher-traffic spots.

Floor is DONE! We’ll eventually caulk the seams to prevent gunk (and crumbs from these guys) getting stuck in the seams.
While Kelsey was grinding the floor, Mom, Laird and I took a trip to IKEA one afternoon to pick up some PAX storage units for our mudroom. Each family member will have their own 8’ locker to store their stuff! Once we install the wood on the ceiling, these will be ready to install. Mom and Dad generously bought this storage, and a bunch of other stuff for us. Mom really wants to help us be organized when we first move in and we’re so thankful! Thanks again, Mom and Dad!

Laird loved our trip to IKEA!
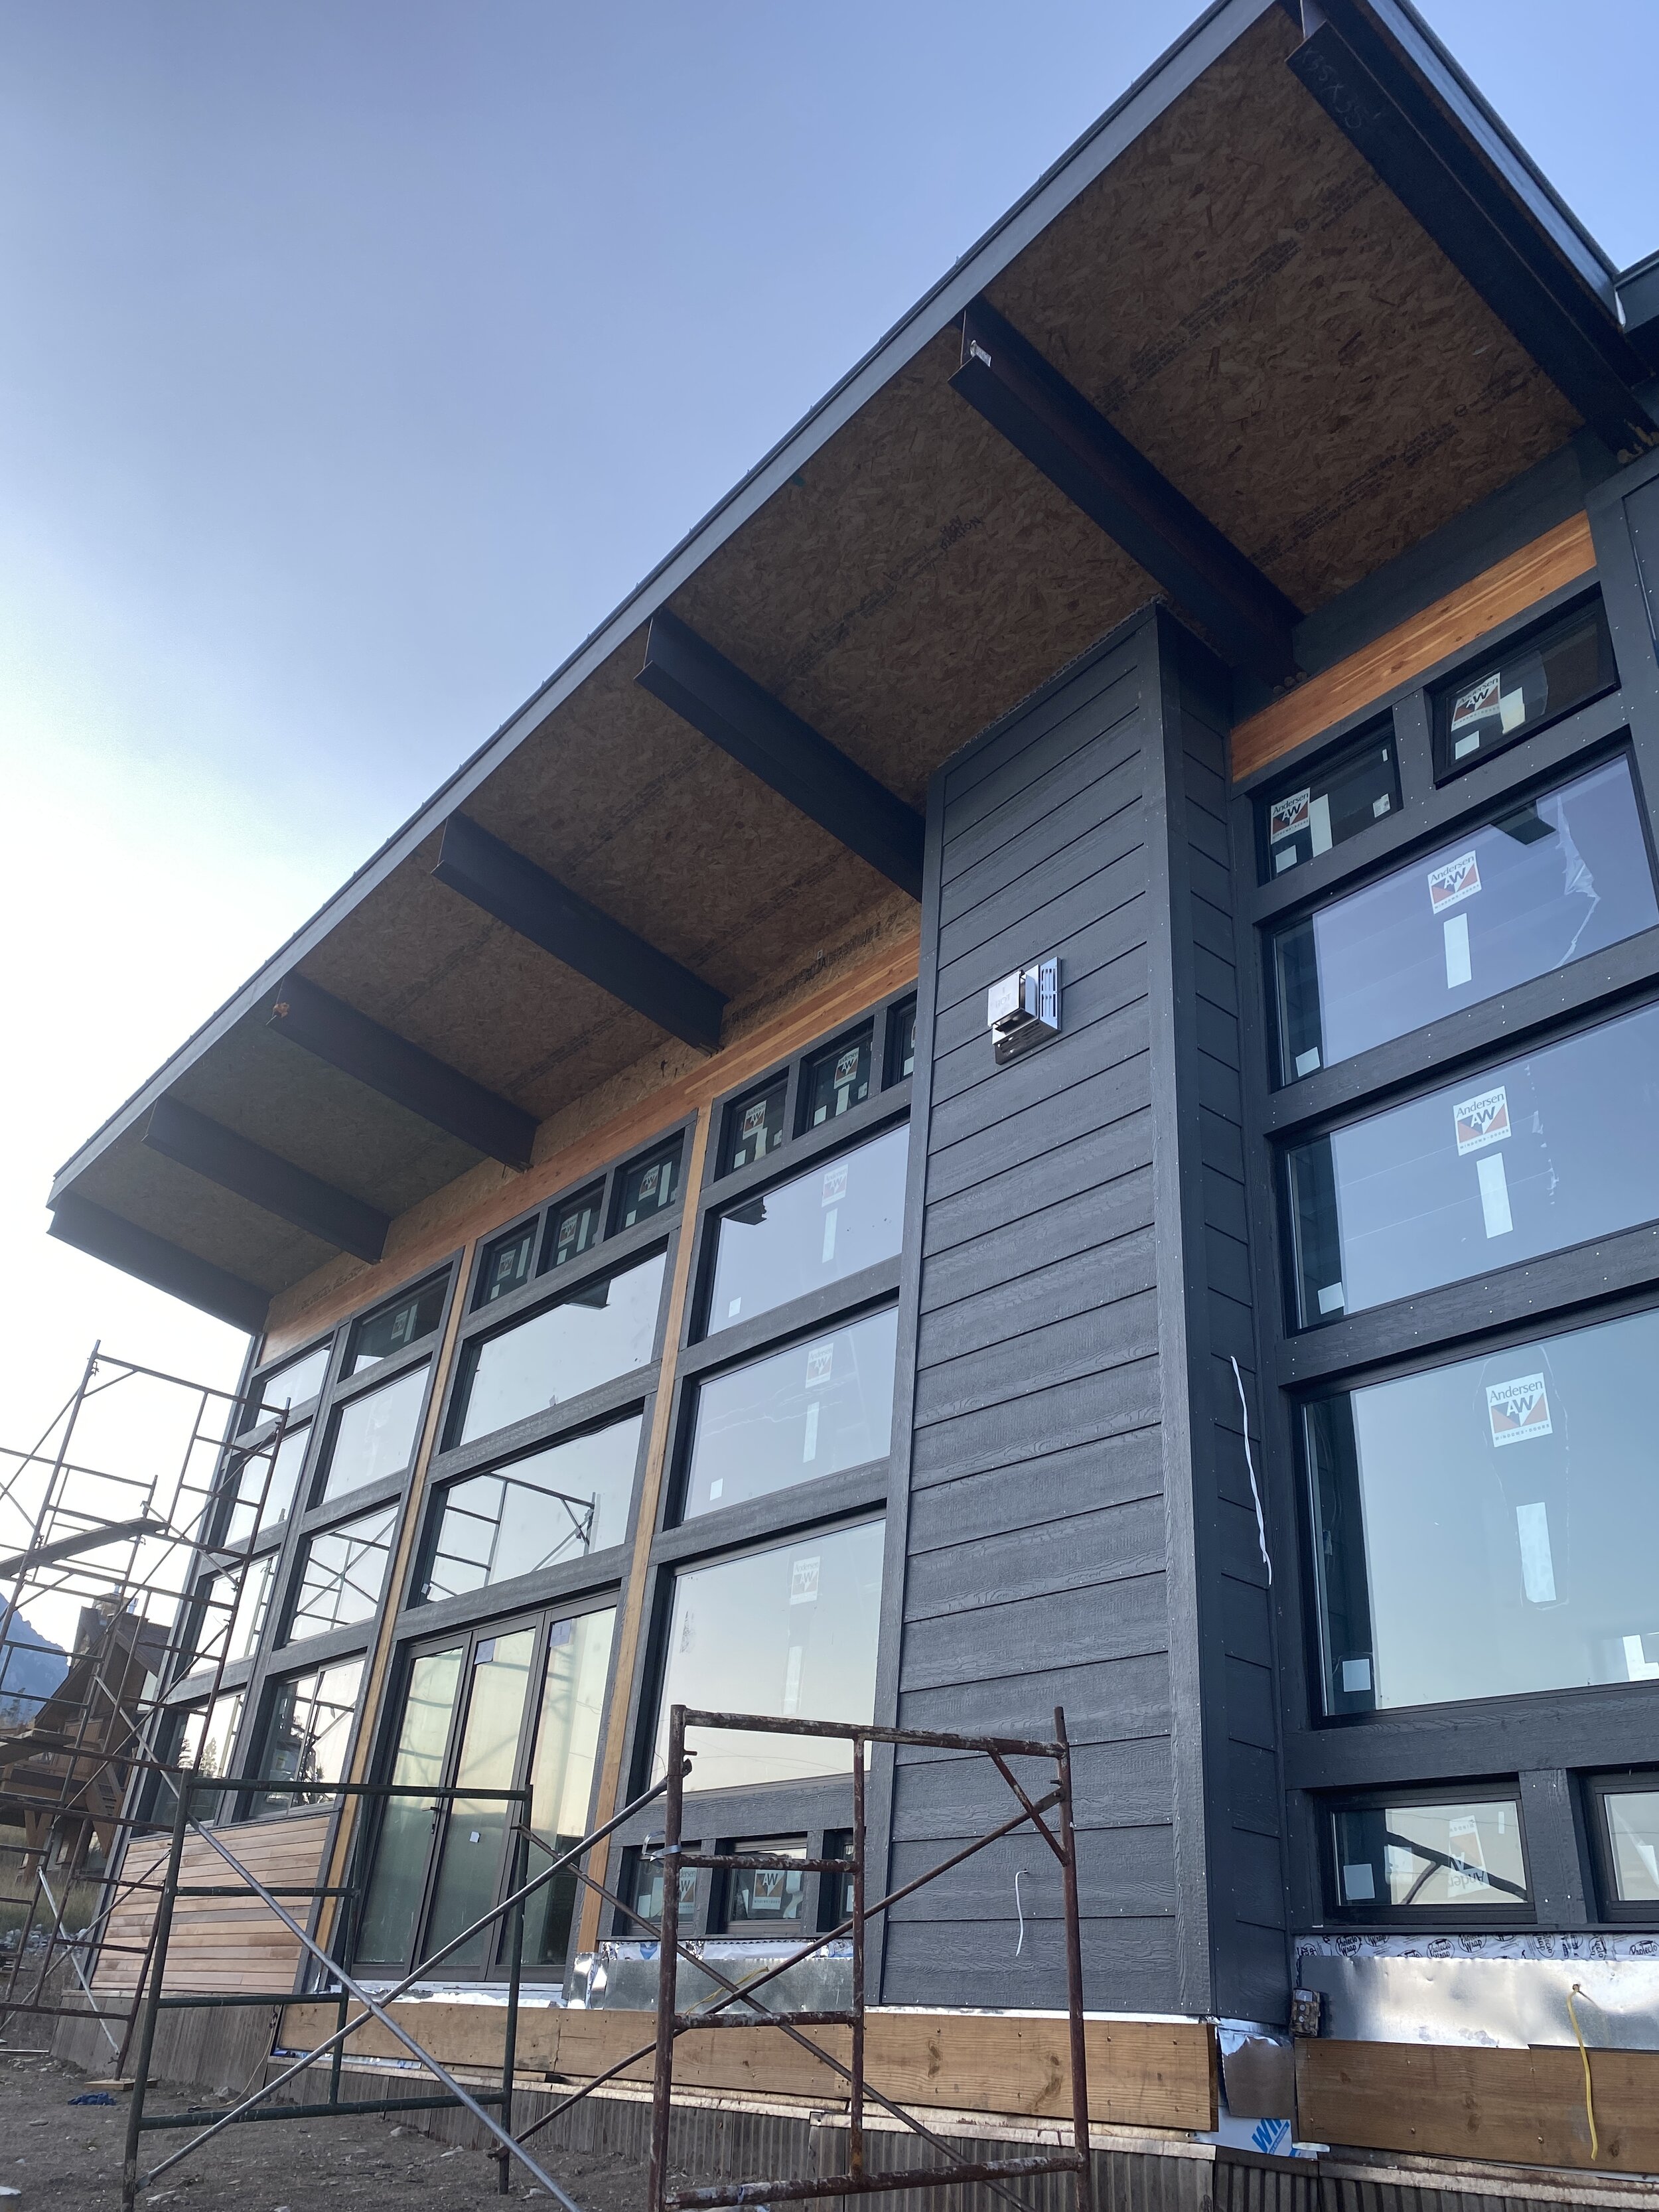
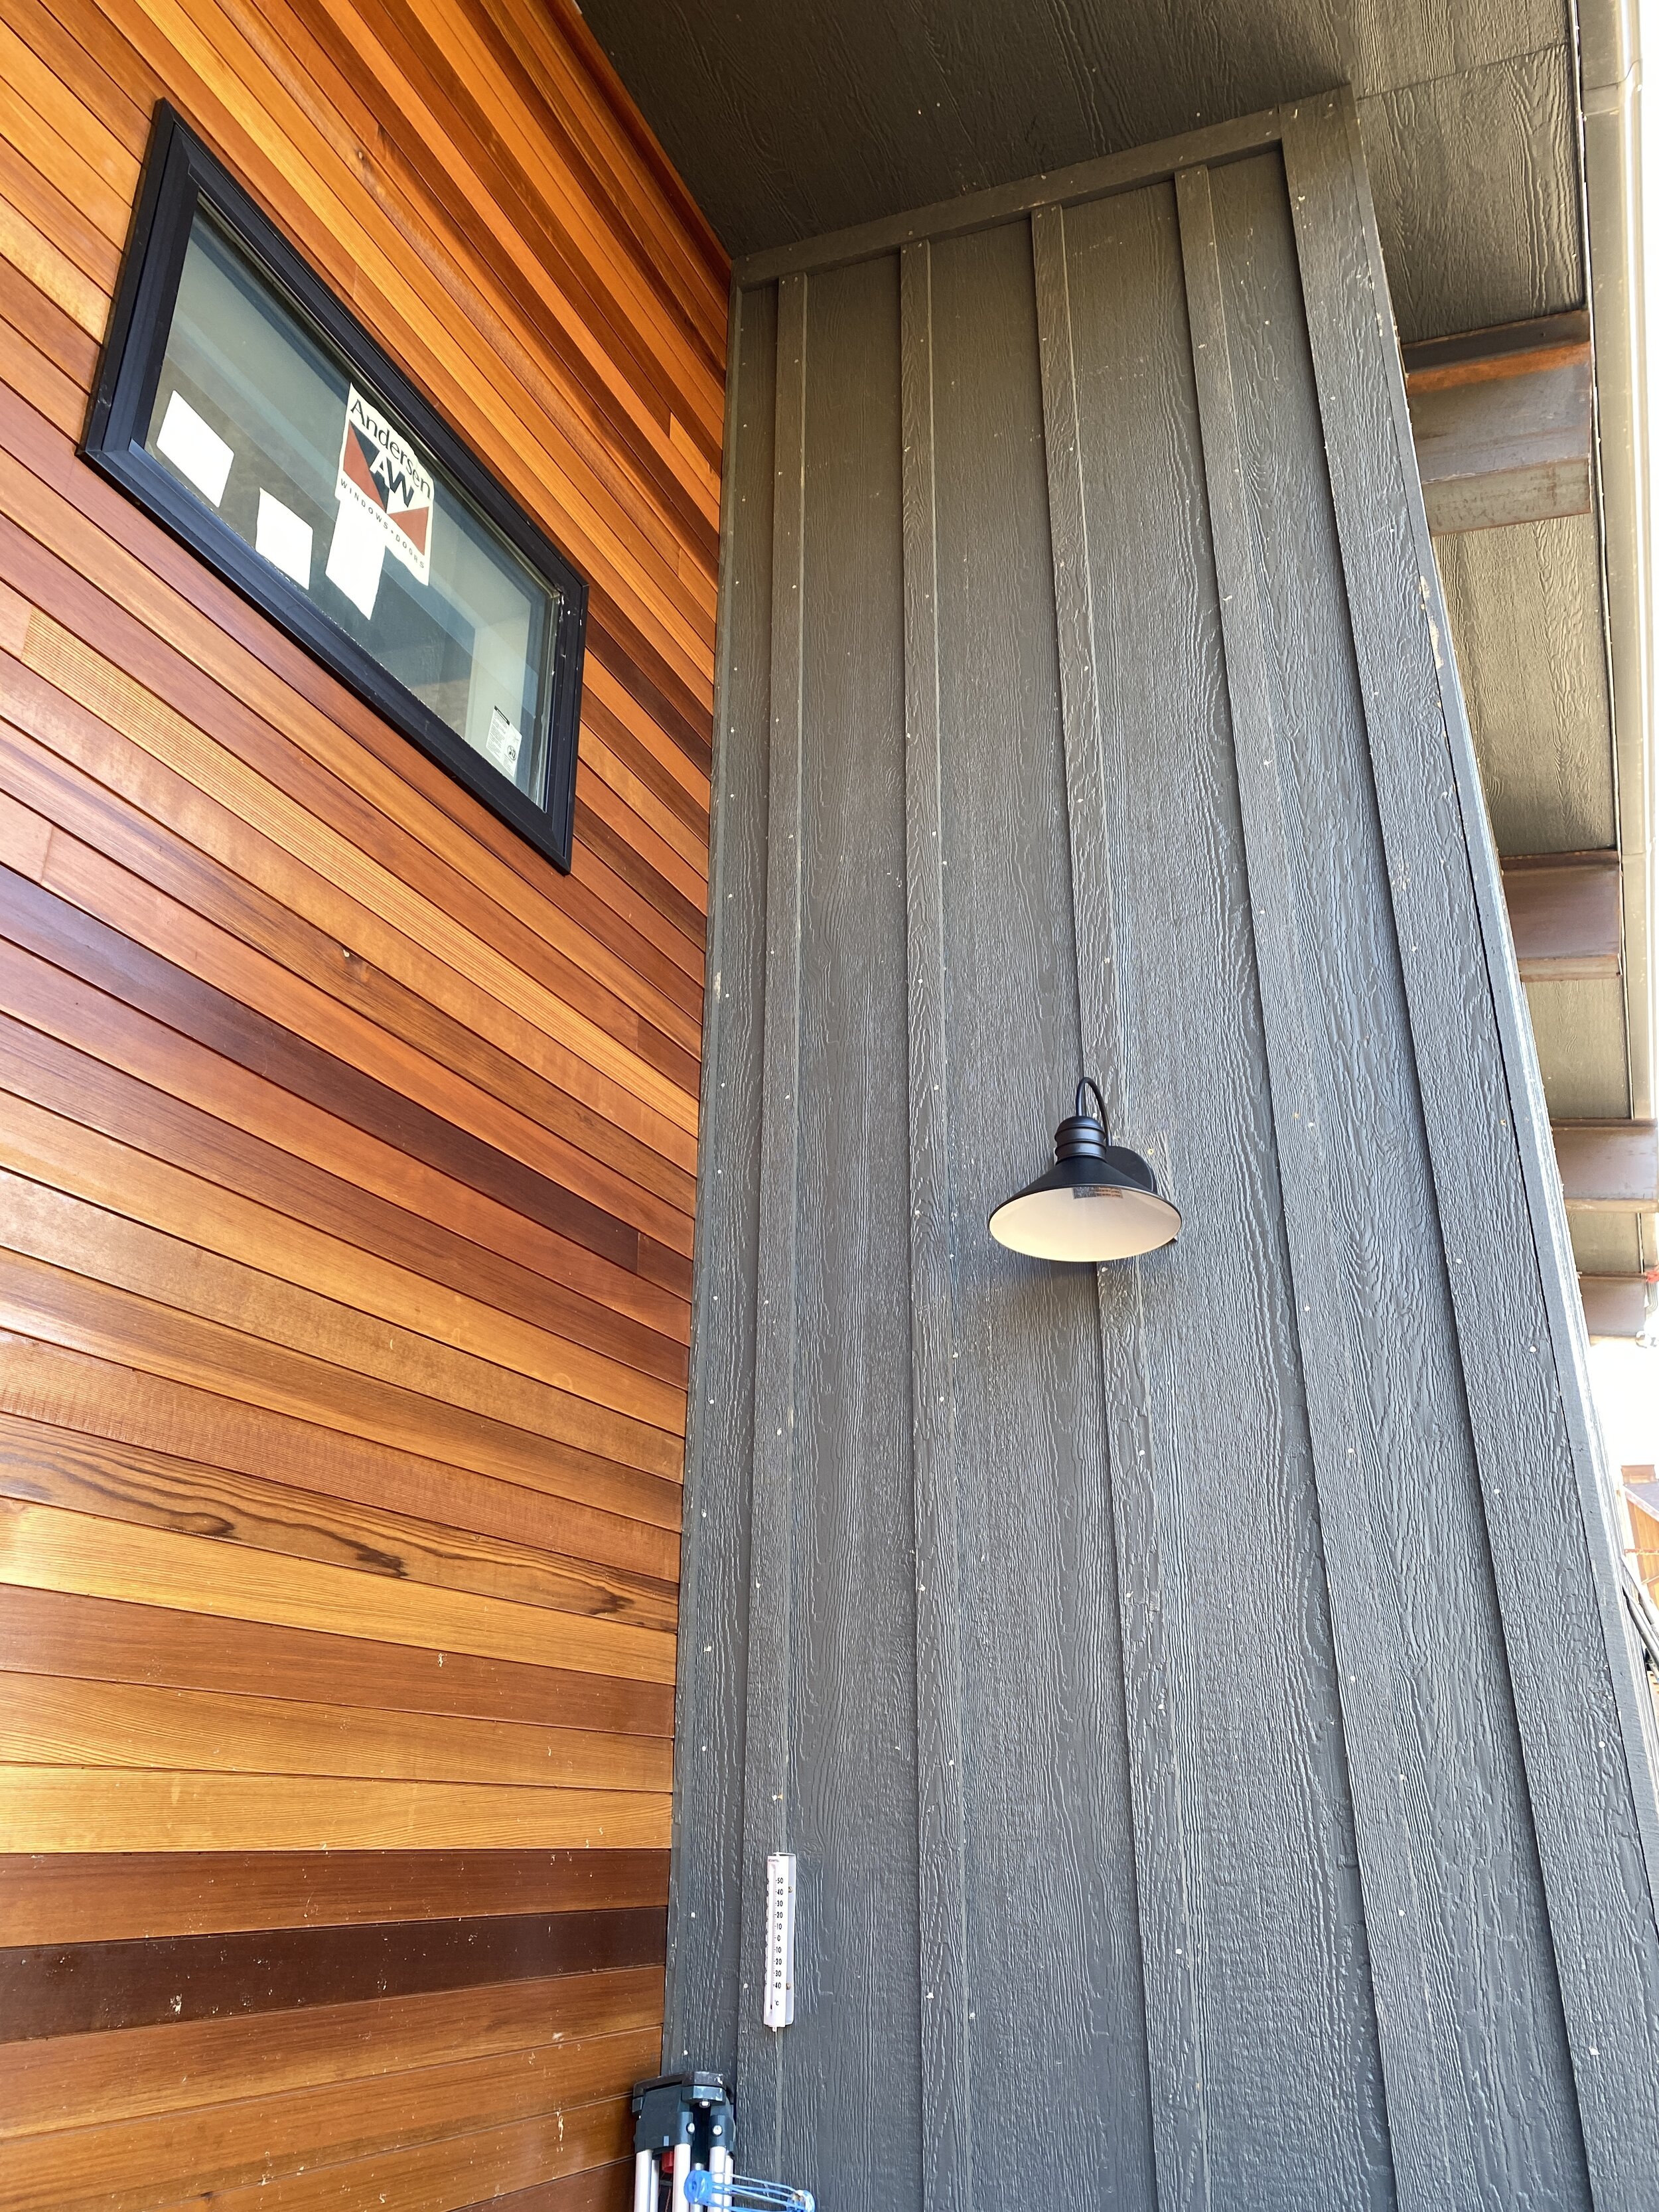
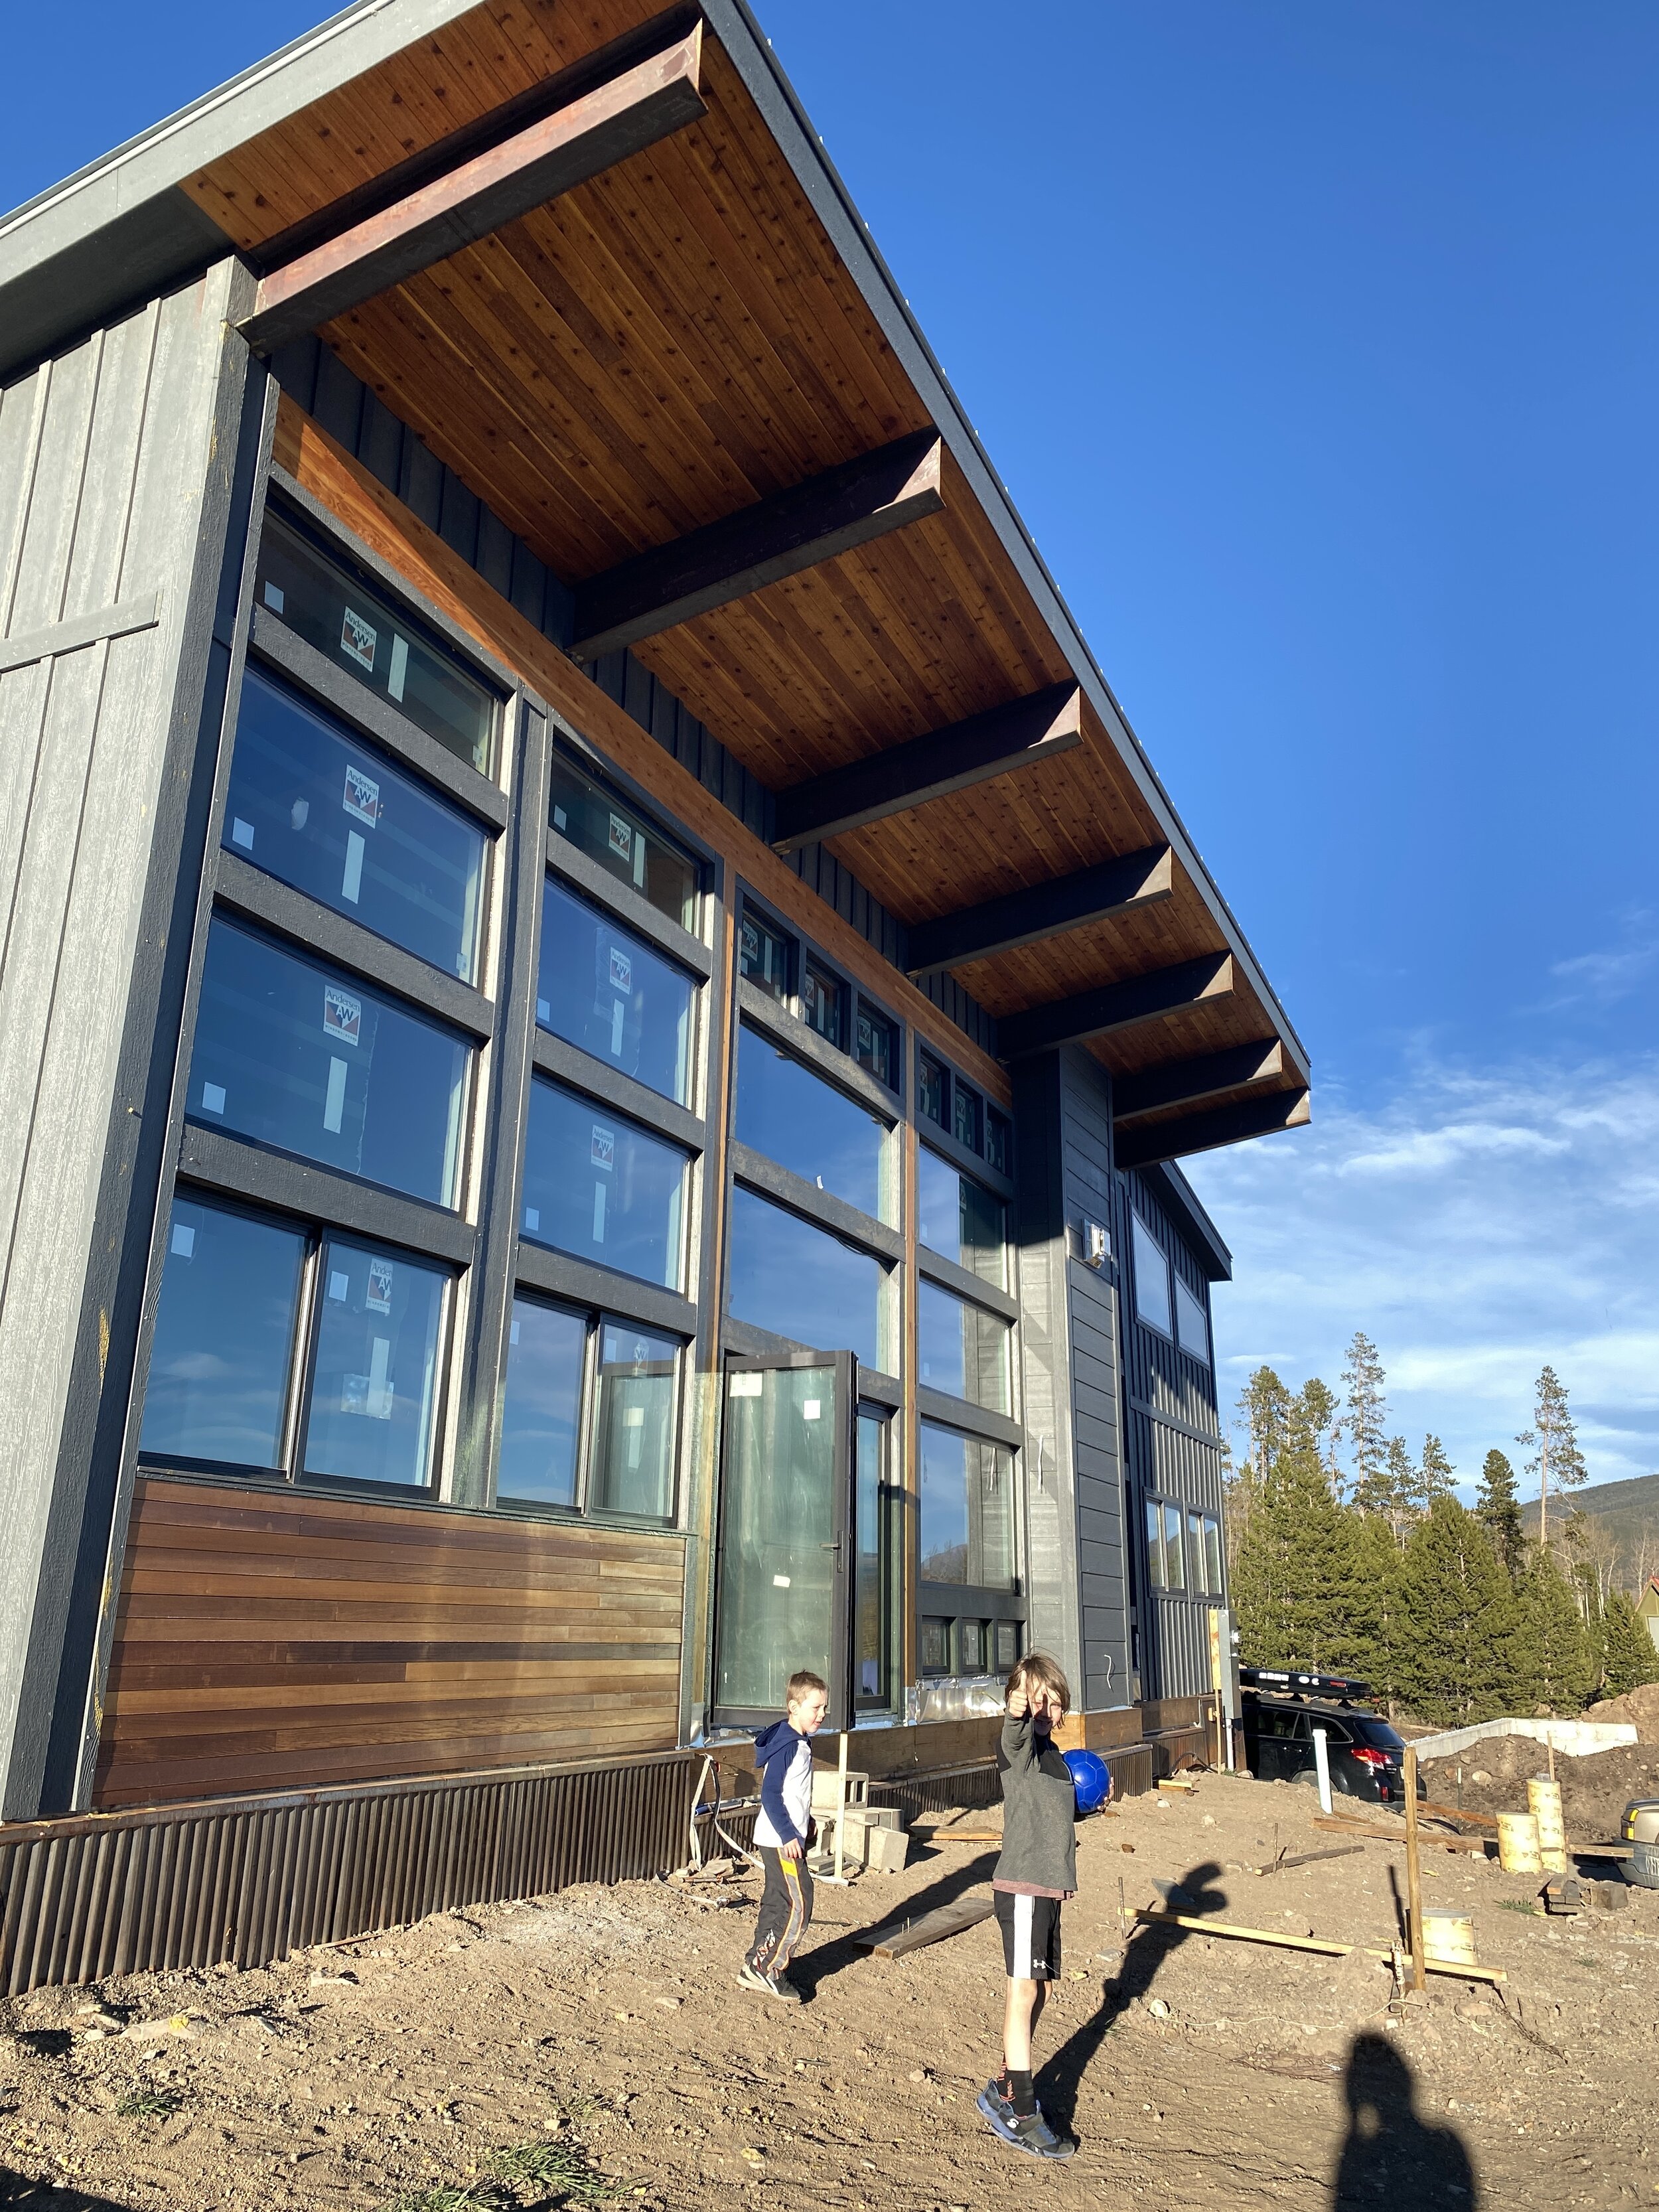
We eventually did wrap up the cedar soffit install and are loving how it looks. We have some more exterior lights and the deck to install, but we’re almost done outside (well, until we have to paint the entire house to cover nail holes next spring…)

Soffit, you look so pretty!
We started shopping for kitchen appliances, since we had heard that lead-times were getting crazy long and that some items were just totally unavailable. We always take a peek at the Lowe’s clearance section and scored big this time! We found a black stainless steel, counter-depth, Bosch fridge that was originally $3,200 for only $1,650 (including tax!). It has one tiny dent in it at the bottom of the freezer drawer, but a little touch up paint should cover it right up. Yay!

Welcome home new fridge - oh and new toilets!
Since we were below budget on our refrigerator purchase, we were able to purchase the matching Bosch 800 series dishwasher! Double yay!
Kelsey got started on the boiler installation this week, which to me looks like a giant puzzle of valves and connections. He’s slowly working his way through the installation manual, which is about 50 pages long. Our neighbor Dan, who is a plumber, is going to come by when Kelsey is done to double check everything and fire it up! It’s perfect timing to get the radiant floor heat going since the weather is starting to get colder.

Just getting started with the boiler install.

In progress. So many pieces.
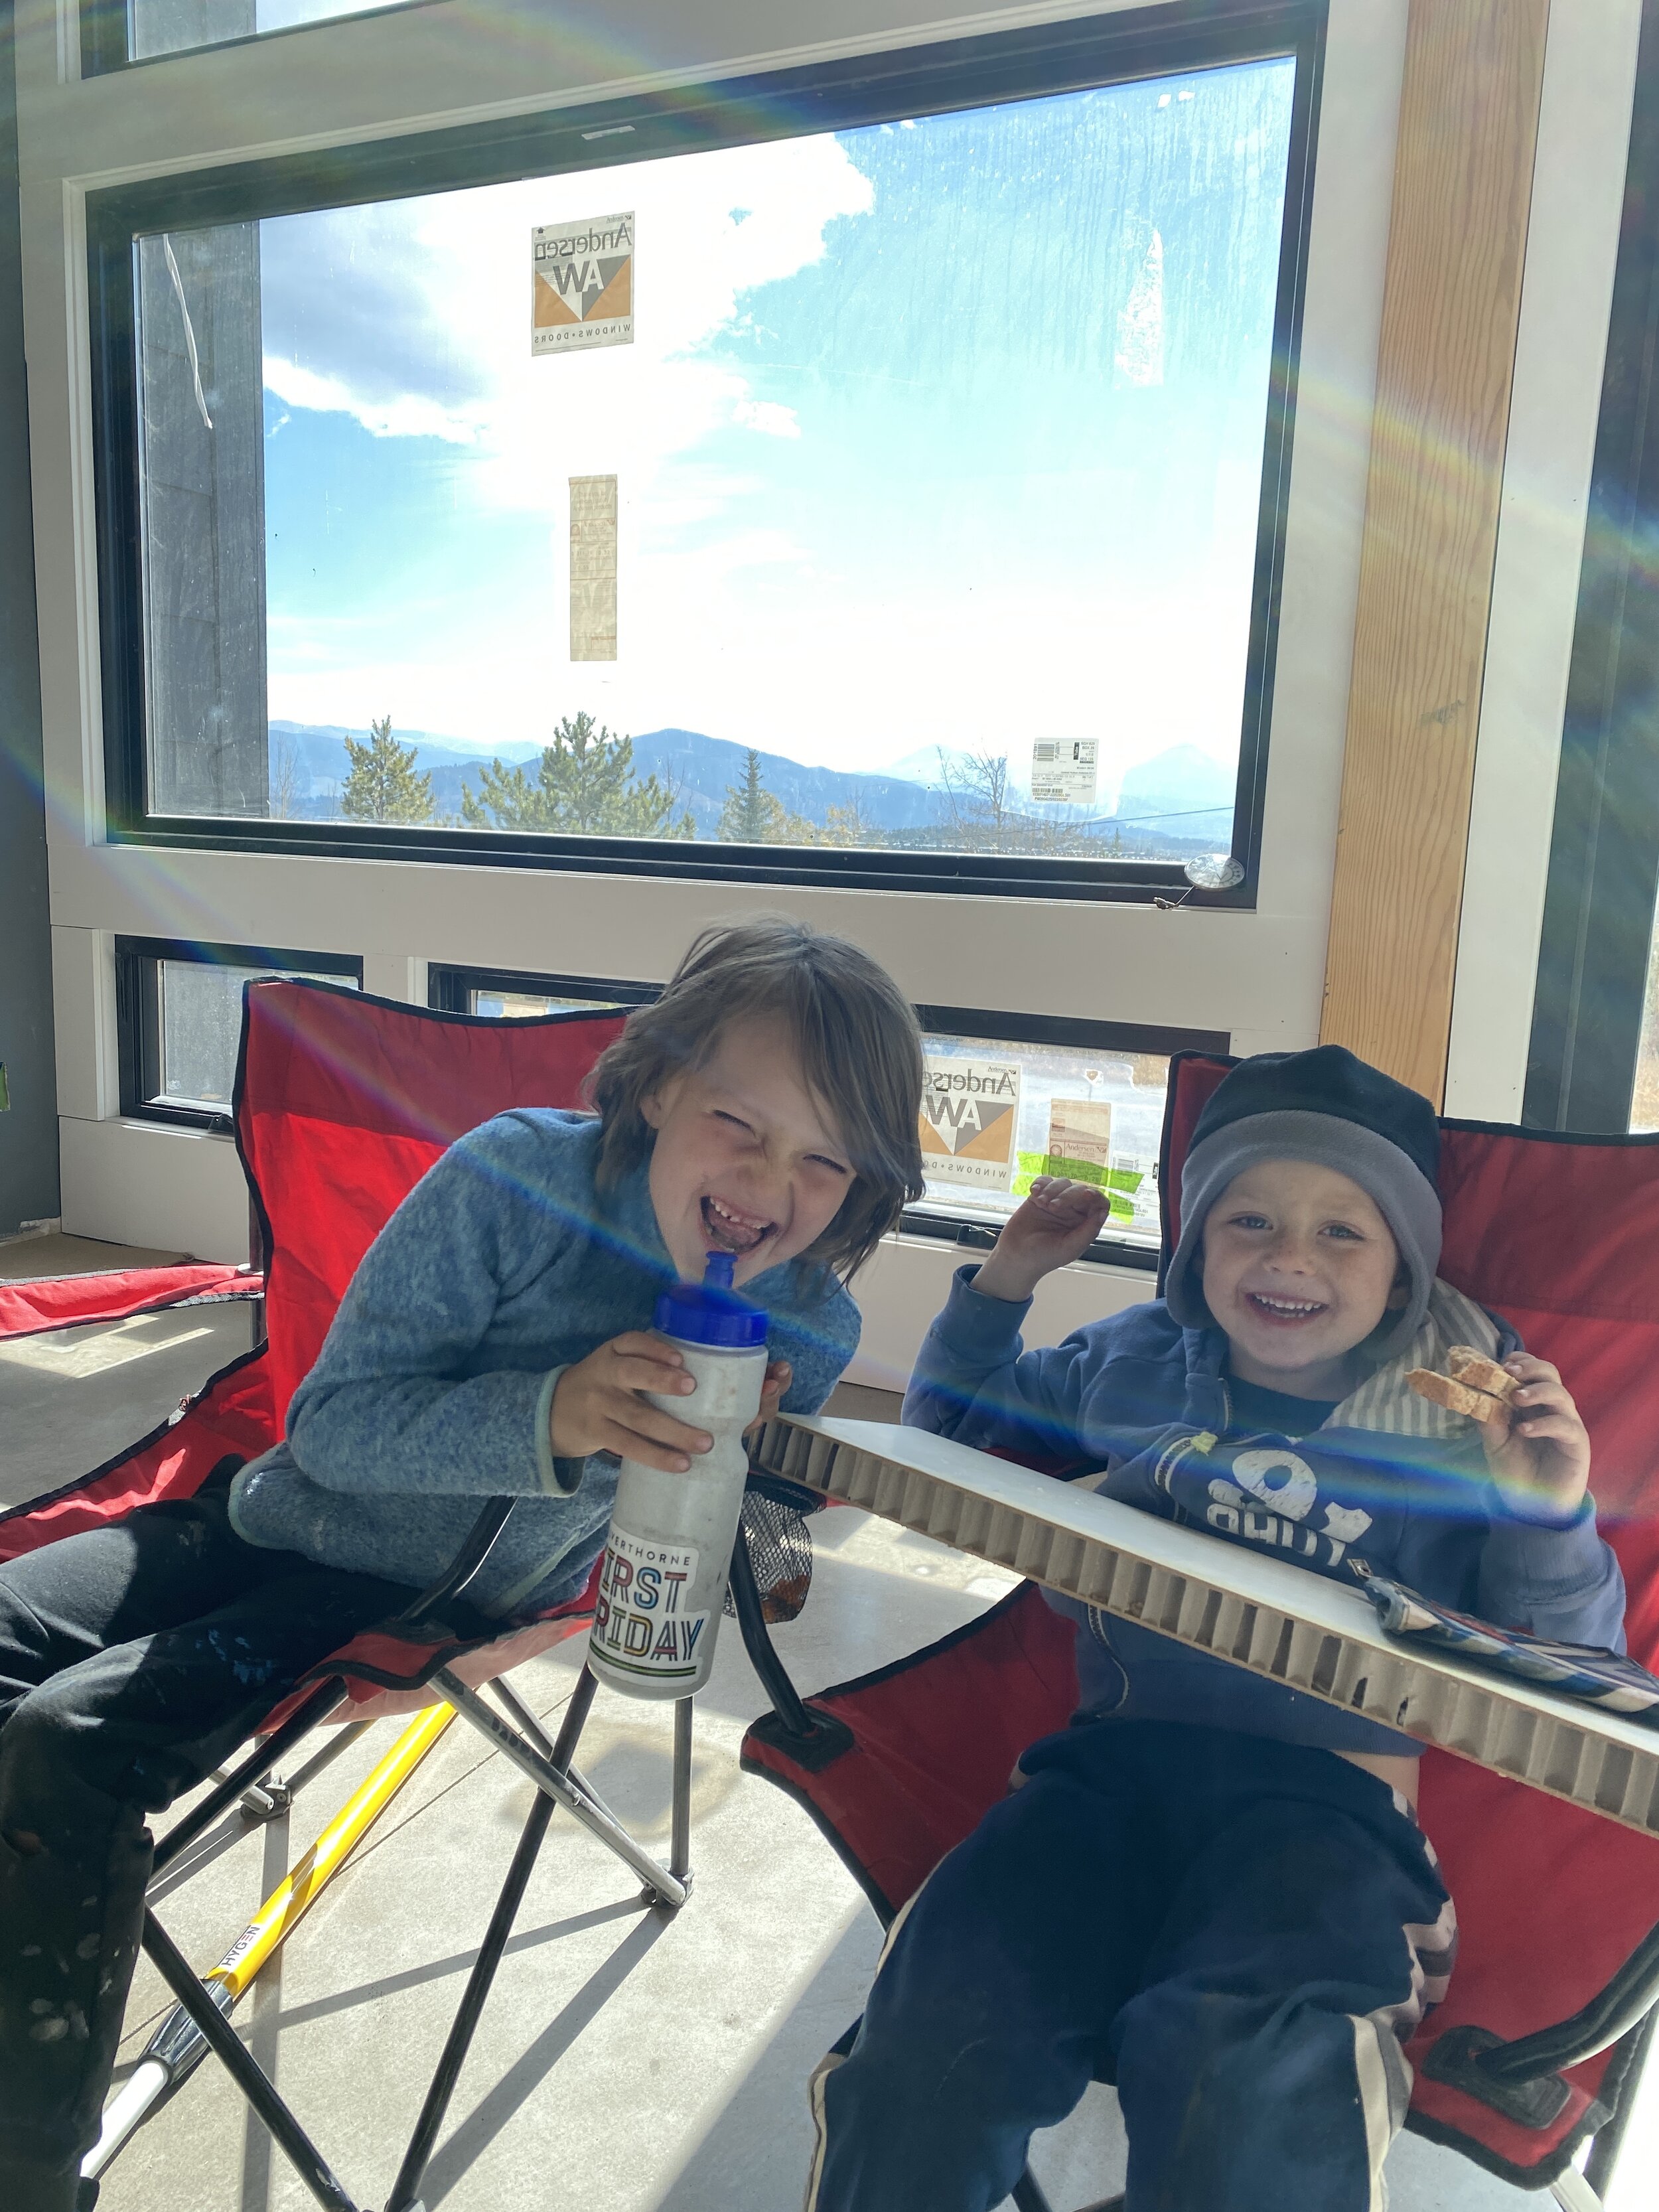
The boys had a Fall Break long weekend from school, so we’ve been doing a mix of fun and working at the house. It feels good to enjoy a bit of leisure time with our family.

Fall break hike in Dillon.

Pumpkin carving party with some friends.
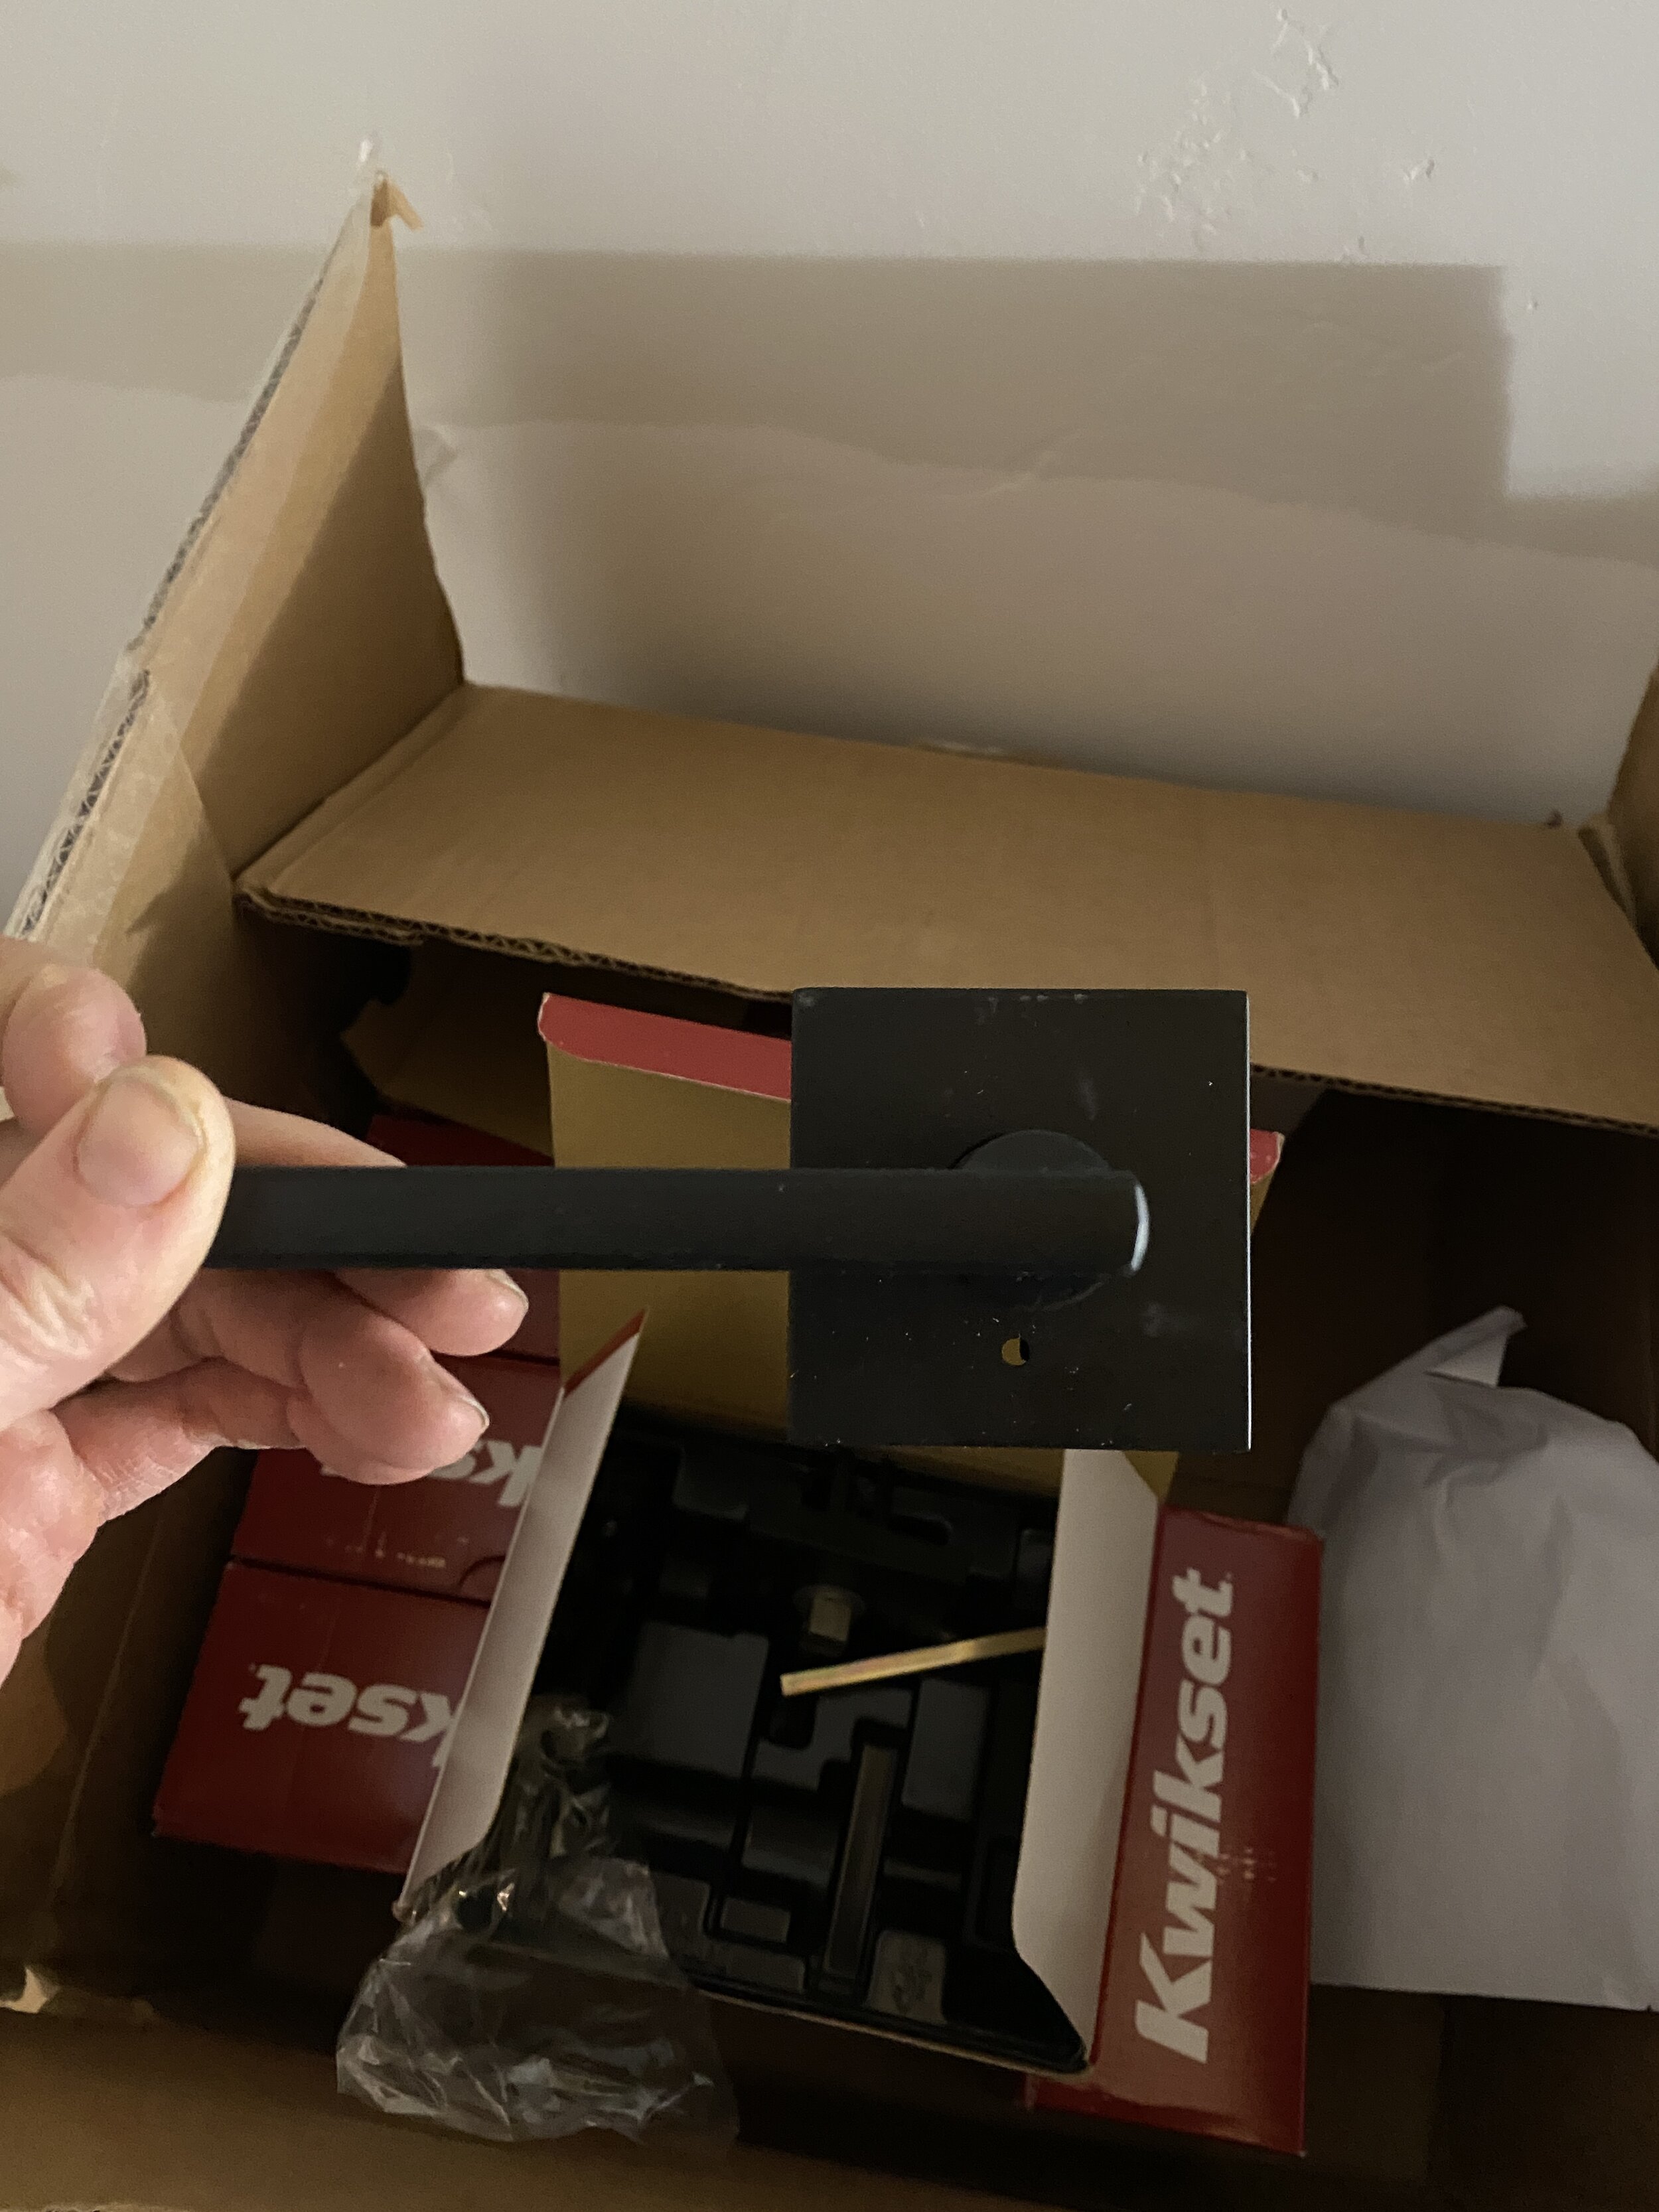
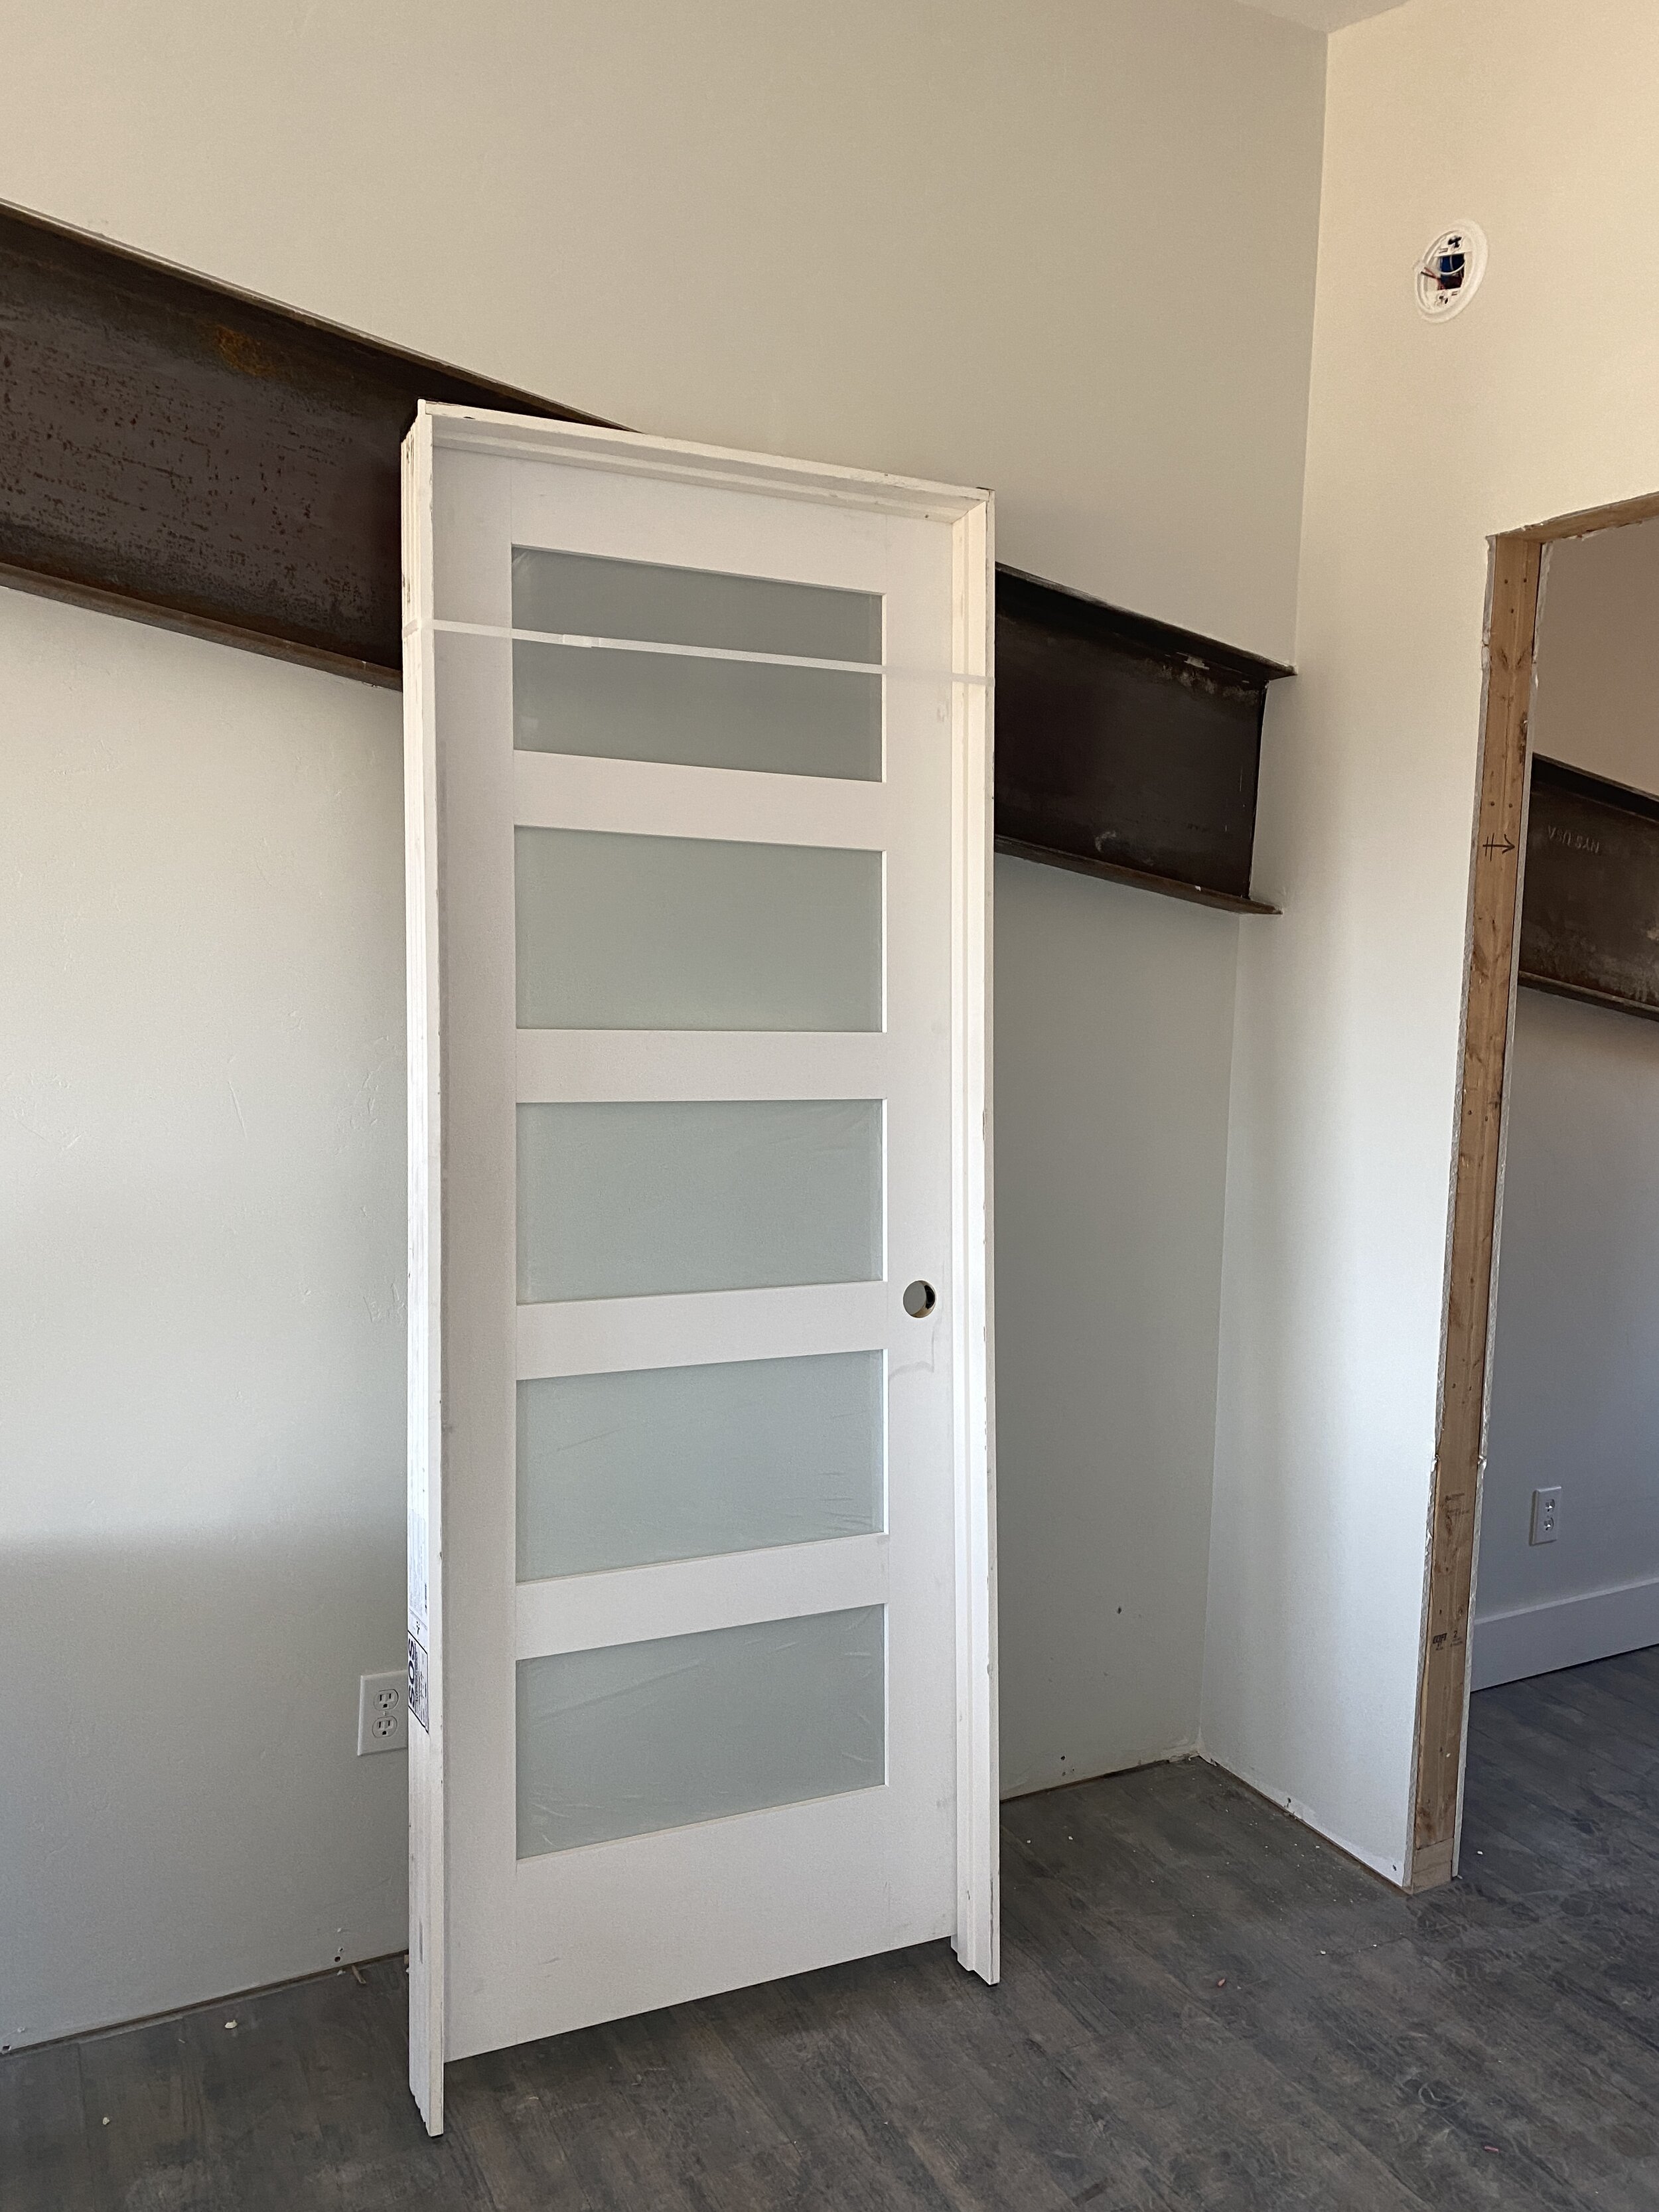
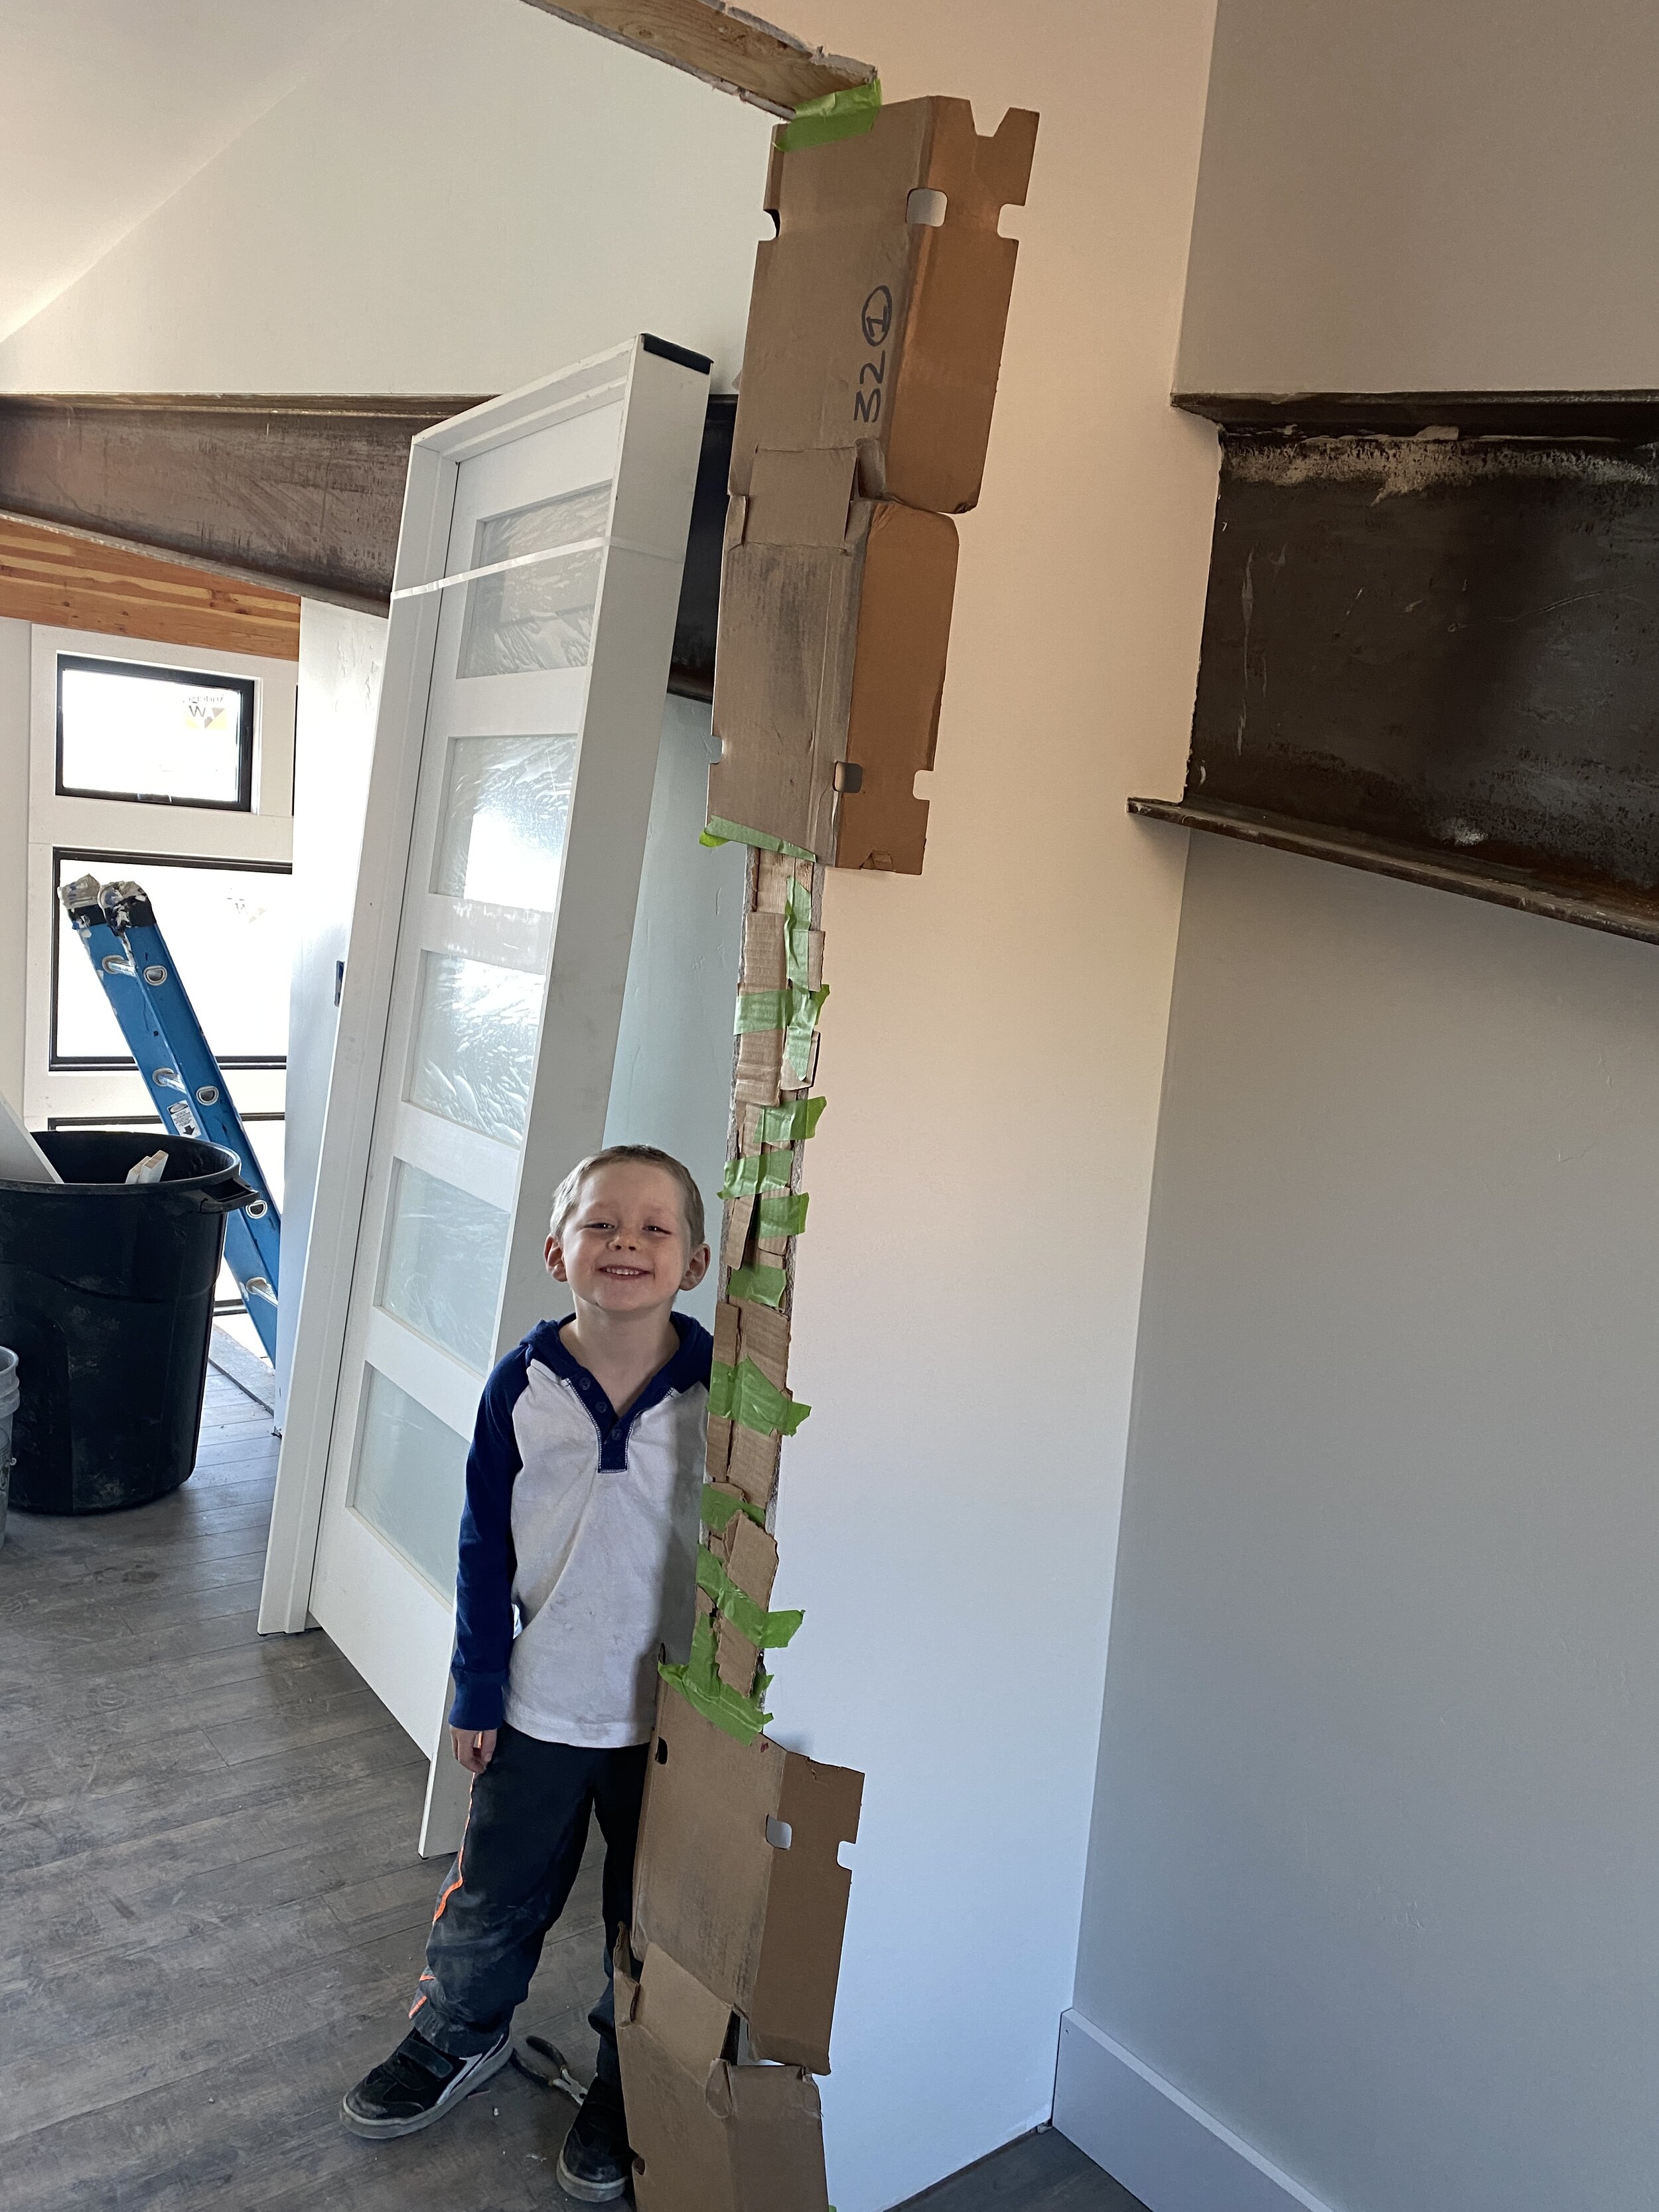
On Friday afternoon, while Kelsey was at the plumbing supply store, I figured I would try my hand at installing our first door handle on the newly installed office door. Everything was going really well, things were lining up nicely, but then I shut the door and was locked inside the office! Ugh! Turns out, the most critical part that connects the exterior and interior handle ended up out of the box while Kelsey was making sure the door hardware was there. Oh boy. Well, after dismantling what I could and trying every available tool I had inside the office, I called for a rescue. Kelsey put the missing part in, we reattached the handles and voila, Corbin and I were free! Thankfully Corbin had some snacks and was kind of oblivious to my struggle and annoyance. At the time, this wasn’t funny, but now it does make for a good laugh.
Bonus part, my Dad is a locksmith and can probably install door handles in his sleep, so I’m prepared for some ribbing when he’s back out here again in early November. We have our remaining interior doors arriving this week, so I’ll have 10 more tries to master the door handle installation.

Cory is happy to be safely out of the office and to have installed the door and handle :-)
What’s coming up next?
Finish installing the boiler
Install the fireplace mantle and tile. Our mantle brackets from Industrial Farm Co will be here tomorrow!
Have Western Fireplace Supply come and start the fireplace for the first time. We need to have the mantel in place before they will start it.
Order the lumber and composite materials for our deck.
Stain/seal the wood for the ceiling. It will be arriving on Friday, October 30. So, we’ll have a Halloween weekend staining blitz!
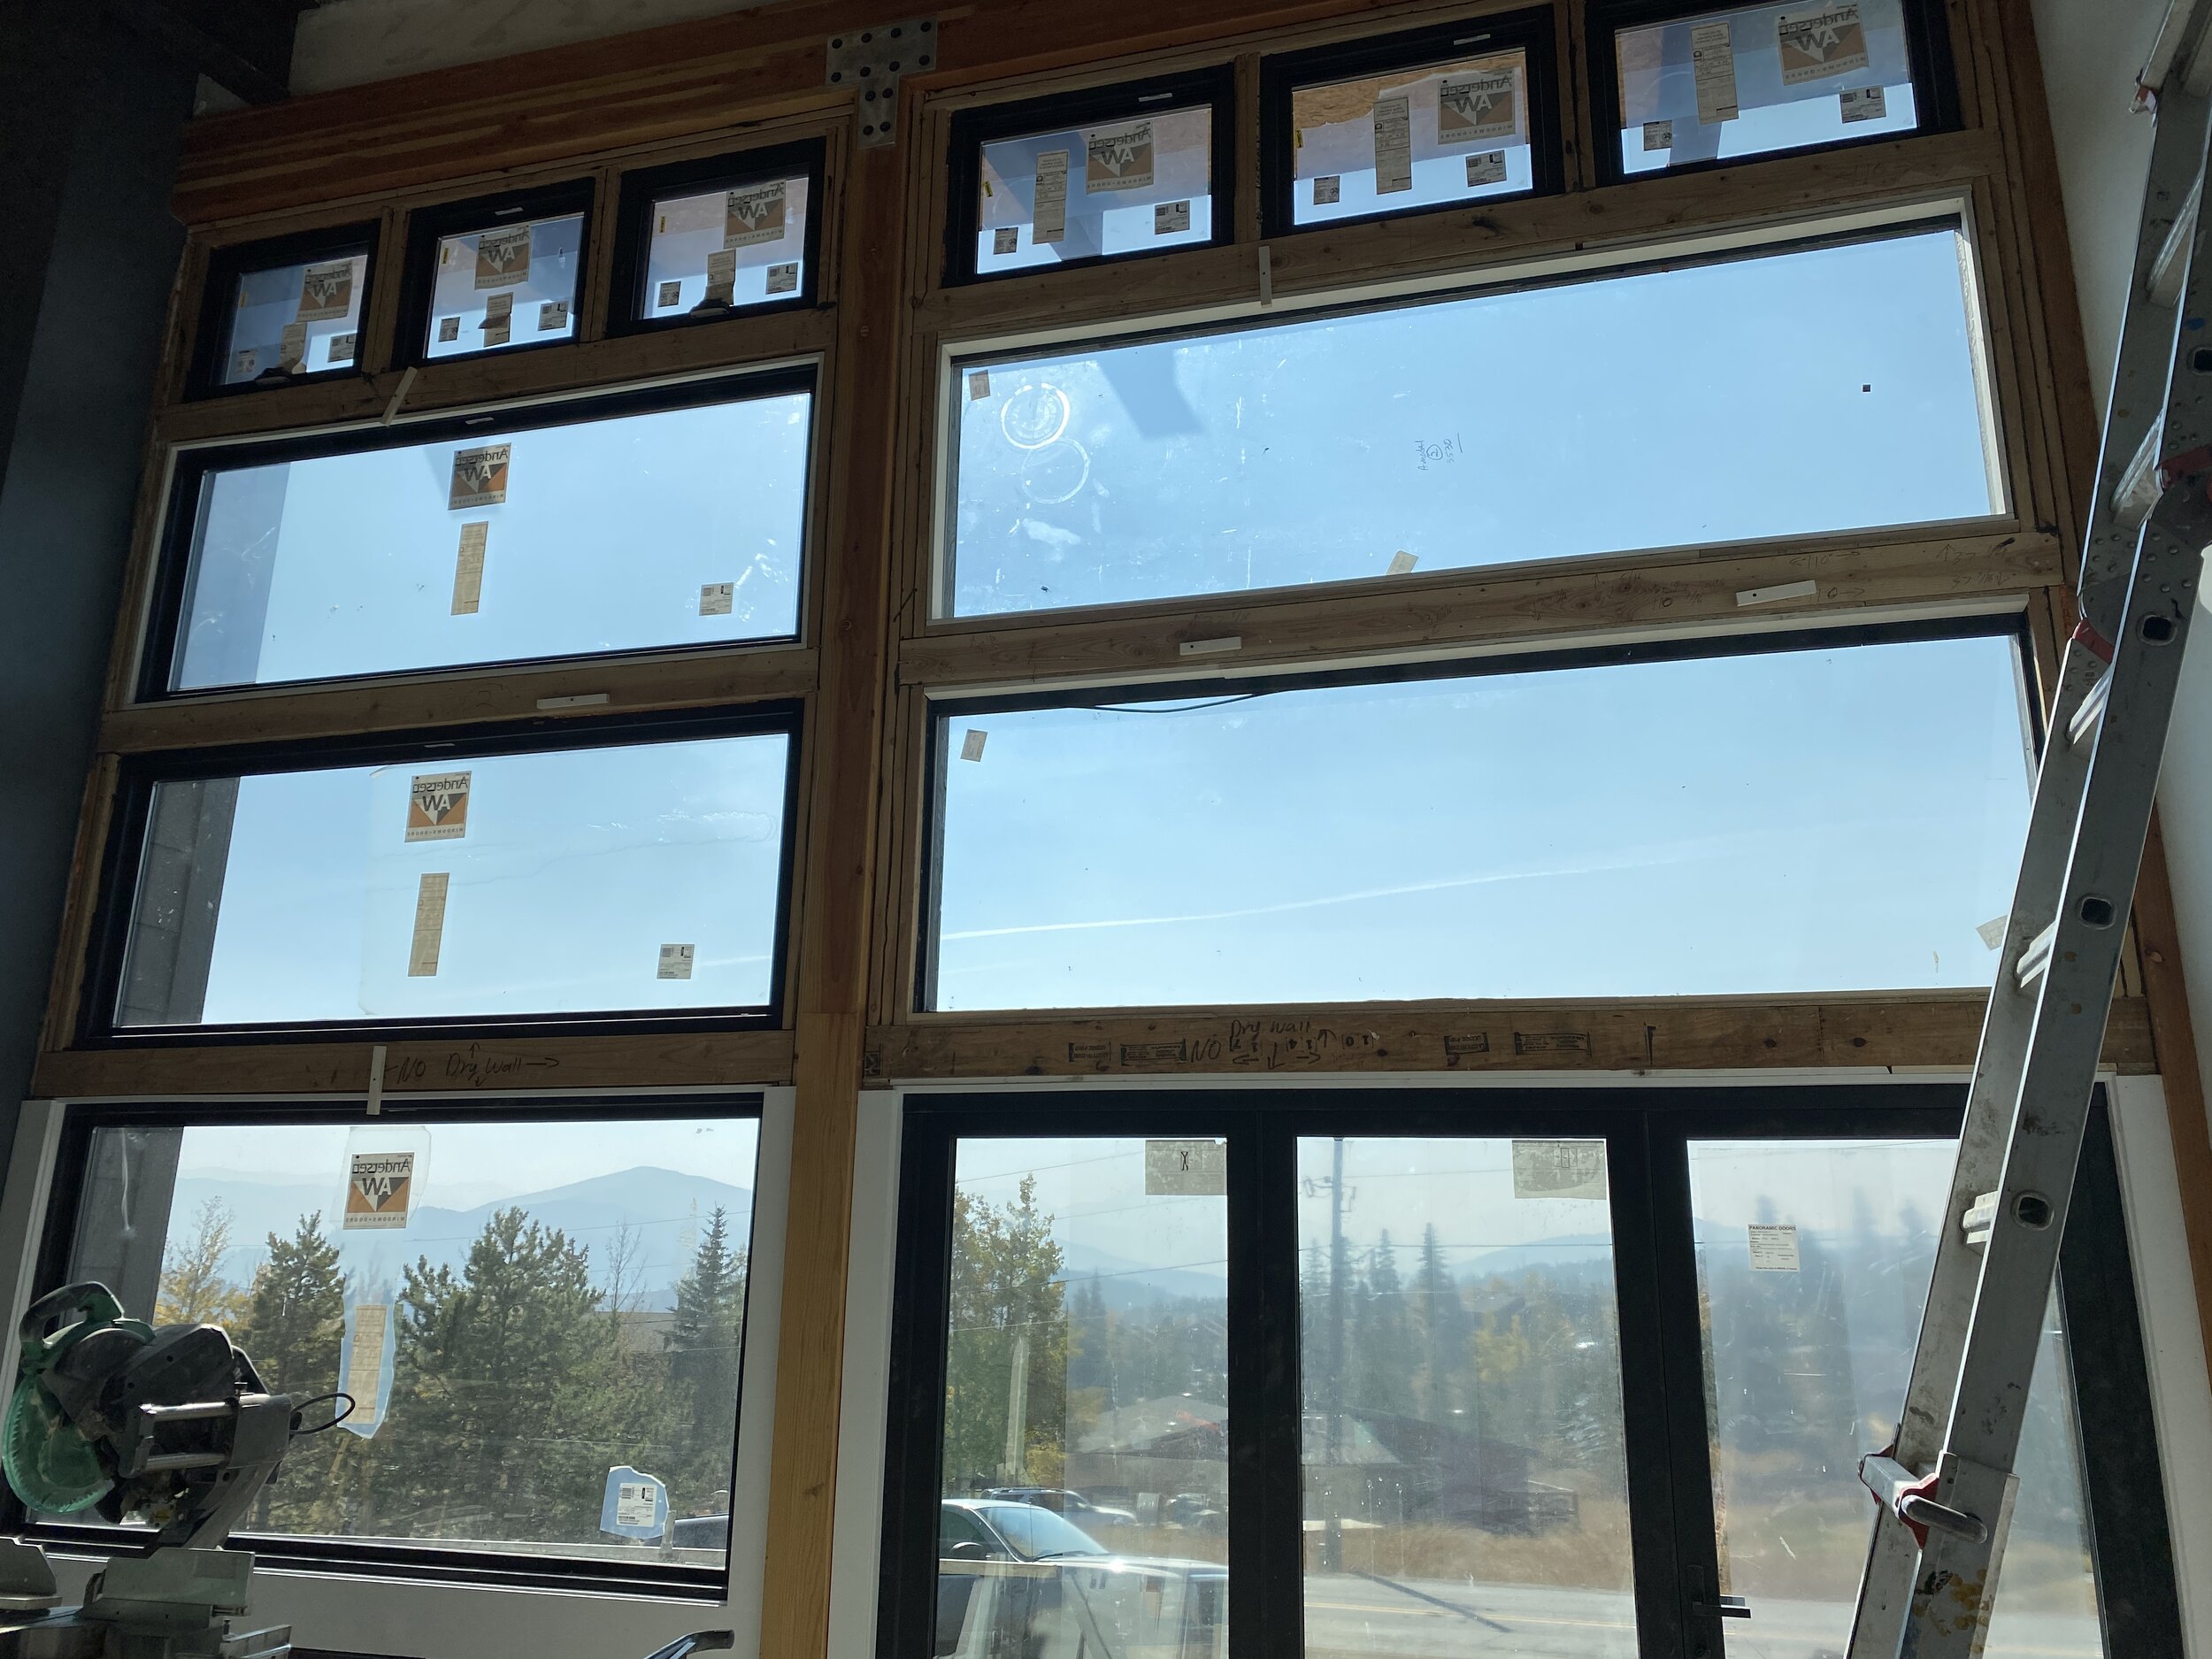
Install the final window in the loft. If you remember, we needed to have one more egress window to meet the Summit County requirements. We meet code now, but the County has more strict regulations on egress windows. We’ll get out the big ol’ sawzall and cut a hole, tape it, and pop it in! Oh, then redo the exterior siding and make another window trim unit. Just a 5 minute job. Ha!
Paint and install the remaining interior doors. Kelsey will pick up the doors and final window this week.
Install the spiral staircase
Anxiously await the arrival of our kitchen cabinets from Lily Ann Cabinets.
Thanks for all the support. We’re getting more and more anxious to actually live in the house. If everything goes to plan, we’ll receive our certificate of occupancy in November. Keep your fingers crossed for us.
Cheers,
Cory
Here are some more photos from life and our project over the last month.