Closing in on a Certificate of Occupancy
Well, it’s been almost a month since our last blog post. We’ve made lots of progress on finishes since we finished the polished concrete floor.
We also have had to be flexible with COVID-related school and daycare closures for the boys. Trying to balance my full time work, Kelsey leading the home-building charge and helping the boys with remote learning doesn’t always lead to the most productive days on the job site. We’re doing the best we can, yet still feel frustrated some days with the slowing down of our process toward receiving our certificate of occupancy. Of course, we remain grateful for our health, but still...sigh.
How are things going in your area? Are your kids still able to attend in-person school?
All that complaining aside, a global pandemic won’t stop us! We’re so dang close and know that we’ll finish, even if it is later than we would have hoped.
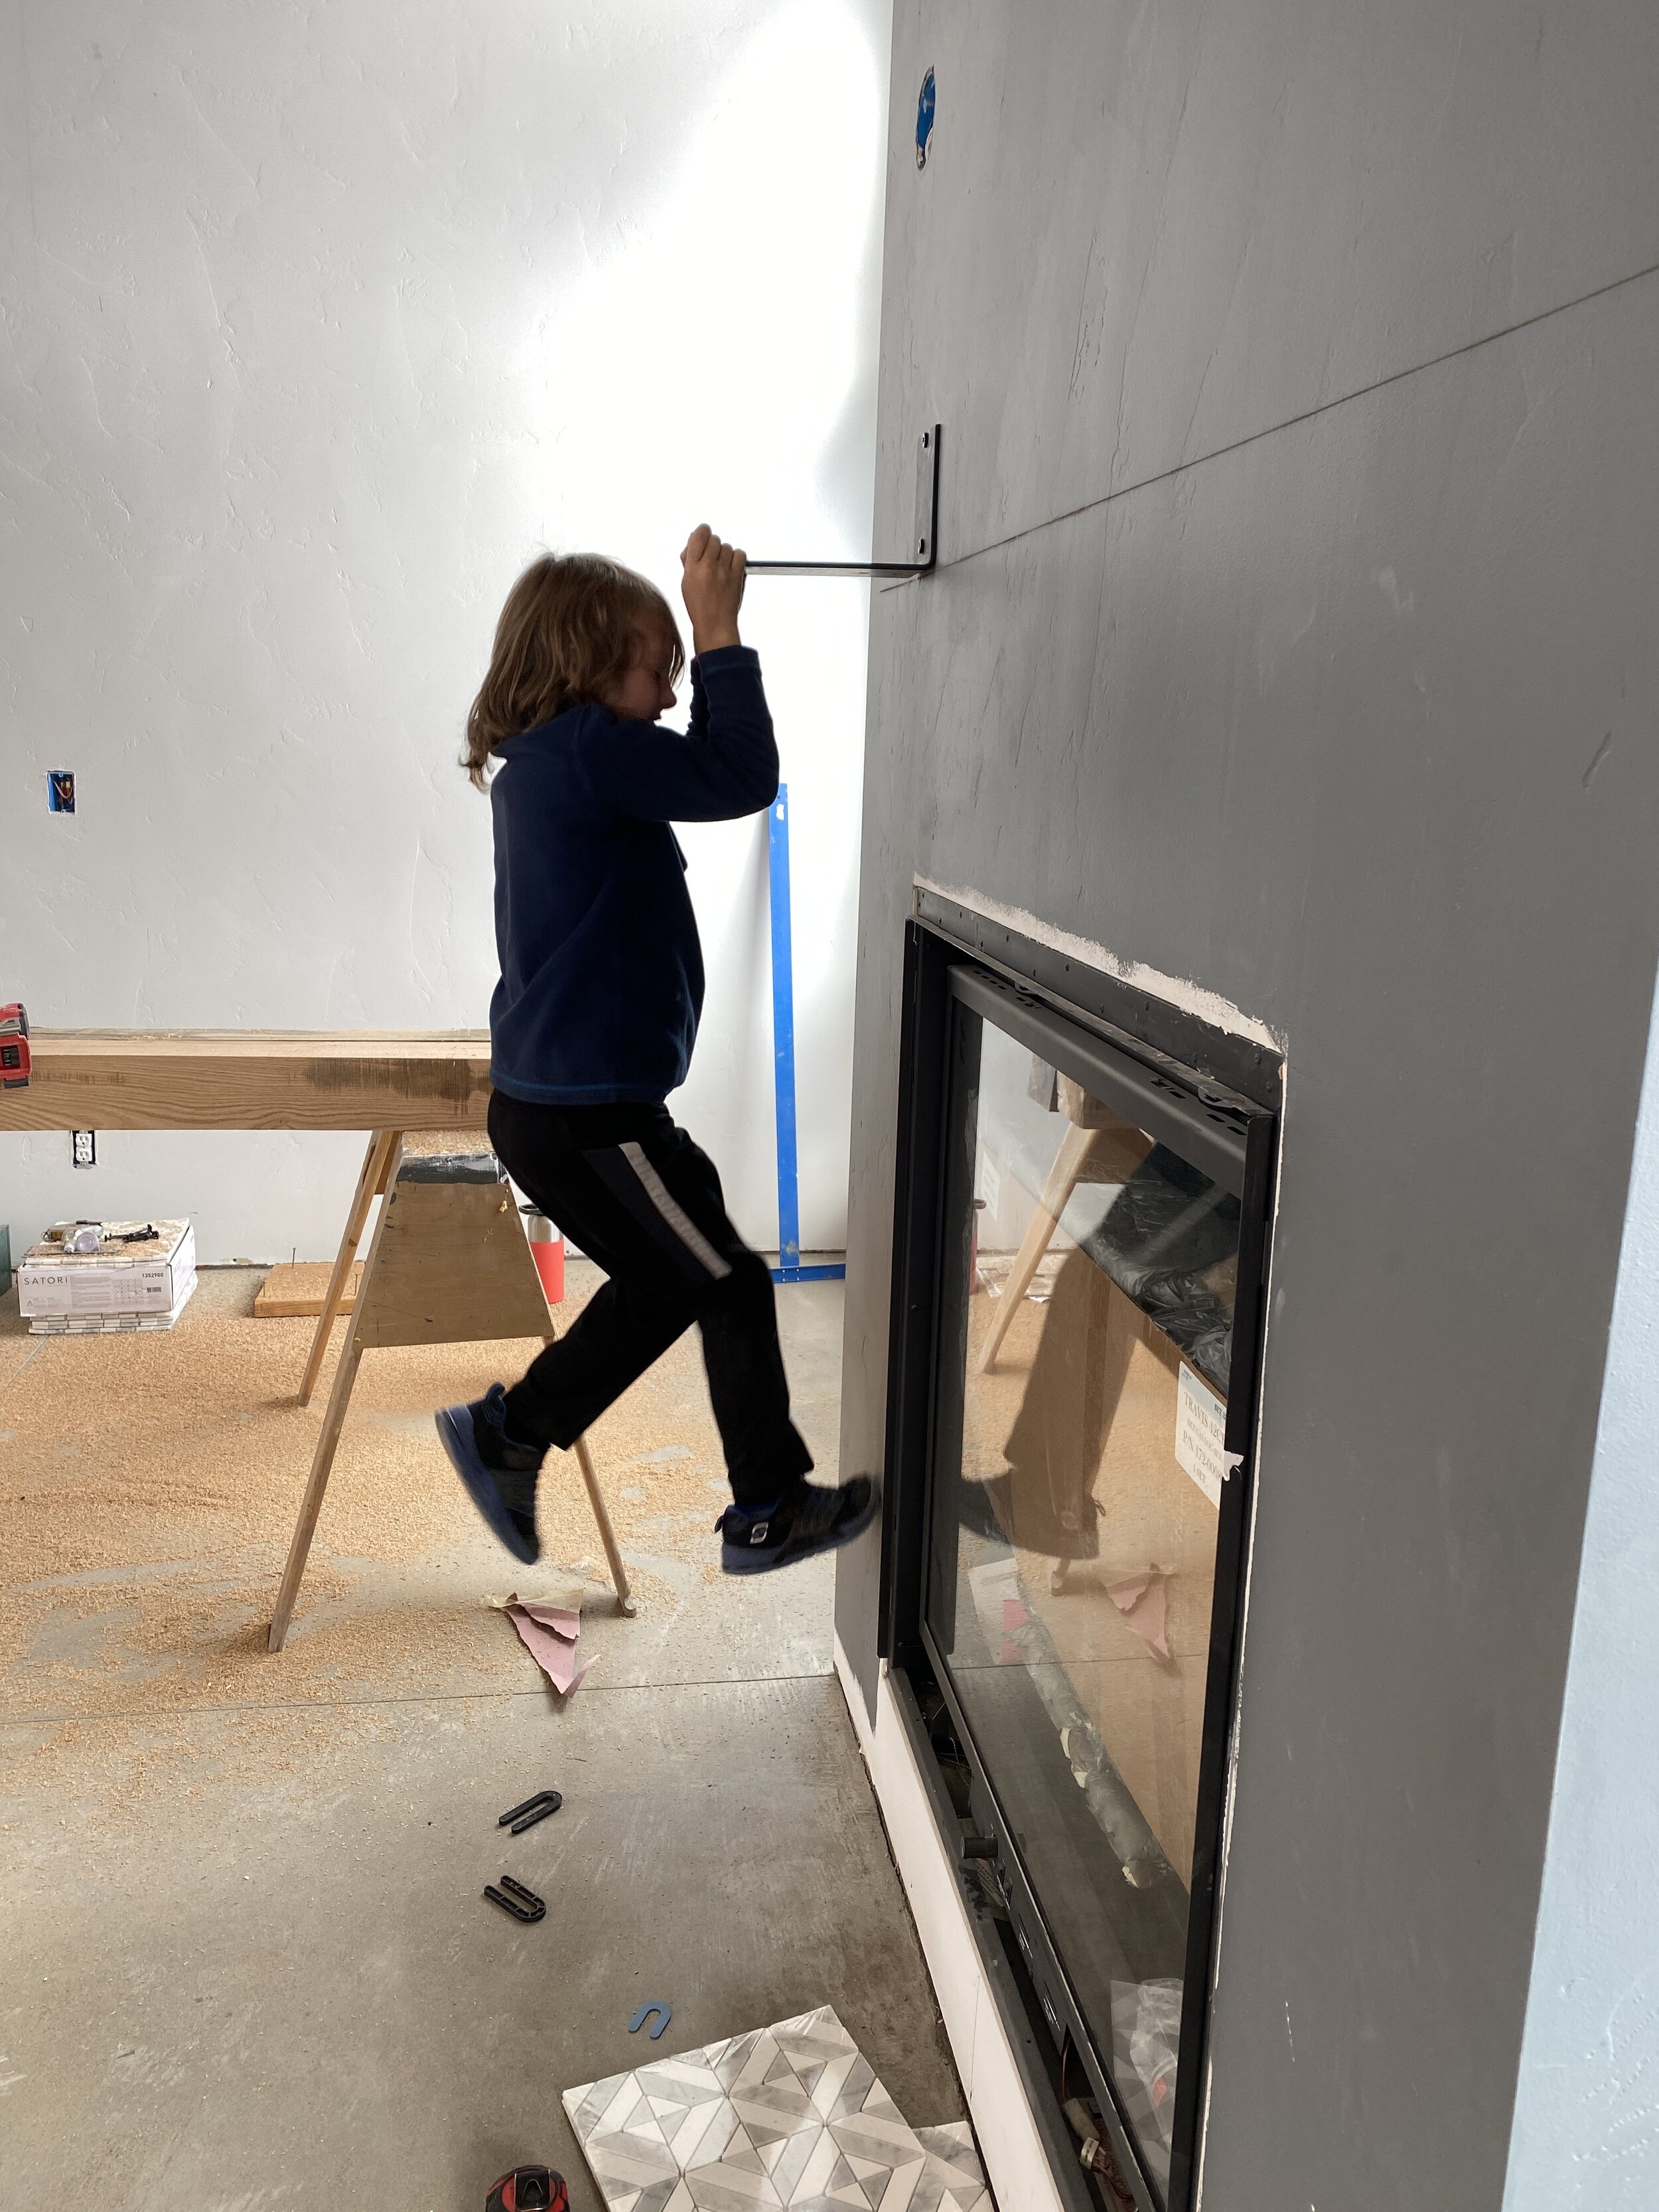
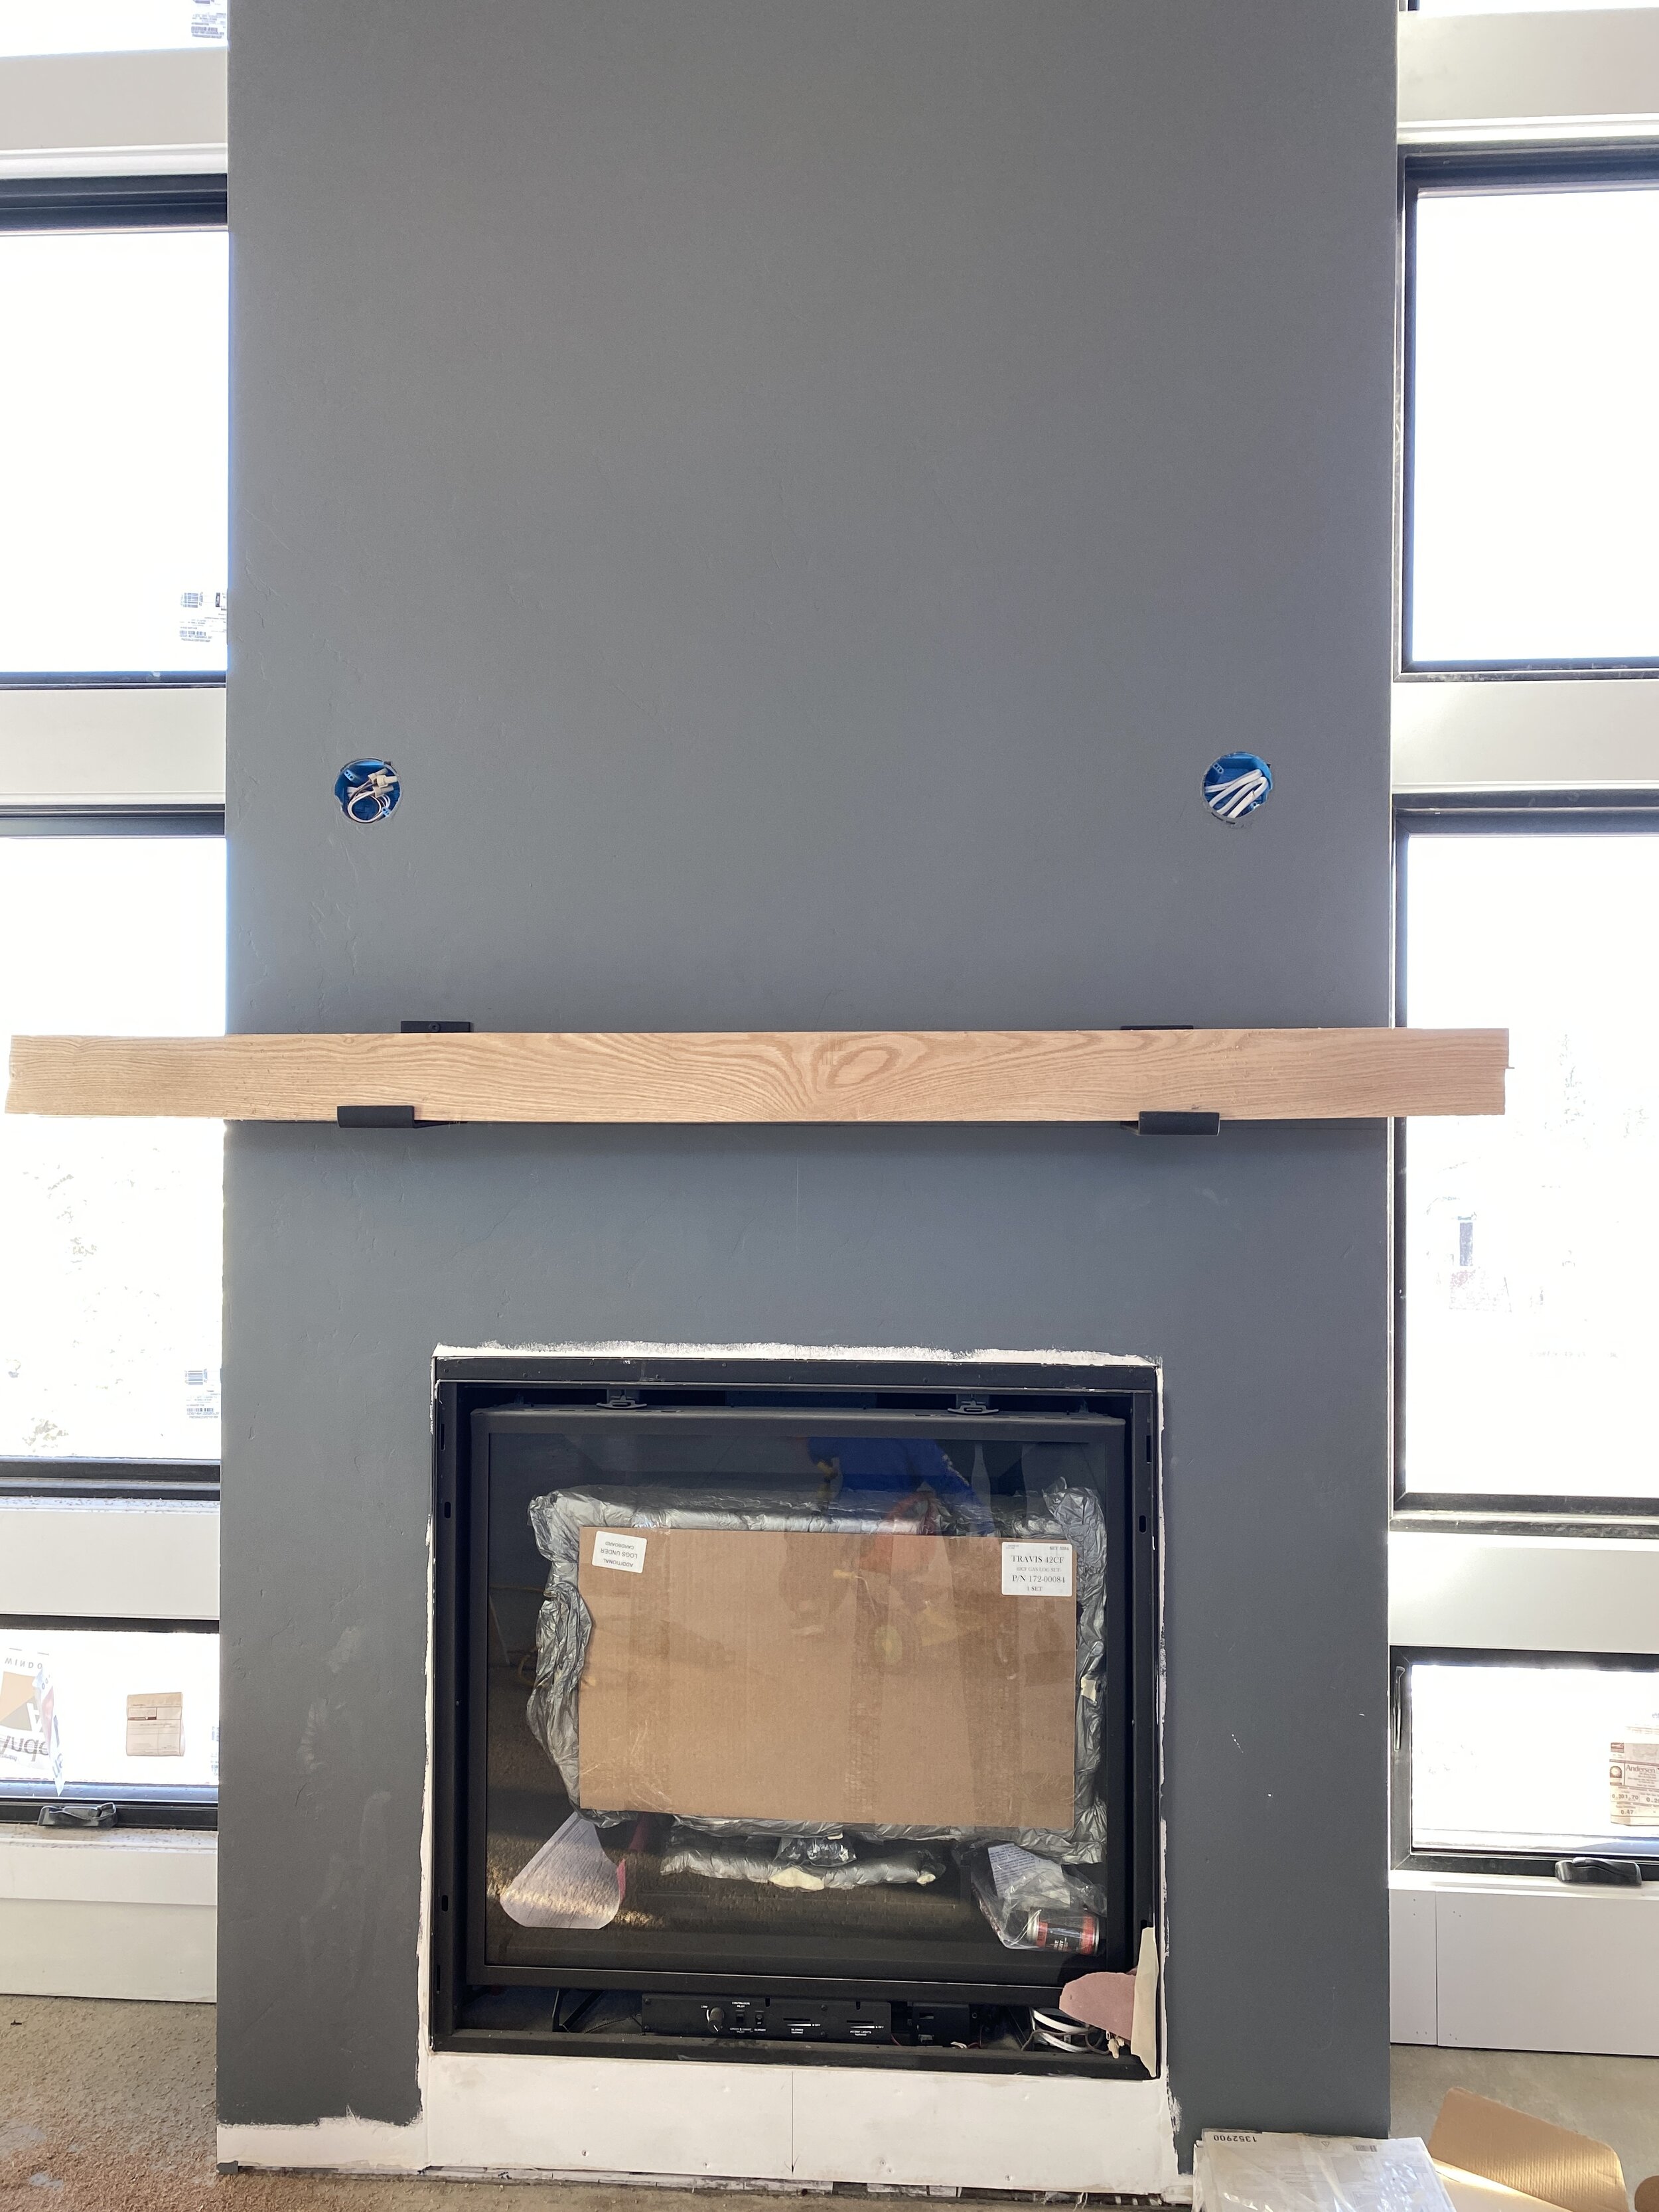
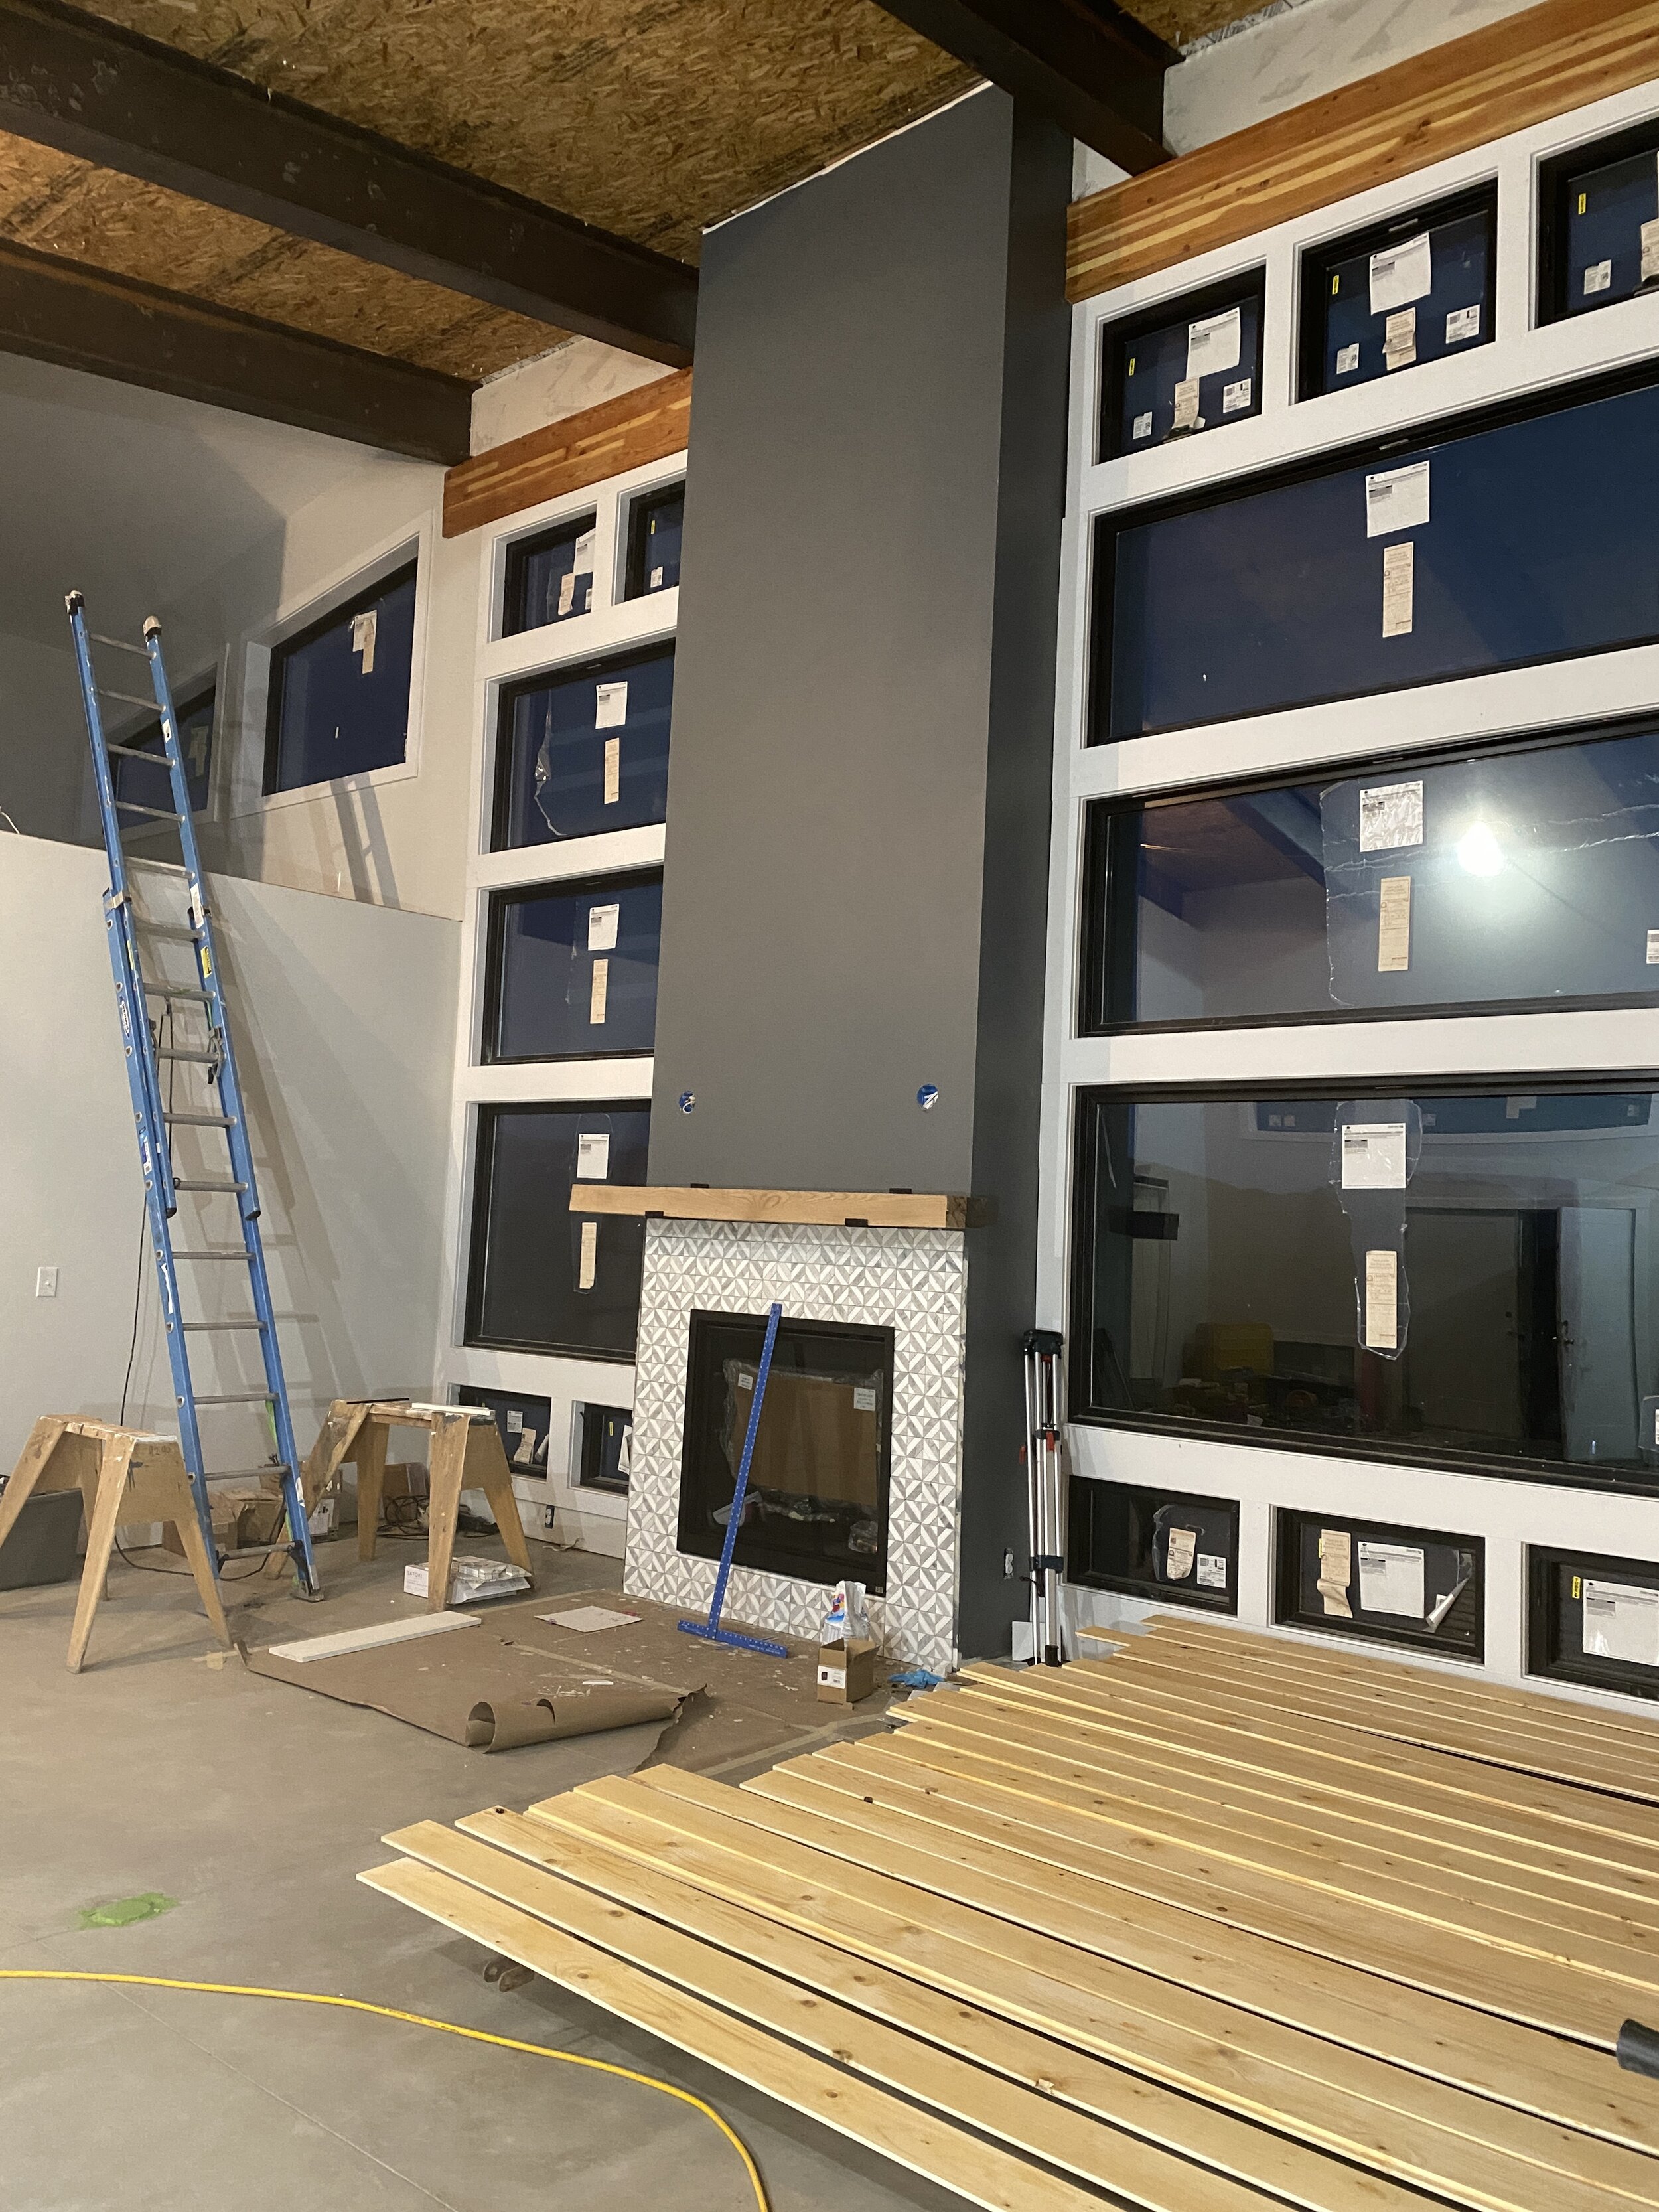
After we wrapped up the big task of finishing the concrete floor, it was time to move onto the fireplace! In order for Western Fireplace to start up the fireplace, we needed to have the tile surround and the mantle installed. They needed to ensure the mantle is a safe distance and that the fireplace is surrounded by non-combustible material.
The first step was to install our fireplace mantle brackets from Industrial Farm Co. If you need any sort of mantle or shelf brackets, check them out! They answered all of our questions and shipped our brackets super fast. We’ll definitely order our kitchen shelf brackets from them when we’re ready.

These brackets are definitely super sturdy!
The wood for the mantle is from my grandparents’ property in Michigan. When my parents, Neil and Cindy, were building our family home in the early 90s, they cut down oak trees, had them kiln dried and milled. The wood was then used for baseboard, ceiling and other trim work in our timber frame home. Mom and Dad saved a bunch of pieces and we were lucky enough to be the beneficiaries! We made our mantle by connecting two 4x4 pieces of red oak together. We used a handheld planer to reveal the natural grain and character of the wood. Eventually, we’ll coat it with polyurethane and cut it to the right length. Until then, it meets what we need to do for our certificate of occupancy.

We’re so grateful to have this bit of history in our home.
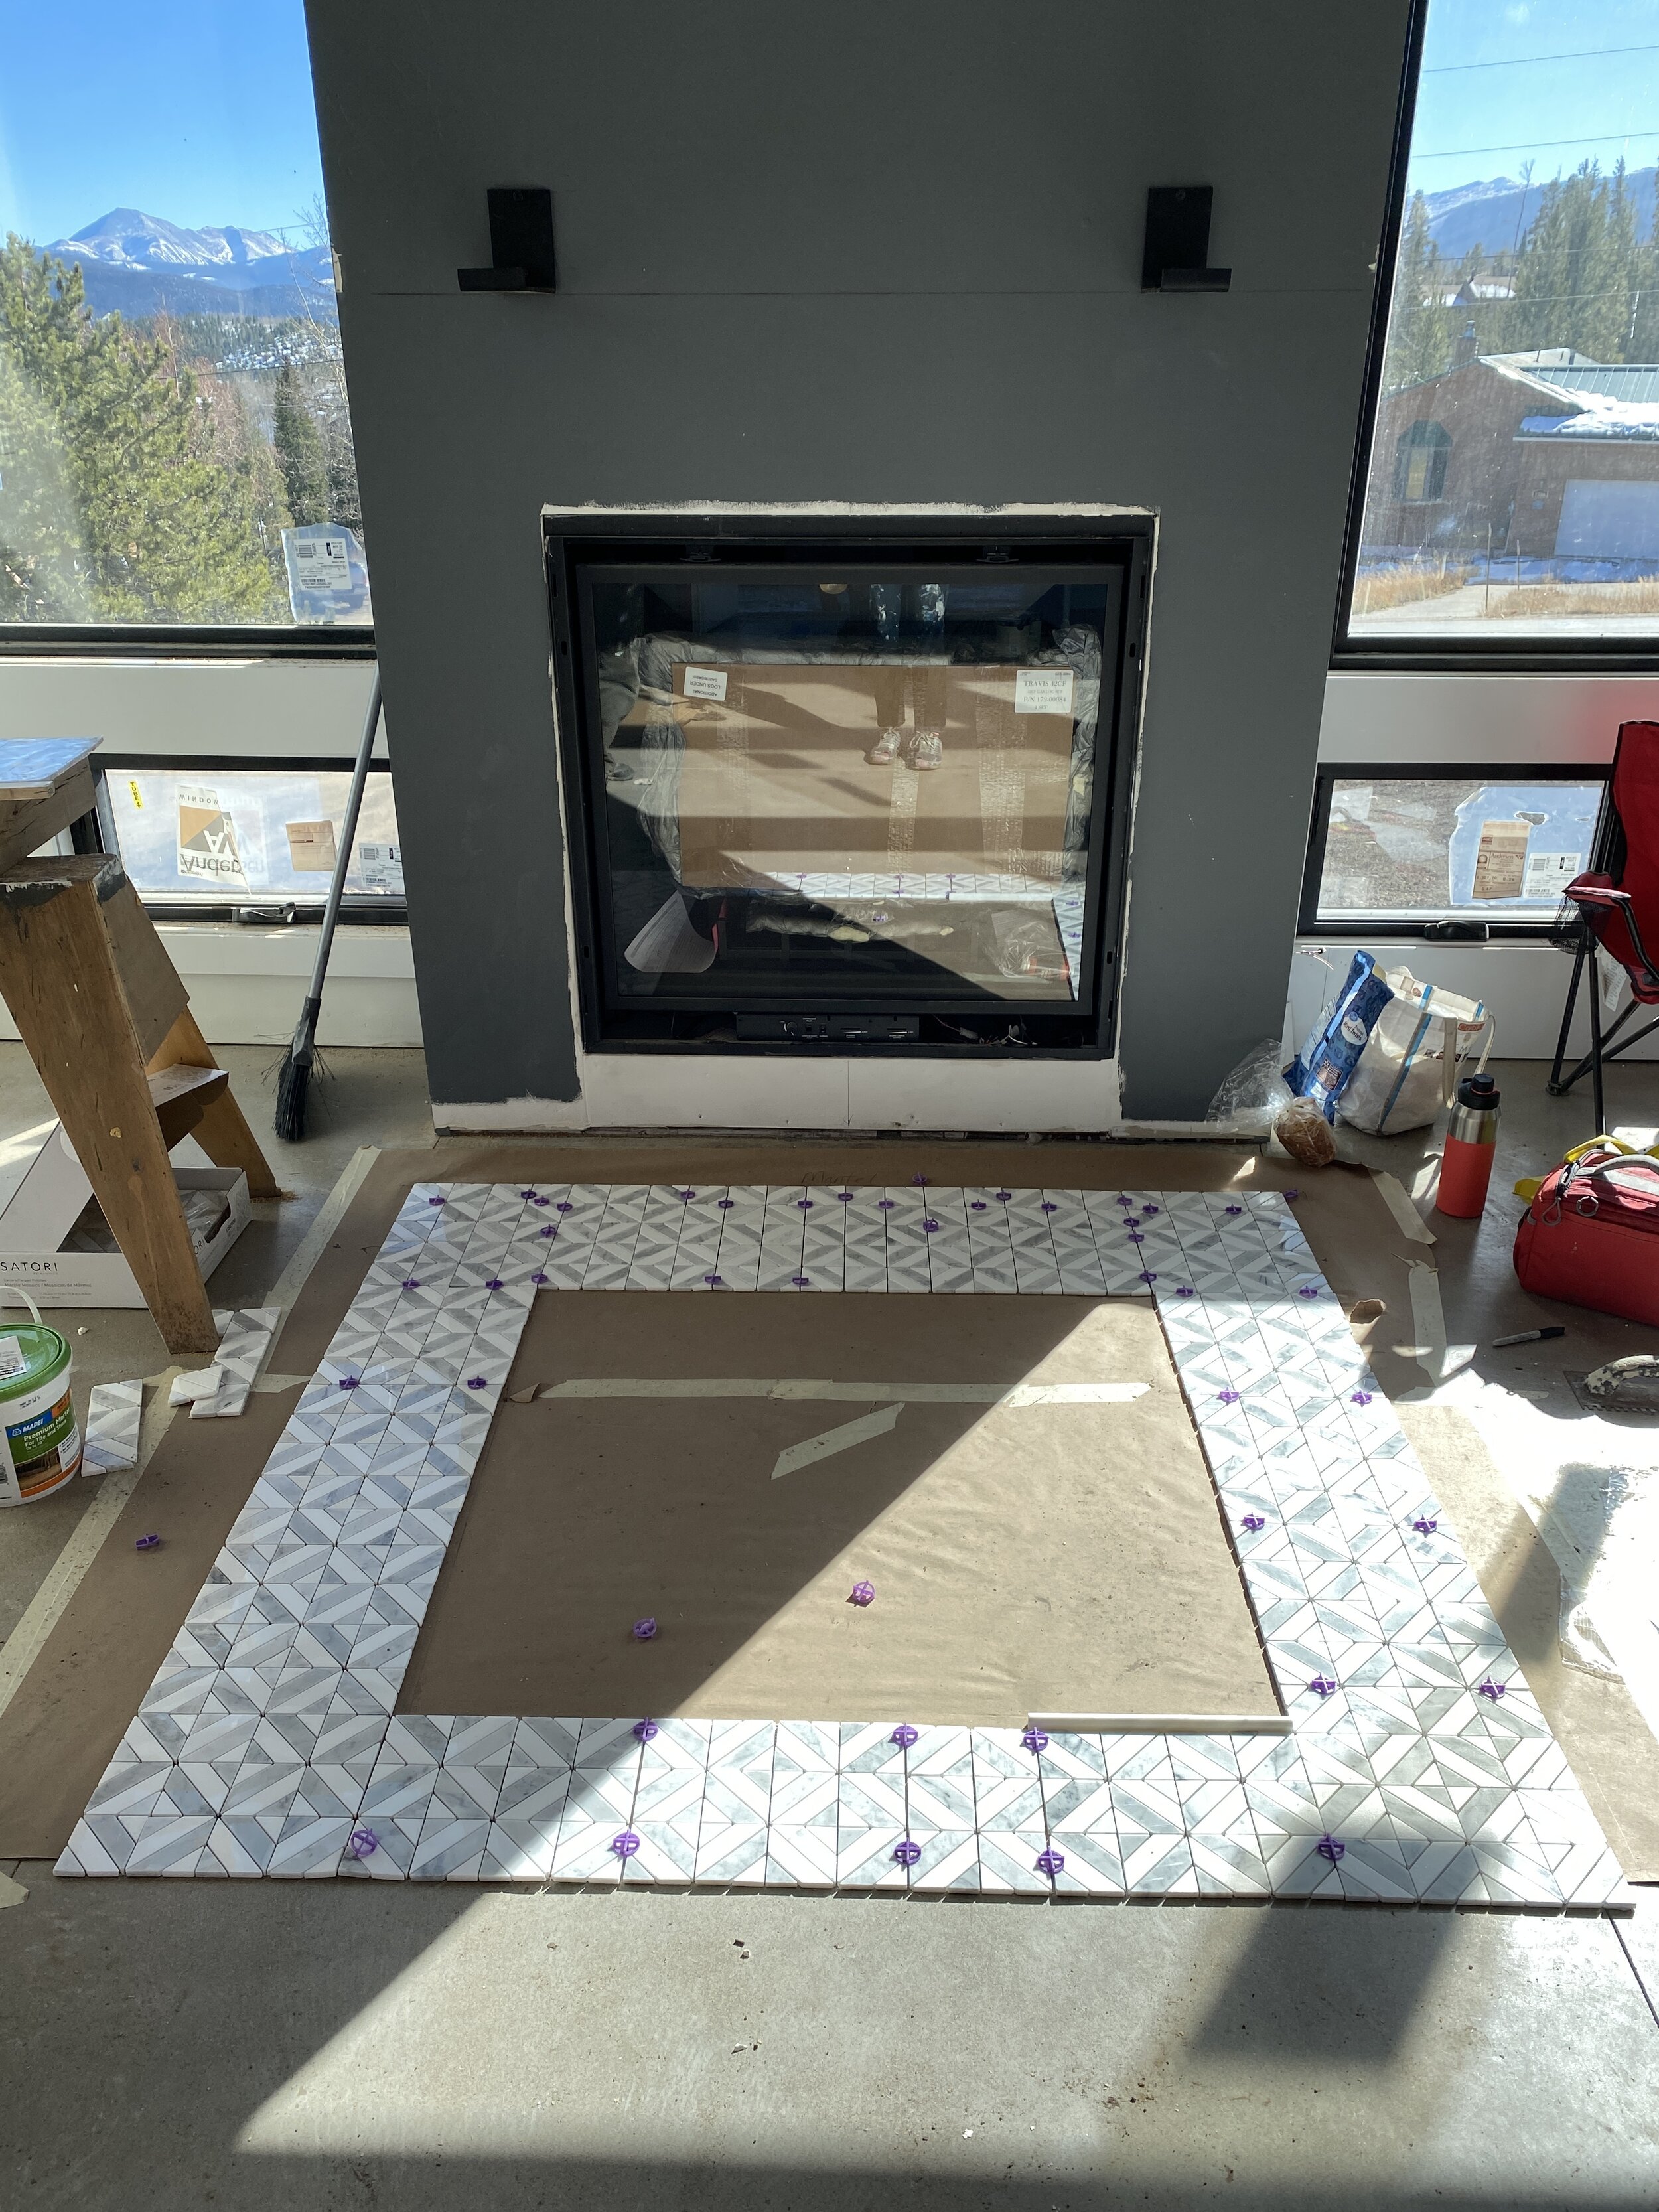
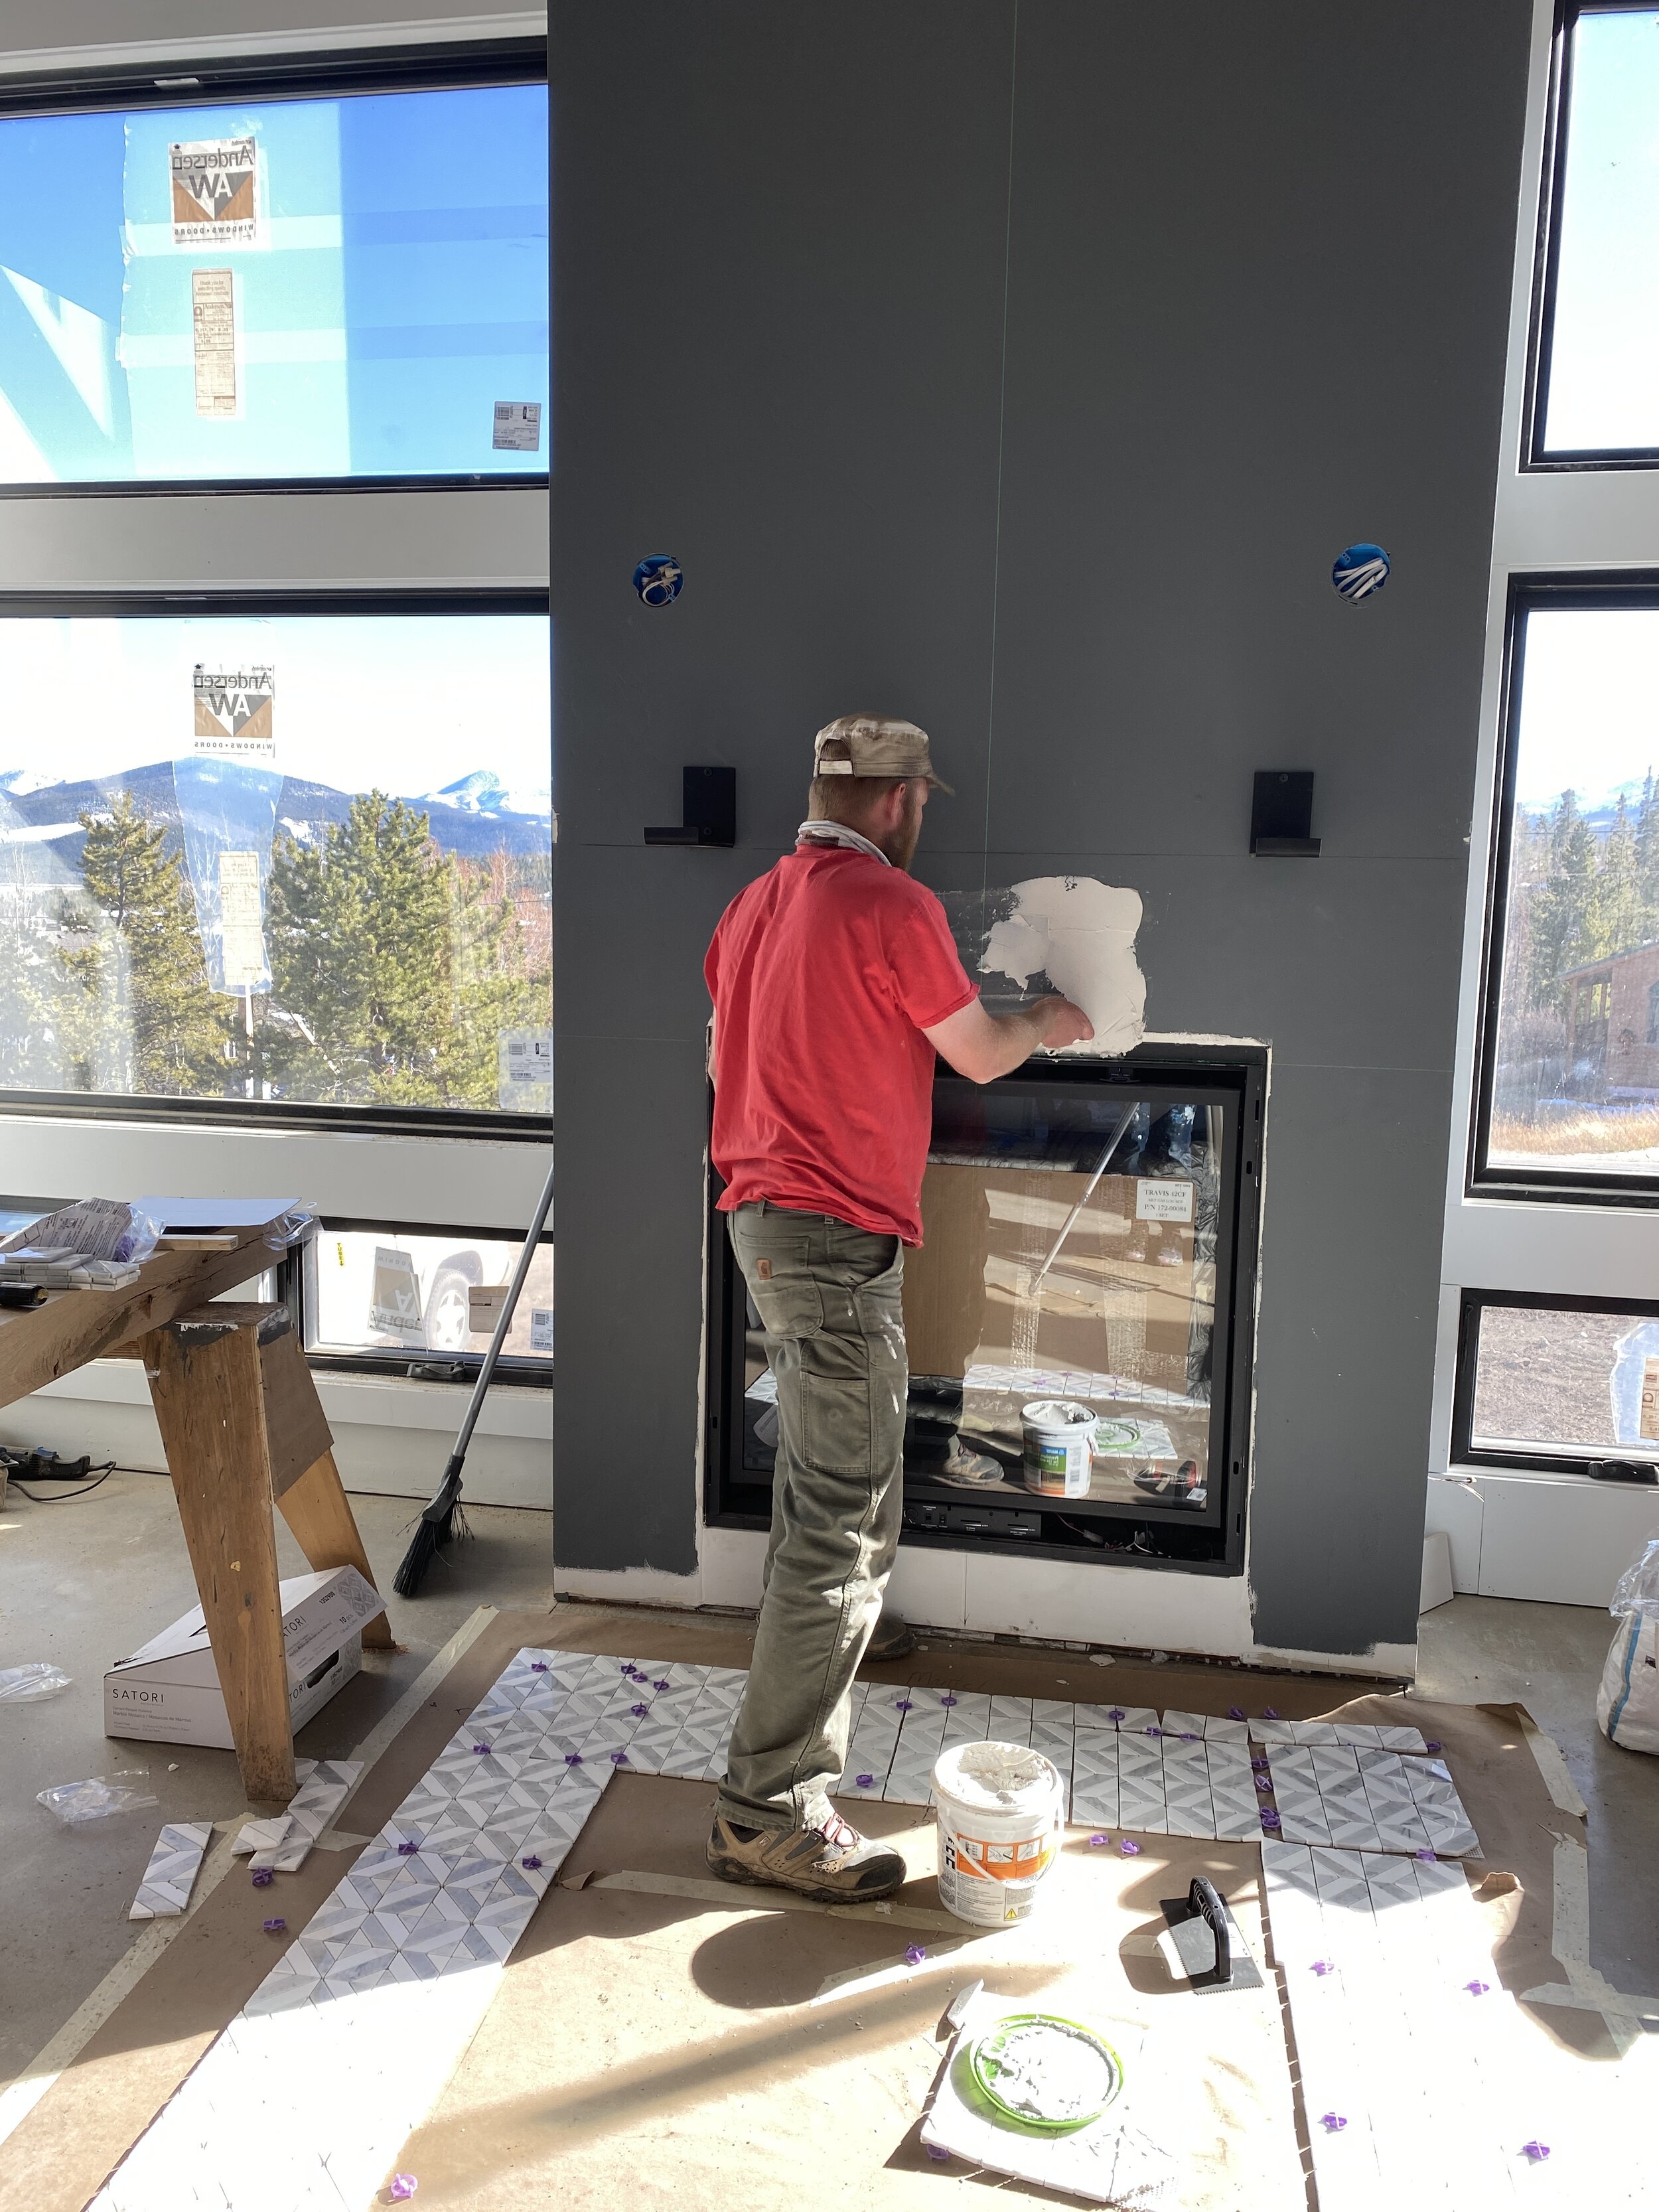
We chose a gorgeous marble mosaic tile that turned out to be rather complicated to install. Quote from Kelsey “this tile is the reason it takes two years to build a house.” Well, despite plenty of fiddling and quite a bit of fractions, we got it and it looks beautiful! We still need to grout and add trim to the edges on the left and right, but it made a huge difference in having a more finished look. Once the sconces are installed it will provide a warm welcome to friends and family entering the main door.

Starting to figure out the tile layout…pro tip, make yourself a little template on the ground to see how it will all work out.

Hello beauty! I just love this tile so much.
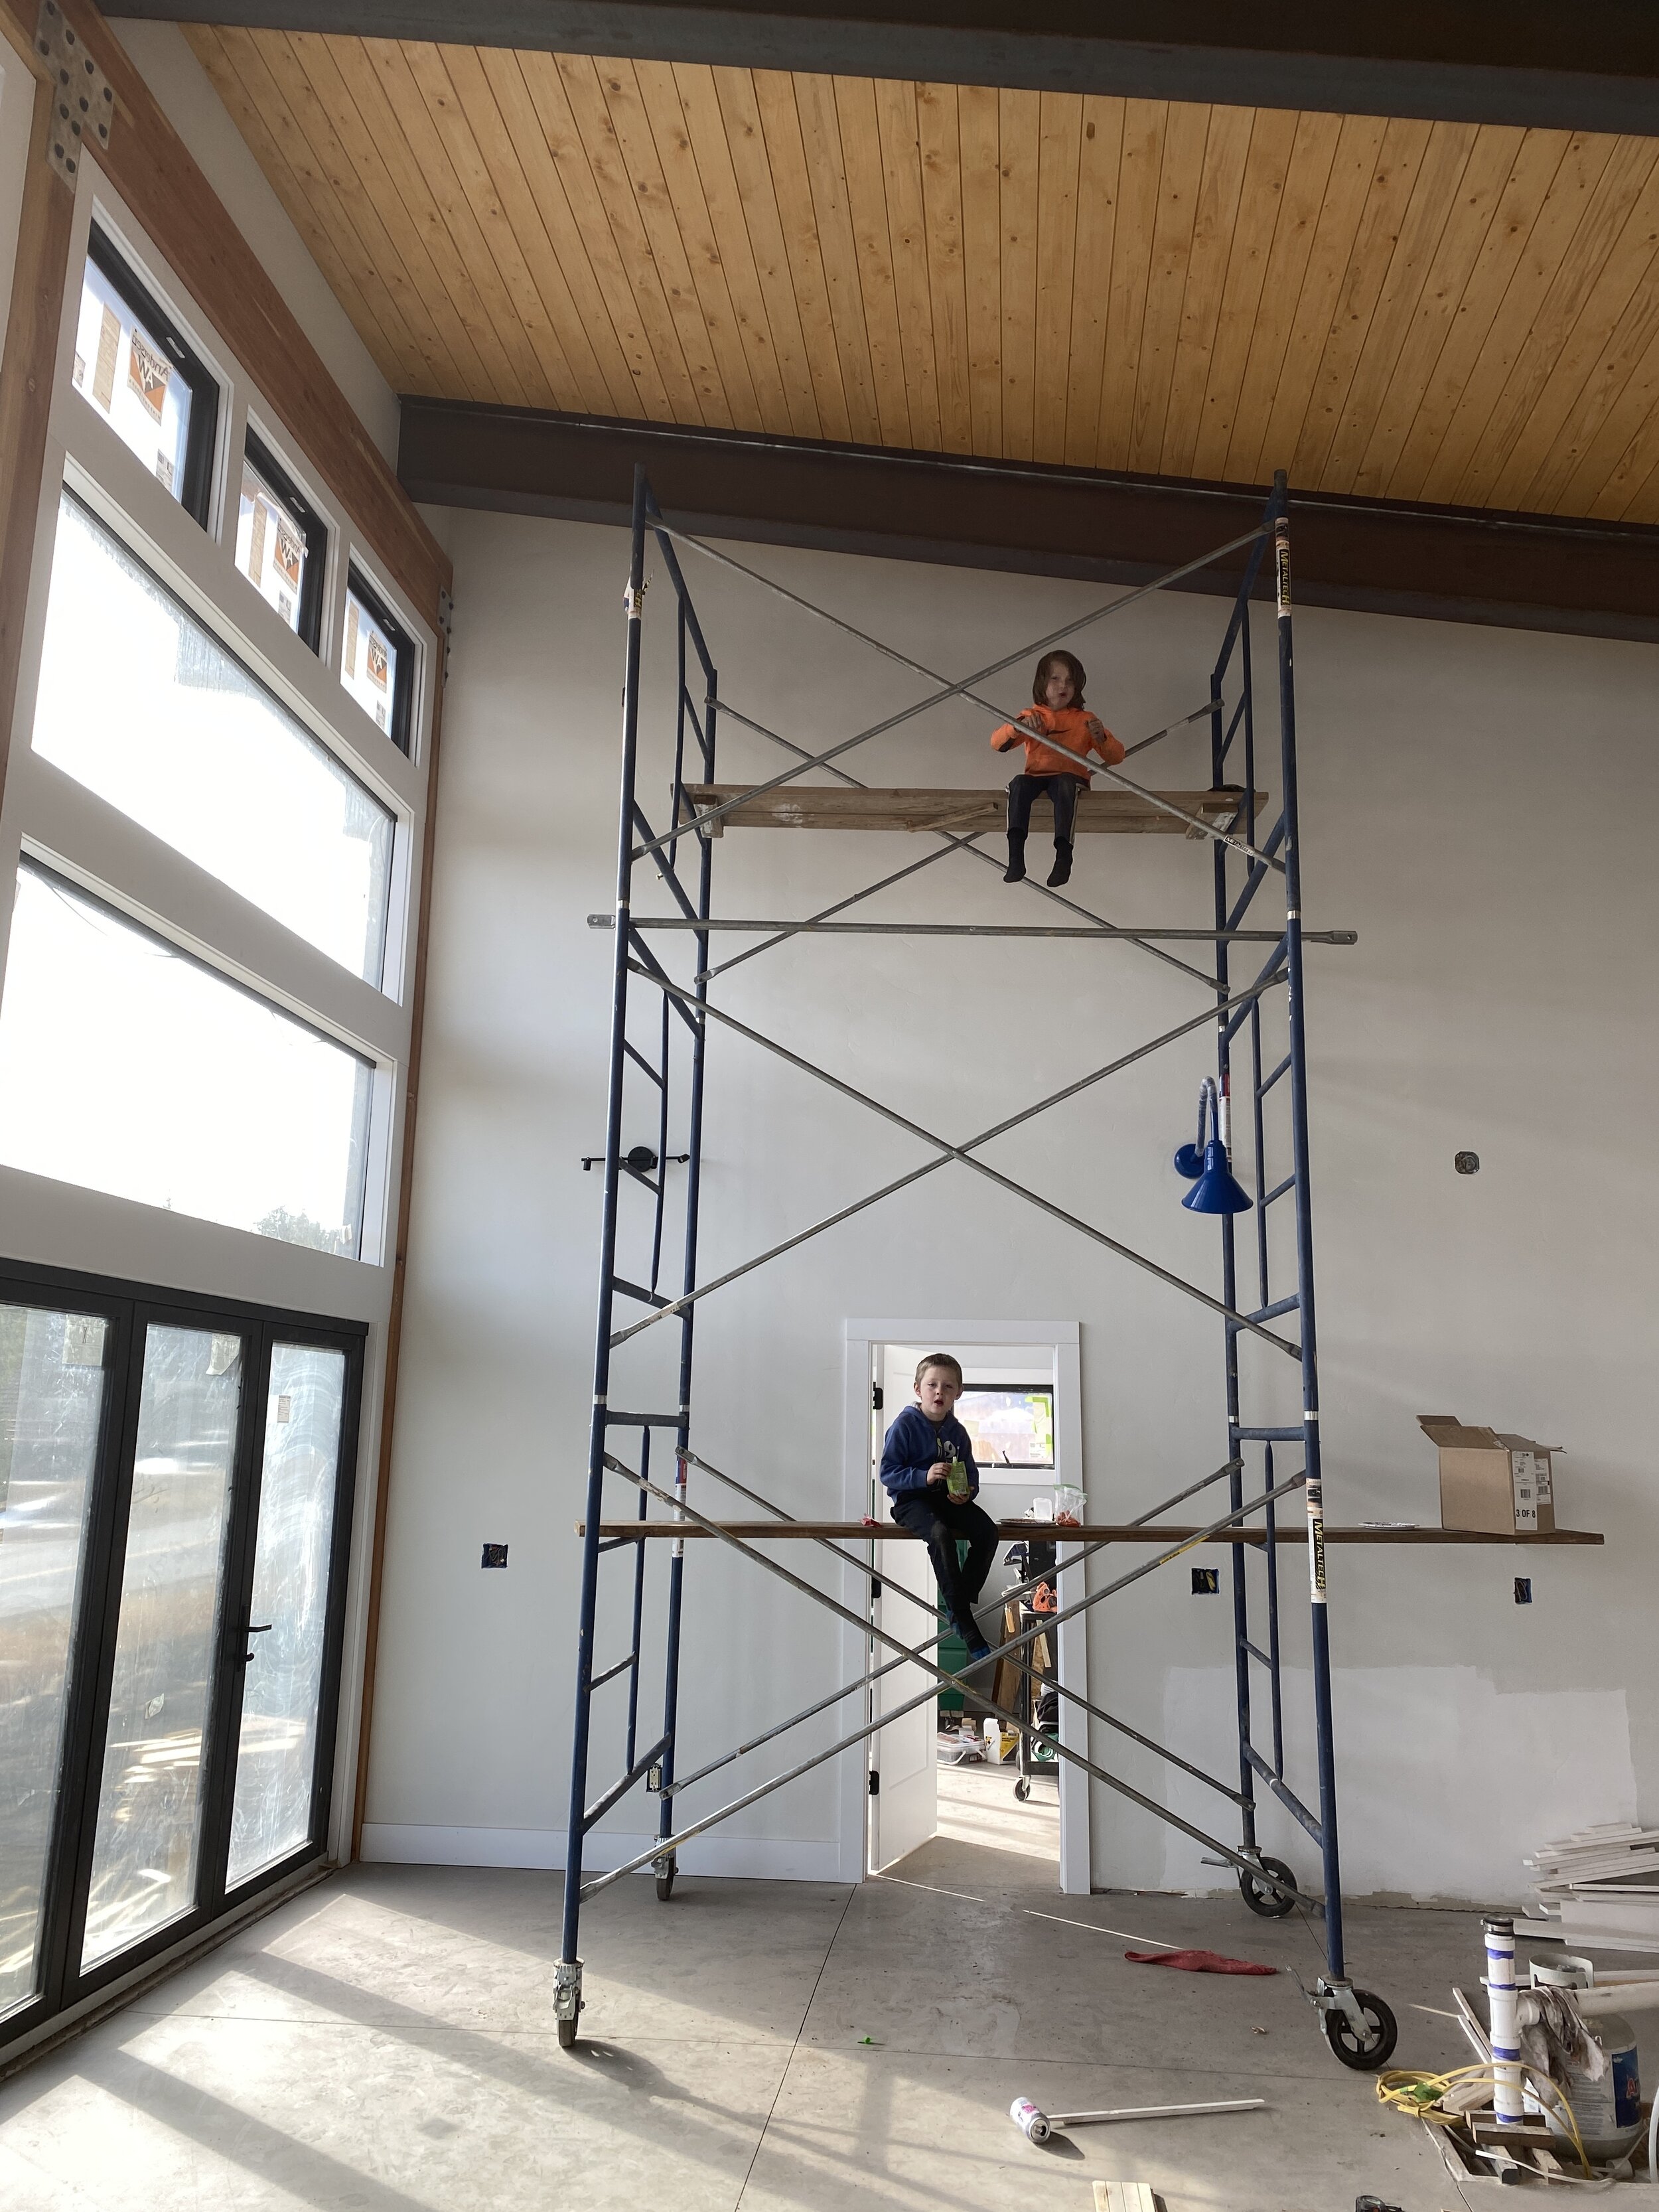
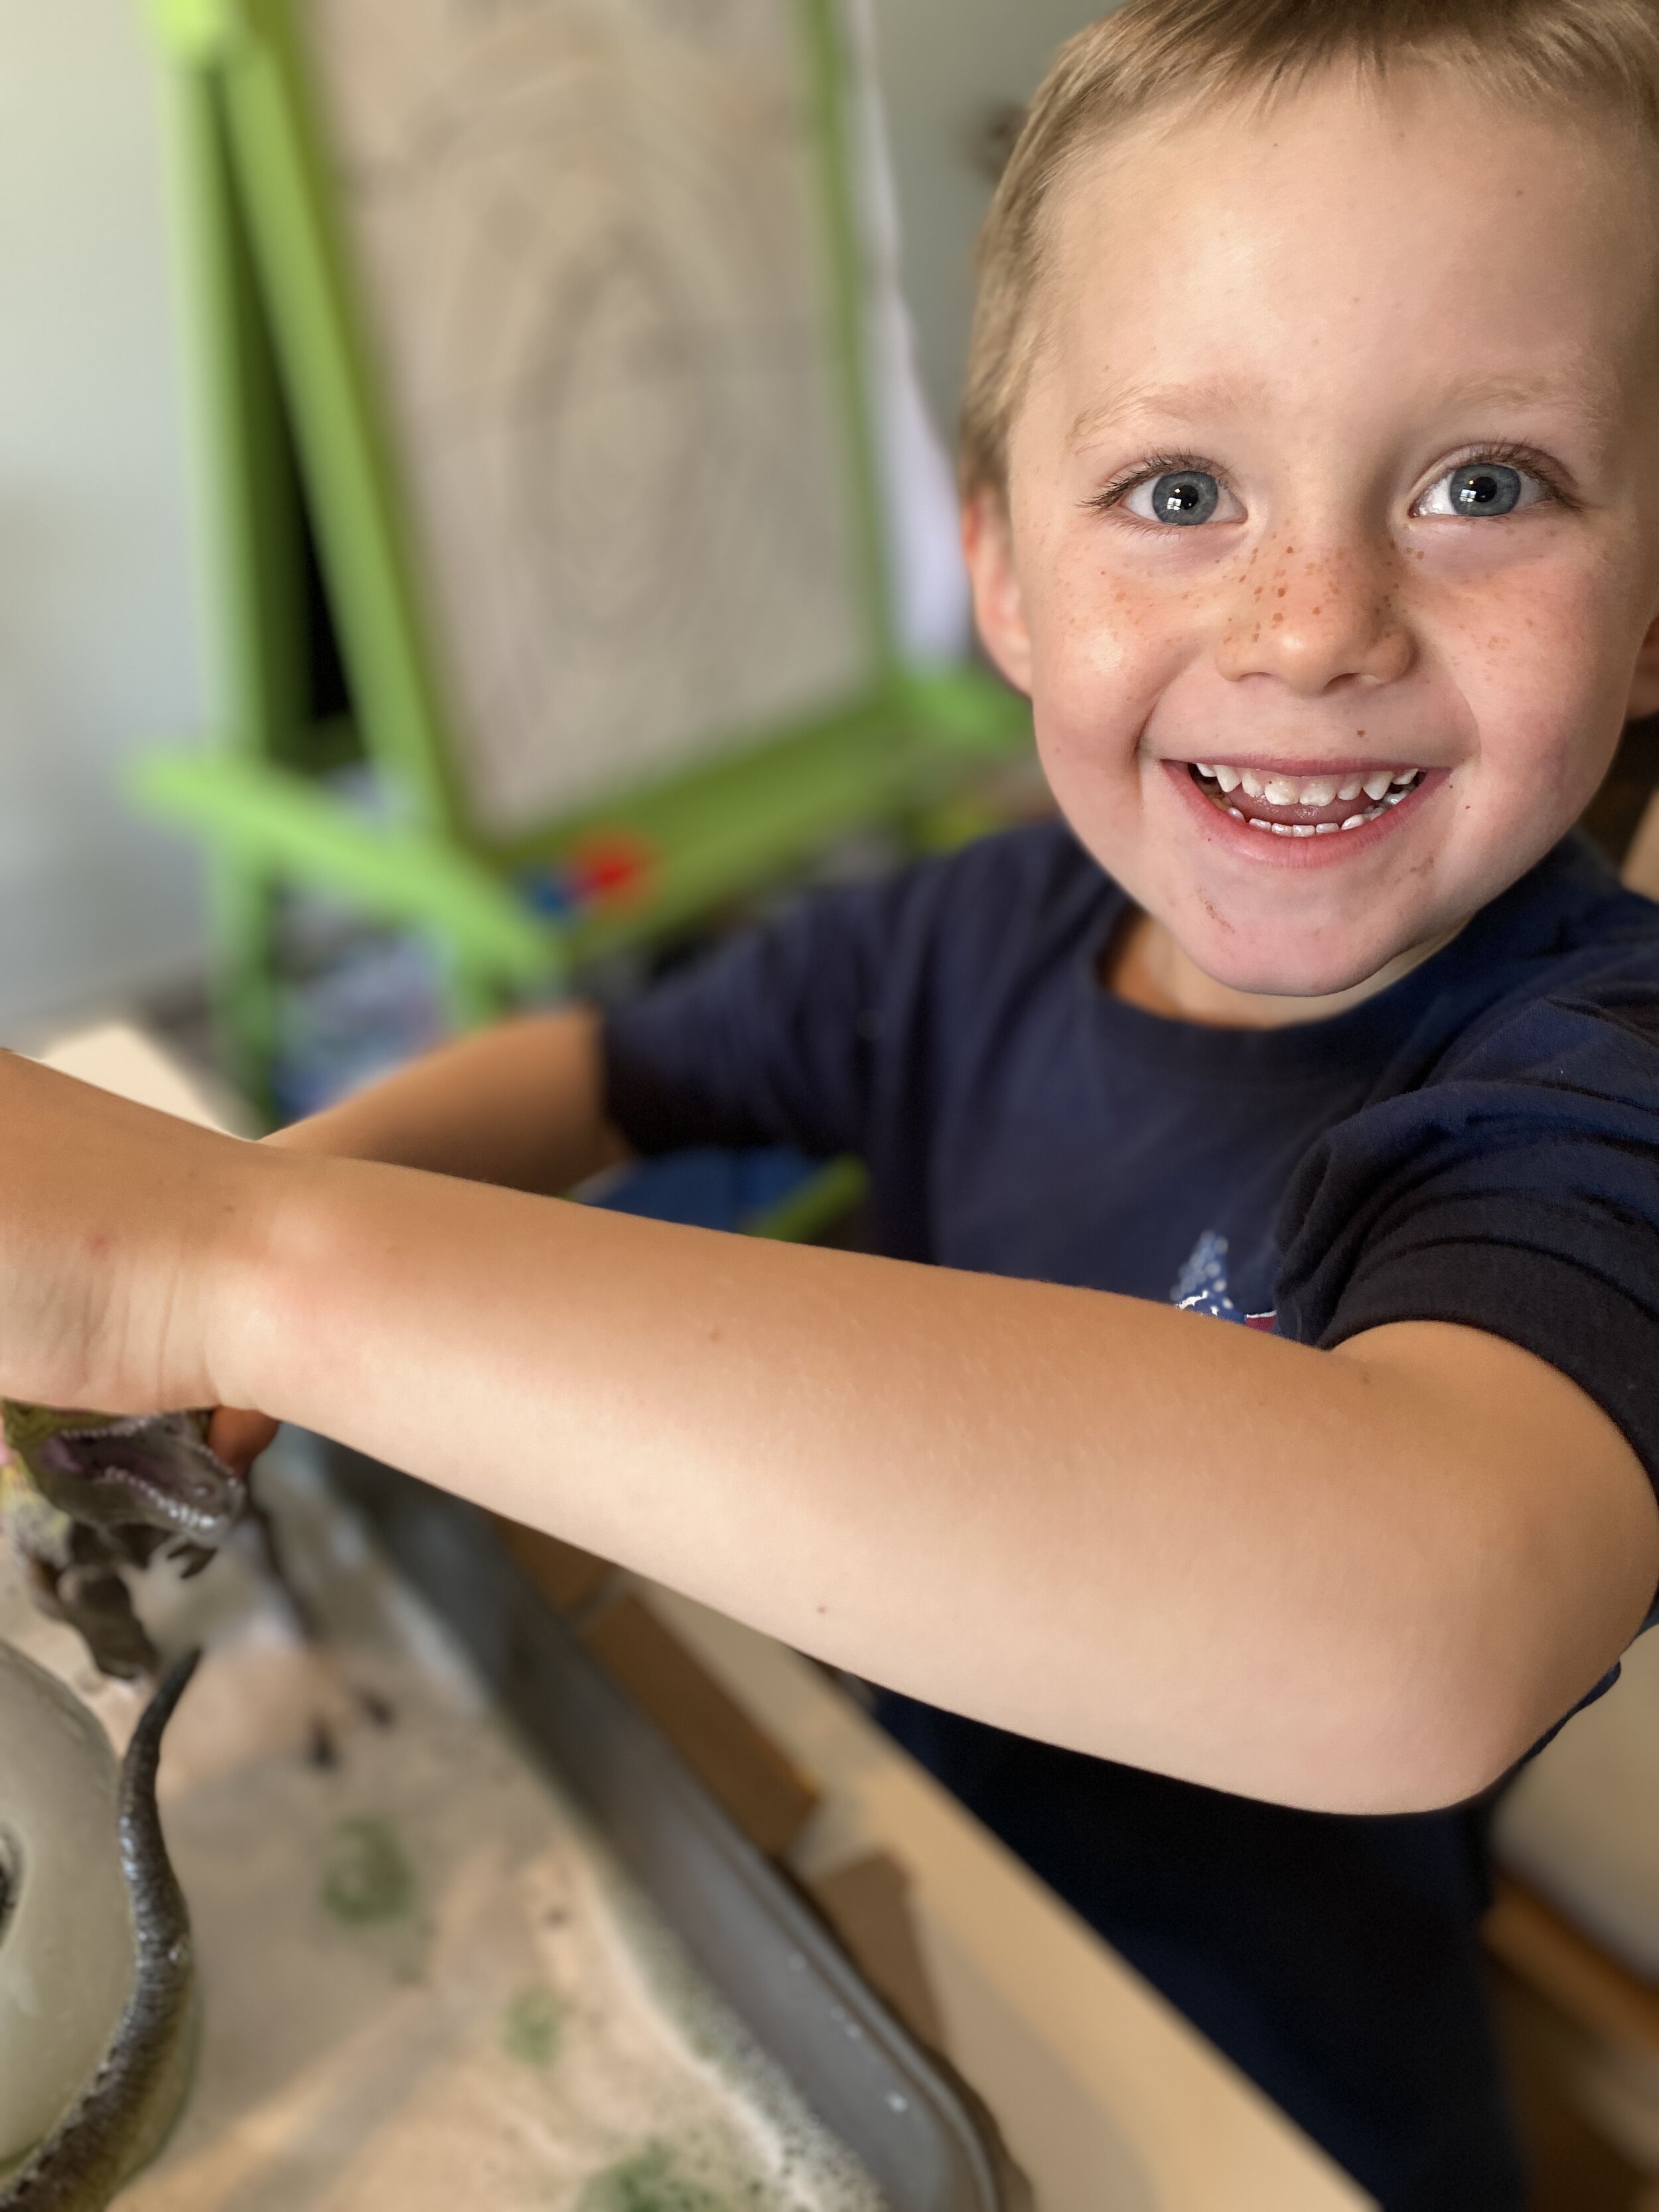
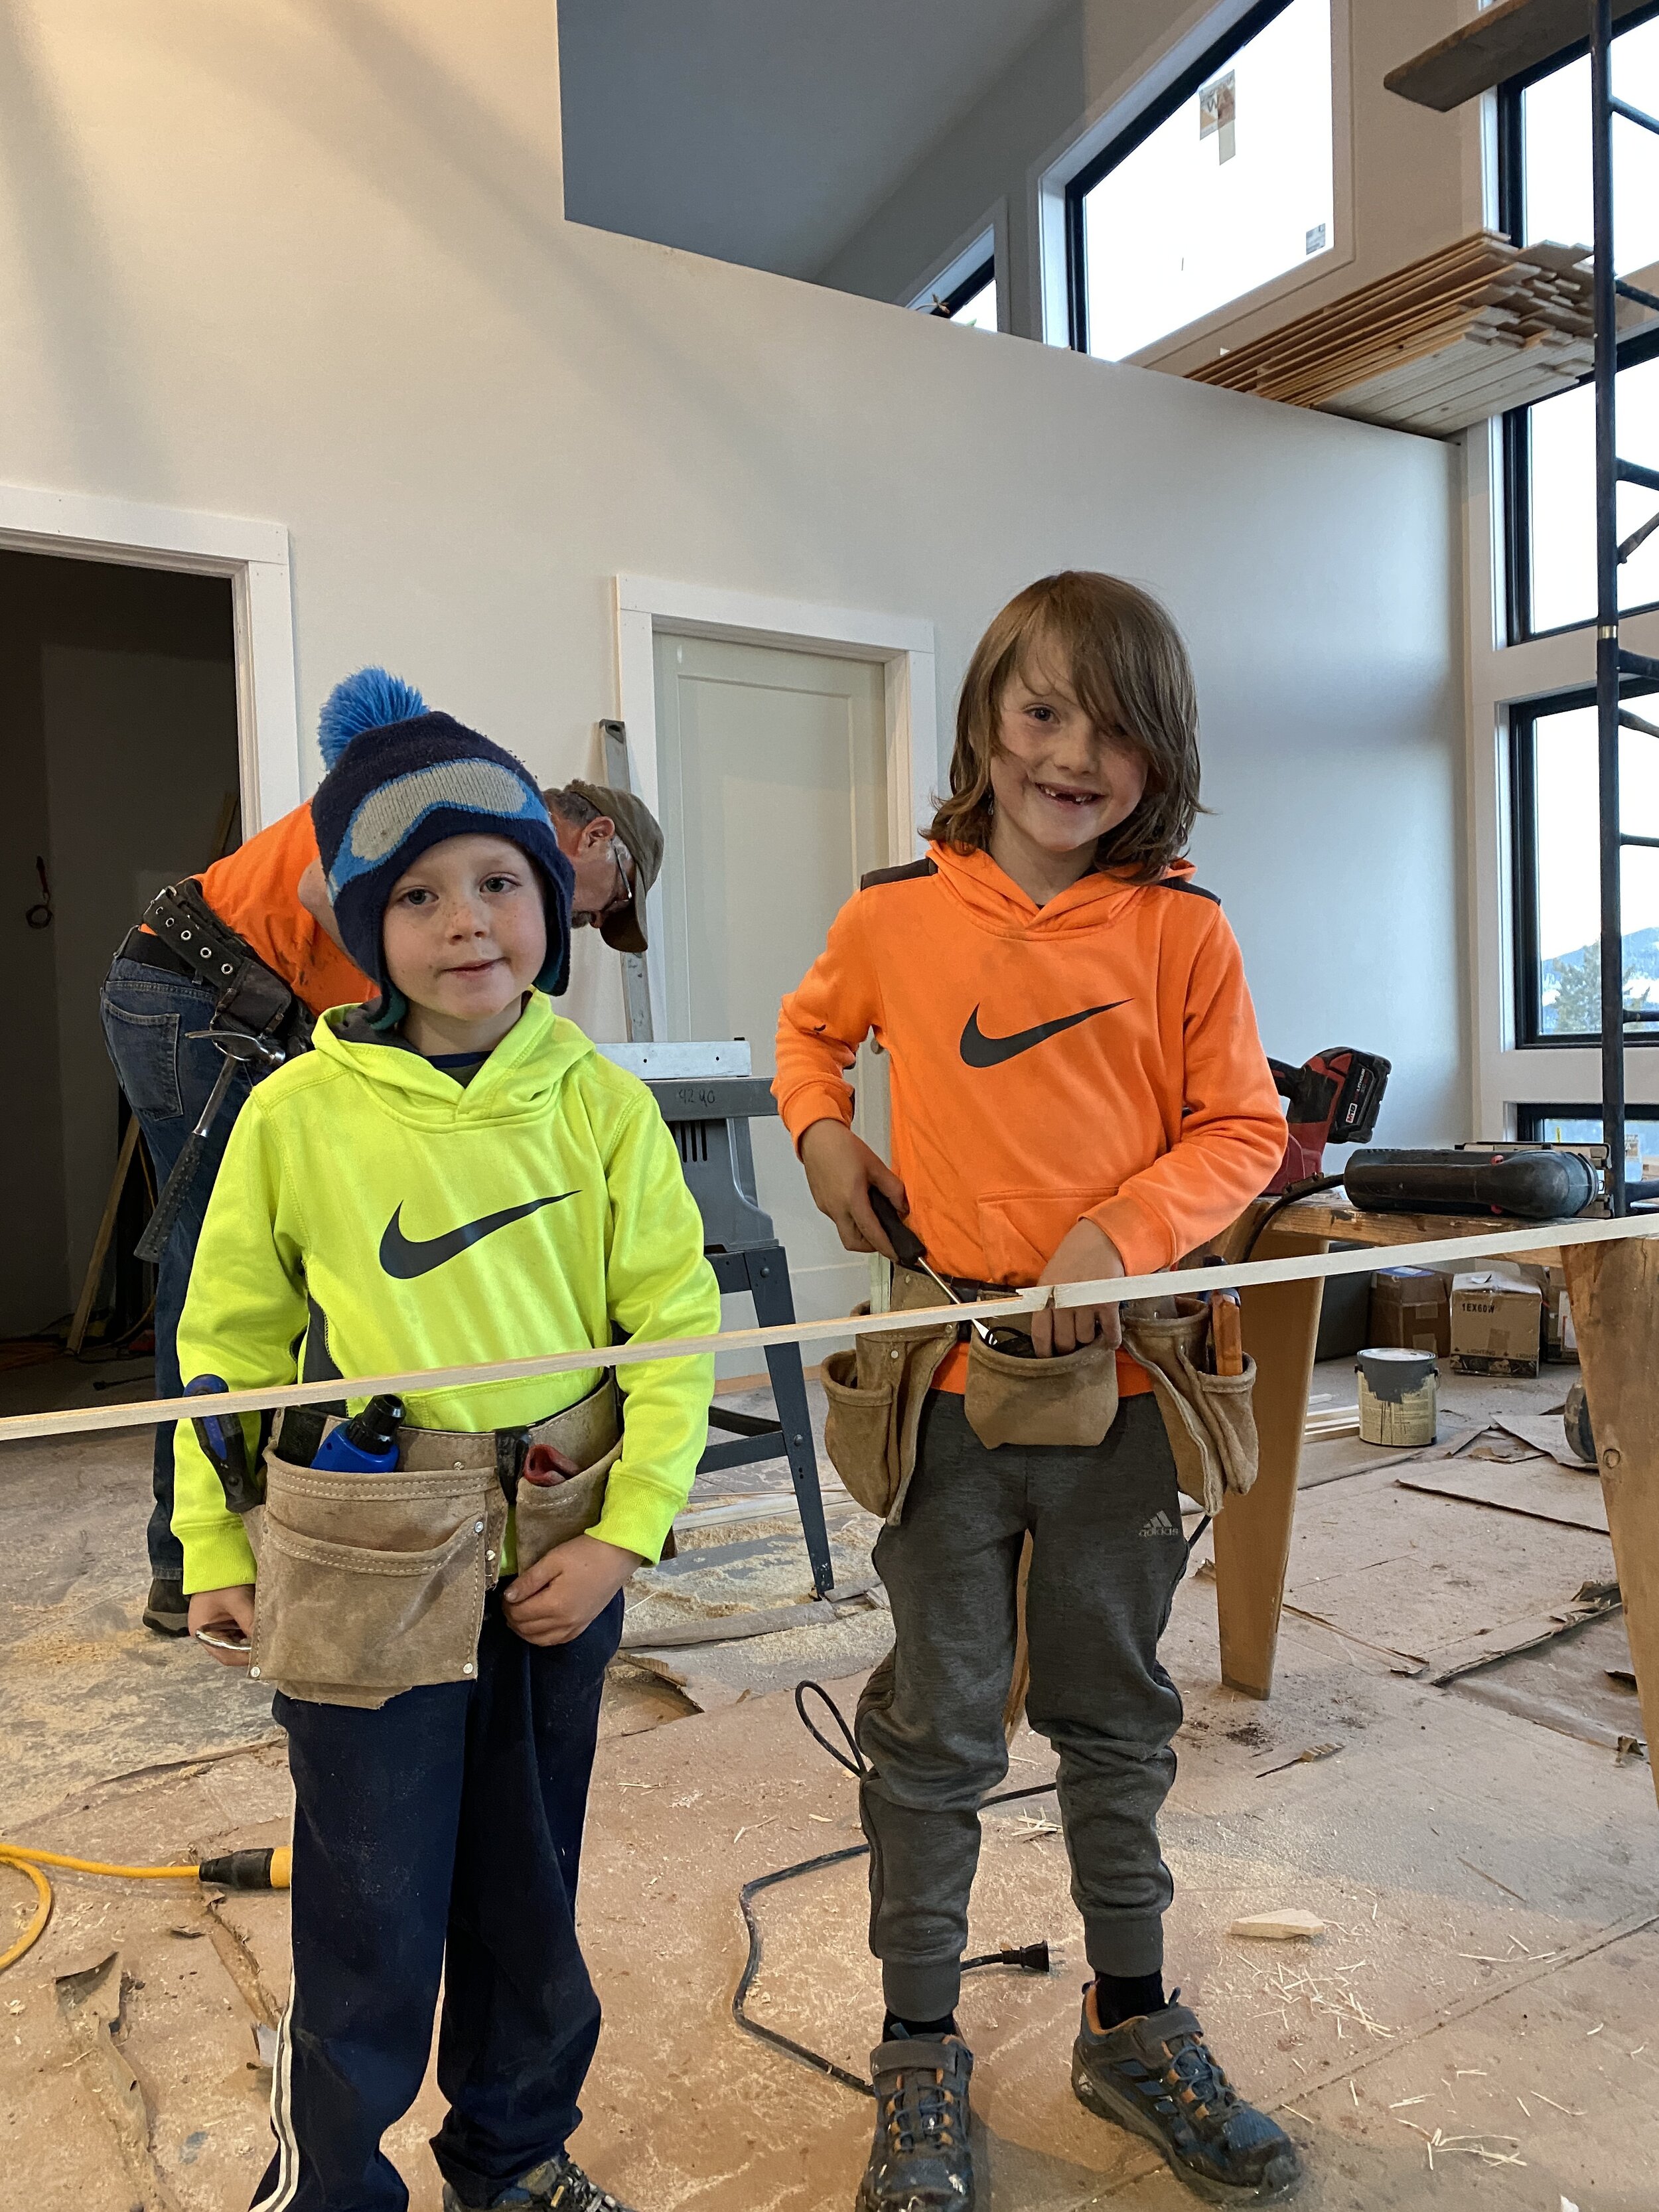
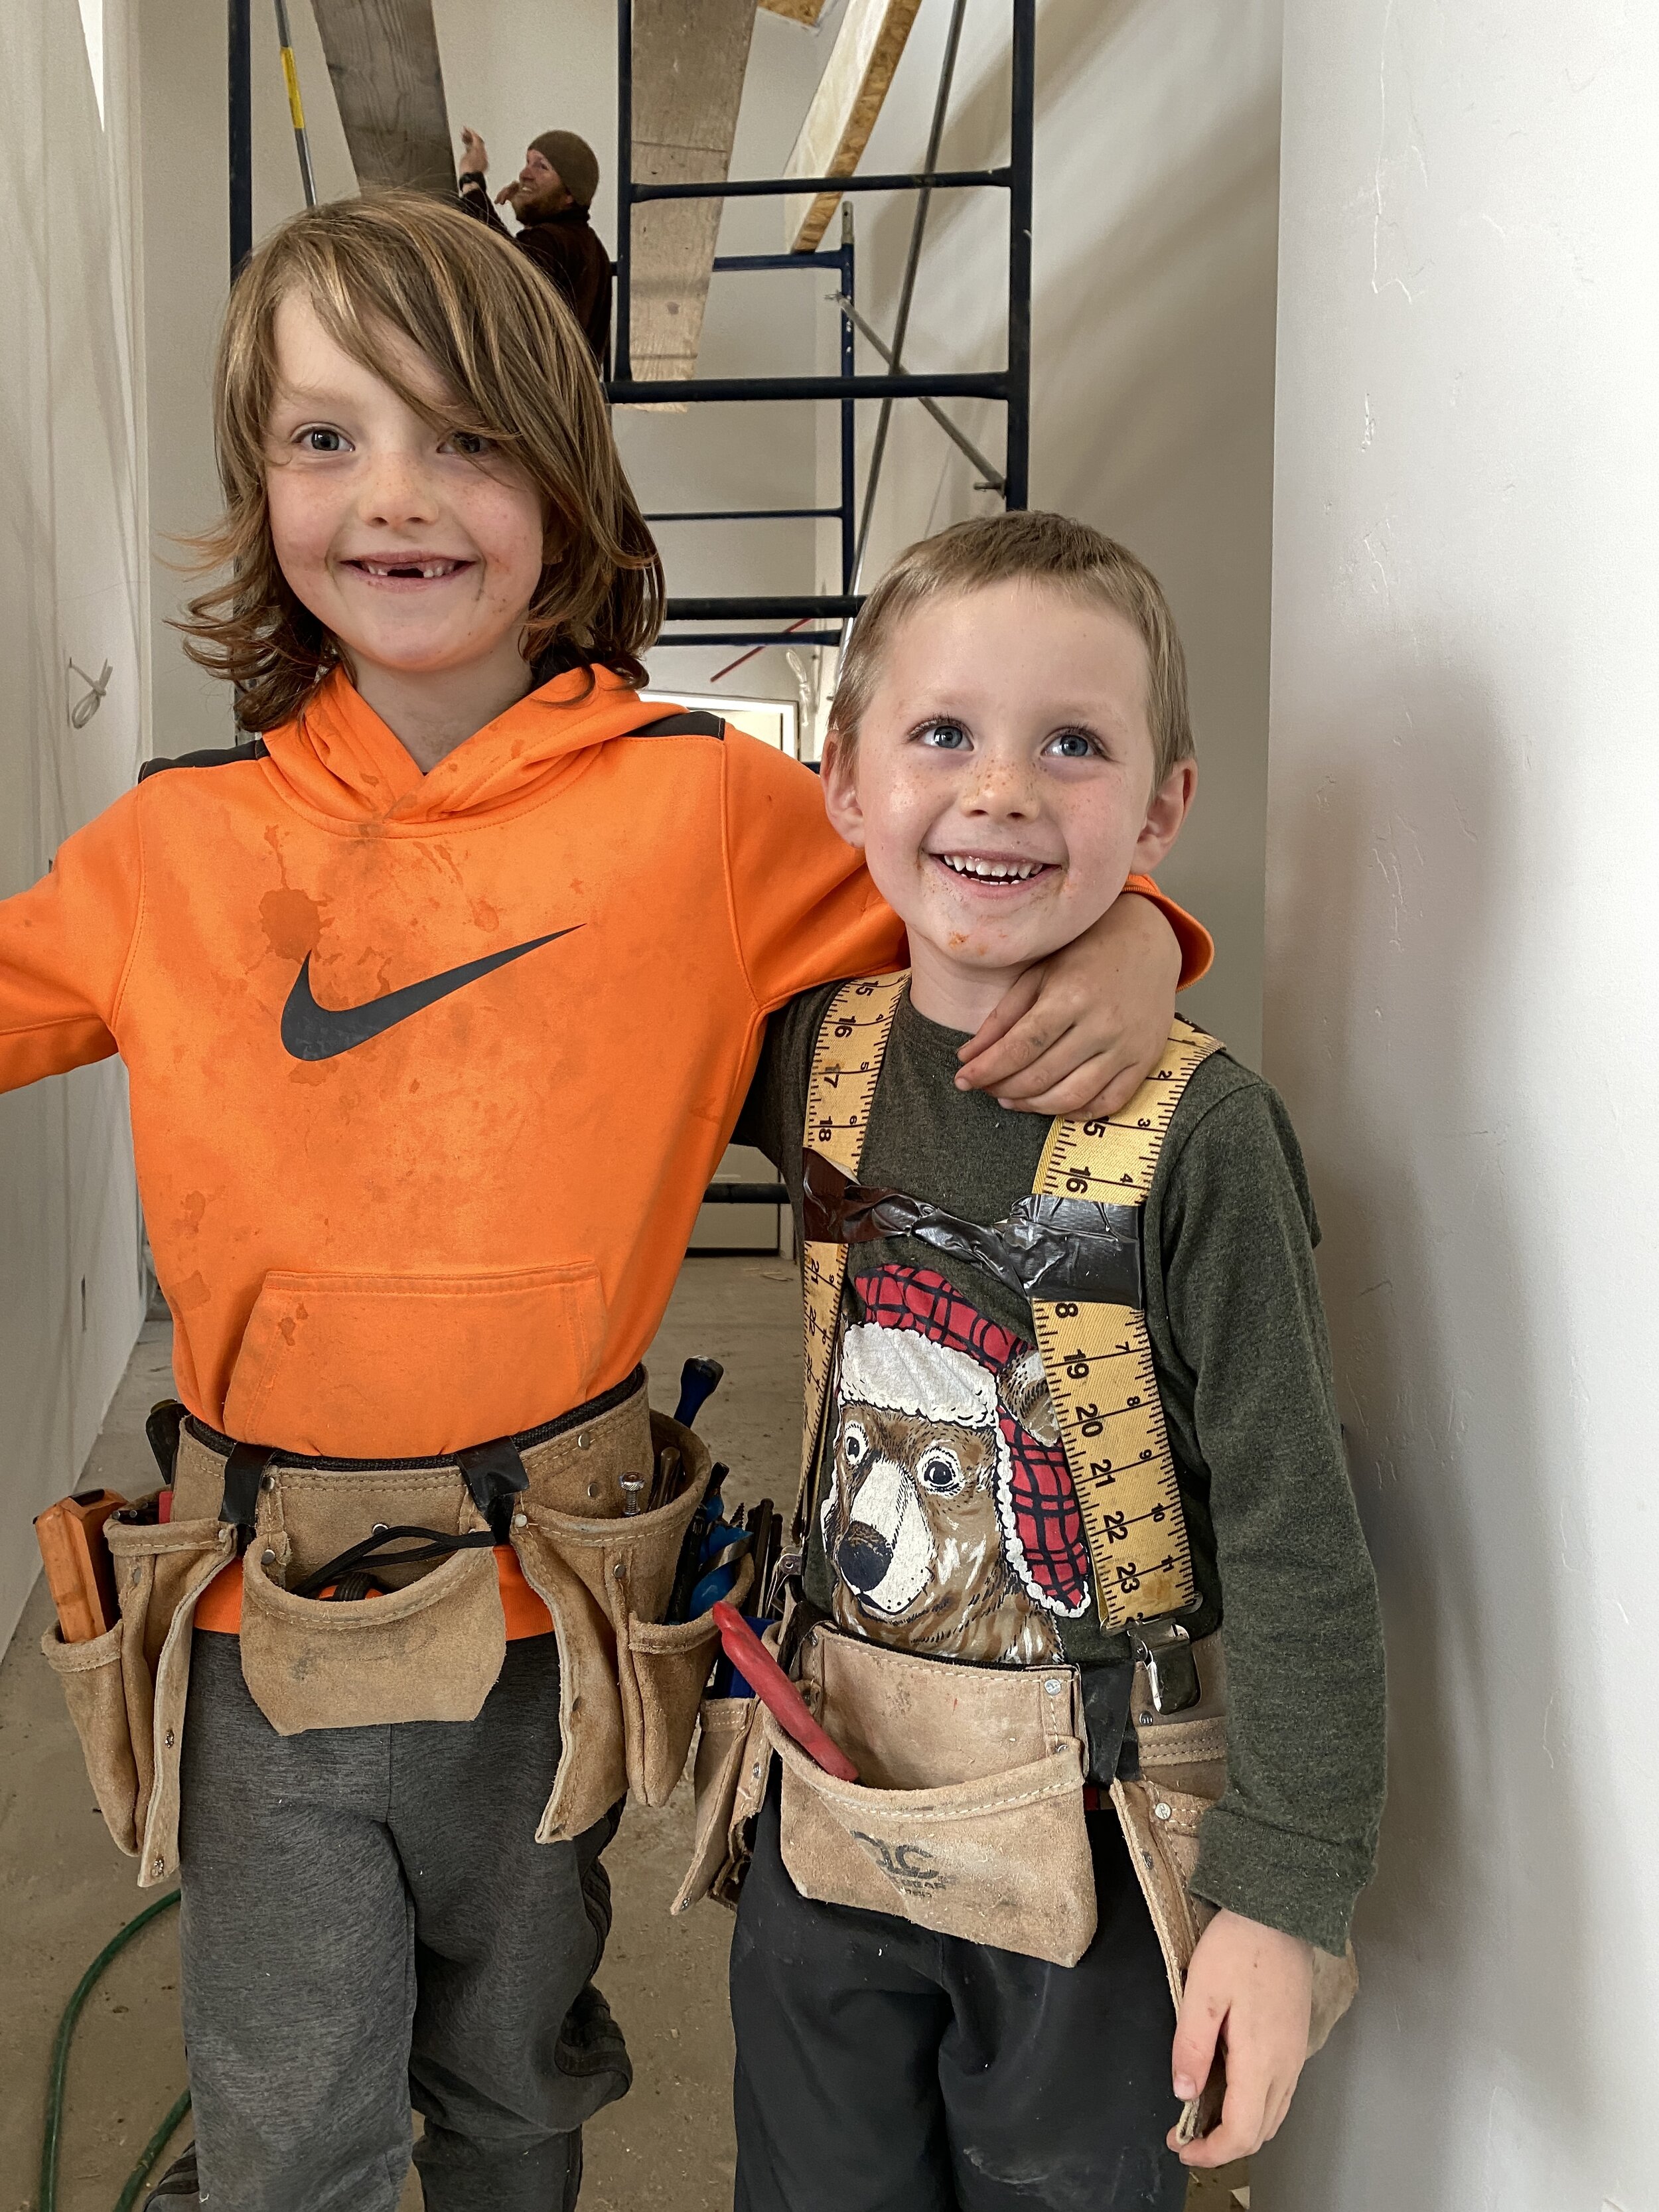
Halloween was a bit different this year with no trick or treating, but we still had some tricks and treats by dropping off bags of goodies to our friends around town. Our friend, Maddie, organized the whole thing and 13 families participated! The idea was to drop a treat bag and then film a video to the family saying to go check their front door. I actually hope we continue this tradition next year! Oh, and the boys dressed as builders, which doesn’t look much different than what they wear every weekend at the job site!

Please don’t mind that mess in the background. We’ve got a lot going on. Ha!
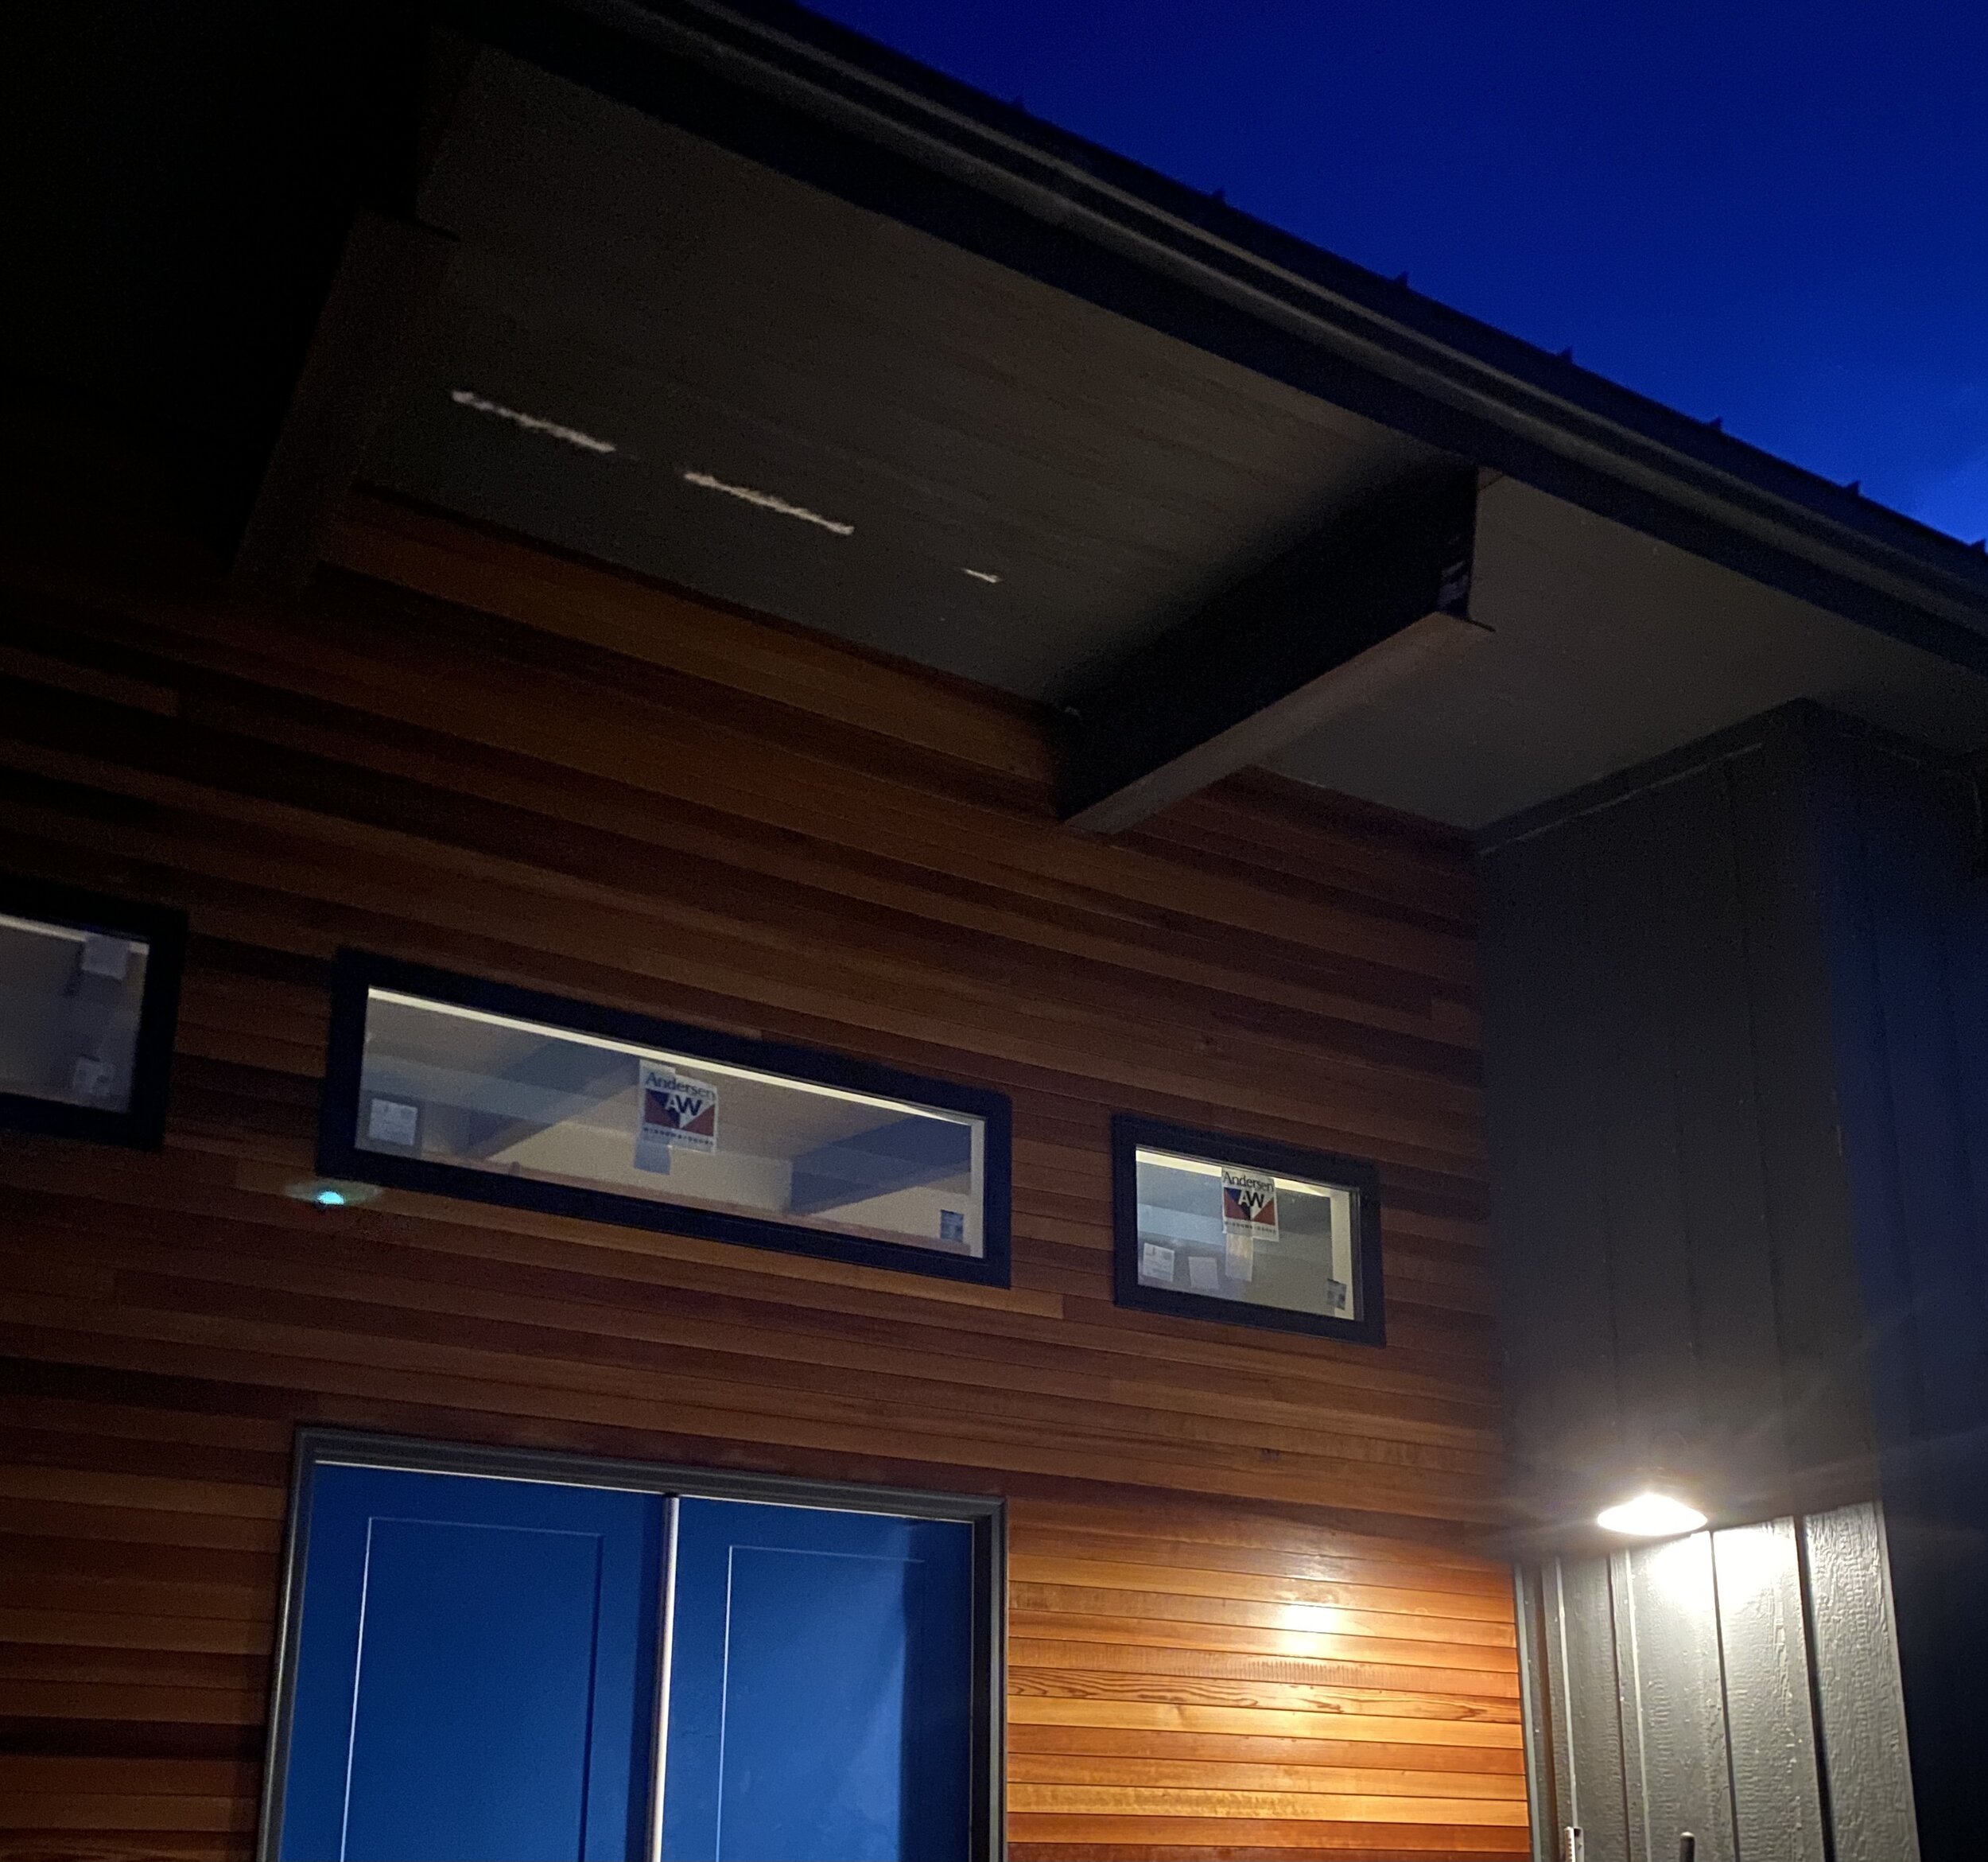
Kelsey picked up our interior doors from BMC in Denver and per usual, we unloaded them in the dark. It always seems when we have a big trailer full of material that we unload it in the cold and dark. Keeps things exciting, I guess! We went with a Lincoln style door that is clean and simple and coordinates nicely with our main entrance door.
In other exciting news, the same day that the doors arrived, Laird lost his first top tooth. He let it get super loose, that he was able to pull it out all on his own. So patient!

So proud! And, still in his builder costume from school
On Halloween, we spent the day working outside to spread top soil and prepare for our final grading inspection. Part of the final grading inspection is for the building department to see our revegetation efforts. So, after we raked all the topsoil around, we spread some grass seed (local to our area) over everything. We spread the seed at a pretty ideal time actually, as it does best when it snows pretty closely after the seed is spread.

Thankful for the warm day to be working outside. What do you think of our new rocks dividing the driveway from the lawn area?

We hung out late at the house on Halloween!
Then just two days after Laird lost his first top tooth, the second one came out! The tooth fairy has been busy!

This one fell out when he was trying to bite into an apple!
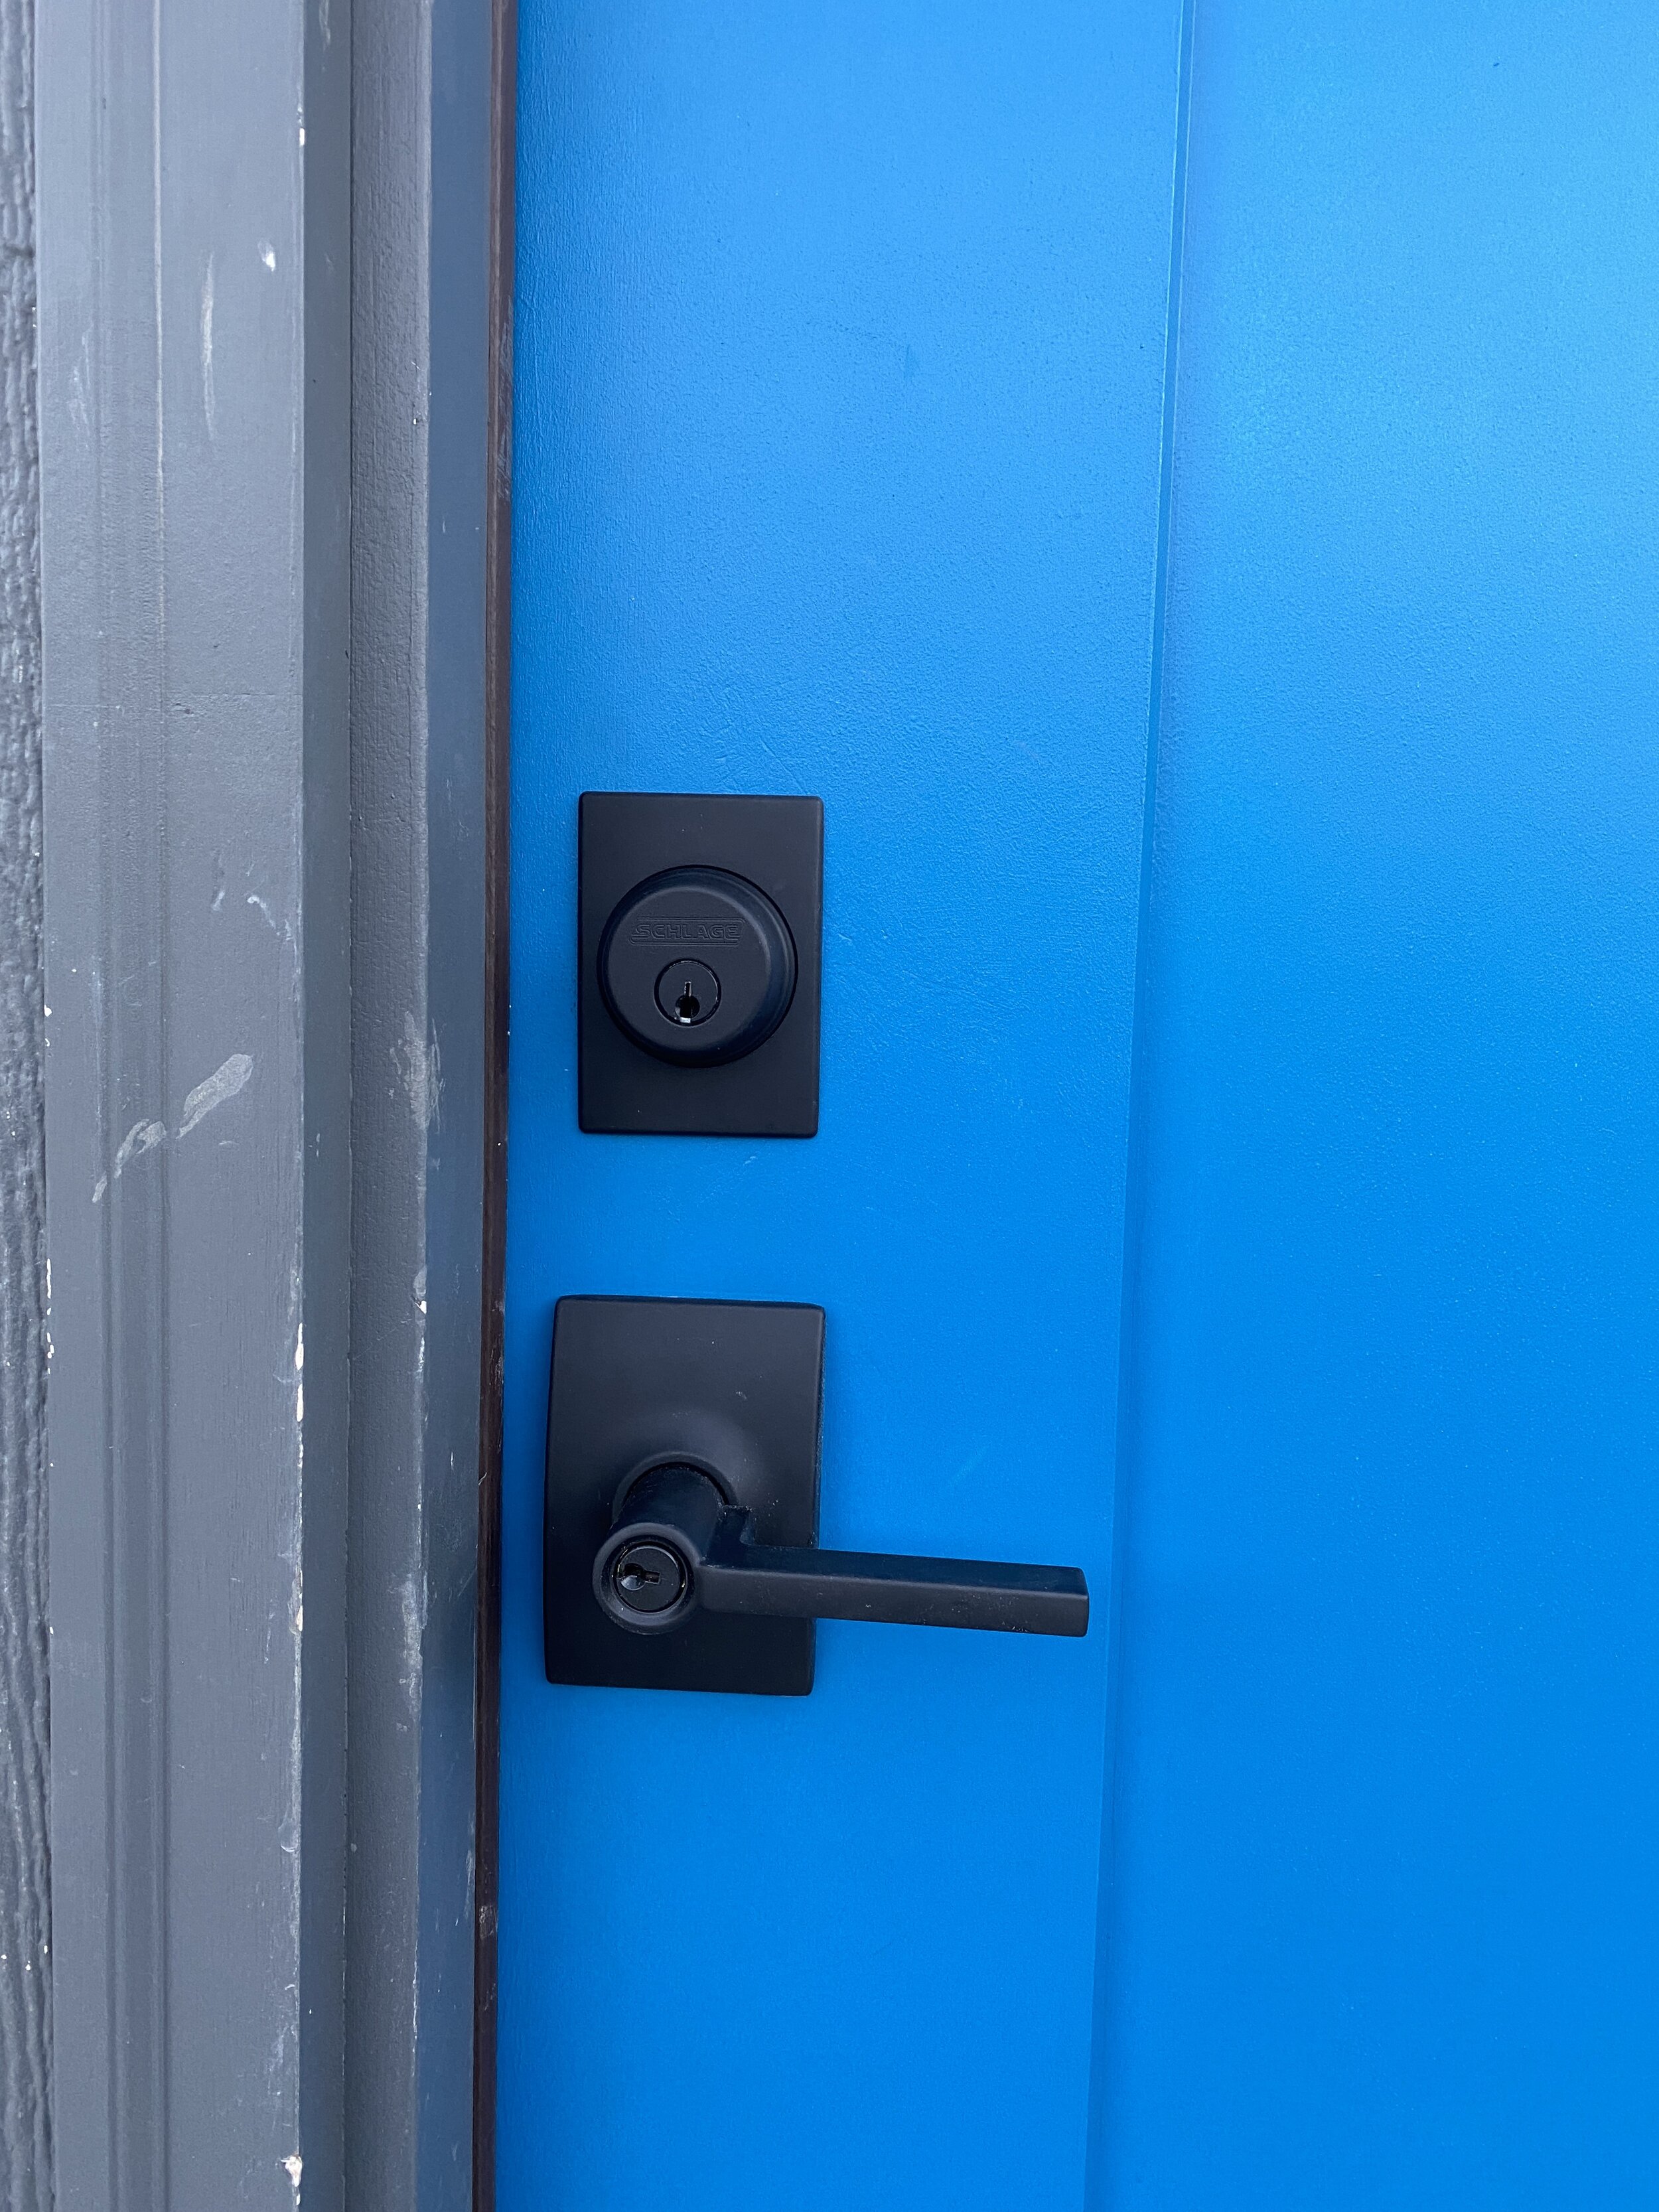
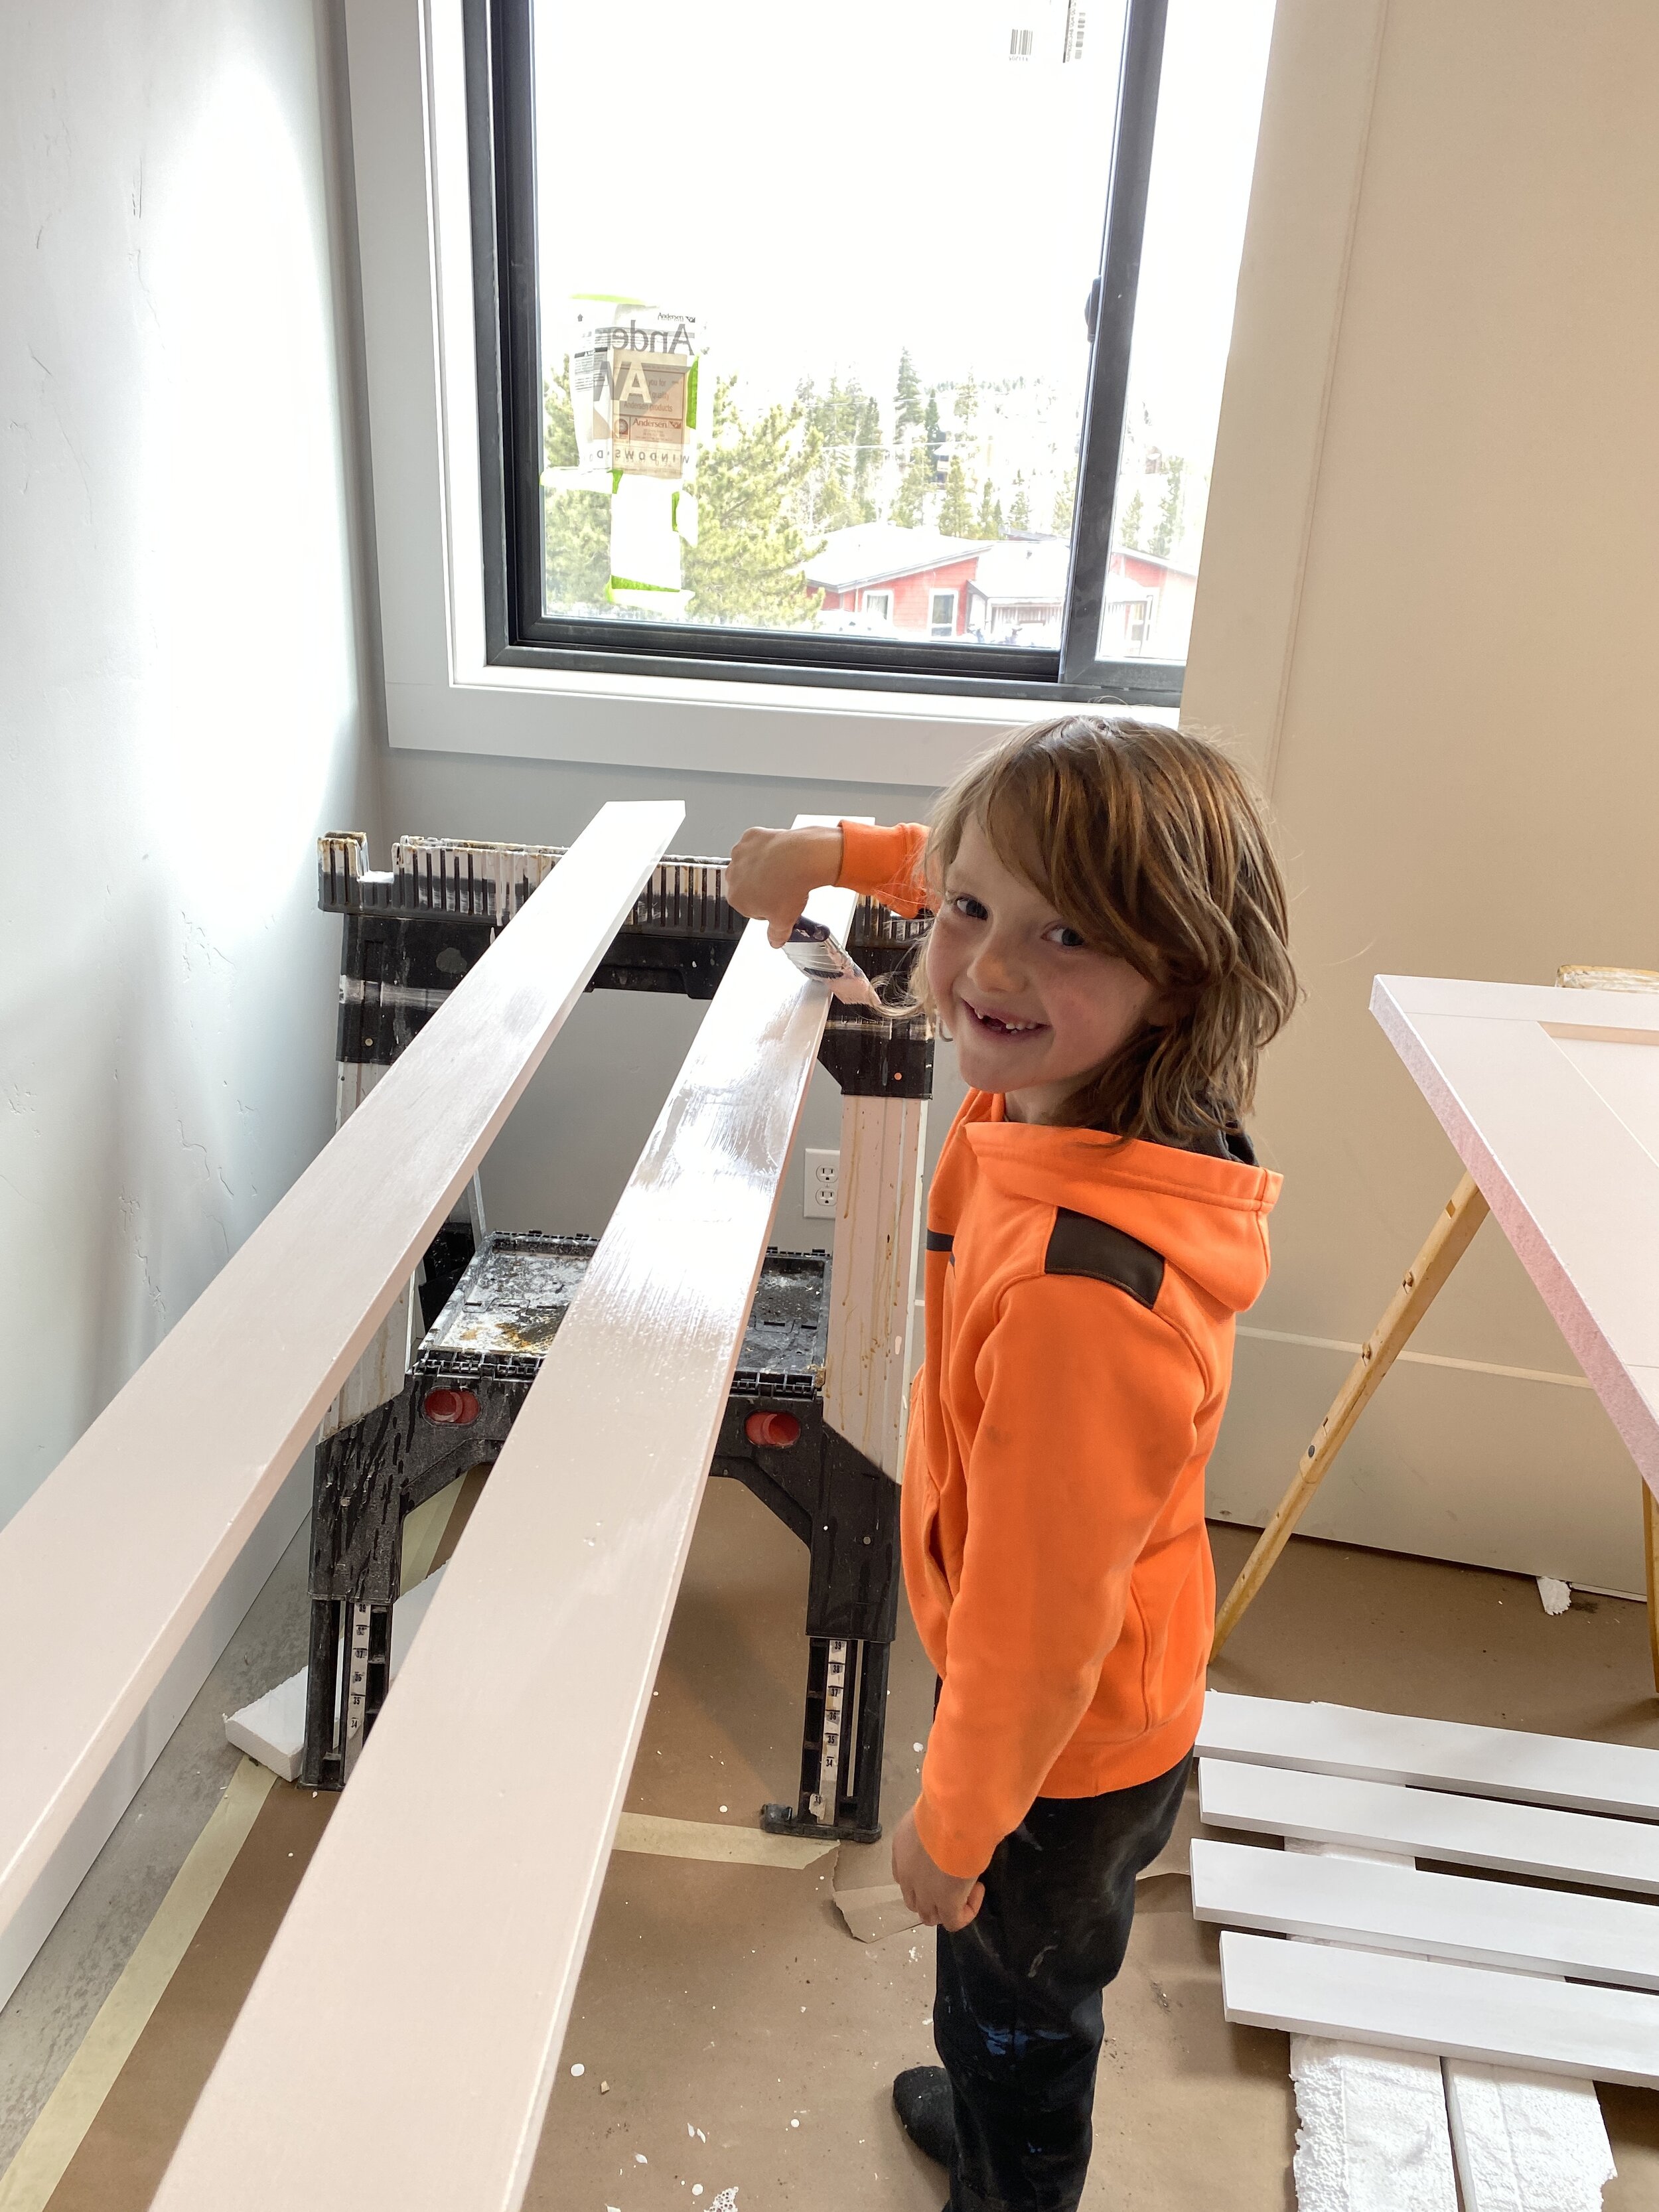
A minor, but big visual difference, project was painting the front door. We opted for a bold blue color that really pops against the cedar and the gray siding. It took 4 coats of paint, but with my little helper it went pretty quick. Corbin quickly graduated from only painting the inside of linen closets to painting high view areas. He’s actually quite careful and doesn’t leave too many drips.
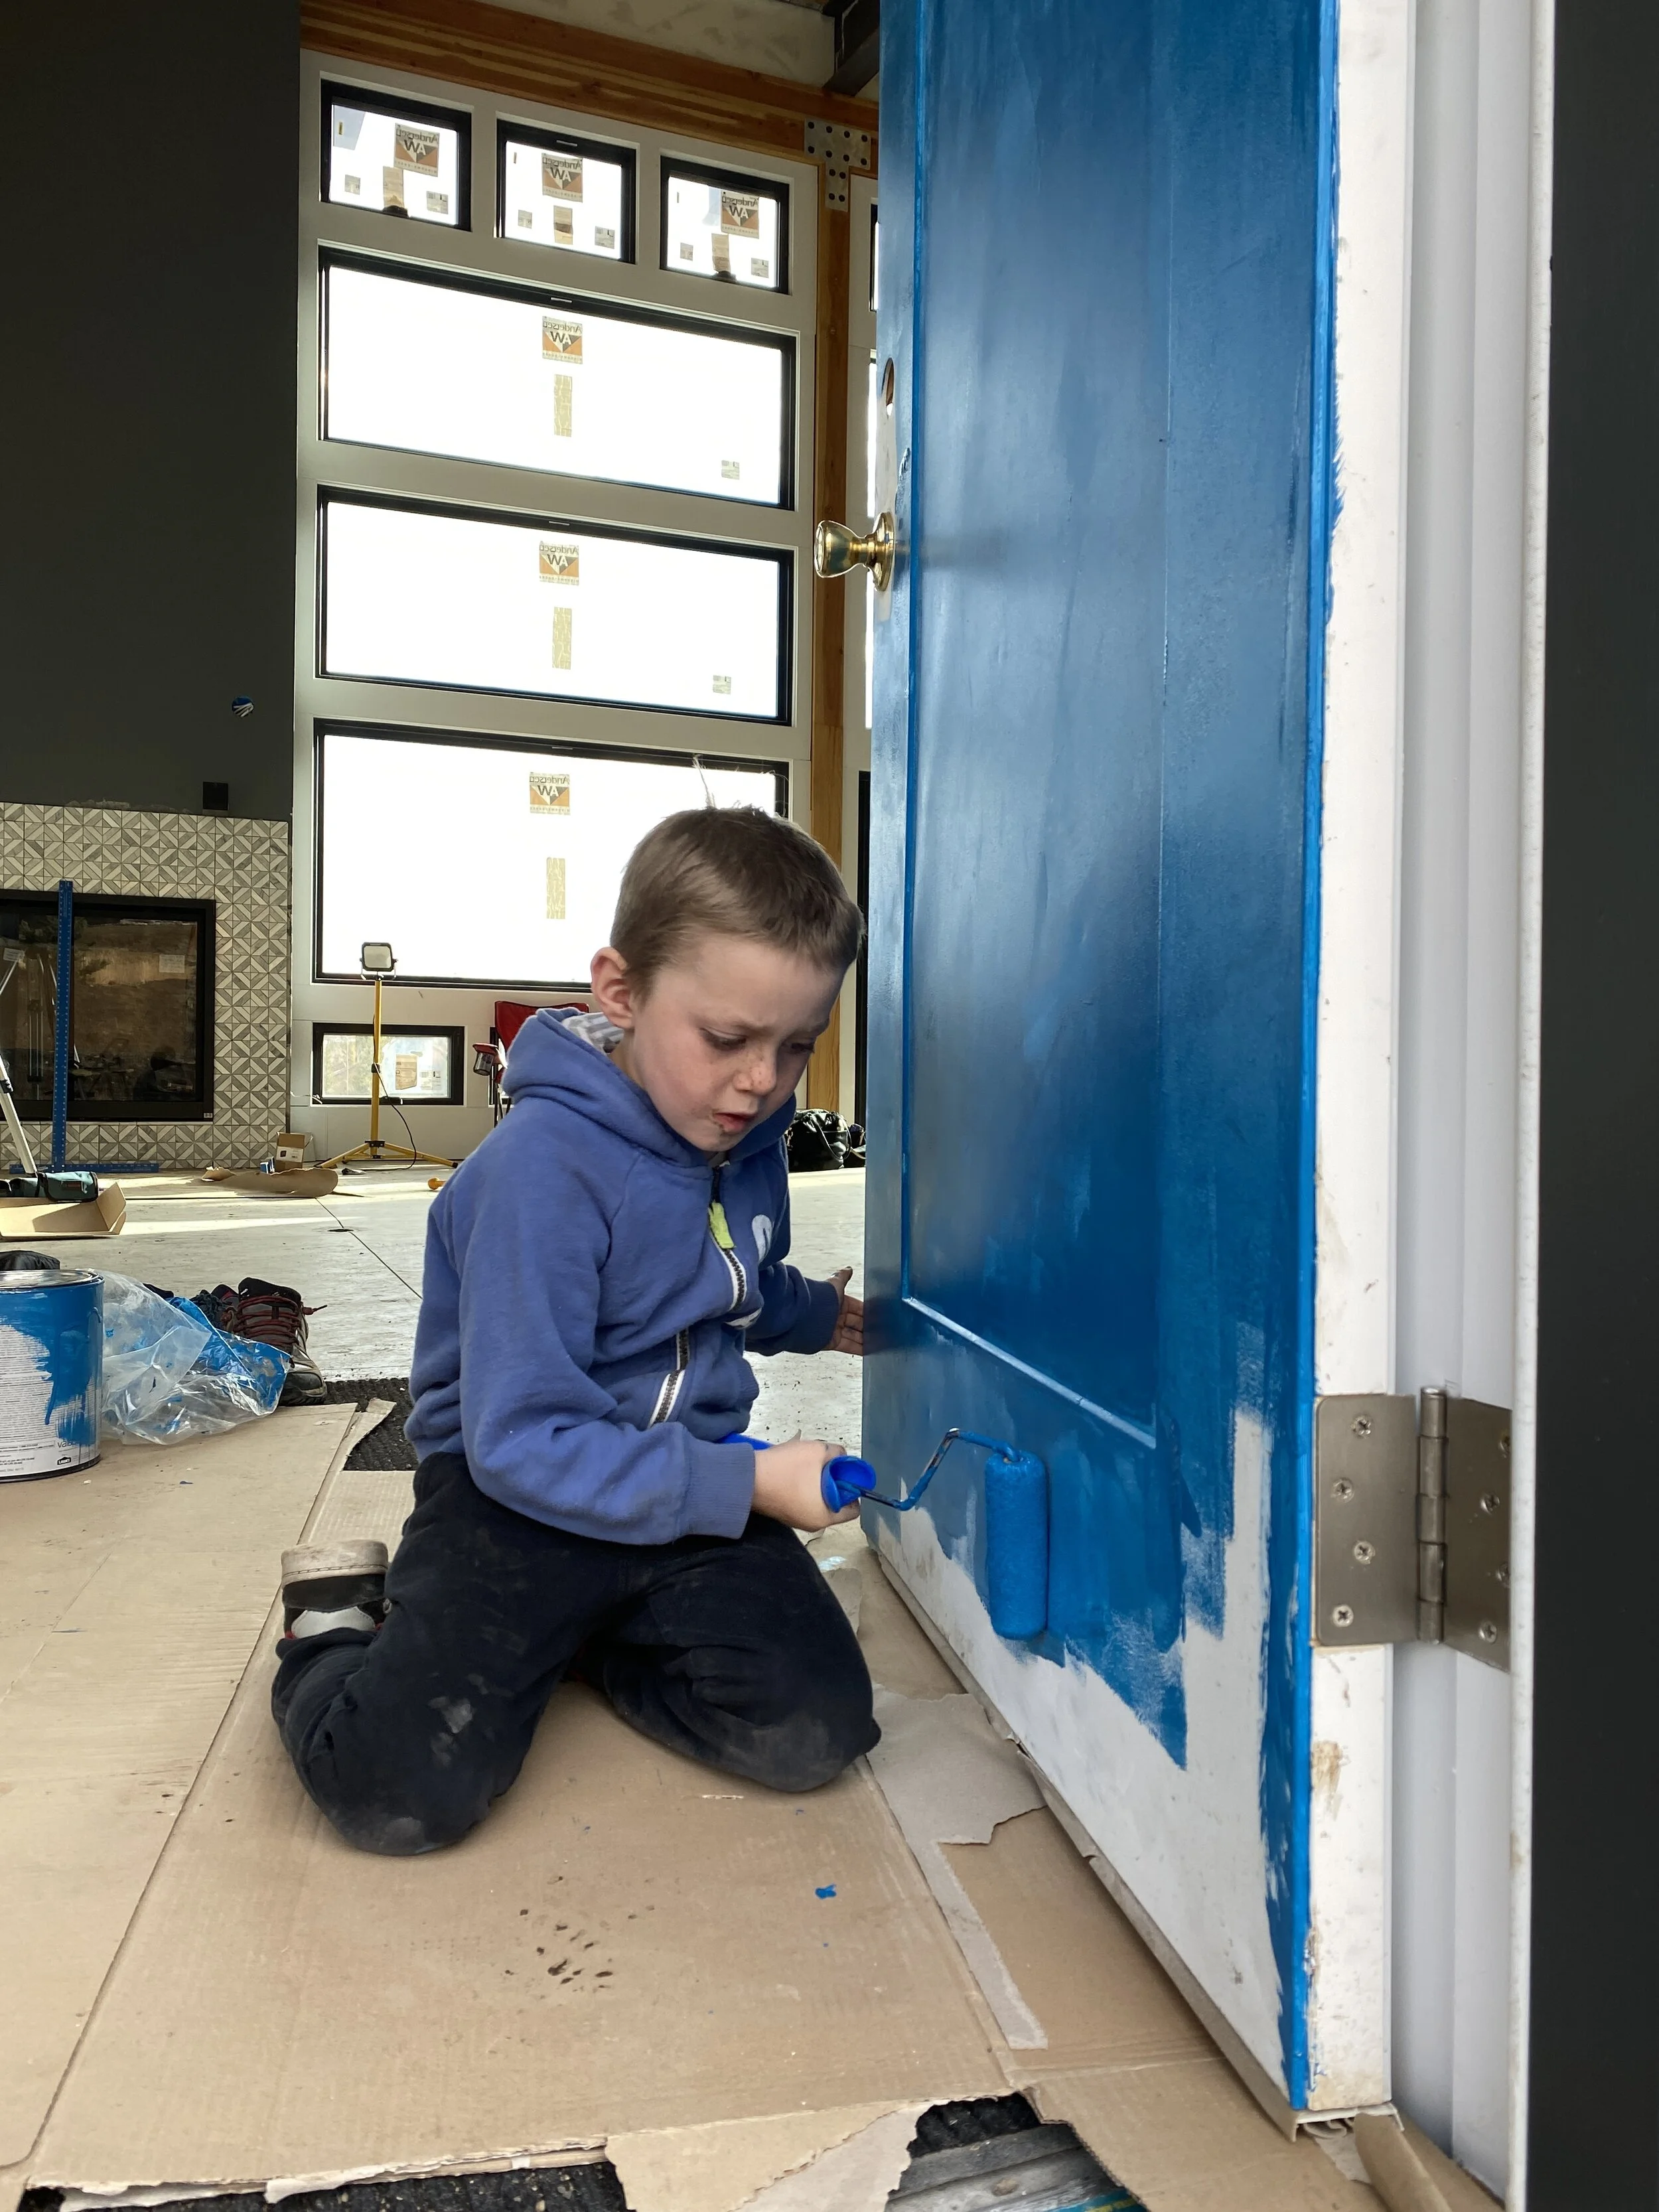
Hard at work on our blue door.
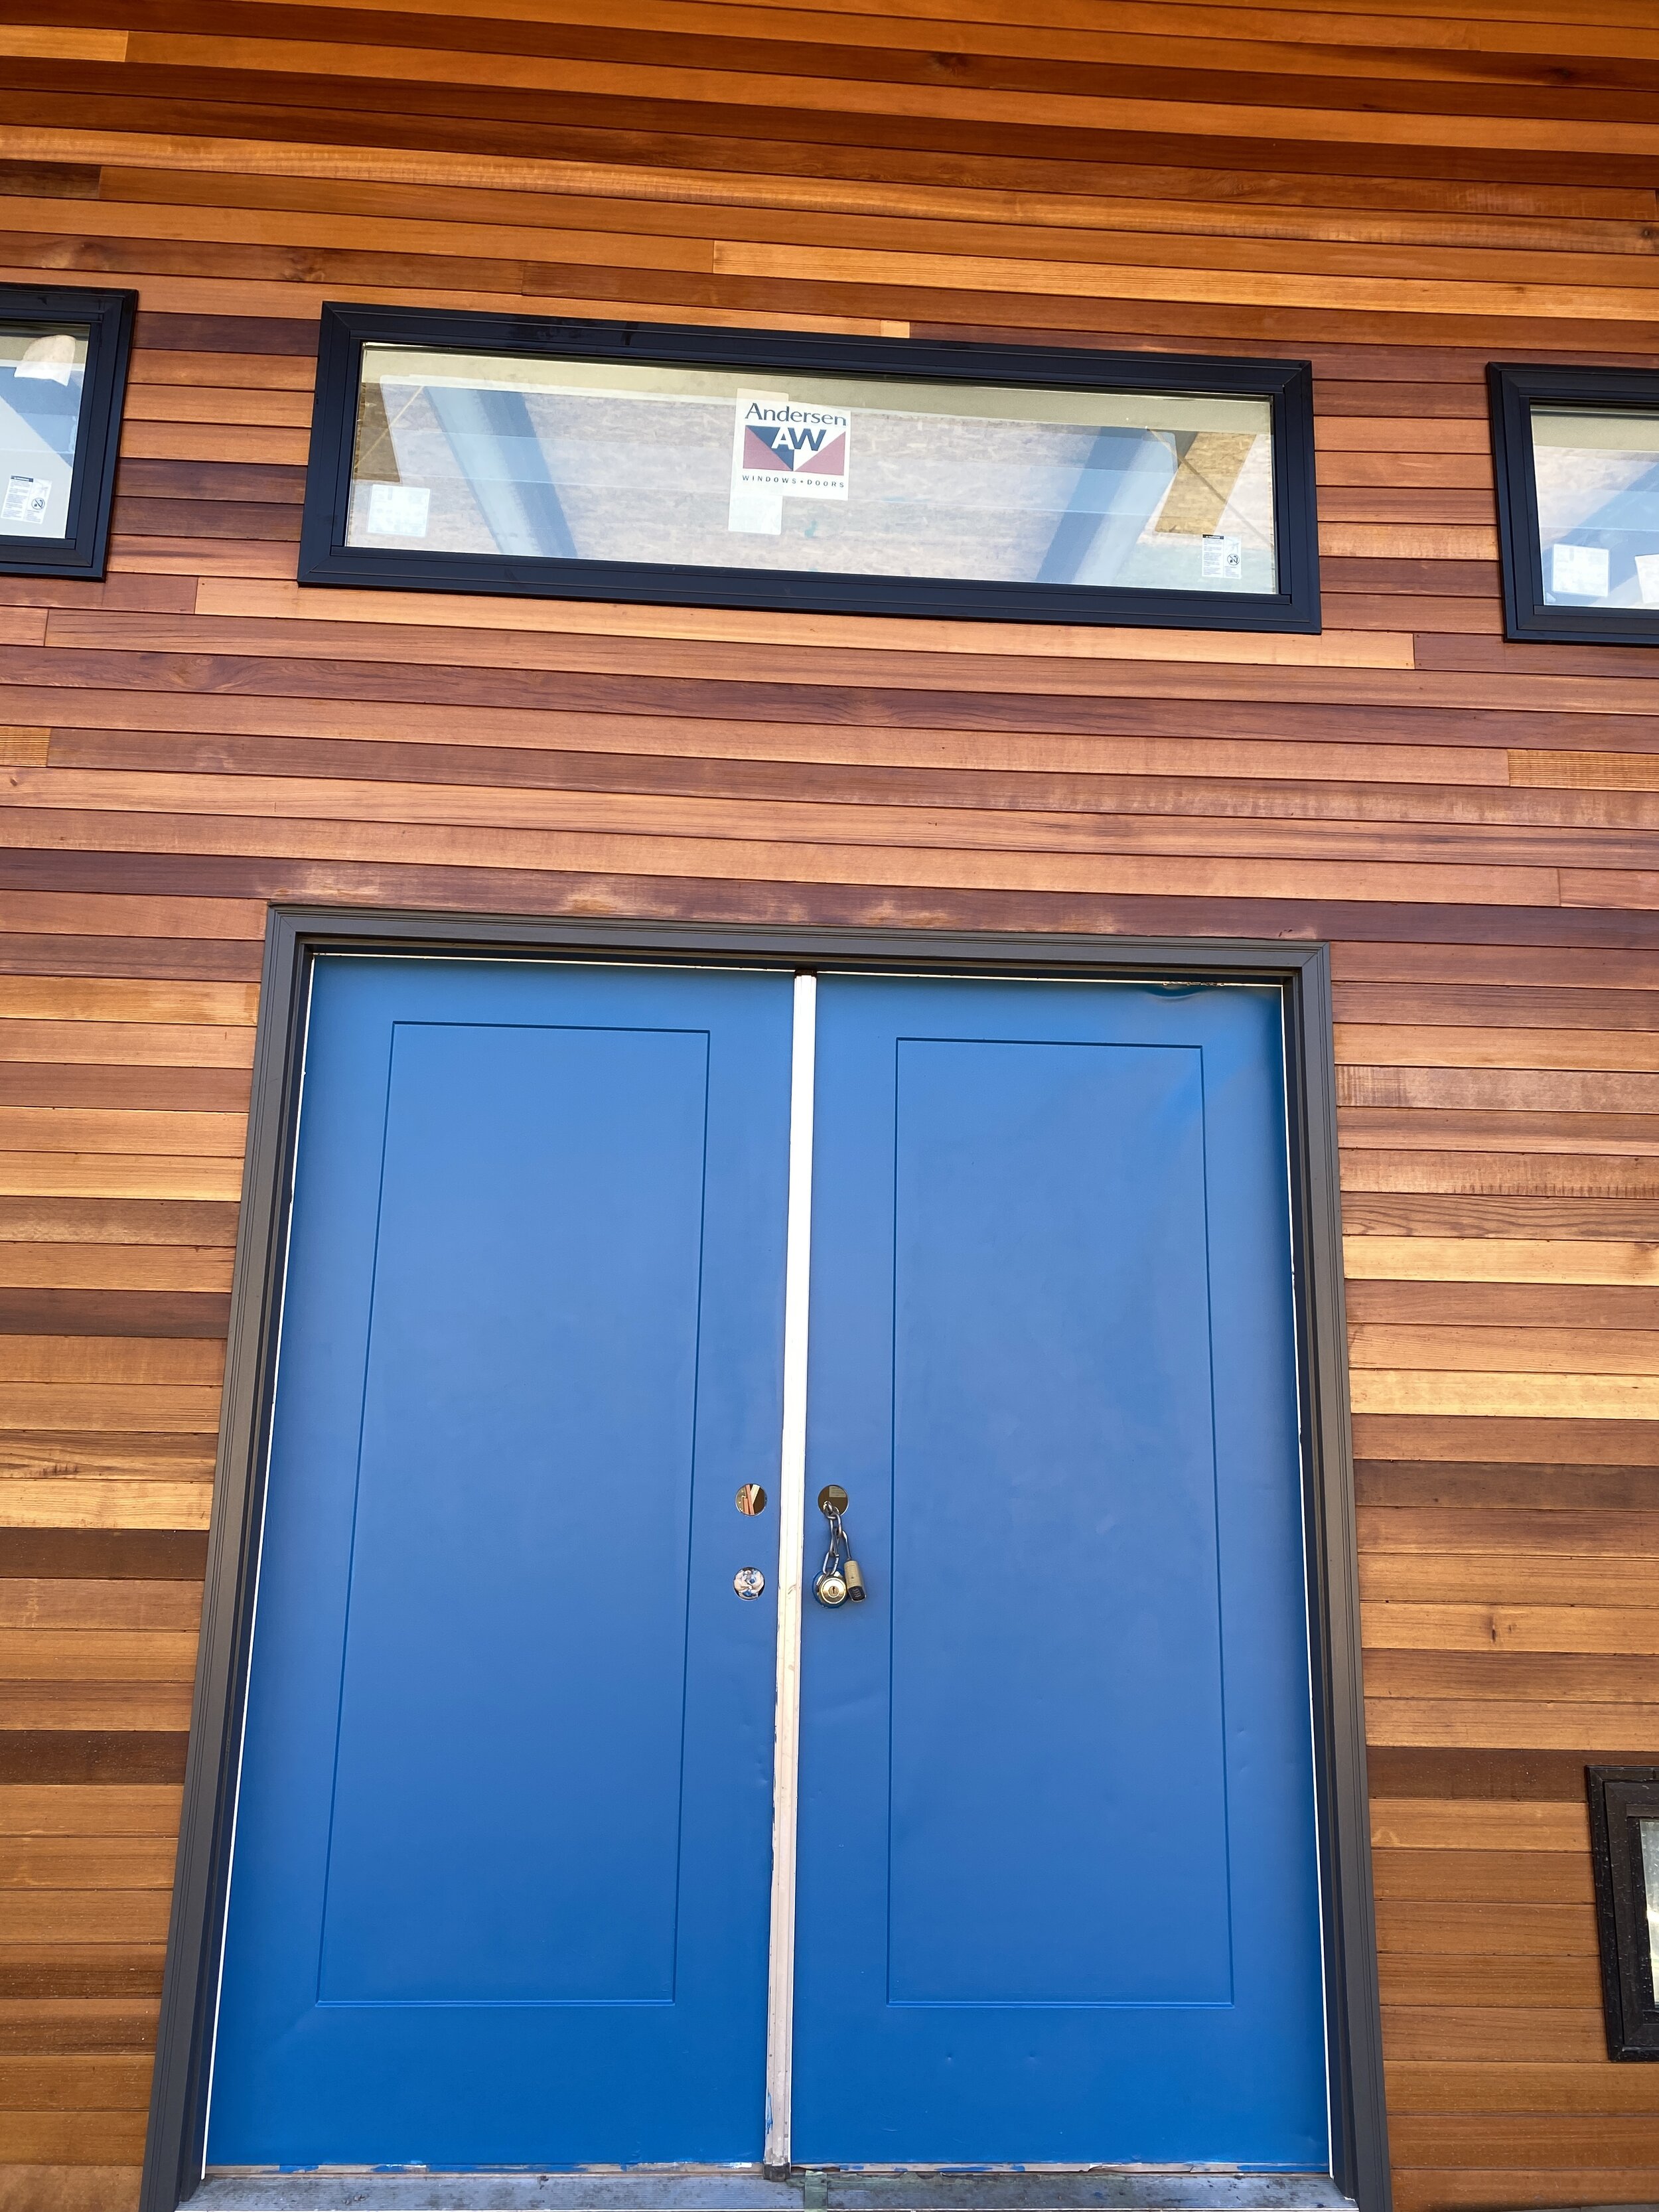
Four coats later….we’ll install the hardware when we get closer to moving in.
Our pine for our ceiling finally arrived in early November and we got to work quickly with applying the stain. We decided to use a brush on stail (no wiping needed!) in a natural color. We didn’t want the pine to look too yellow, so our favorite local paint store, Summit Paint and Stain, gave us a few samples to look at inside the house. Ultimately, the best option was the Applewood color from Sashco, which come to find out is a Colorado based company.

Corbin has entered the big leagues…staining in floppy latex gloves.

About 200 16’ boards take up a lot of space!
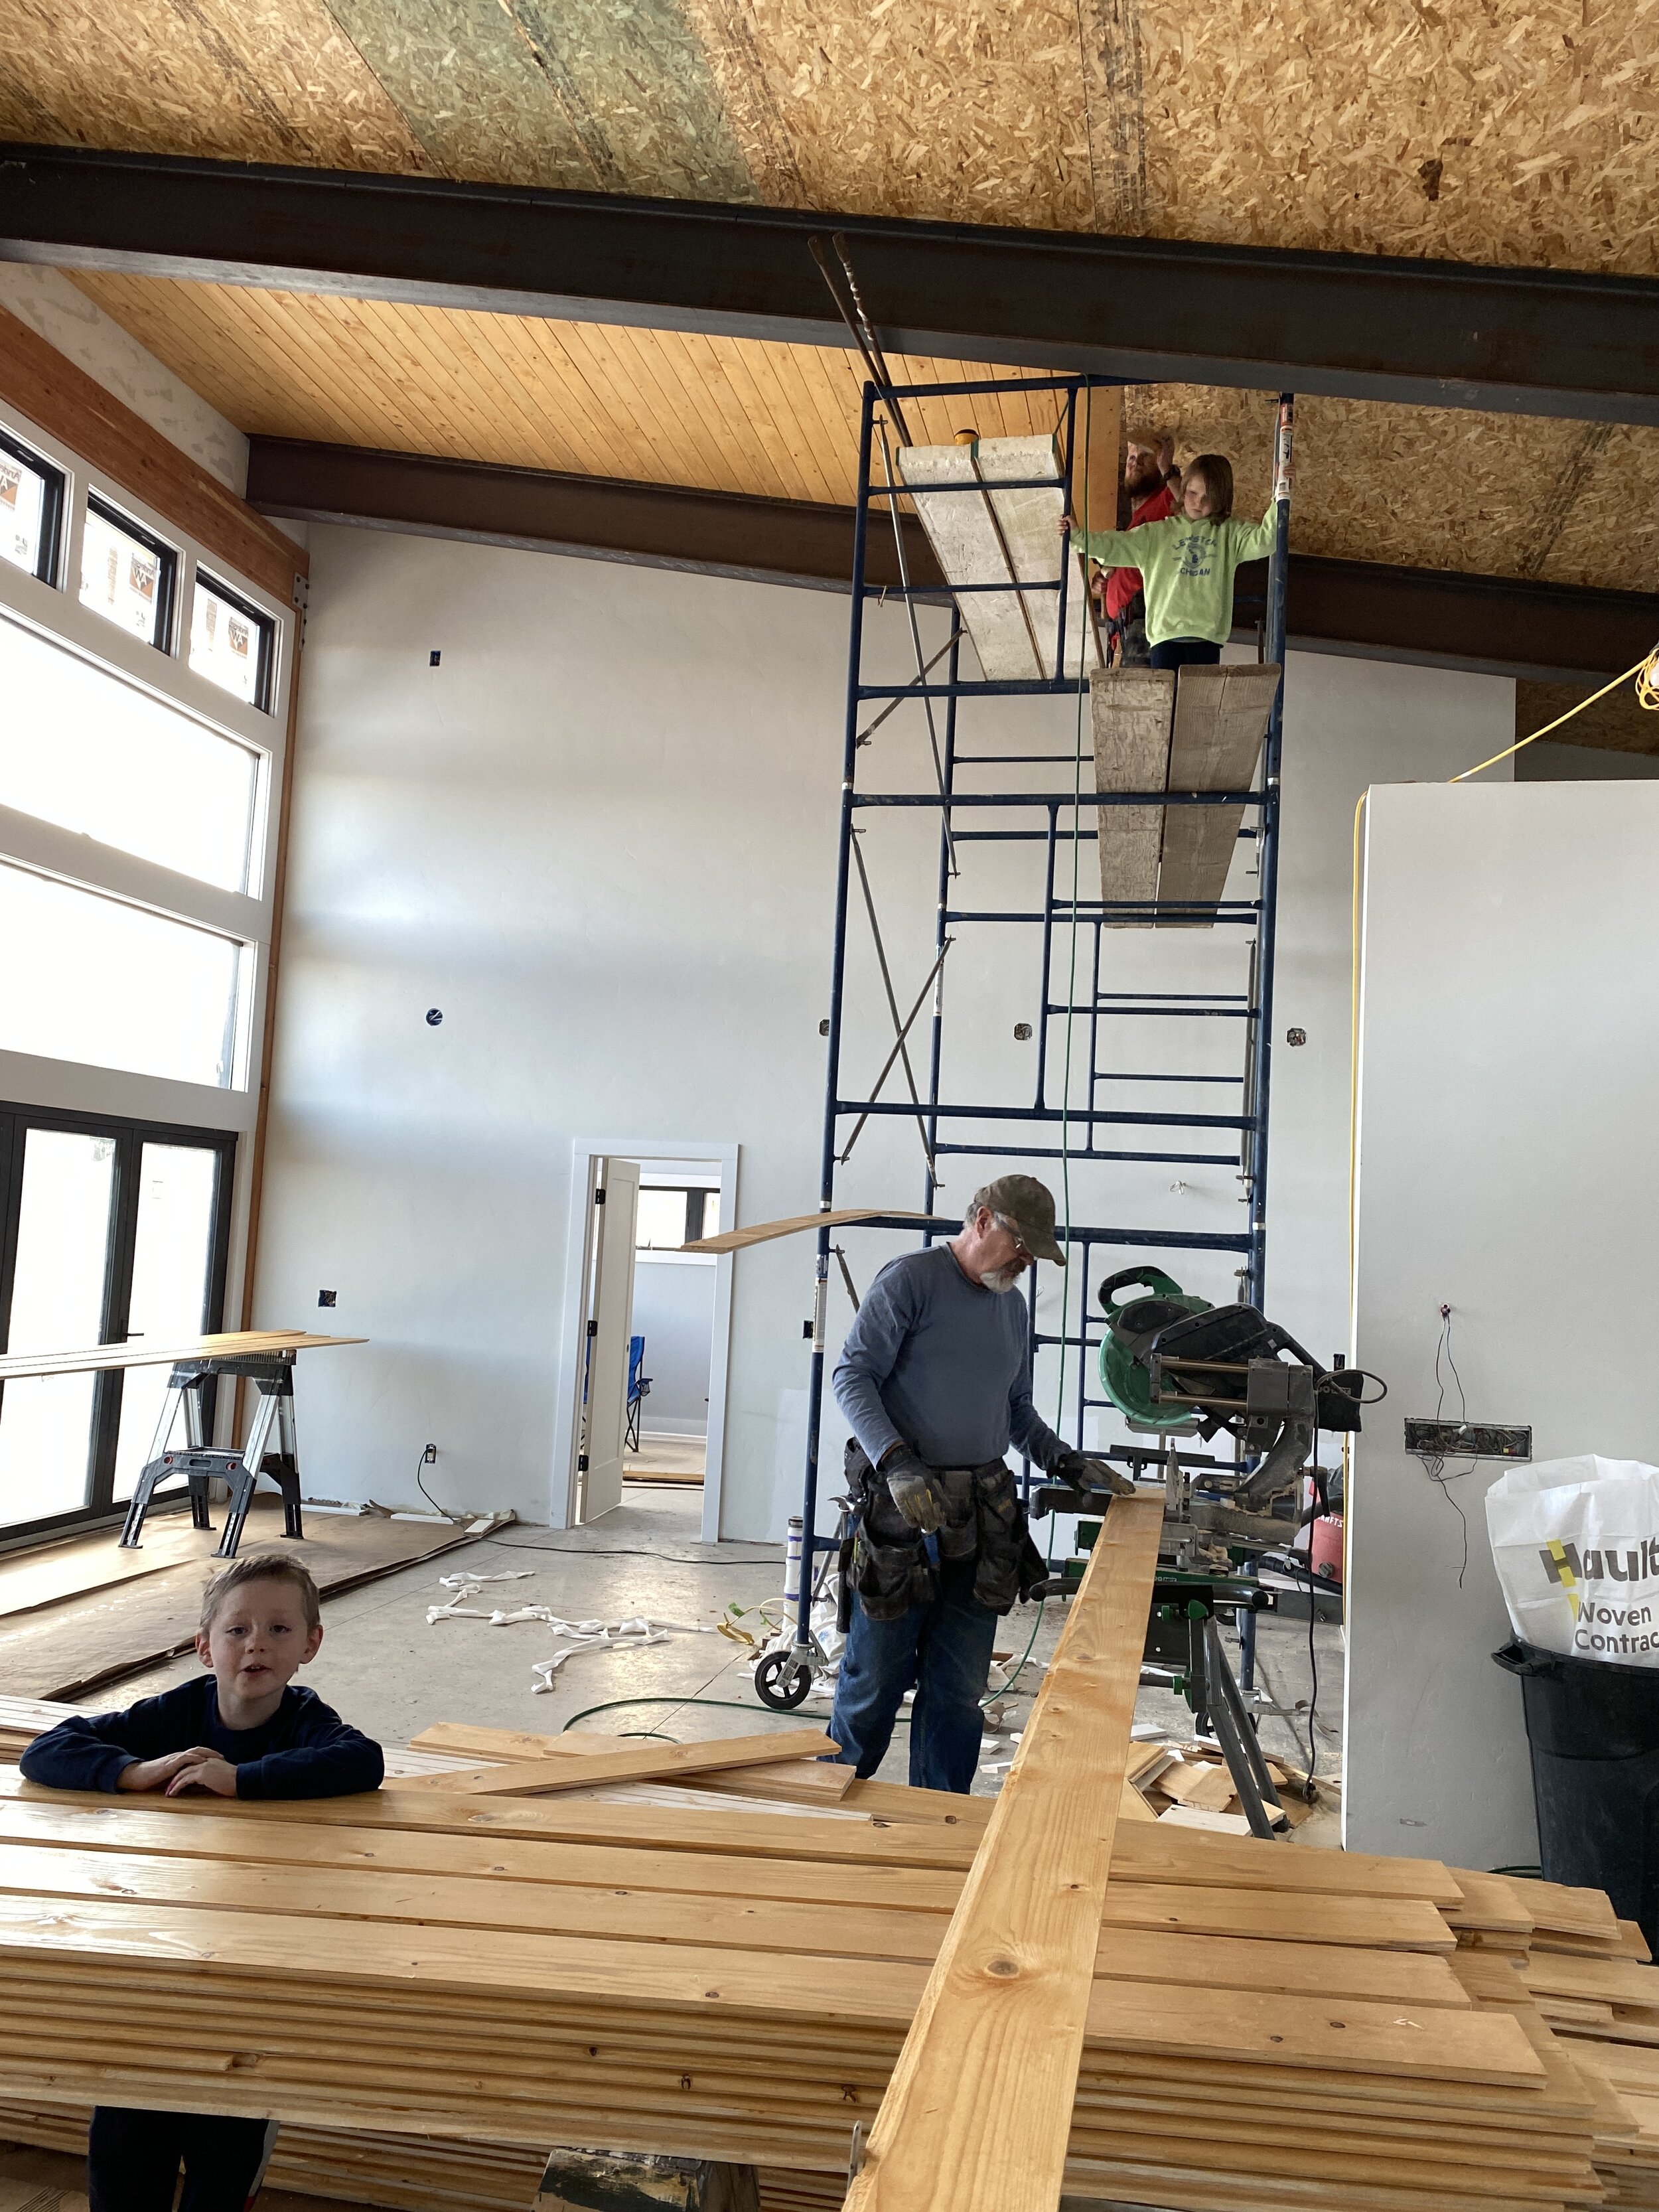
About the time the pine showed up, my Dad arrived back in town. Hallelujah! Our #1 helper was back! It was perfect timing with the upcoming ceiling wood install. Dad stayed with us for 2 weeks and helped us get past some big projects.
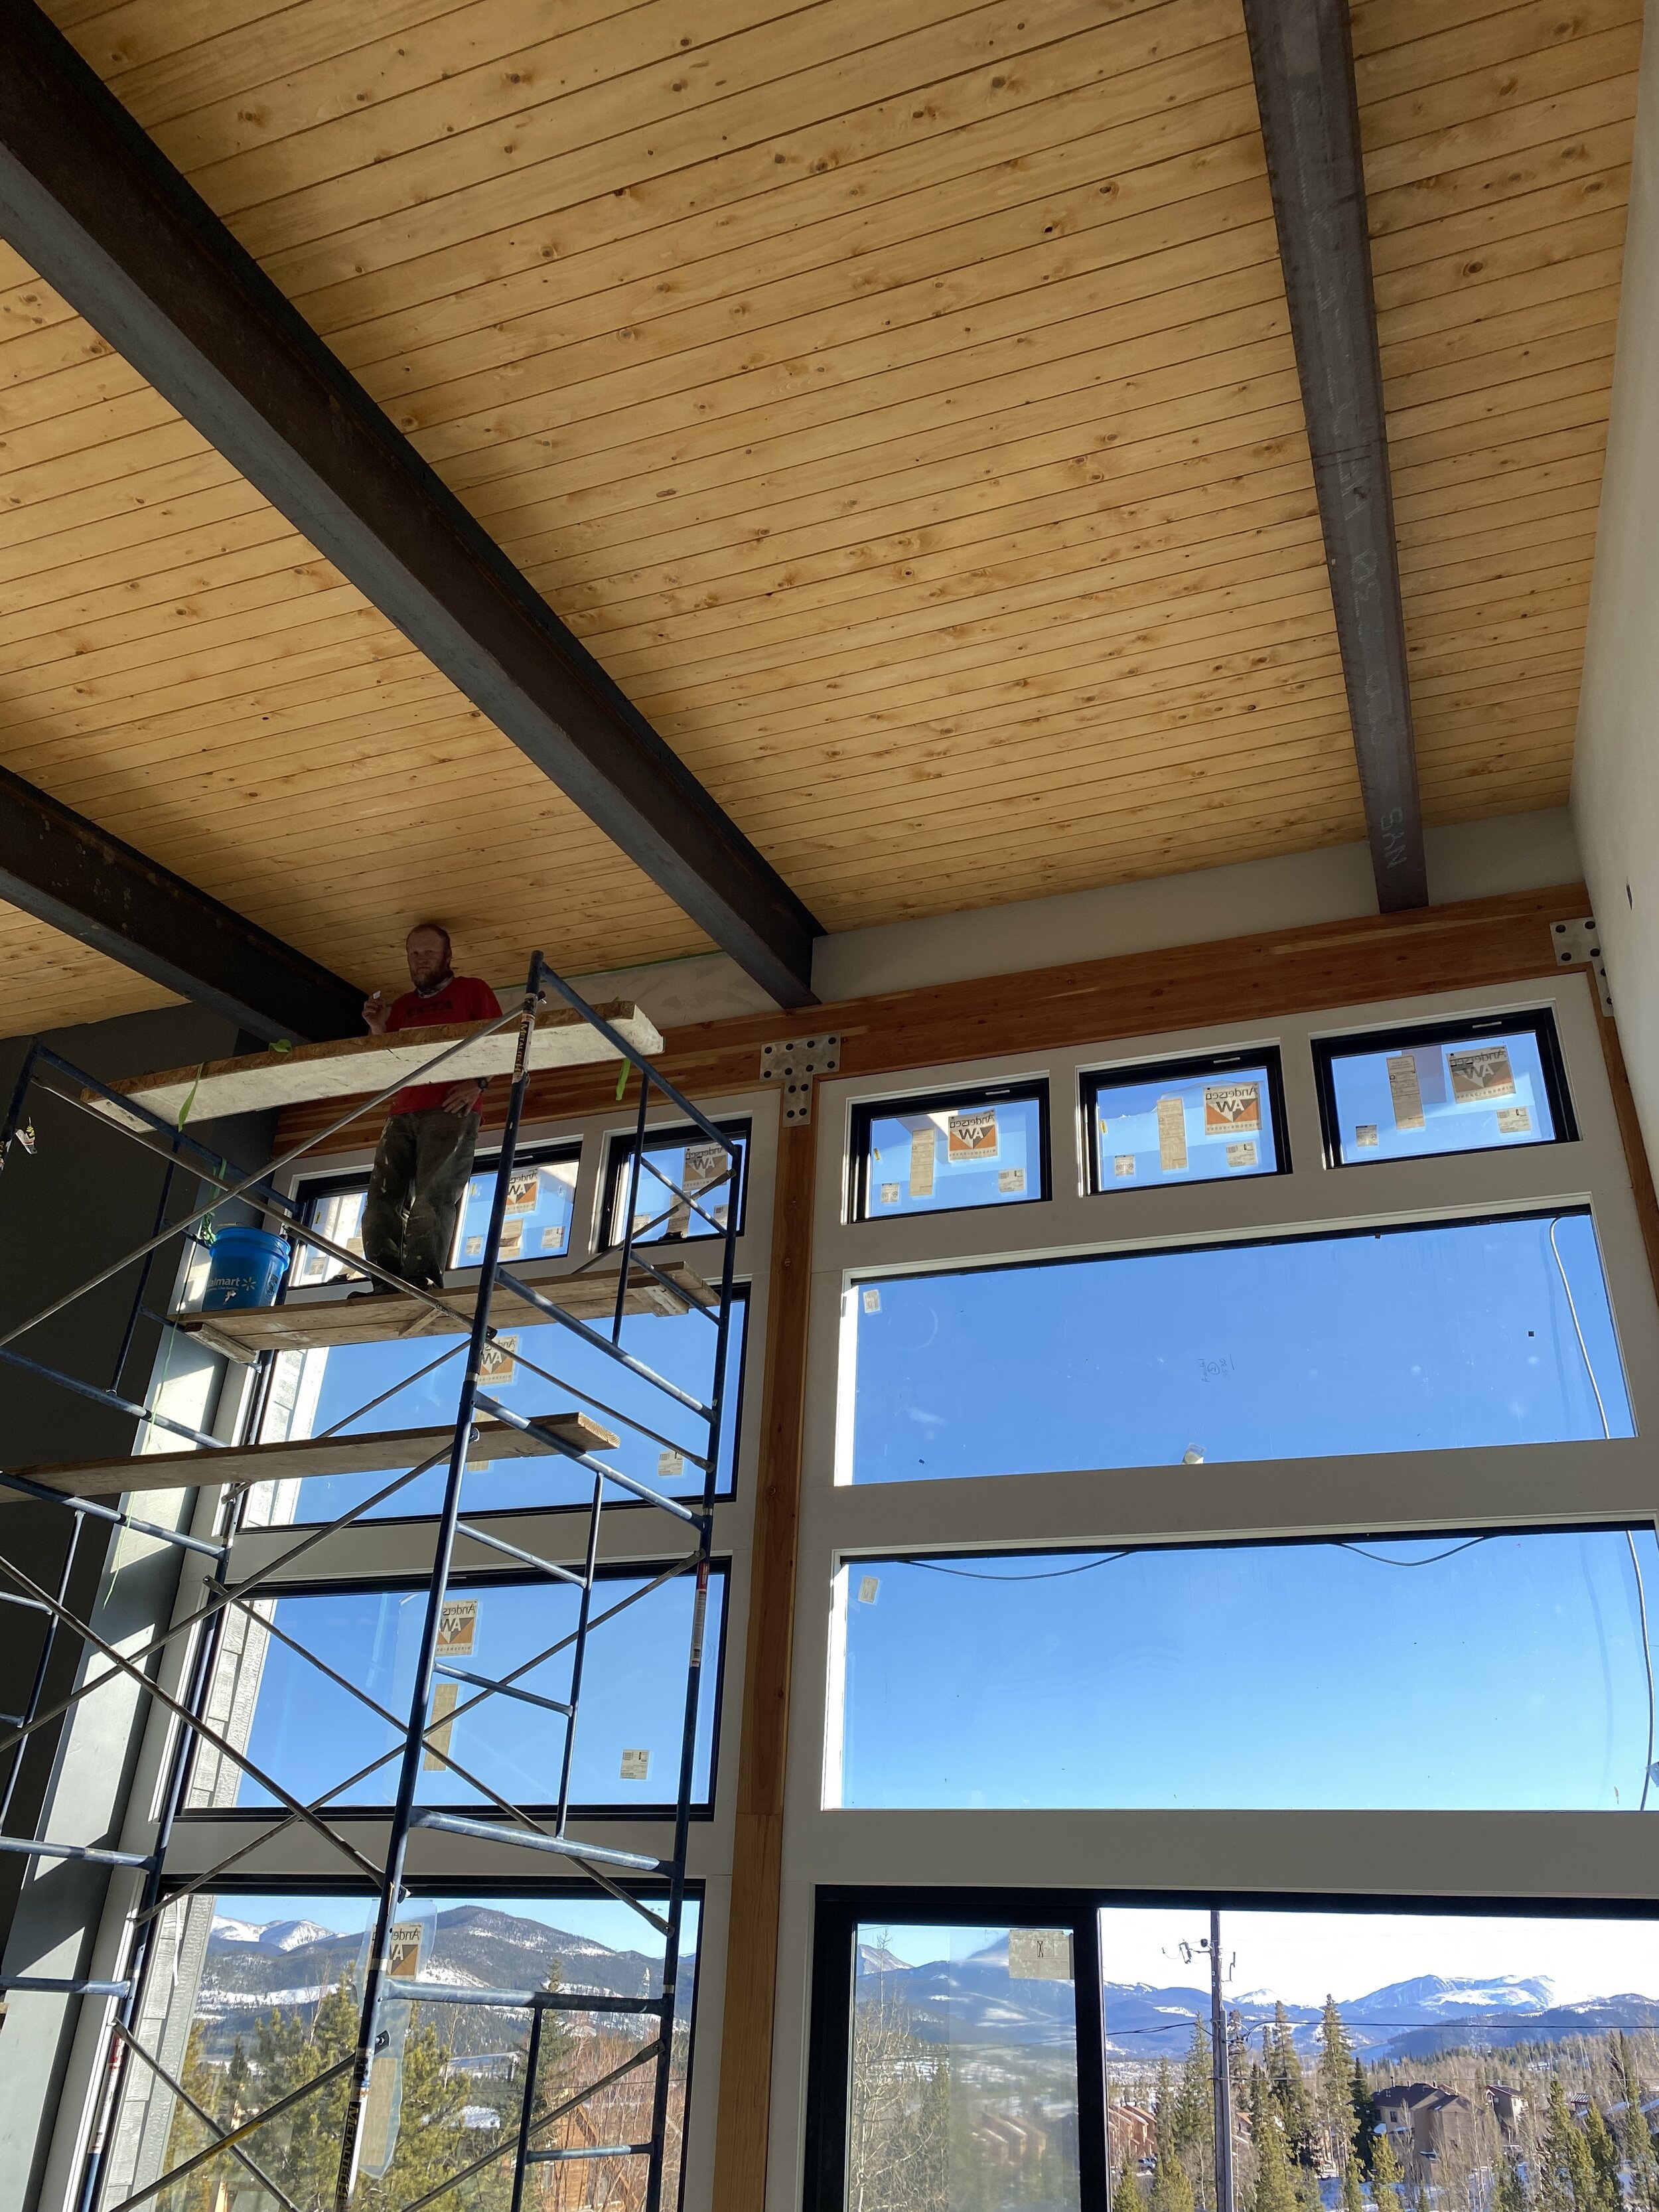
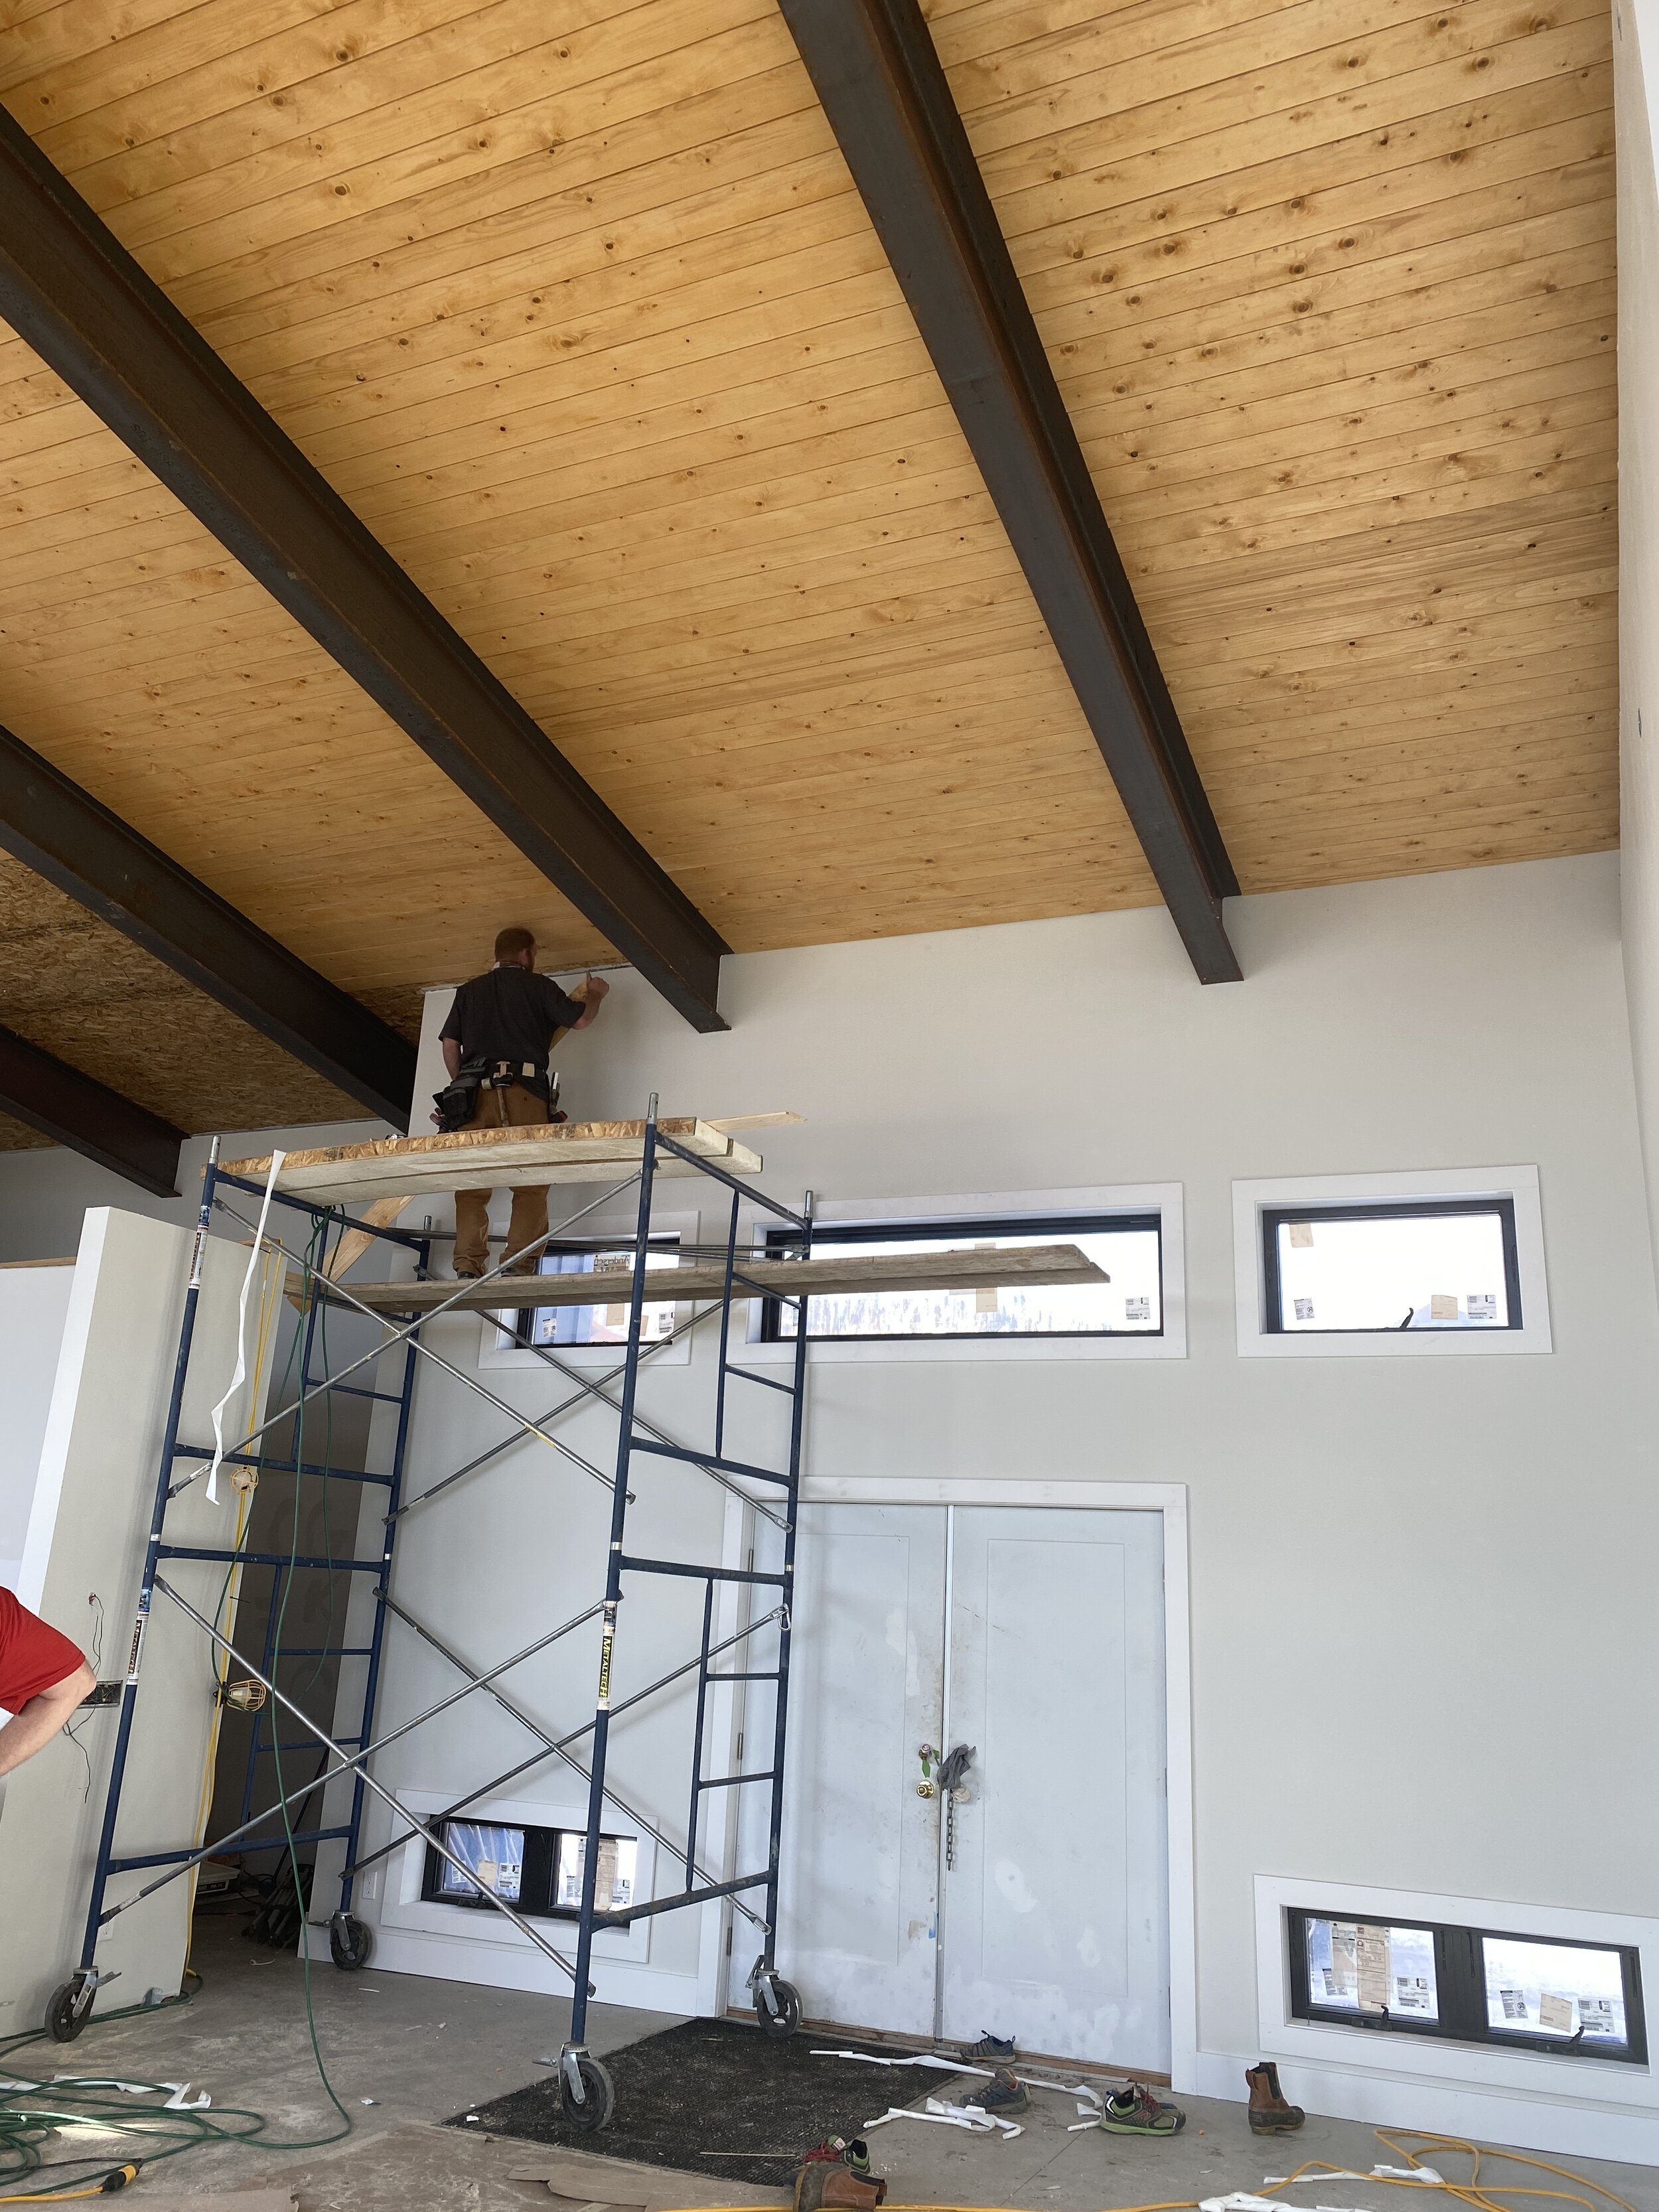
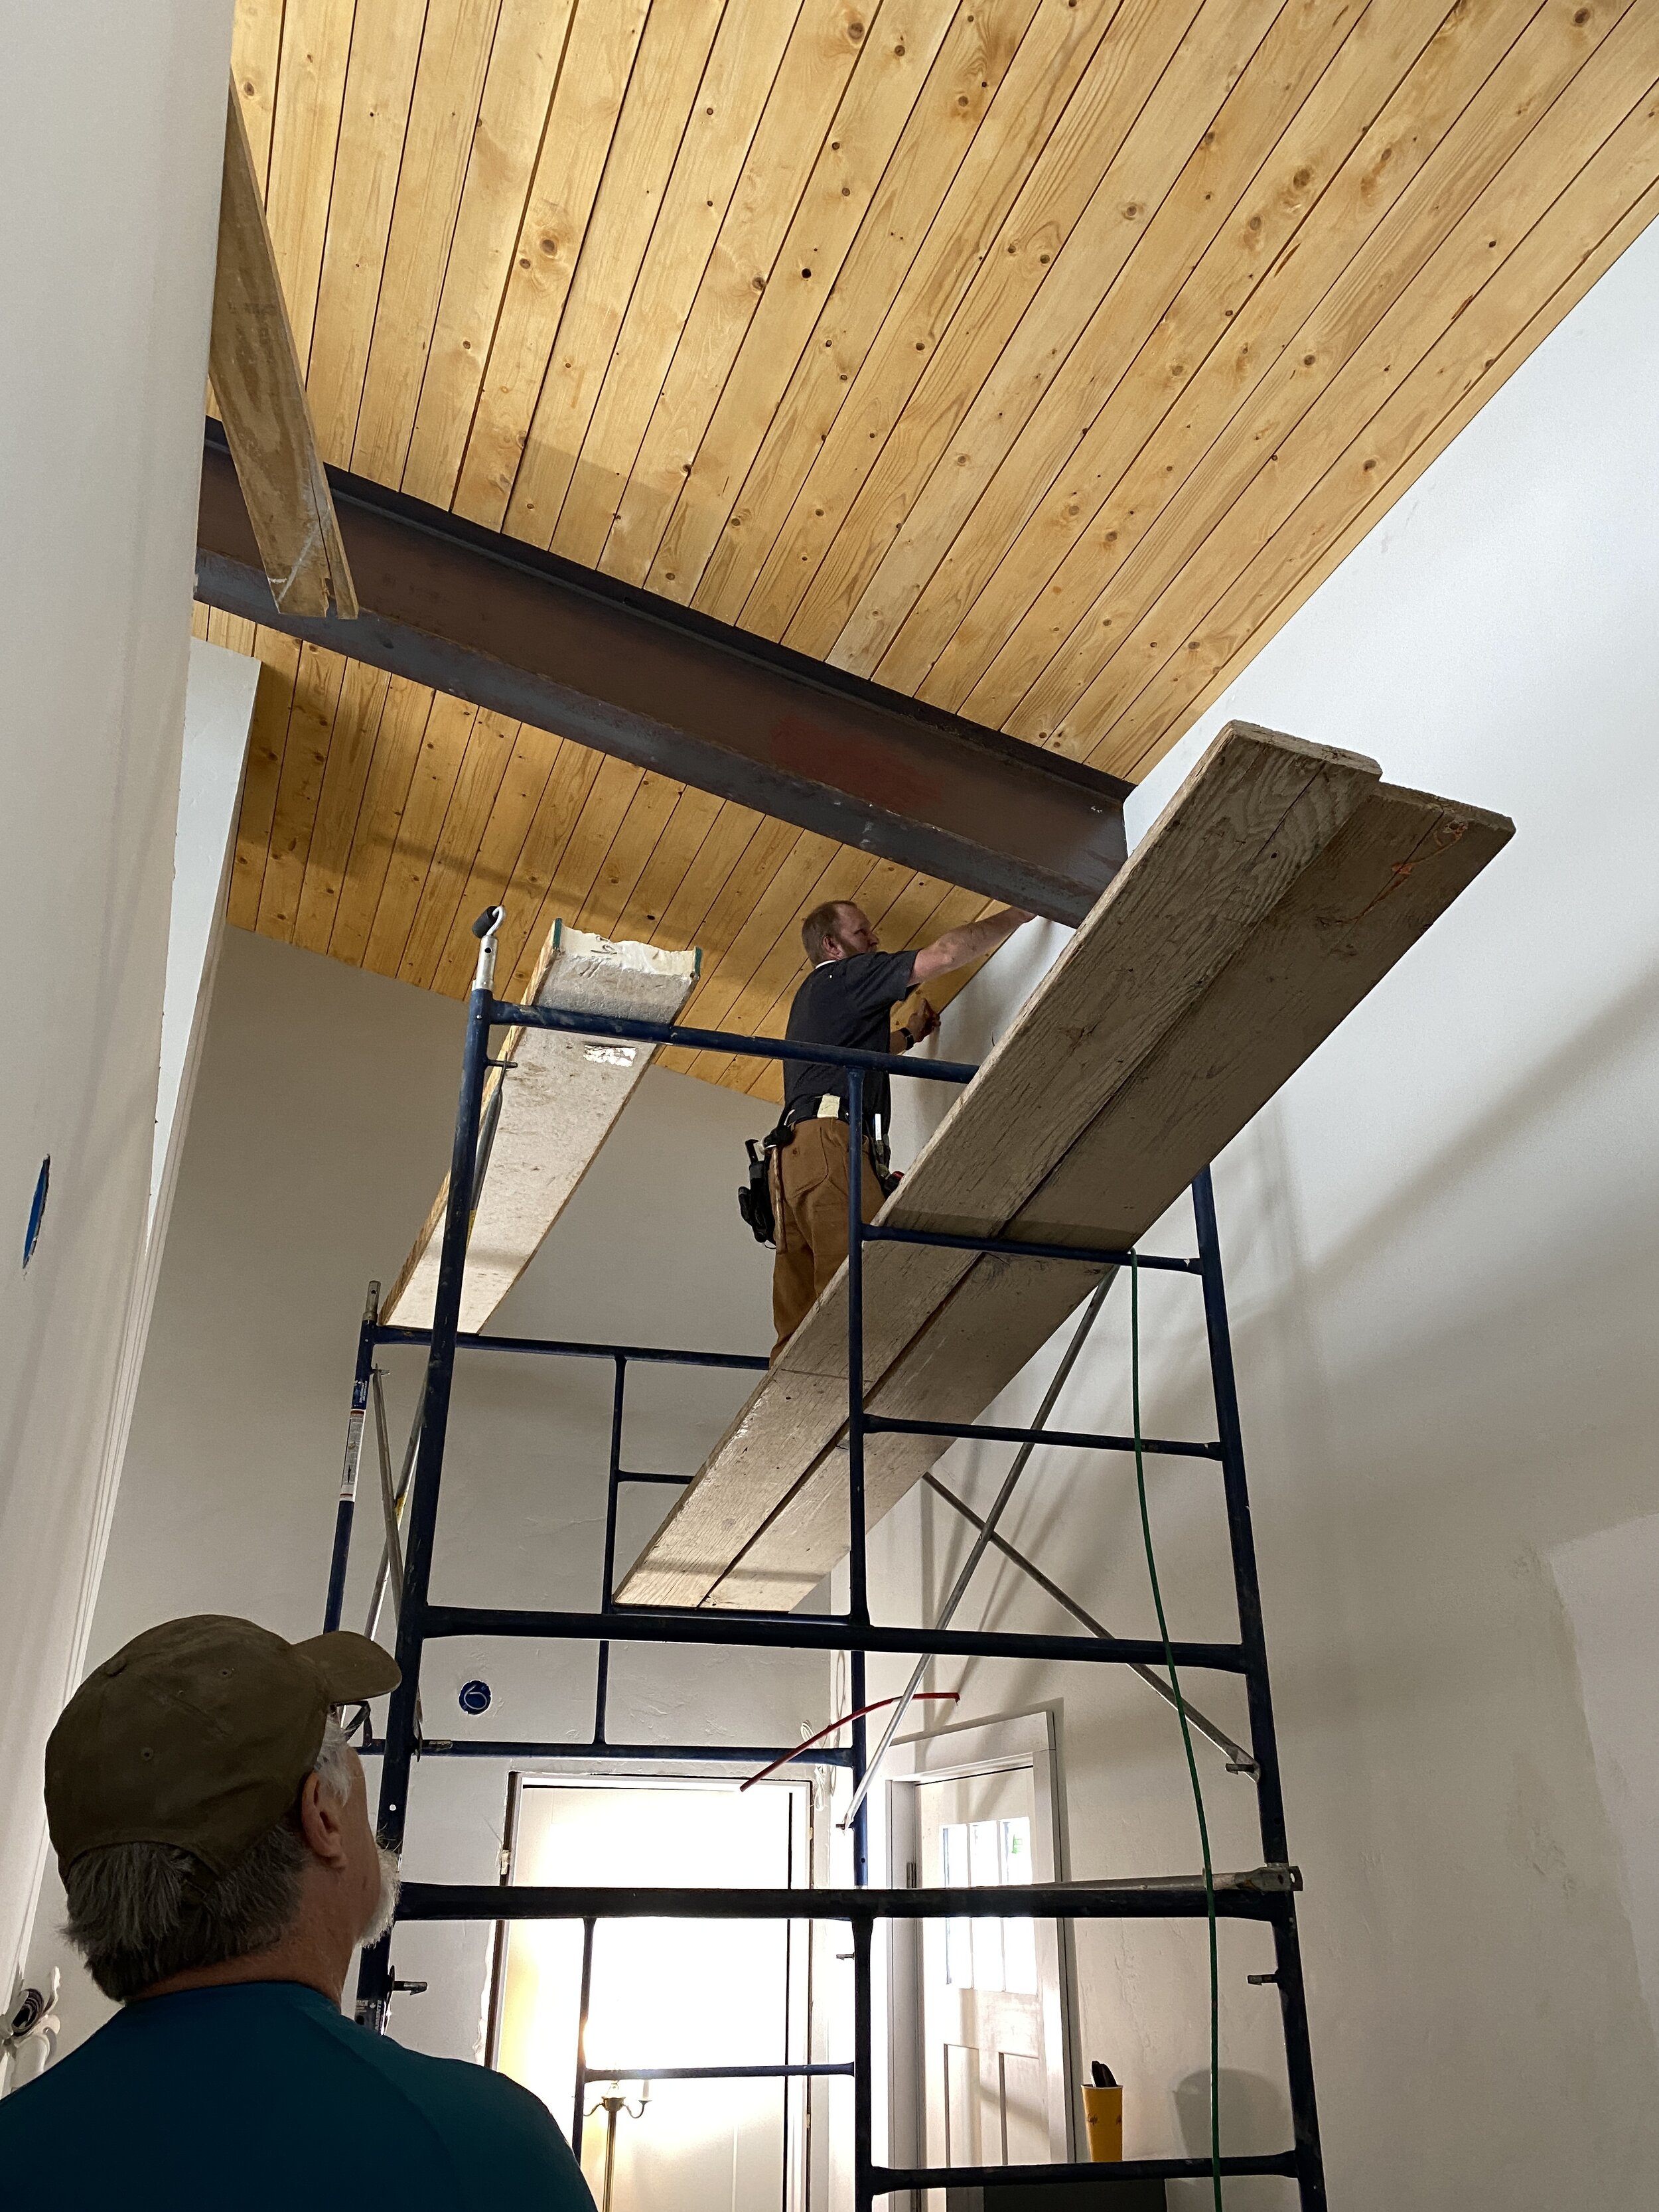
The 16’ feet pine boards for the ceiling were a pain to move around, but over the course of a few days we had enough material that had two coats applied that was ready to install. Since the boards took up so much space, we decided to start installing, then add a 2nd coat to another batch, then install, and repeat. We started the ceiling on November 9 and finished on the 16th. It was a lot of overhead work for days on end!

Just getting started on the first boards!

Great room is all done!

View from the mudroom.
In addition to the ceiling, Dad also installed a bunch of trim and also helped us install all of our doors. It’s starting to look more and more like a home each day!
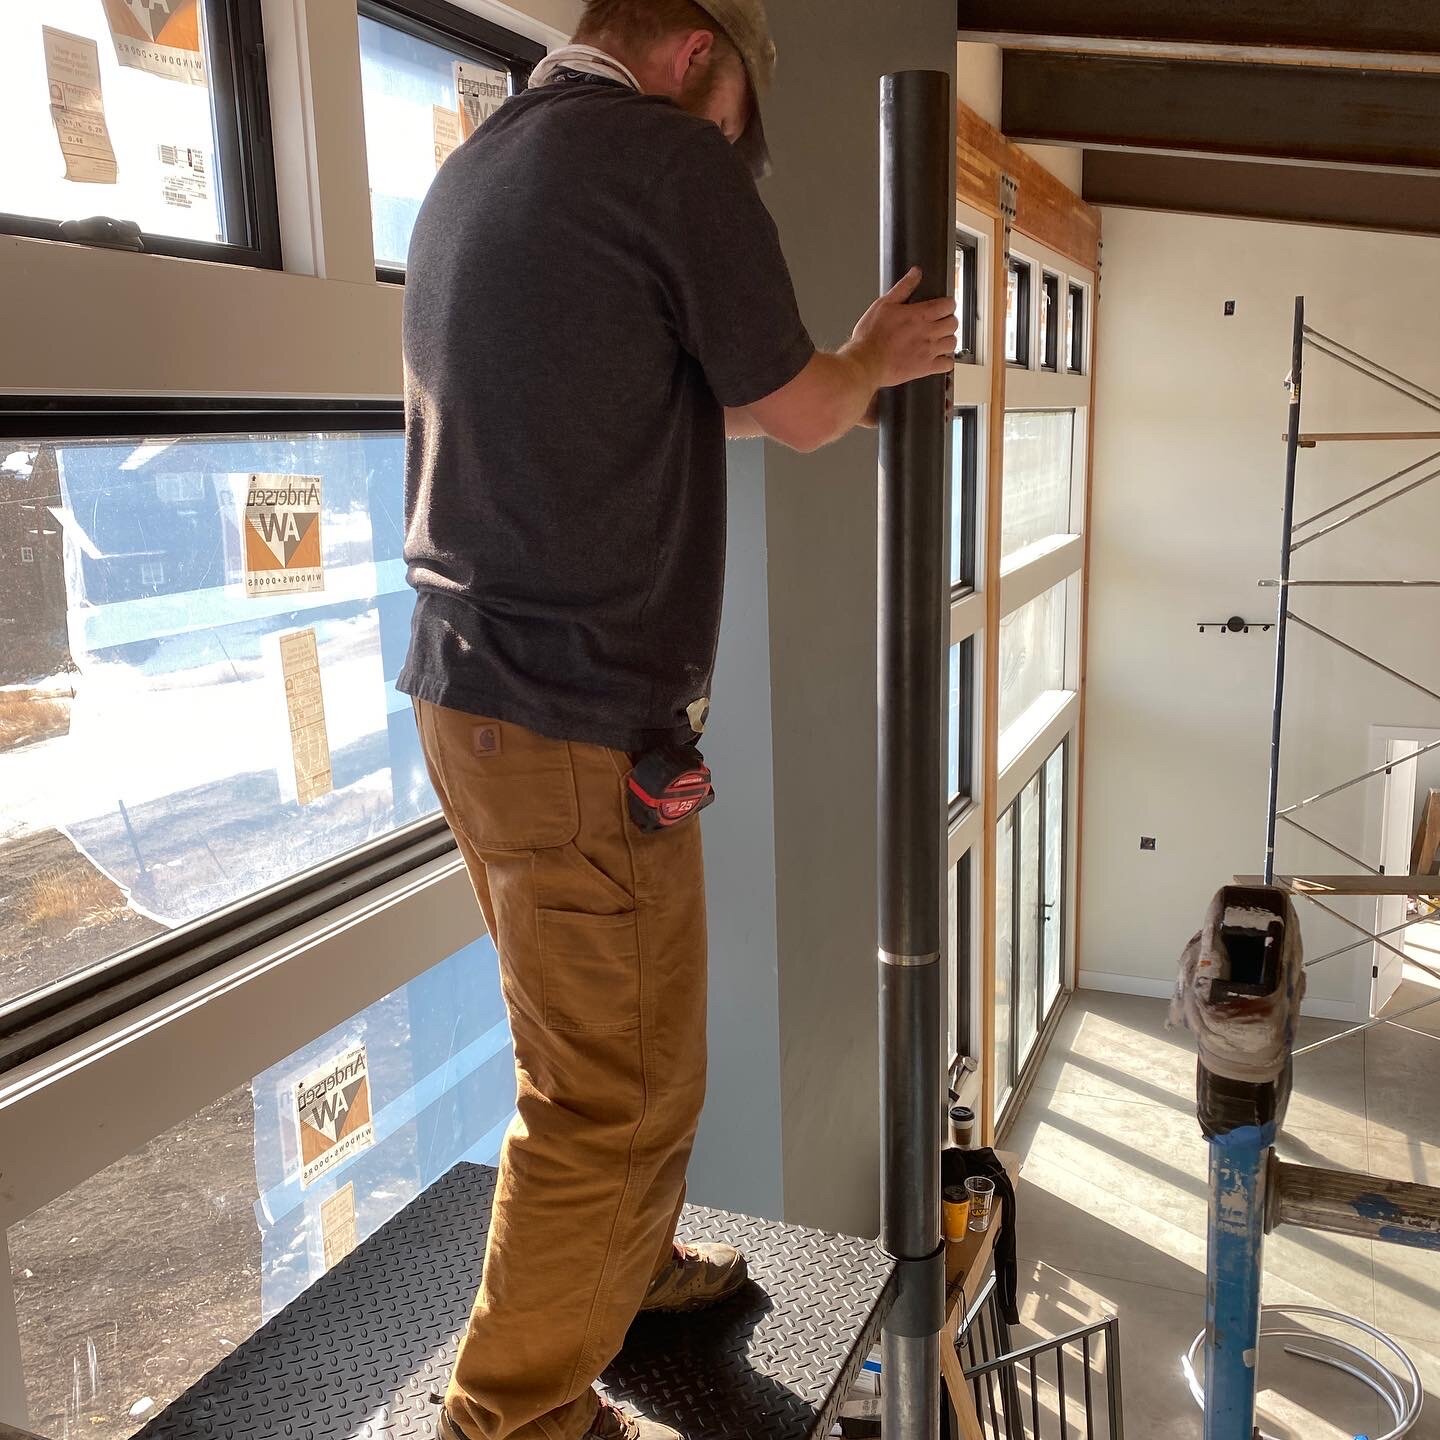
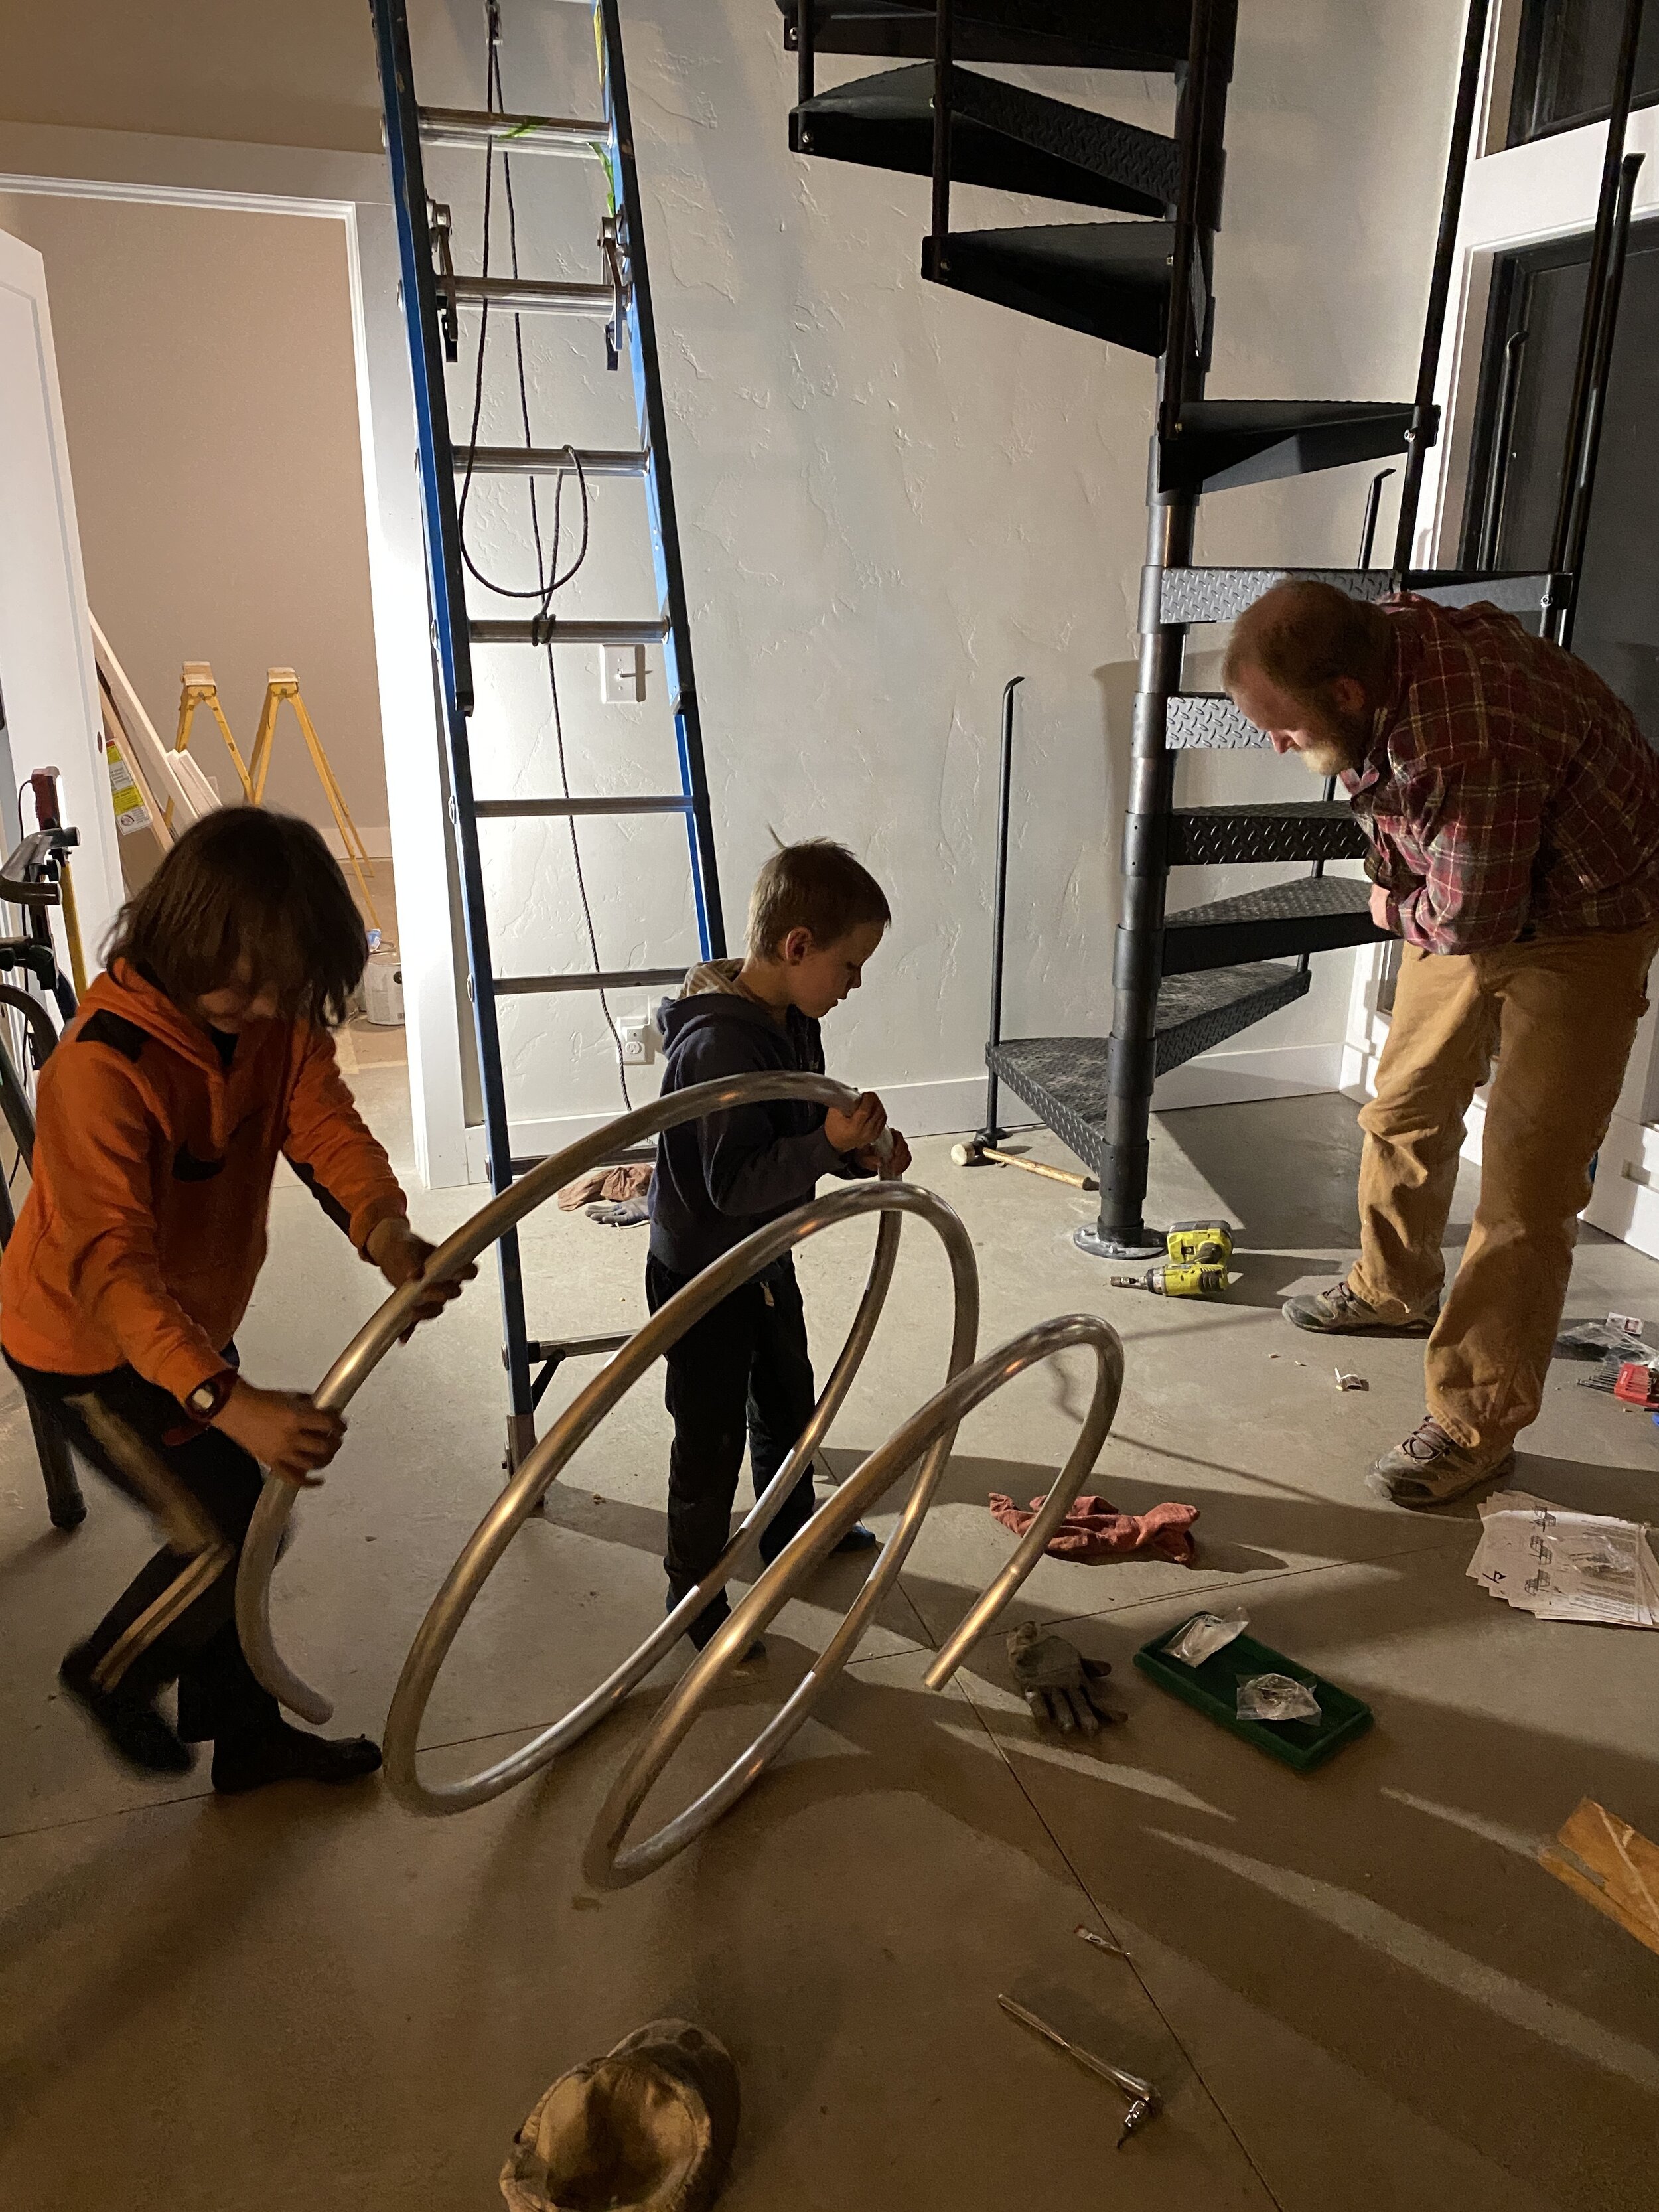
After Dad left, we dove into installing our spiral staircase. We ordered our staircase kit from Paragon Stairs in Pennsylvania. This project turned out to be a bit of a slog. We finished in about 12 hours, spread out over three days. Of all the projects we’ve done so far, the kids may have been most excited about this one. The hardest parts were installing the aluminum handrail and the center balusters. The handrail was really hard to stretch to match the main balusters. The handrail came in a tight coil and needed to be pulled to the right radius to match the main balusters.

Kelsey installing the main balusters on the treads.

Ugh. This handrail…

It’s not perfect, but we’ll take it.
Once the handrail was secured to the main balusters on each step, it was time to install the center balusters. Then, each of the center balusters (24 in total) had to be individually cut to the correct length, a special part put in the bottom of the baluster, made level and then screwed into the handrail. In Colorado, it is a requirement that we have code risers - essentially a bar that is affixed below each tread to make the opening smaller so little people and things can’t fit through. We still need to install these on each step before final inspection, but the hard part is done!

Daddy, Mommy, Laird, Corbin - Fourrrr Family!
In between helping with the spiral staircase, I painted the inside of the mudroom and main doors. The gray looks so much better! The final door hardware is also installed on the mudroom. Once our plumber and electrician have wrapped up and we have moved our cabinets in, we’ll install the main entrance hardware.

Looks way better!

We accidentally left some tape on the window last winter, so we’ll add that to the touch up list, along with covering all the nails on the siding, but you get the idea :-)
We’re so appreciative of the support, kind words, and encouragement. We’re looking forward to the day when we can actually live in the 9,290 home and enjoy our hard work. We sure hope that day is sooner than later.
We’re really hoping to be able to spend Christmas in the new house and will do everything we can to meet that goal. Keep your fingers crossed for us!
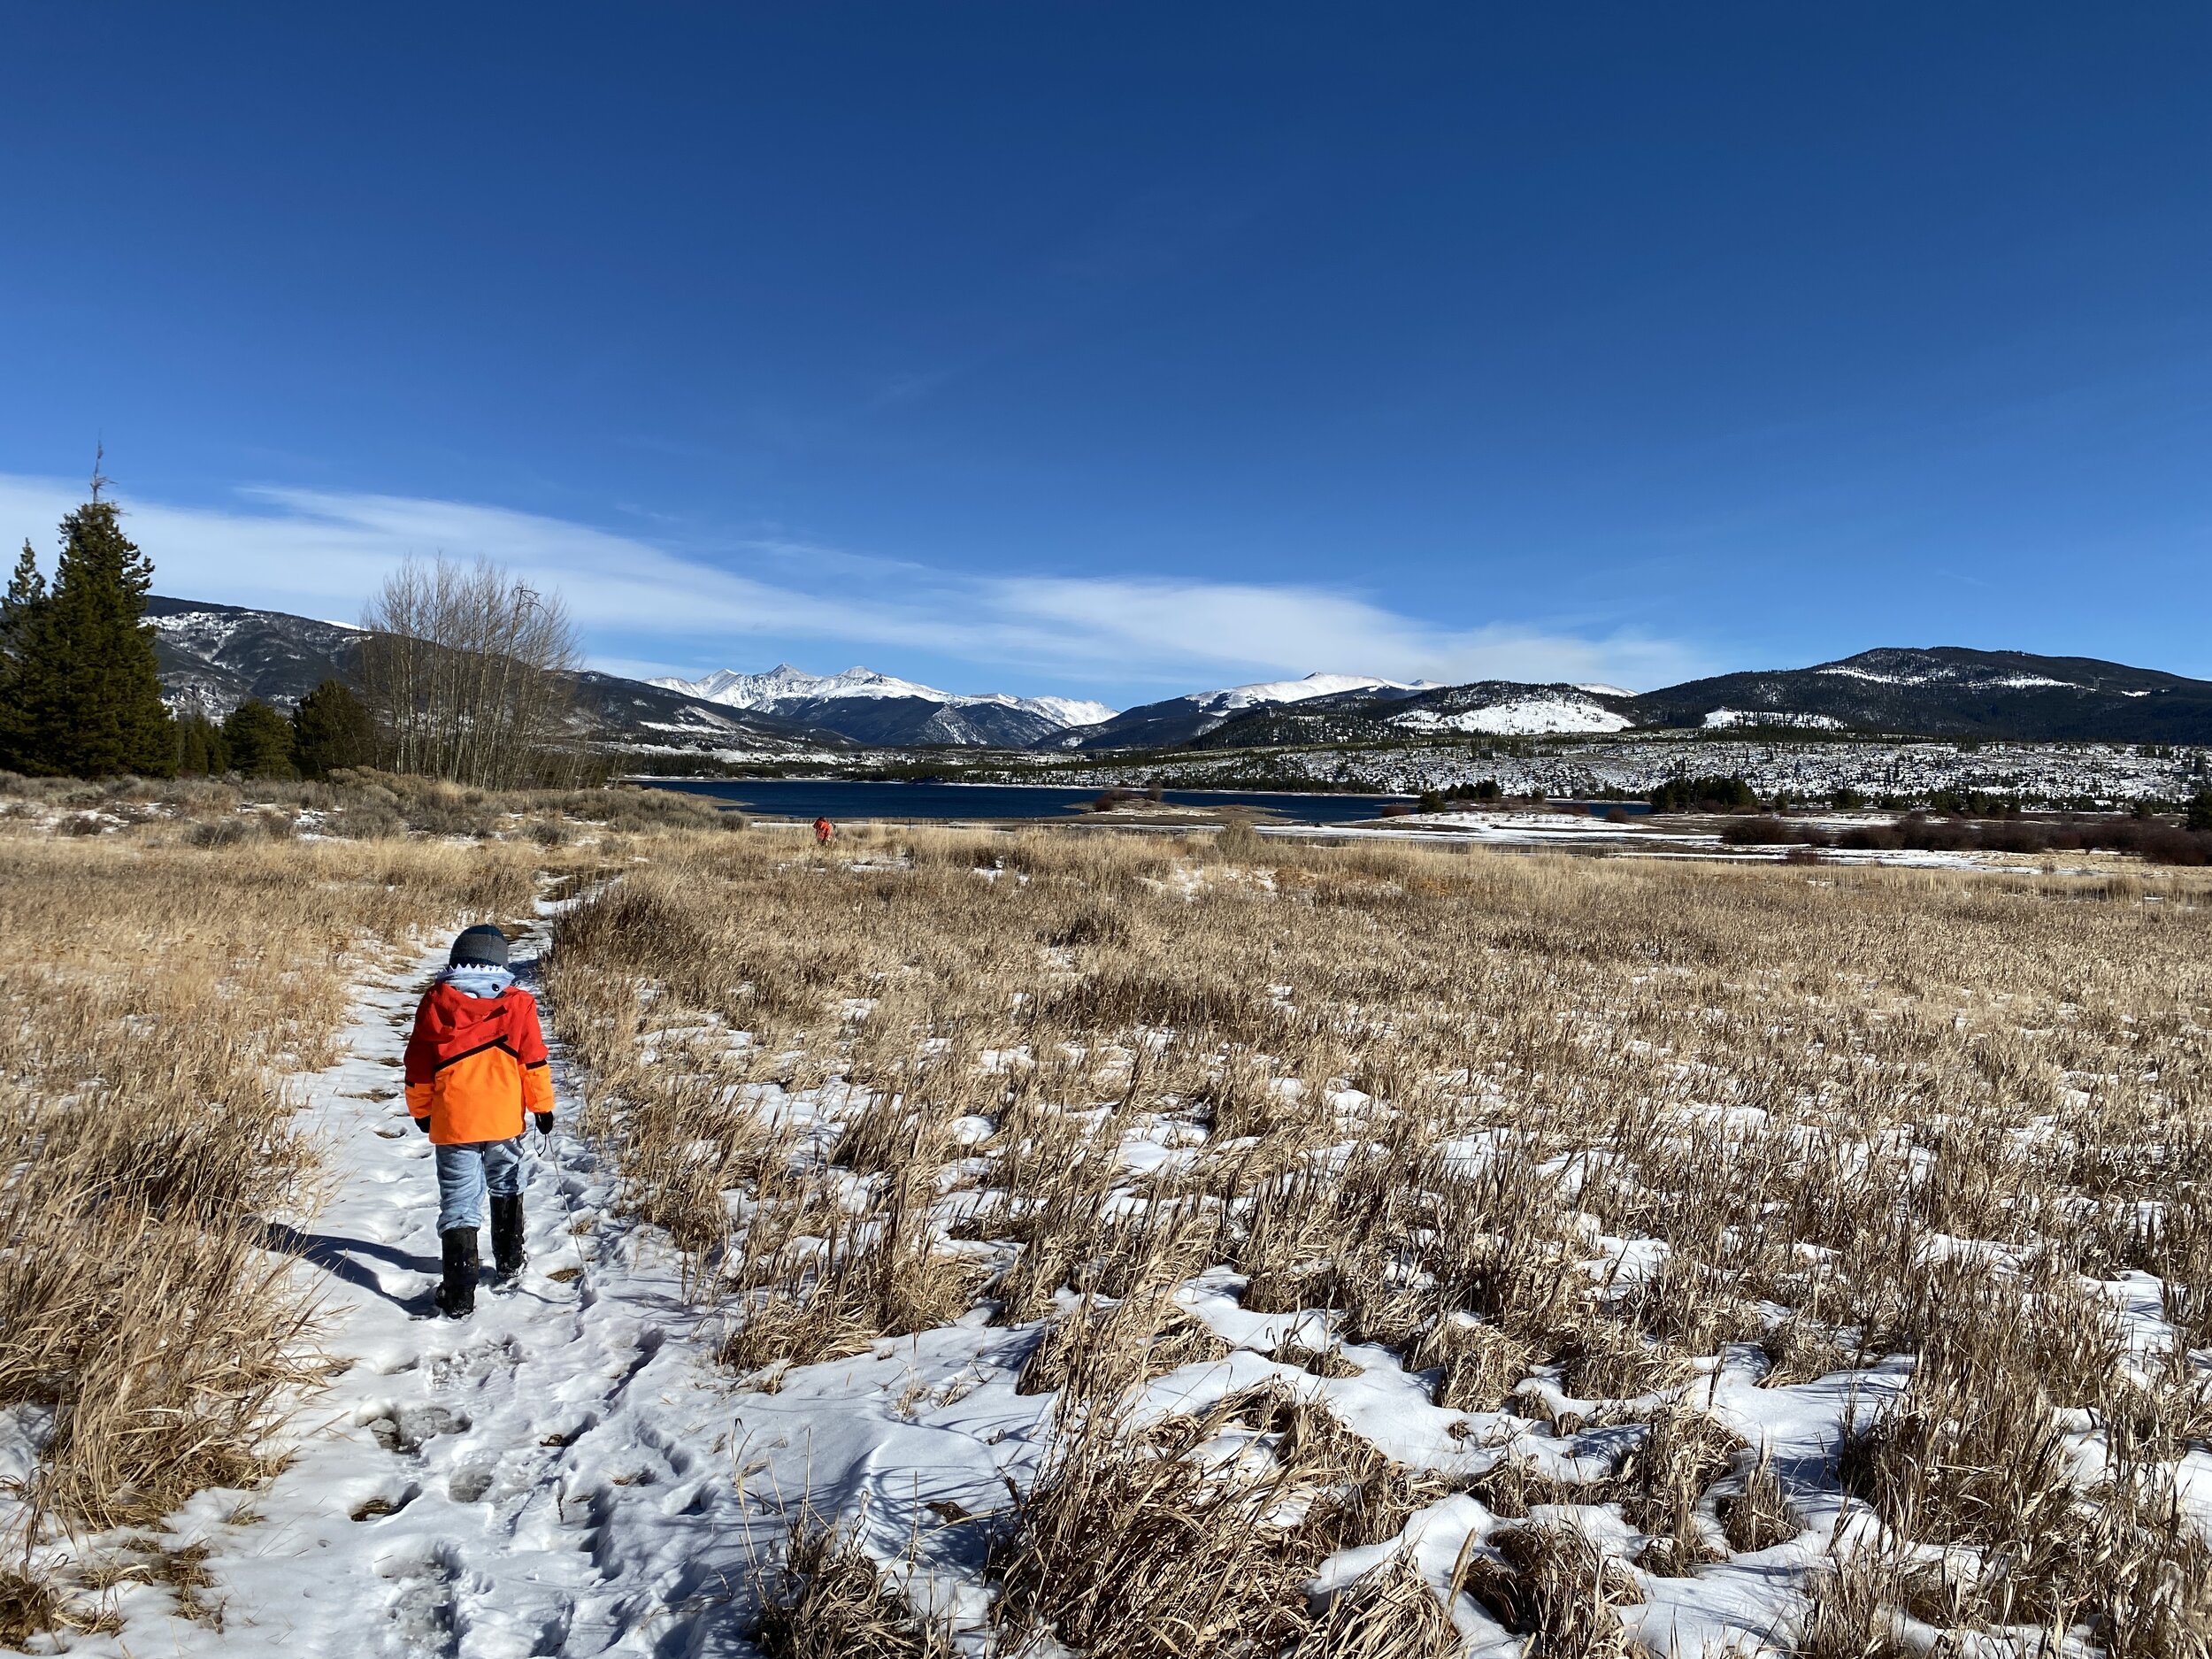
Wishing you and your family a lovely Thanksgiving, whatever that looks like this year. For us, we’re going to work for a few hours at the house, enjoy some outdoor time (one of our family traditions, eat a delicious meal, and then have dessert at the new house. What are some of your favorite traditions?
Feeling grateful,
Cory
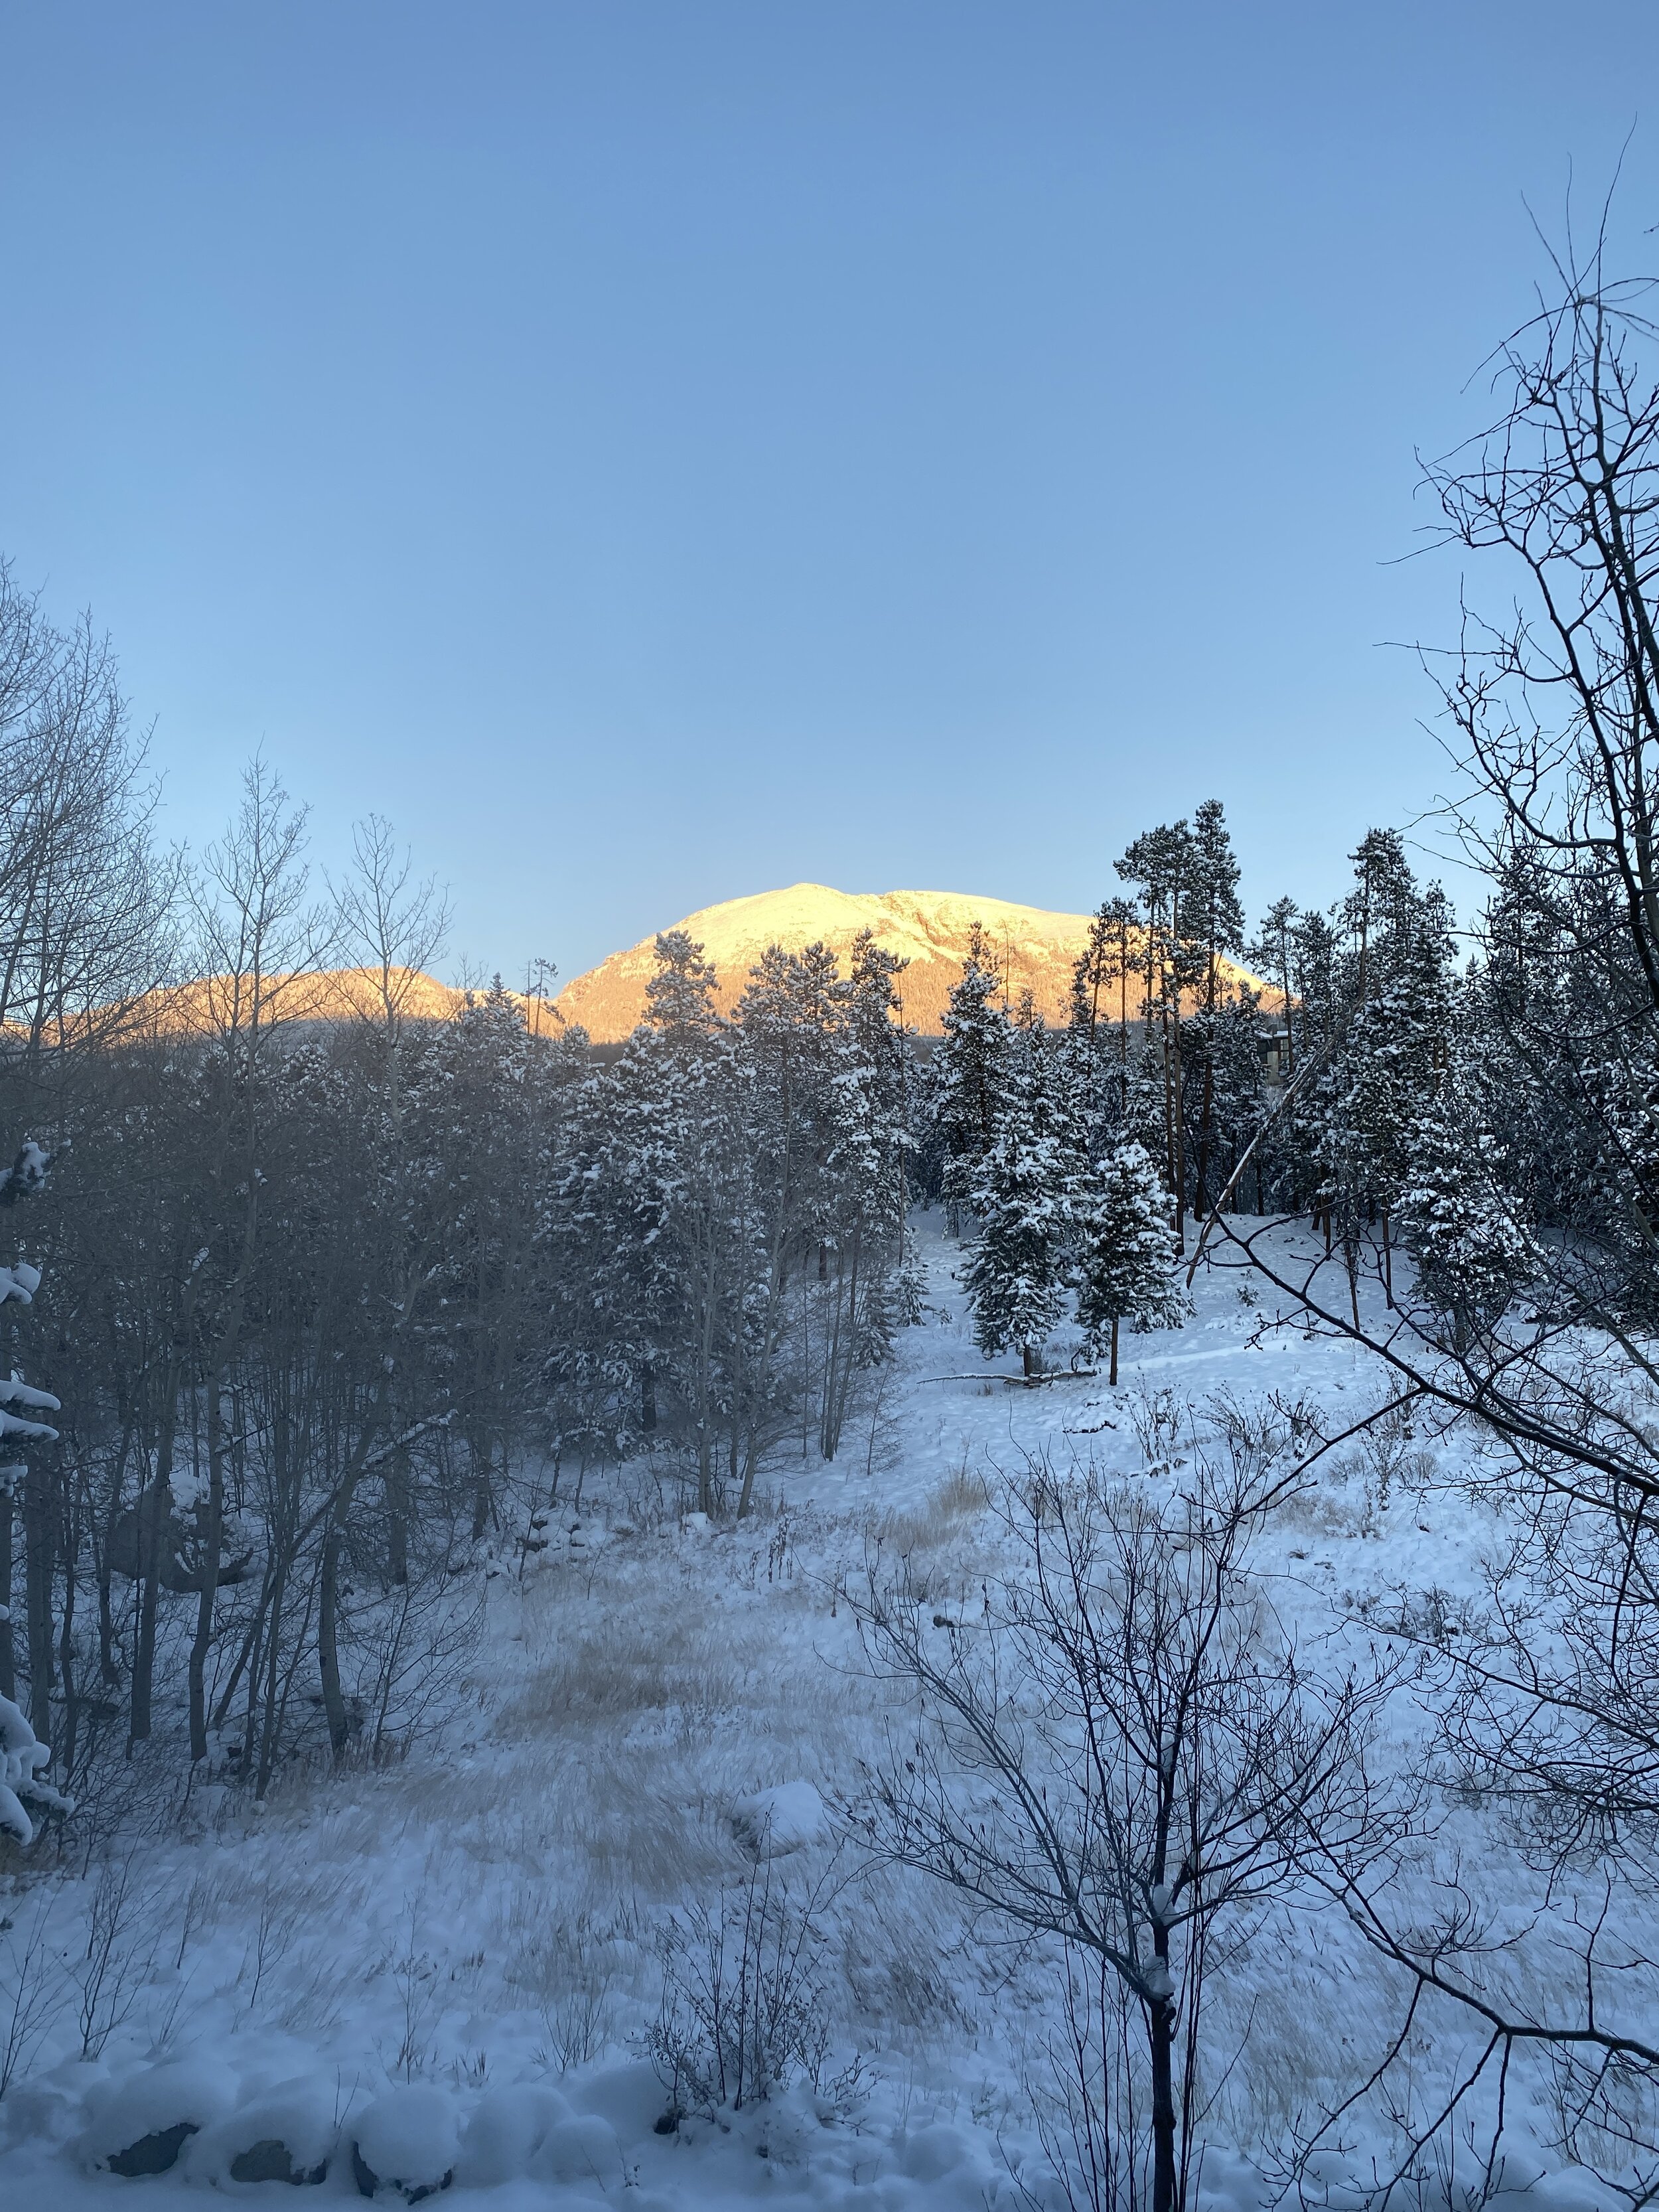
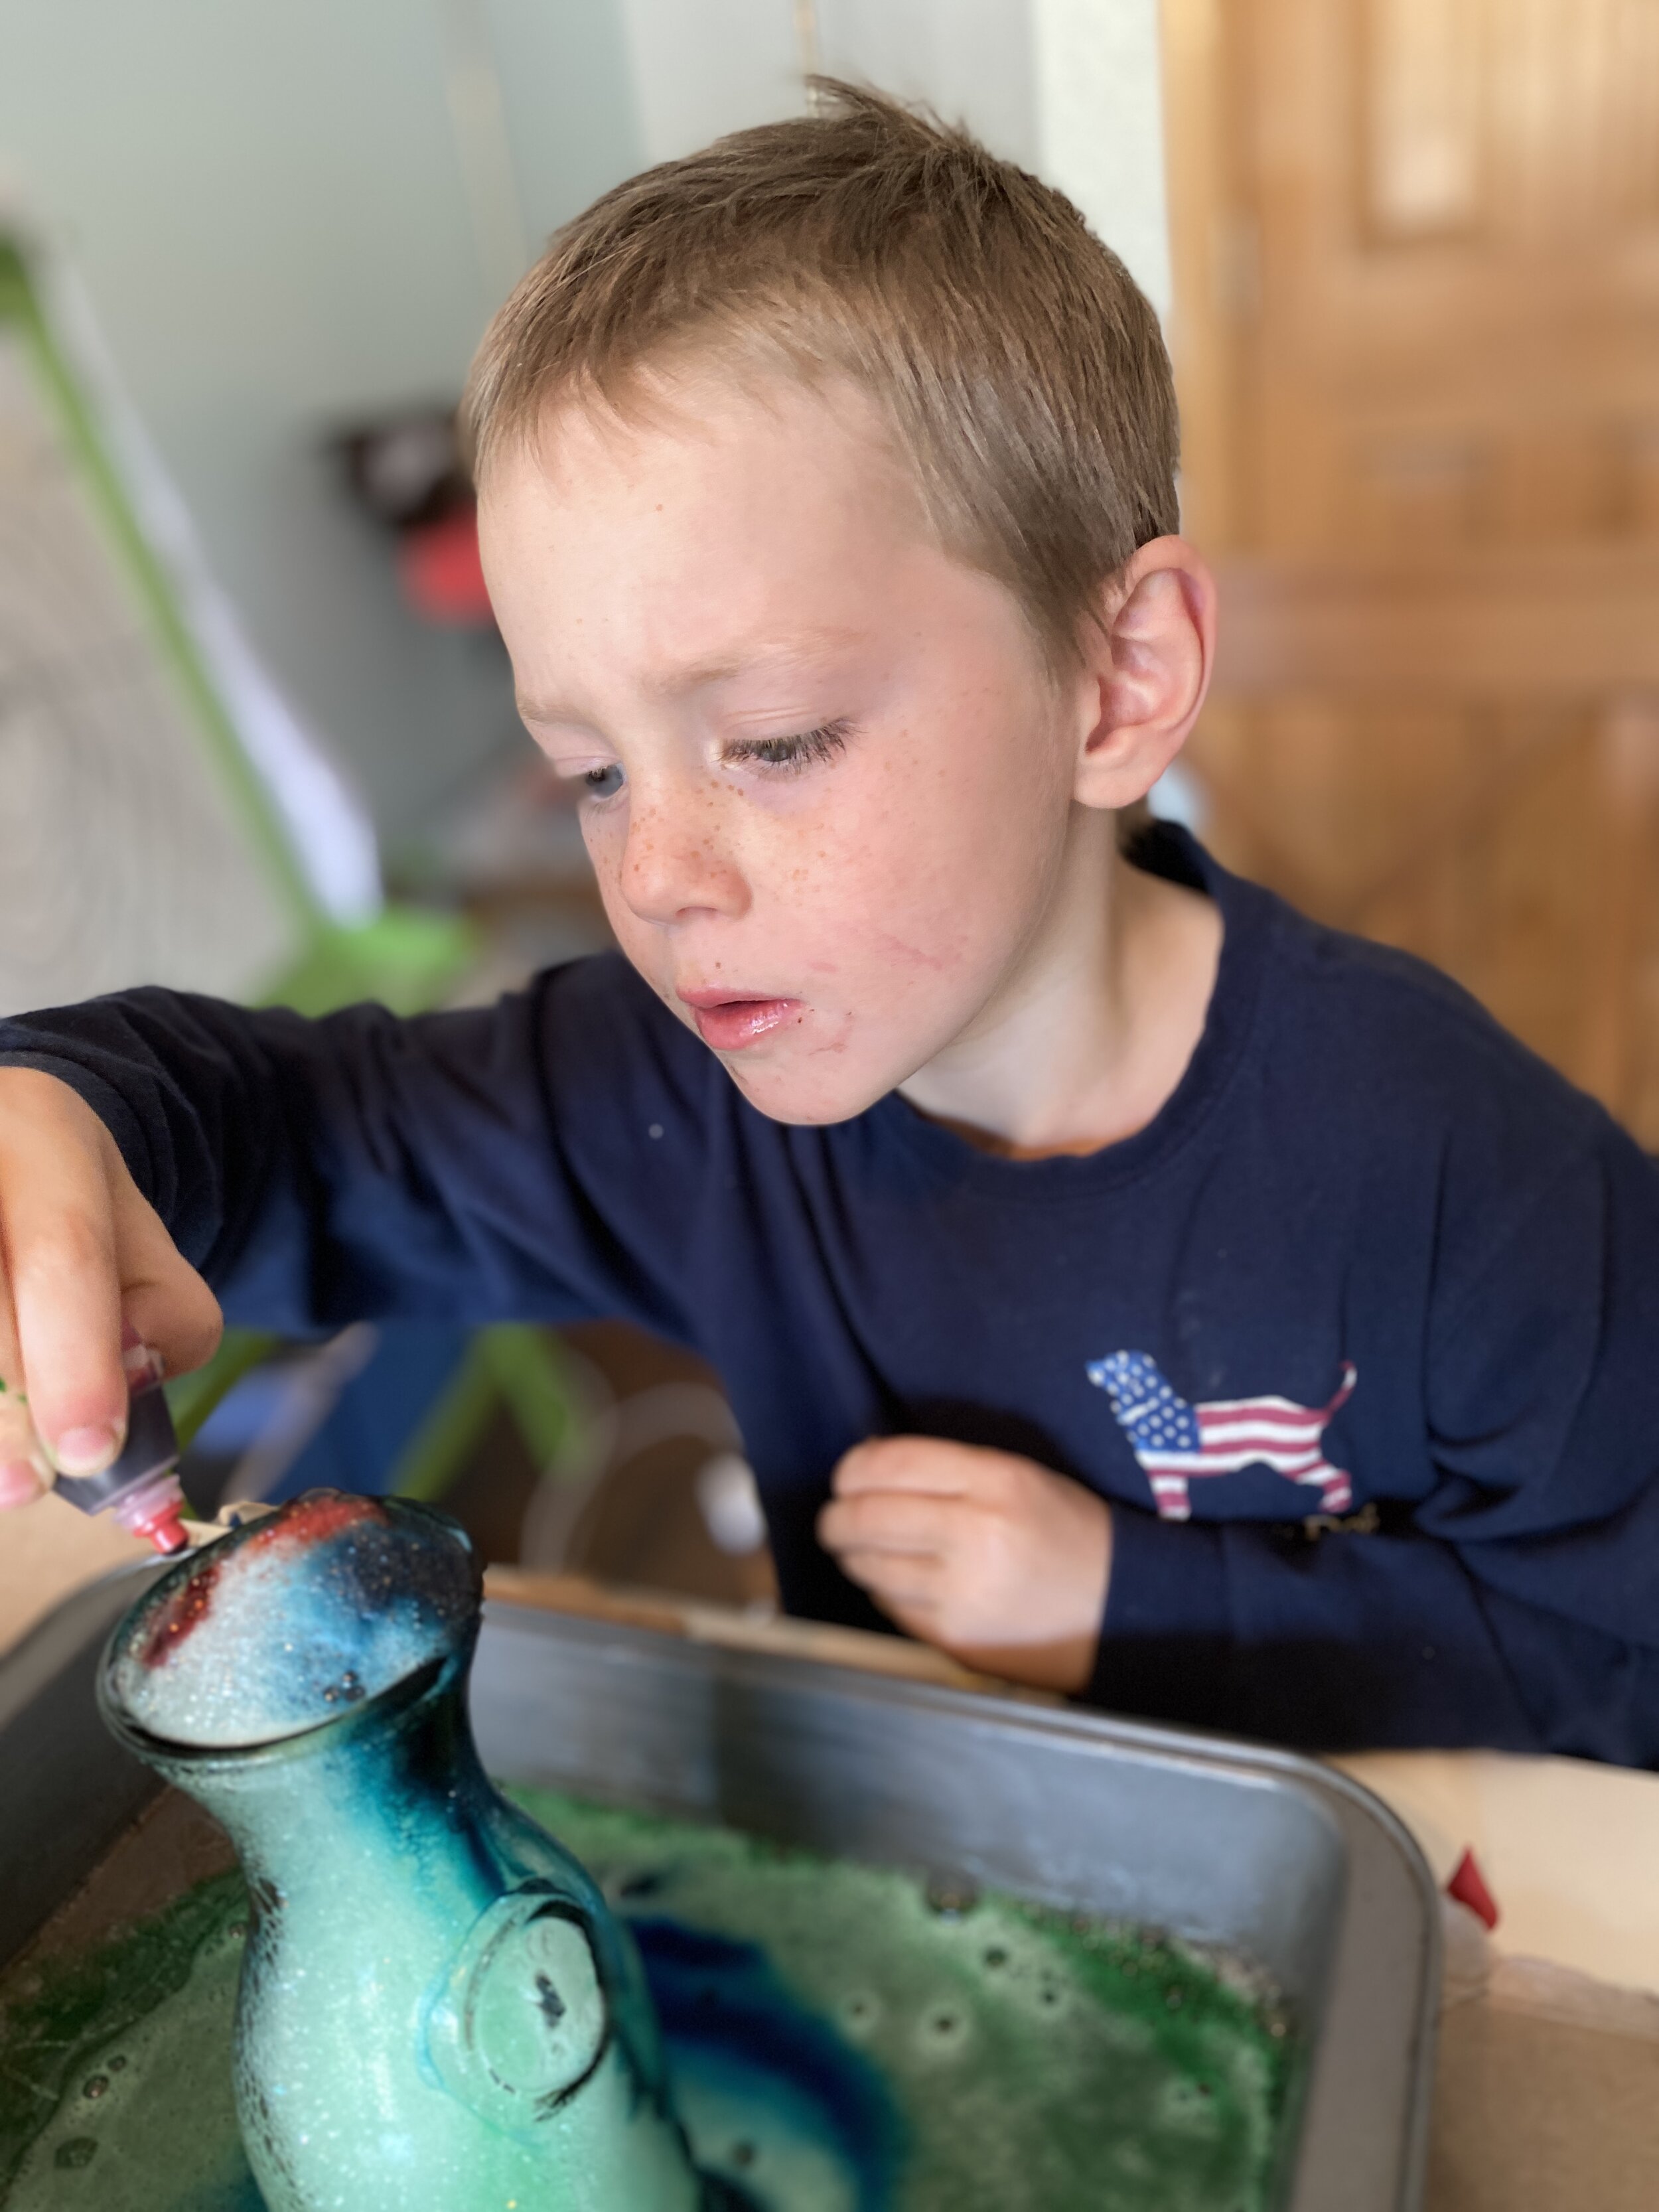
Here are some more photos of life and this phase of construction.