Time to start chilling the champagne?
This week is looking good! Our countertops will be installed on Tuesday morning and if all goes to plan, we’ll be ready to call for our final inspection on Thursday!
Time to start chilling the campagne?
Kelsey and I went to France for our 5th wedding anniversary and did a tour at Veuve Clicquot. We returned from France with a bottle 1998 La Grande Dame and have been saving it for something special ever since. Two grad school graduations, two Ironmans, and two children later, if this house doesn’t count enough to open that sucker, I don’t know what will!
Since late December we’ve been focusing on required items for our certificate of occupancy and more fun finishing projects to help keep my Dad busy.
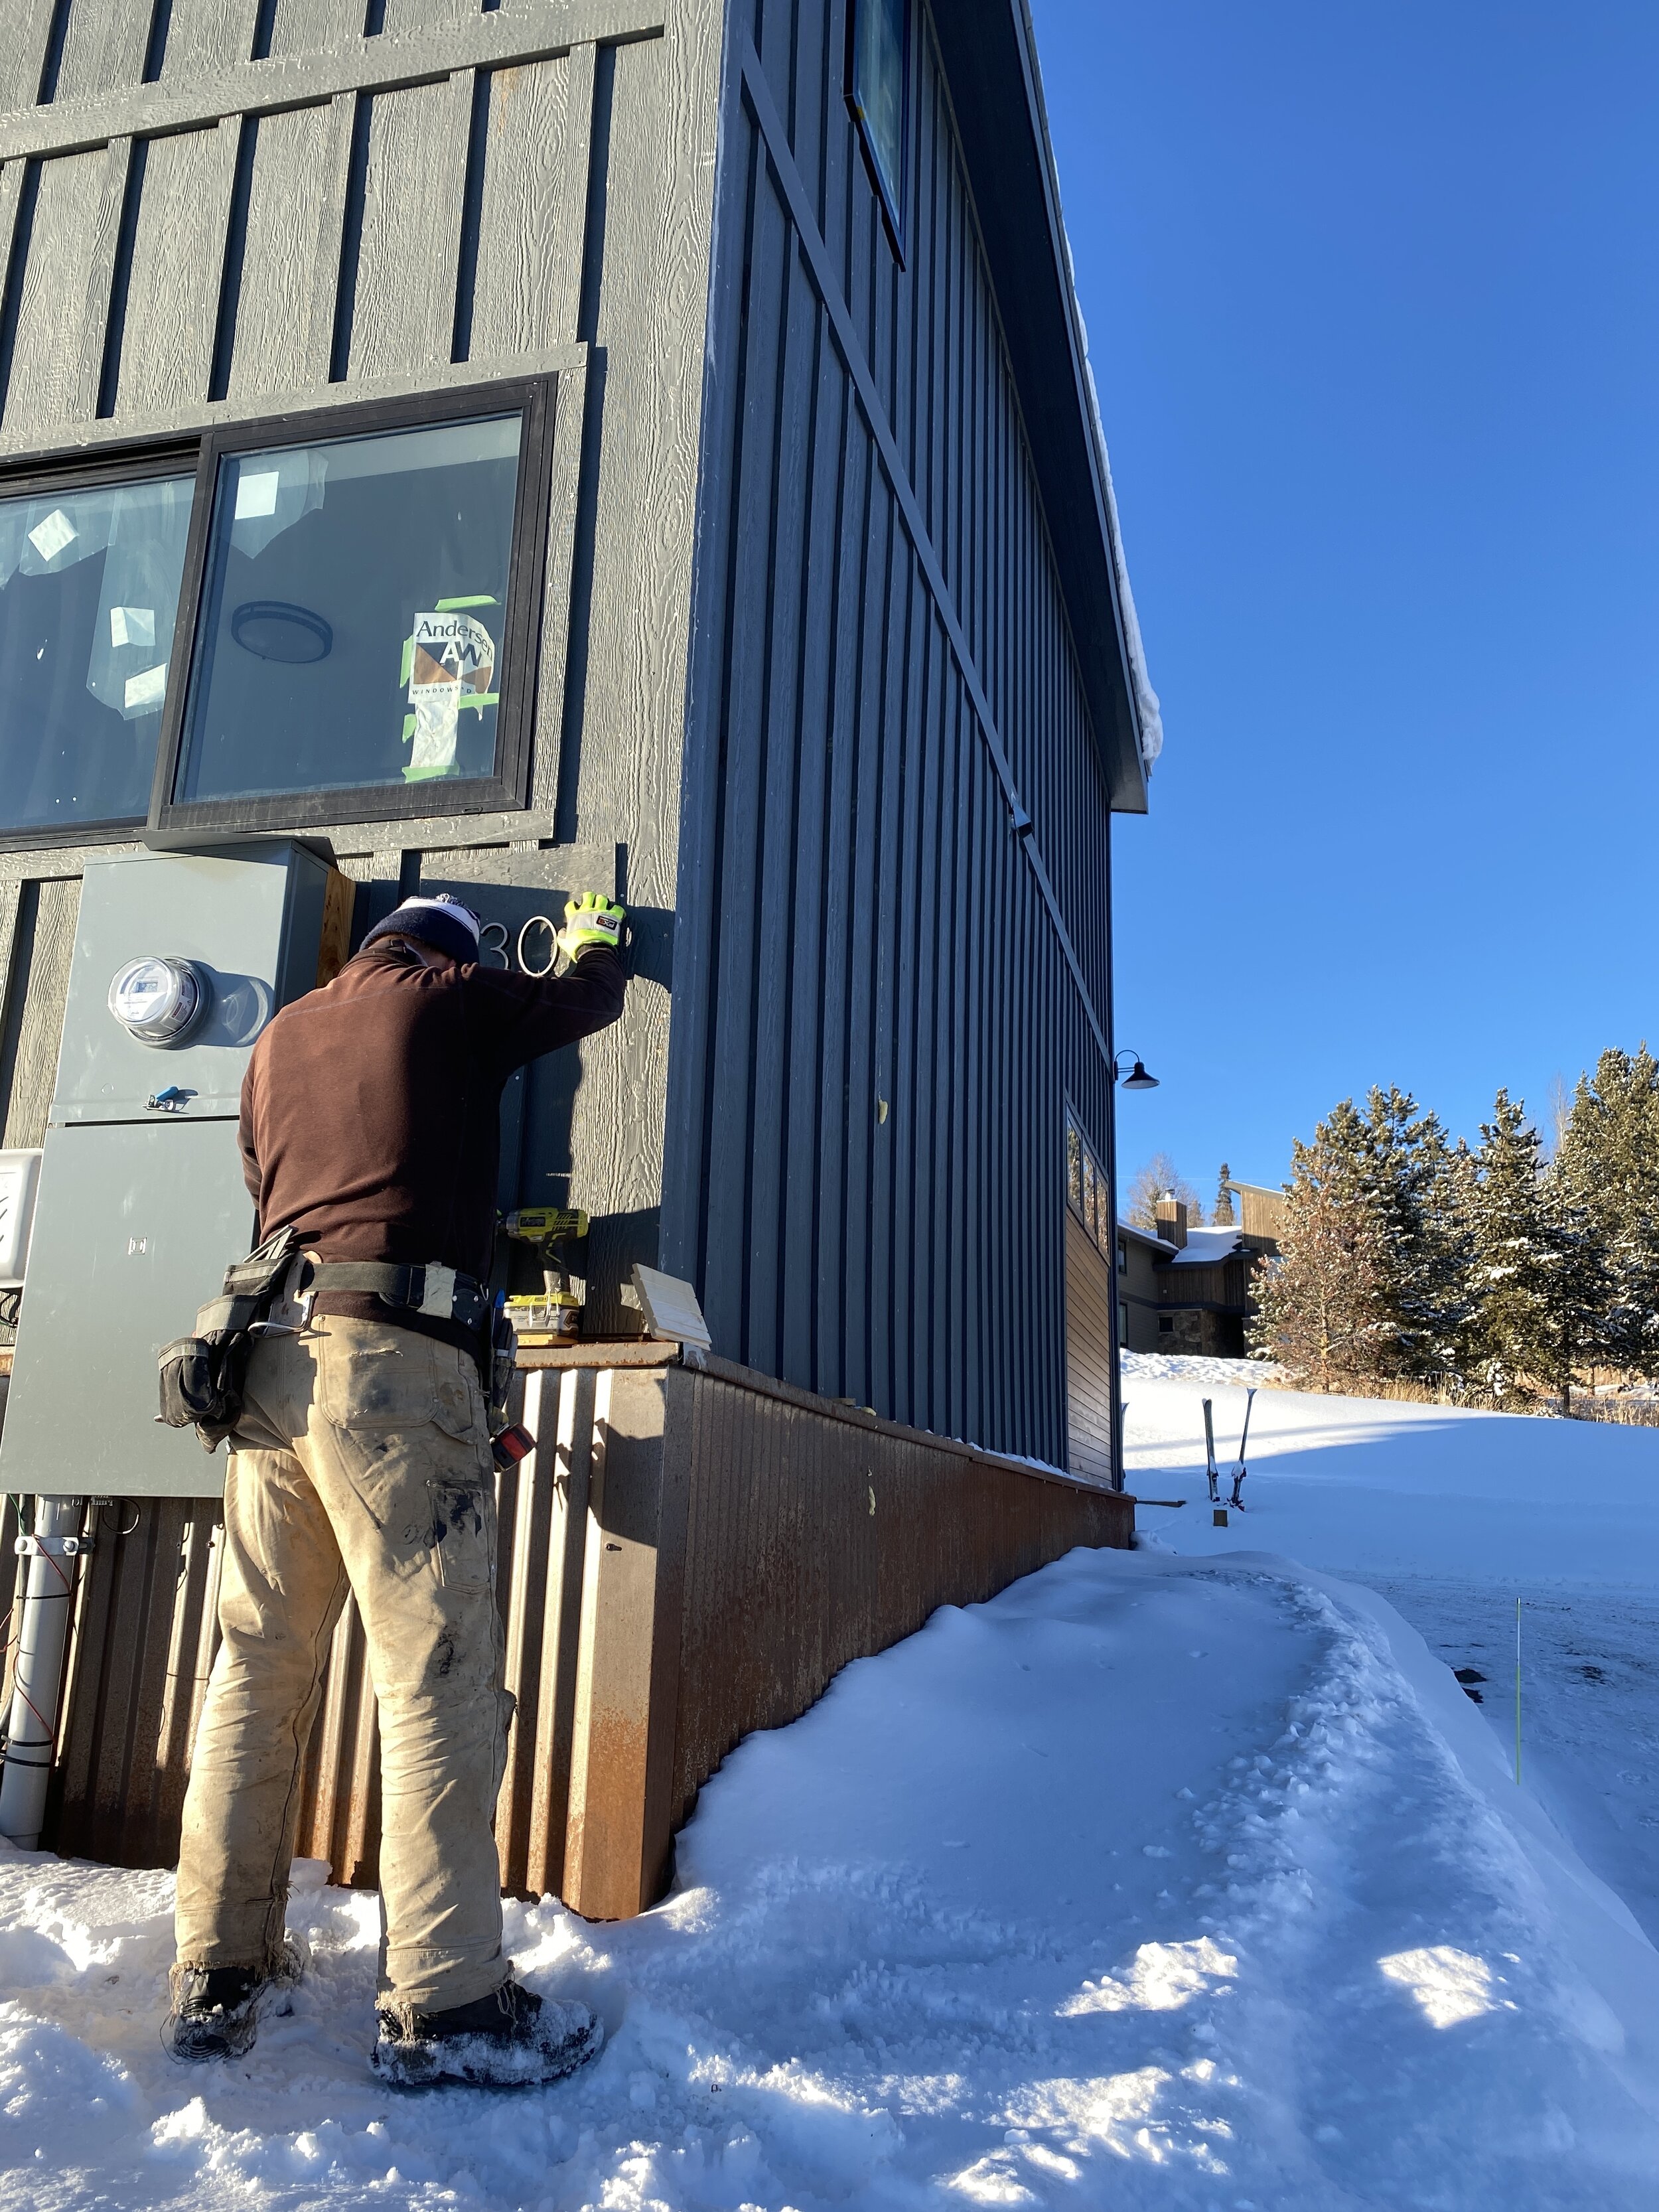
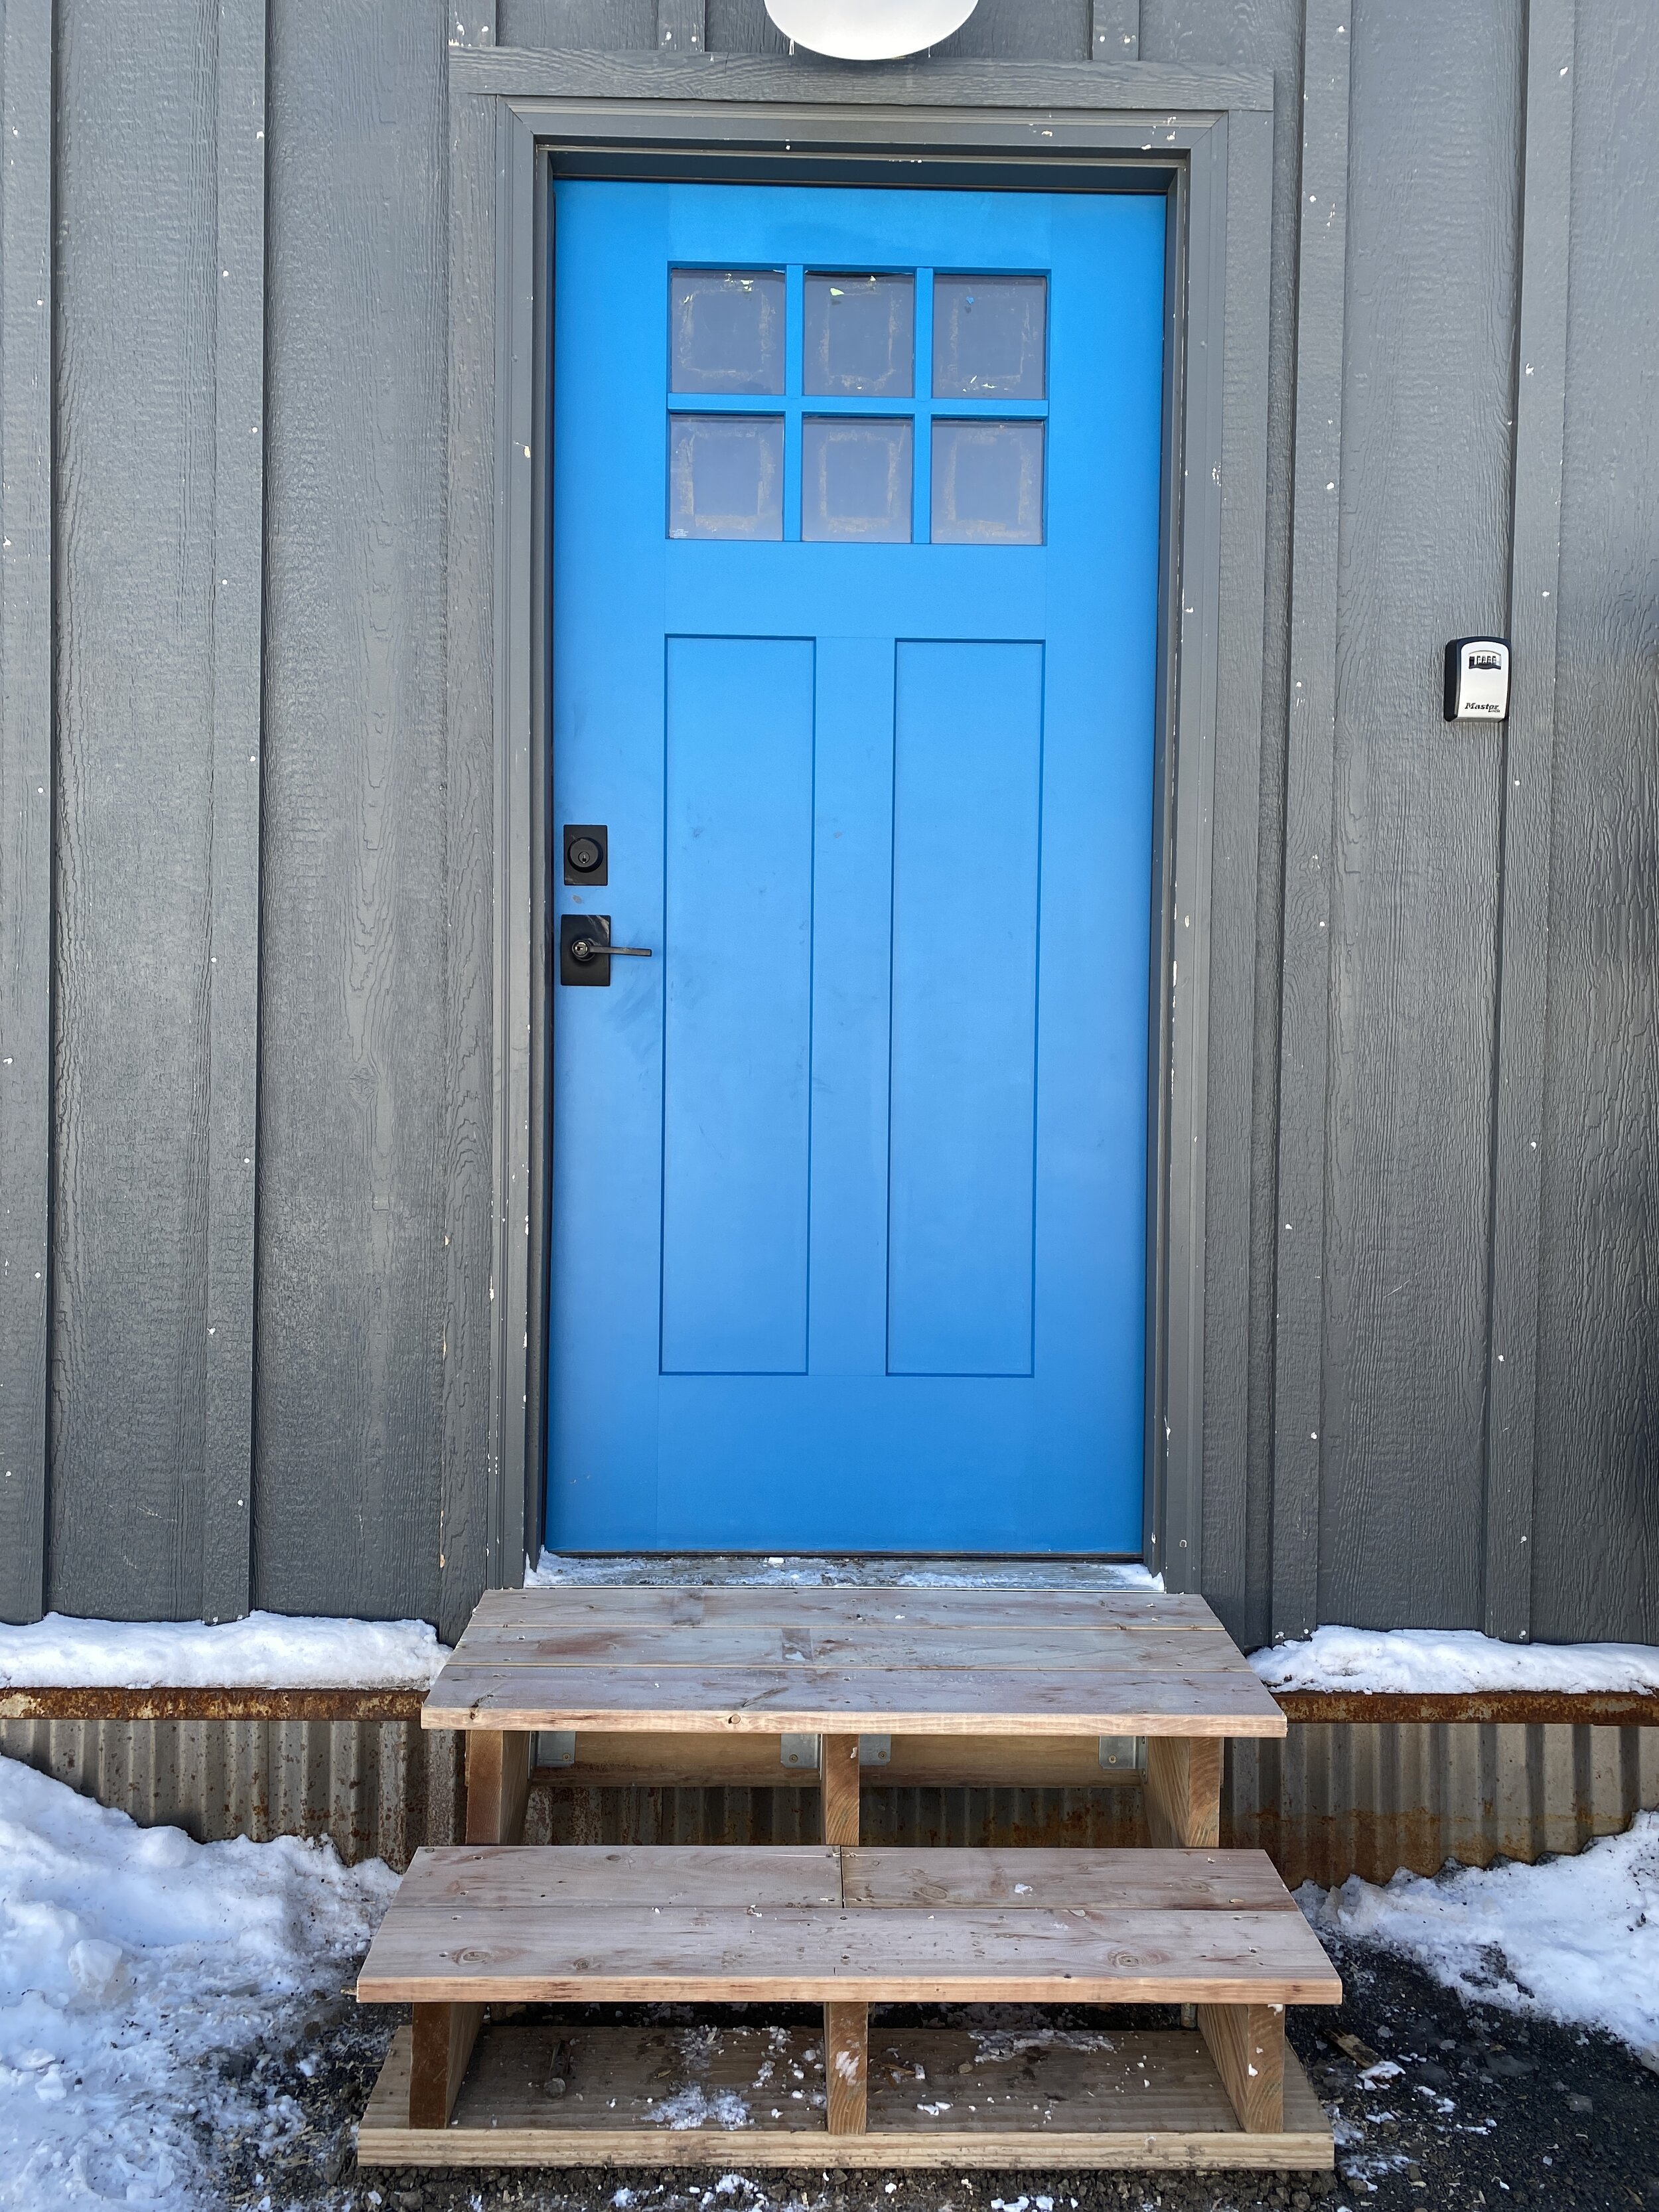
Kelsey had the not so fun task for adding a larger landing to our main entrance steps. With frozen ground and cold temperatures, this was seriously a slog of a job. But, of course, he prevailed and finished up. The steps are super sturdy and now meet code.

Kelsey extending the landing on our main entrance stairs to meet code.
The final four cabinets FINALLY arrived from Lily Ann Cabinets on December 30. As you probably remembered, we were expecting the cabinets in 2-4 weeks, instead it was 12. If it wasn’t for this major delay, we could have spent the holidays at the new house. C’est la vie.

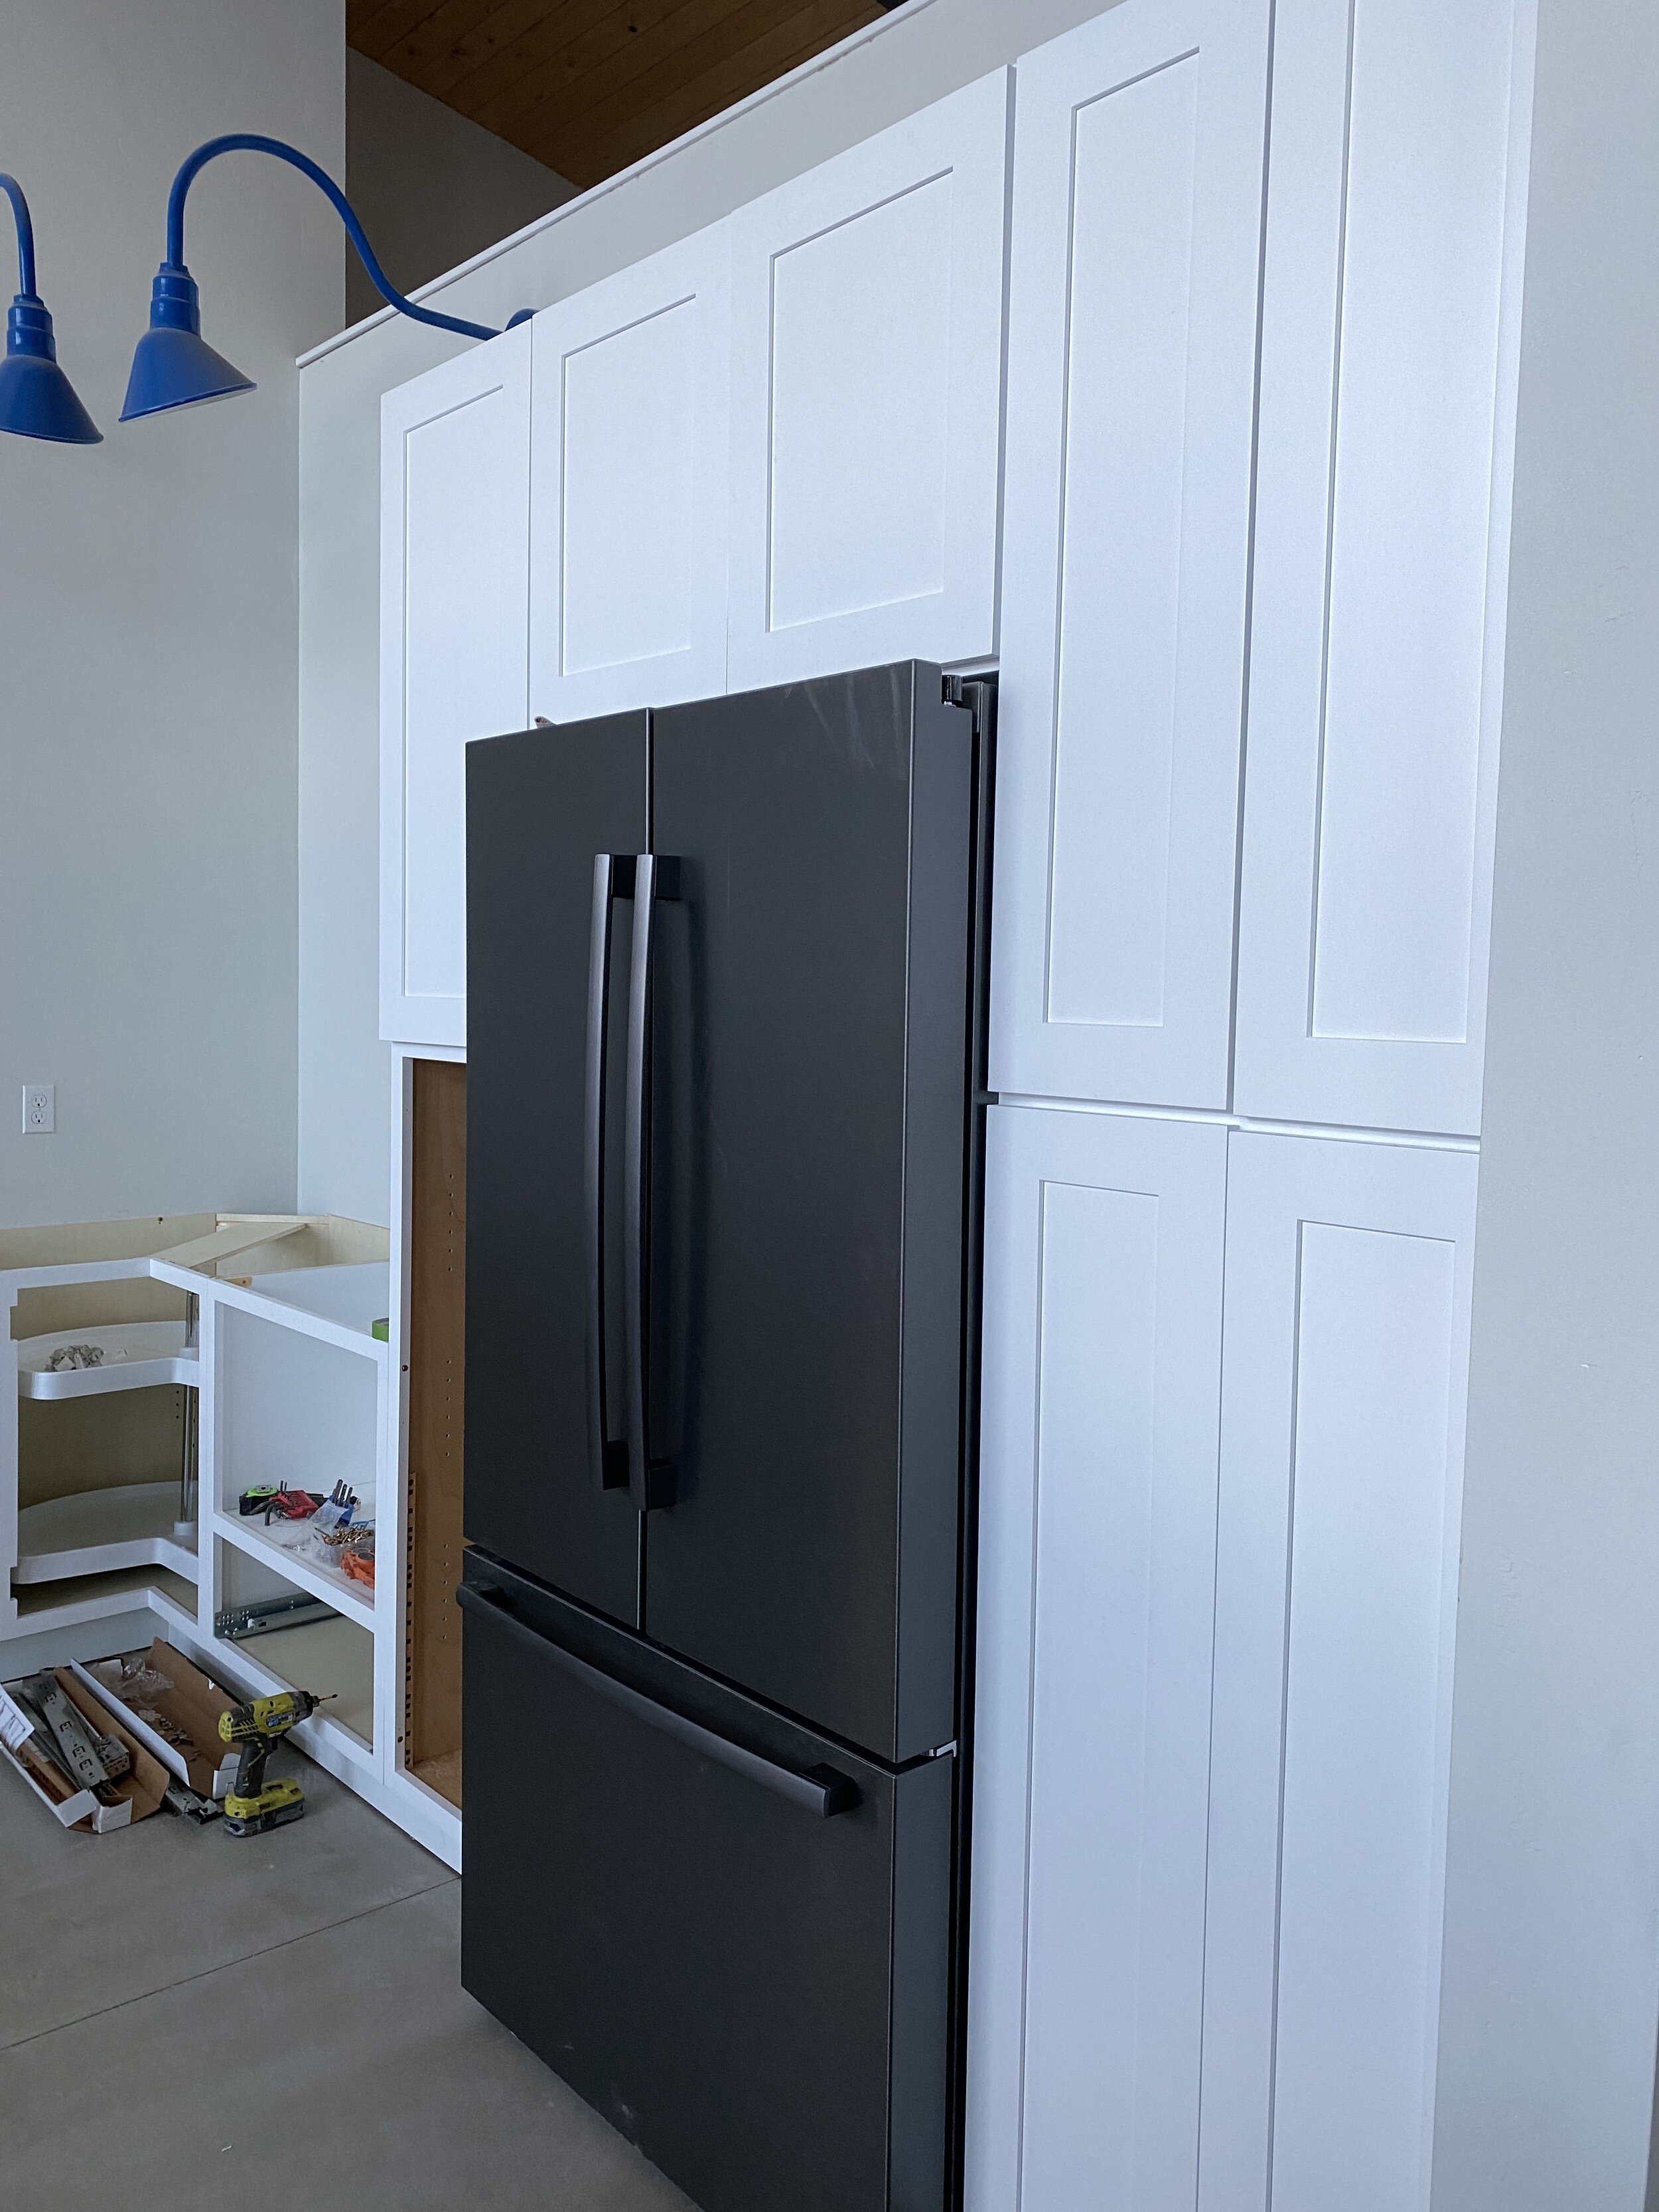
The much anticipated sink base finally came! We had been waiting on this one, the corner and the two pantry units. Of course, we couldn’t install anything until this arrived.

First pantry is installed and now the big one that goes over the refrigerator.
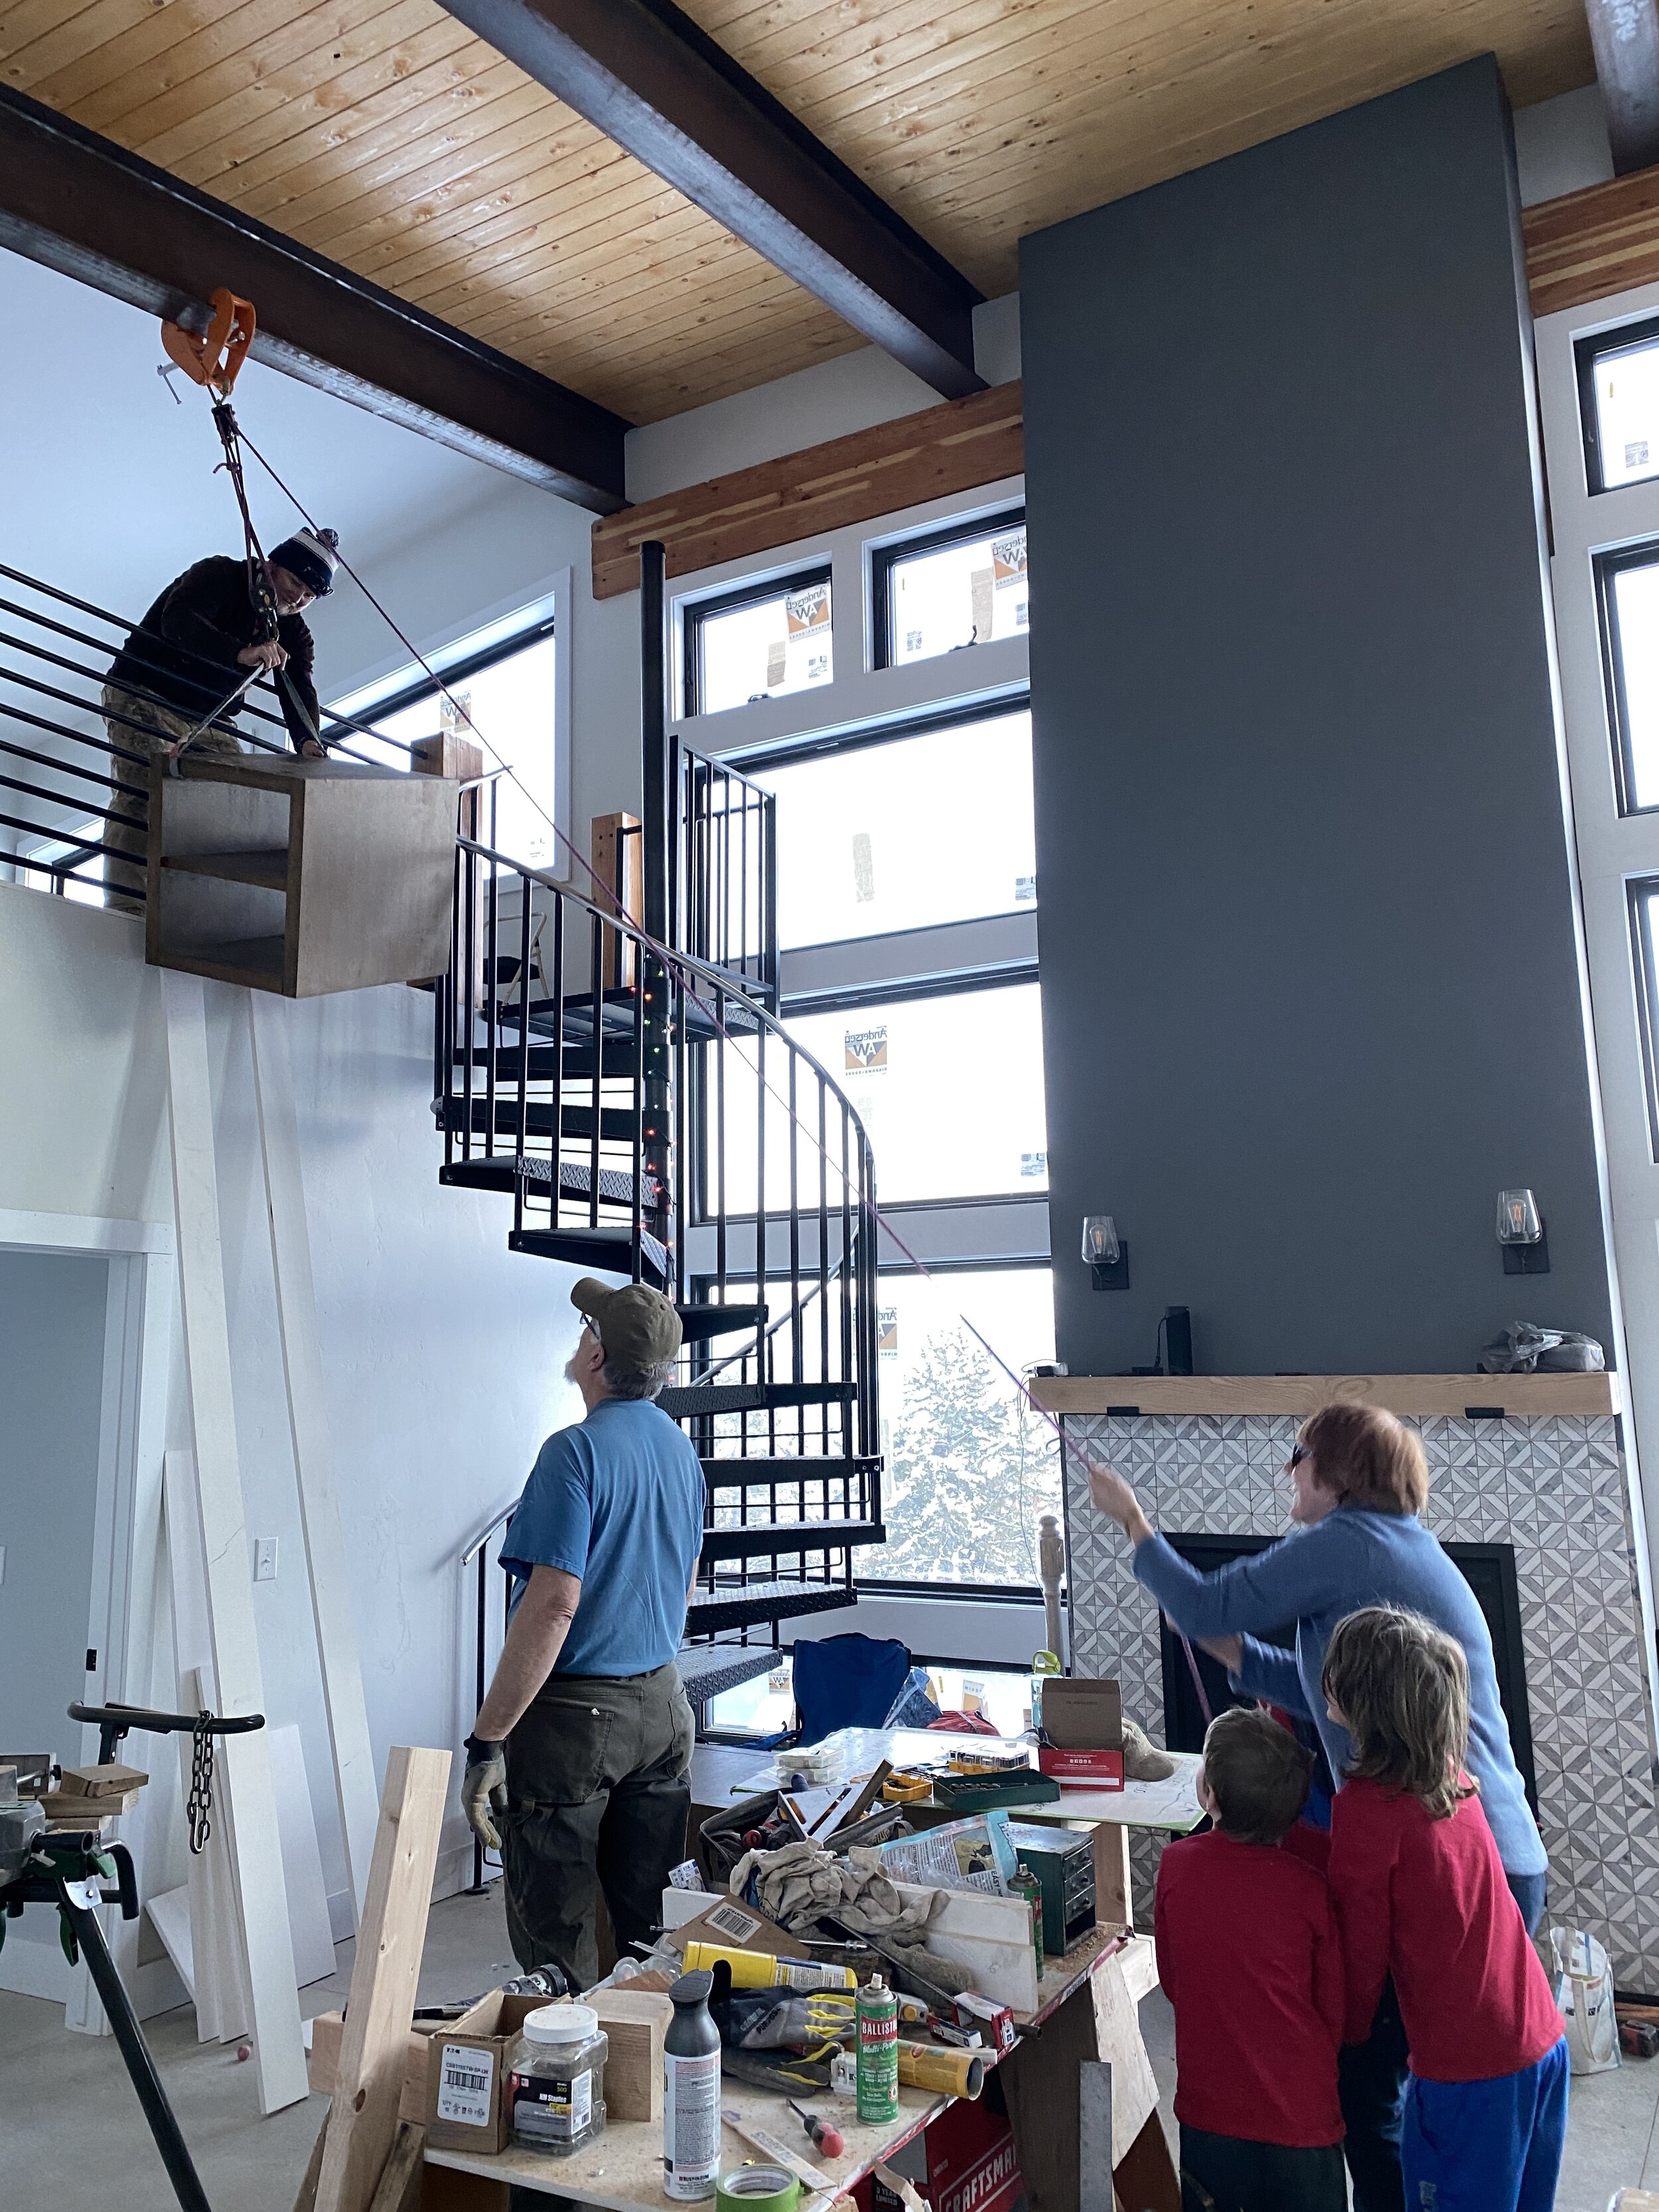
We hustled that weekend and got the final cabinets quickly assembled. We spent a considerable amount of time to make sure we had our island in the exact right location.
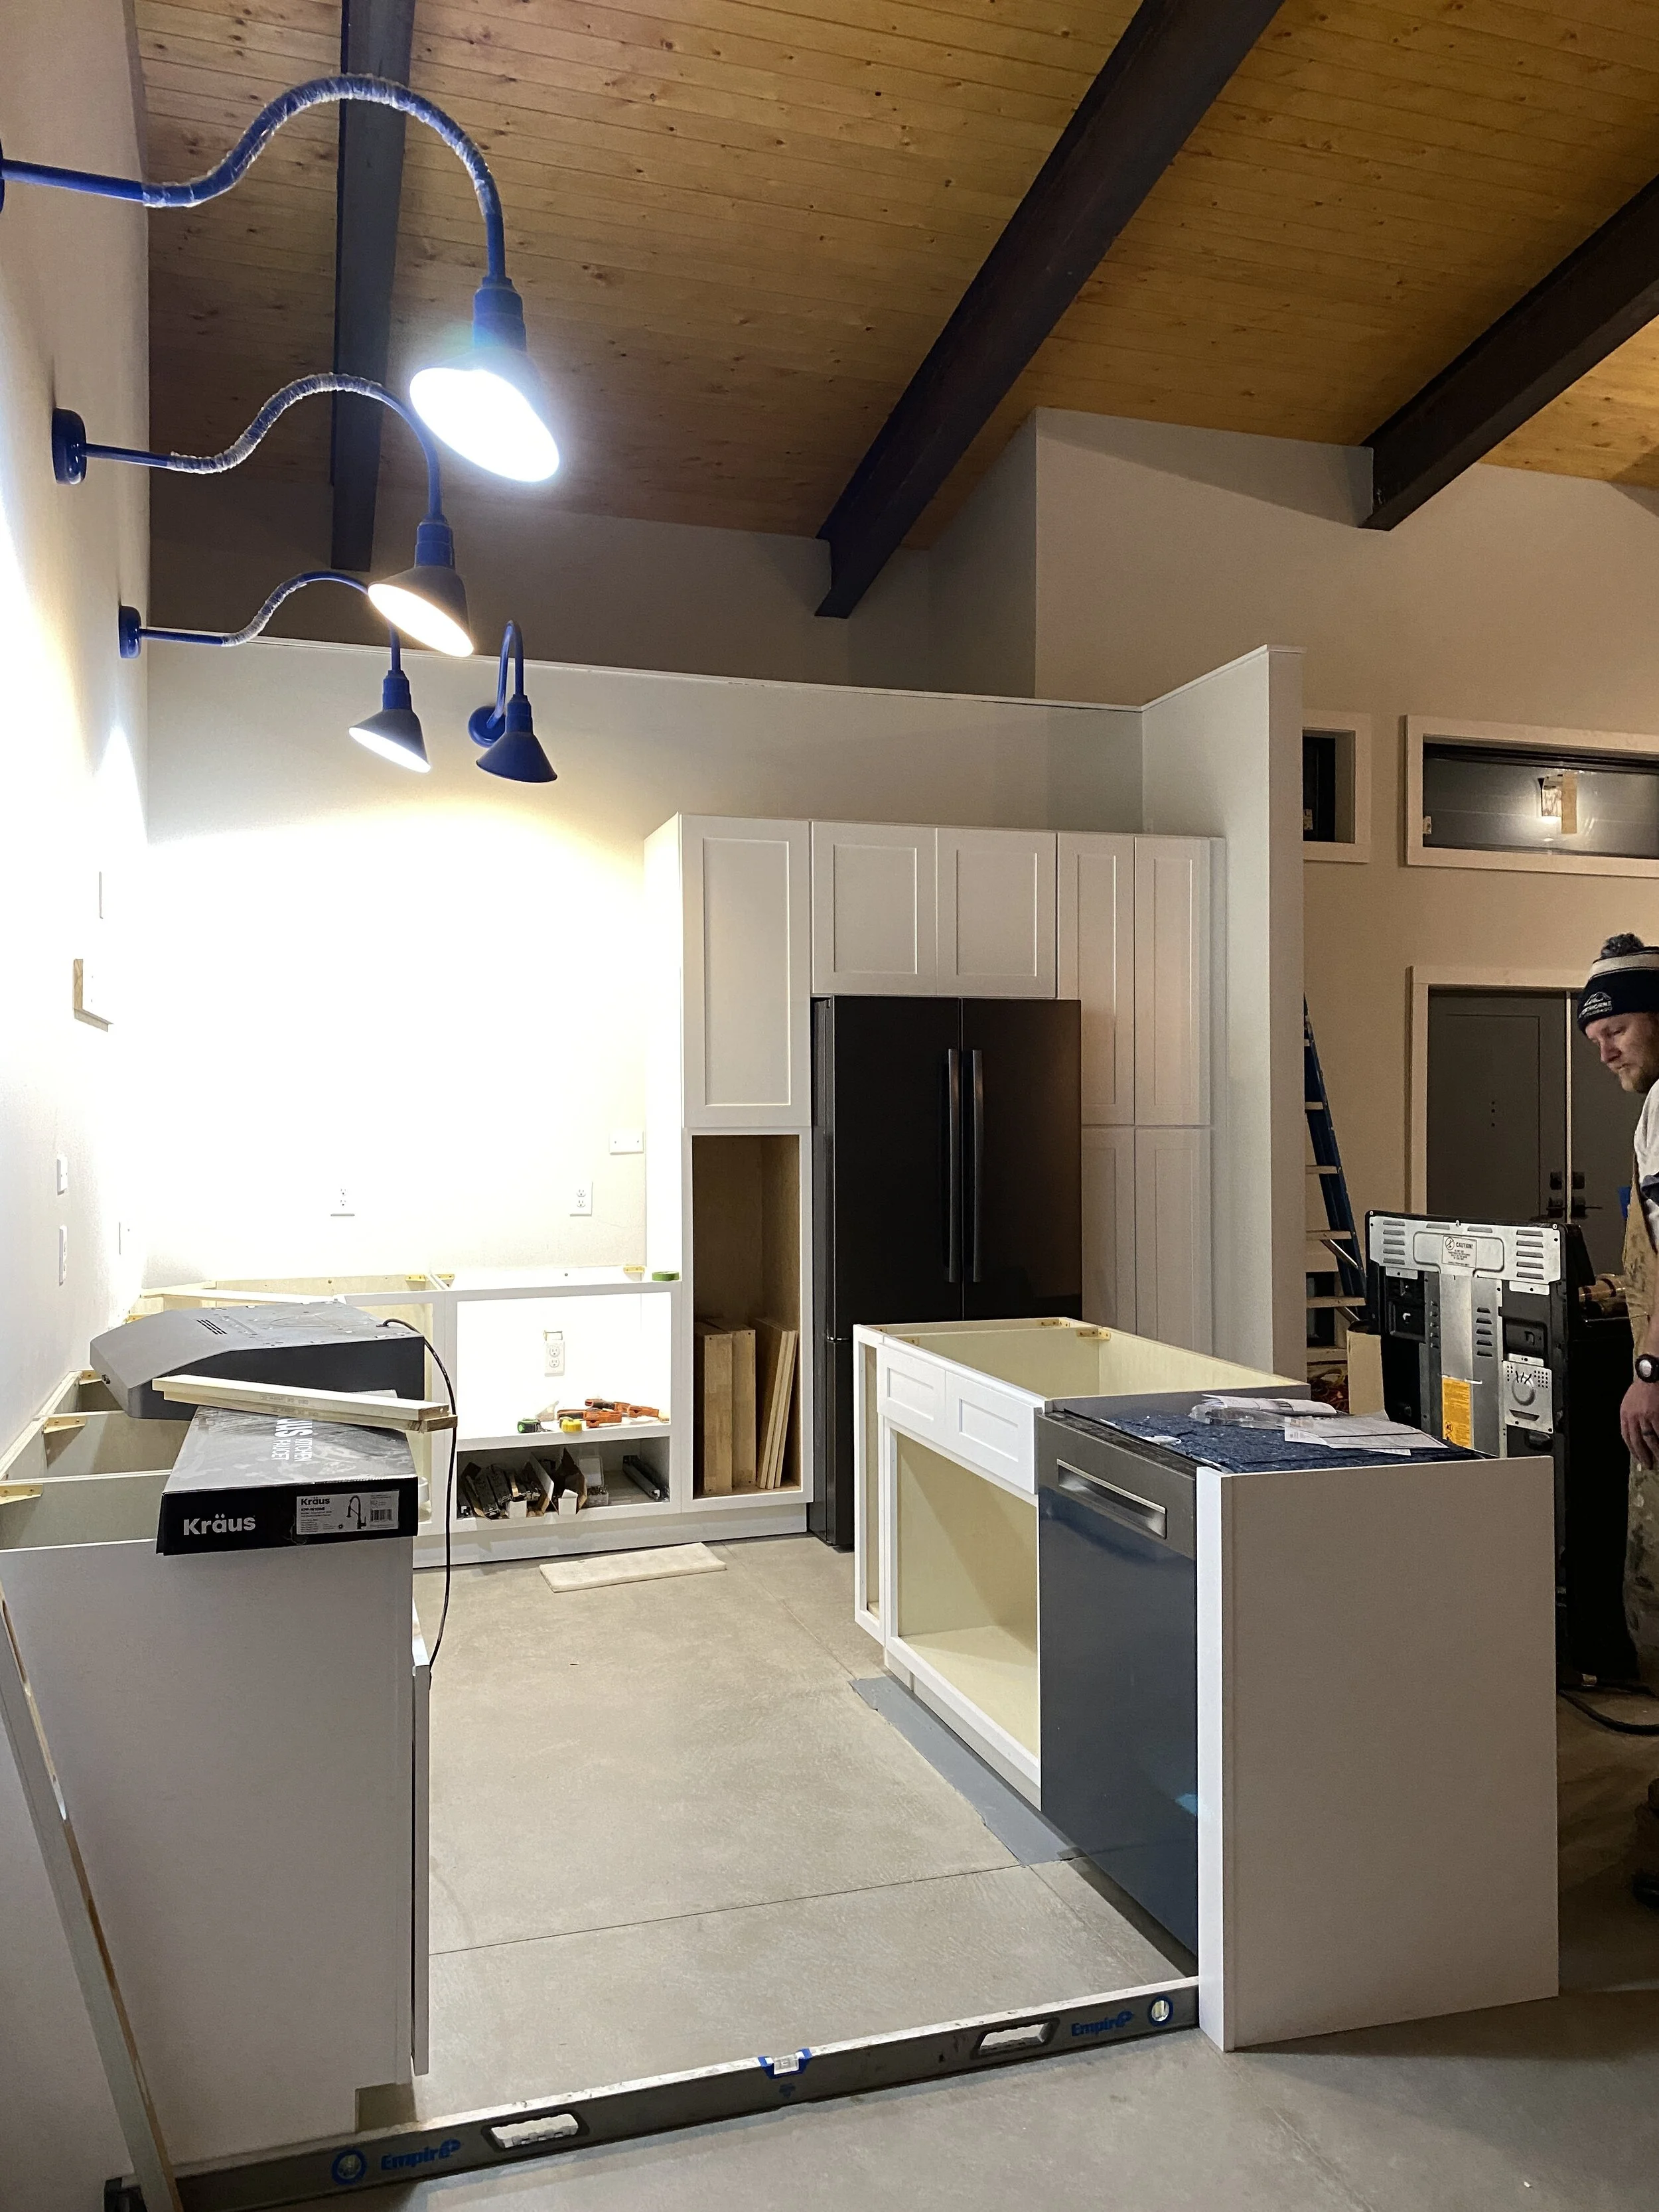
Figuring out the island location. We wanted to make sure we had ample space for kitchen dancing and that everything lined up nicely. :-)
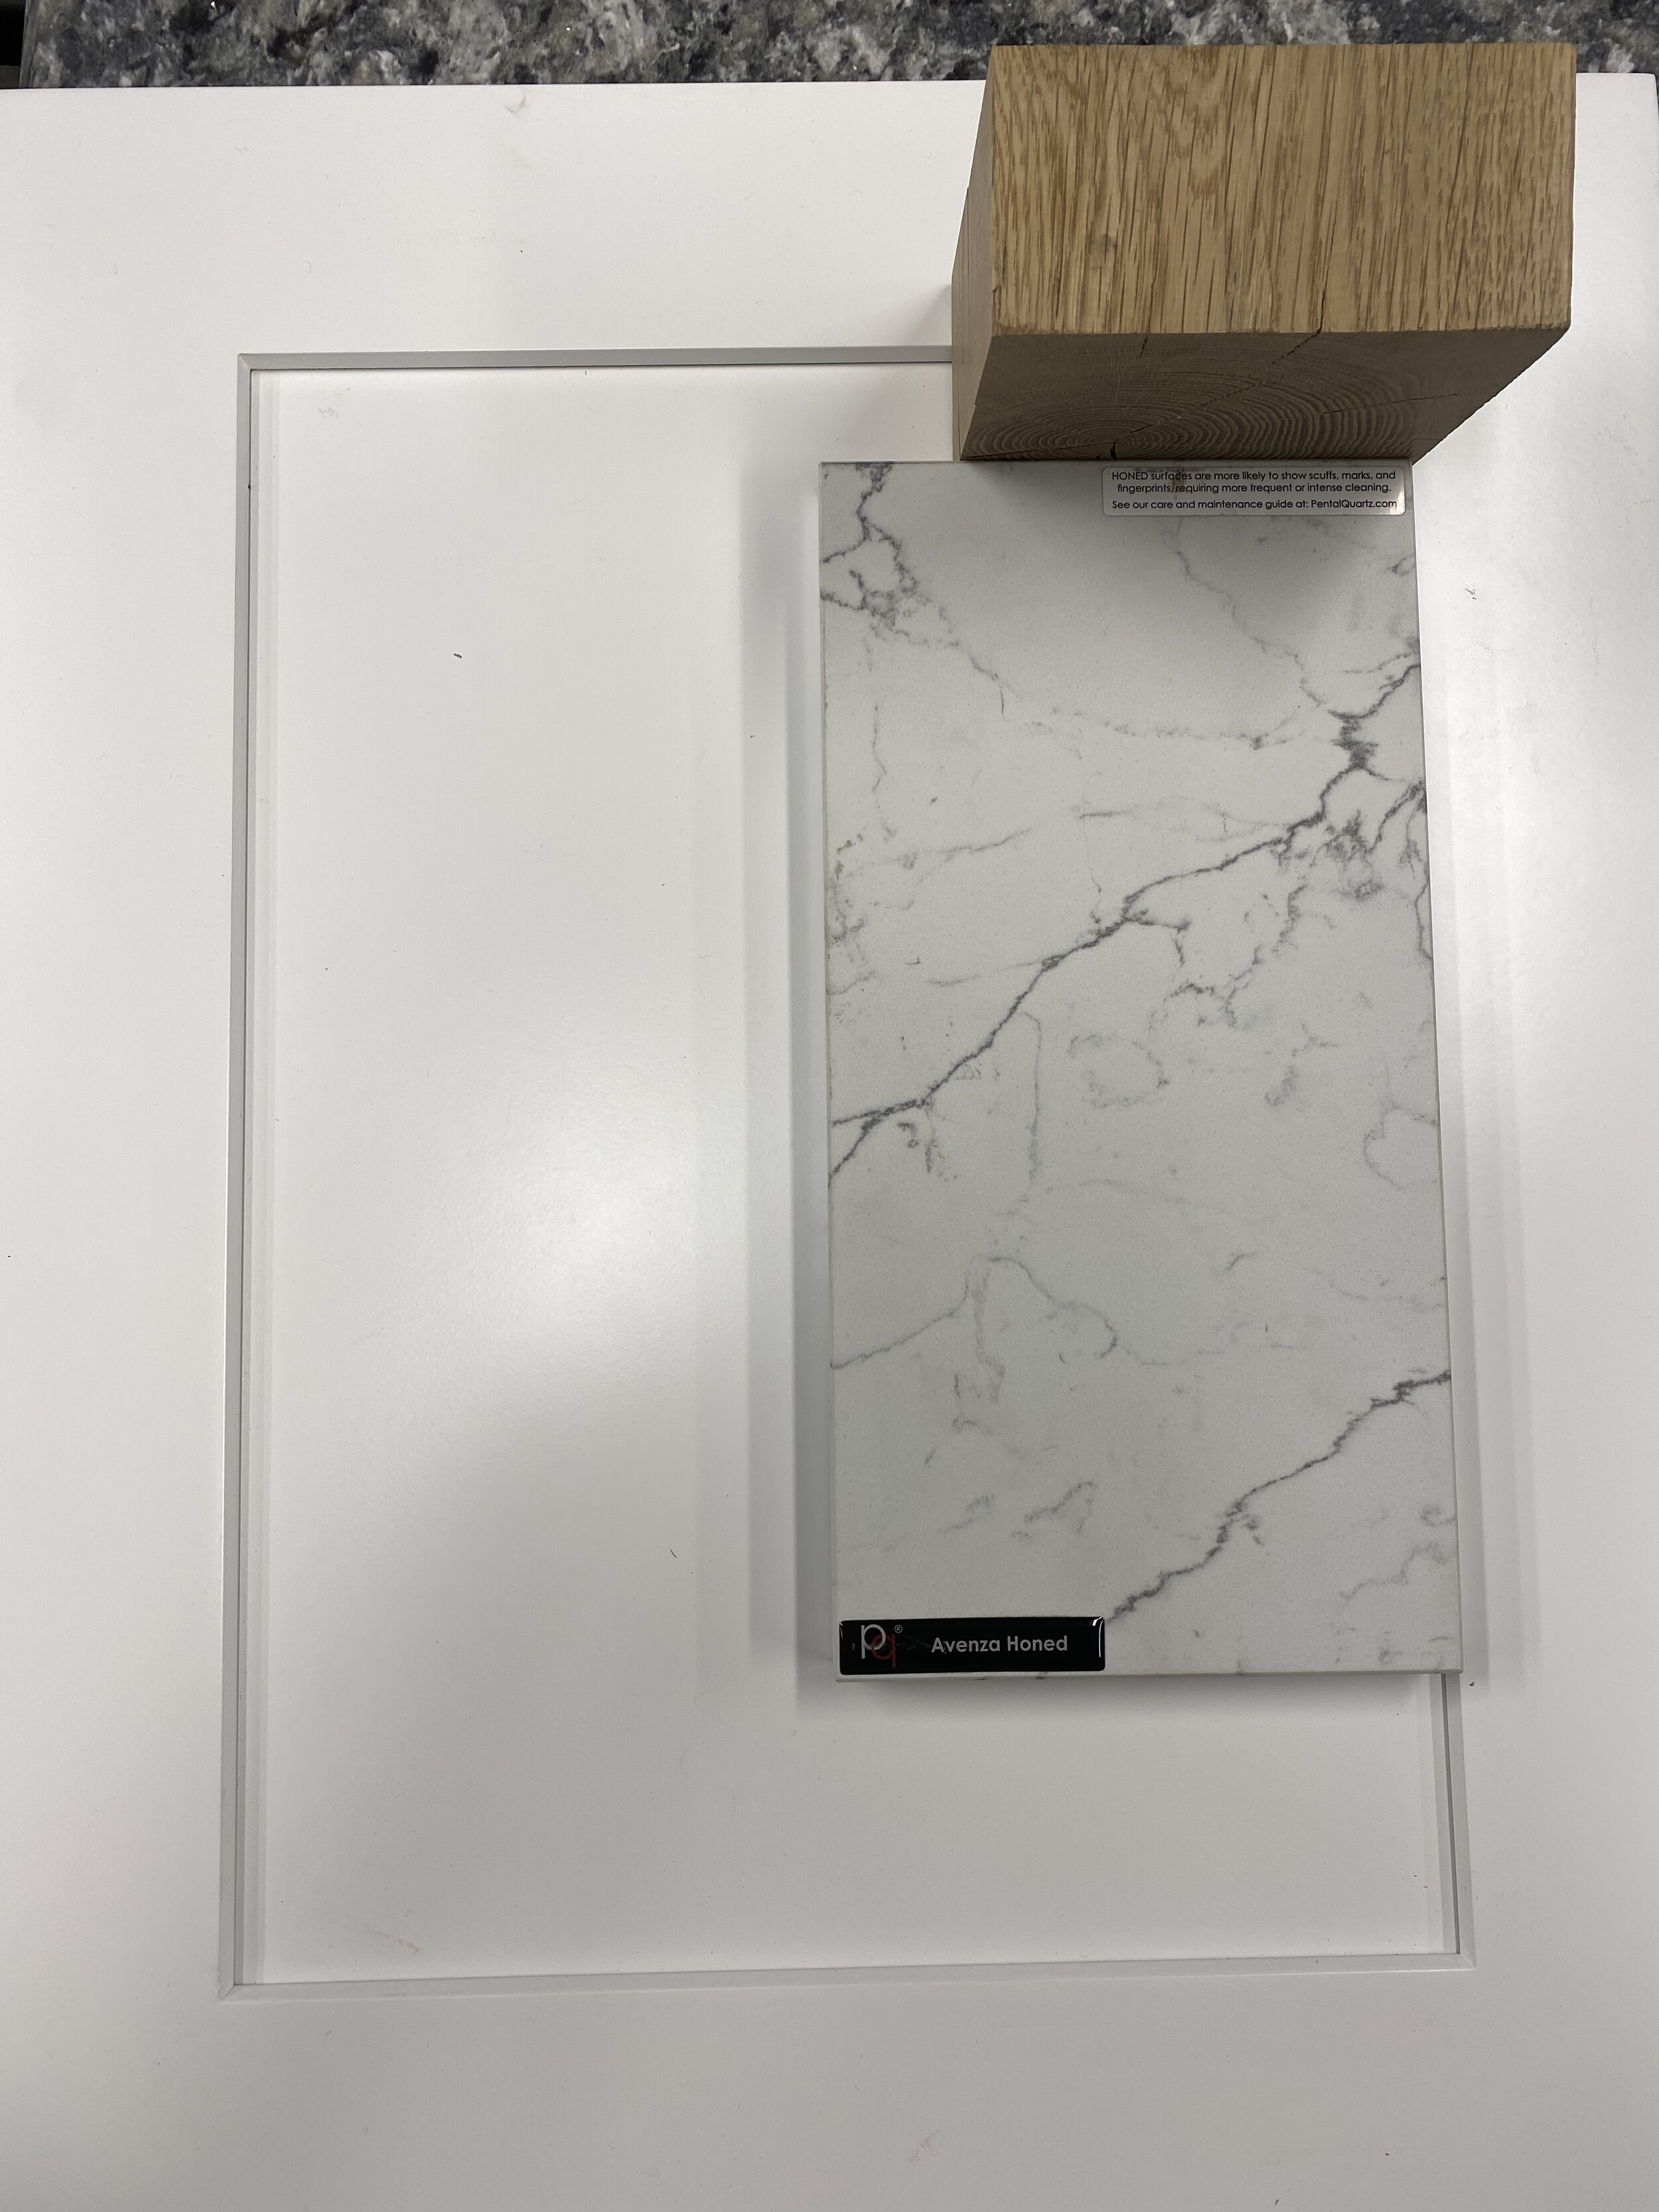
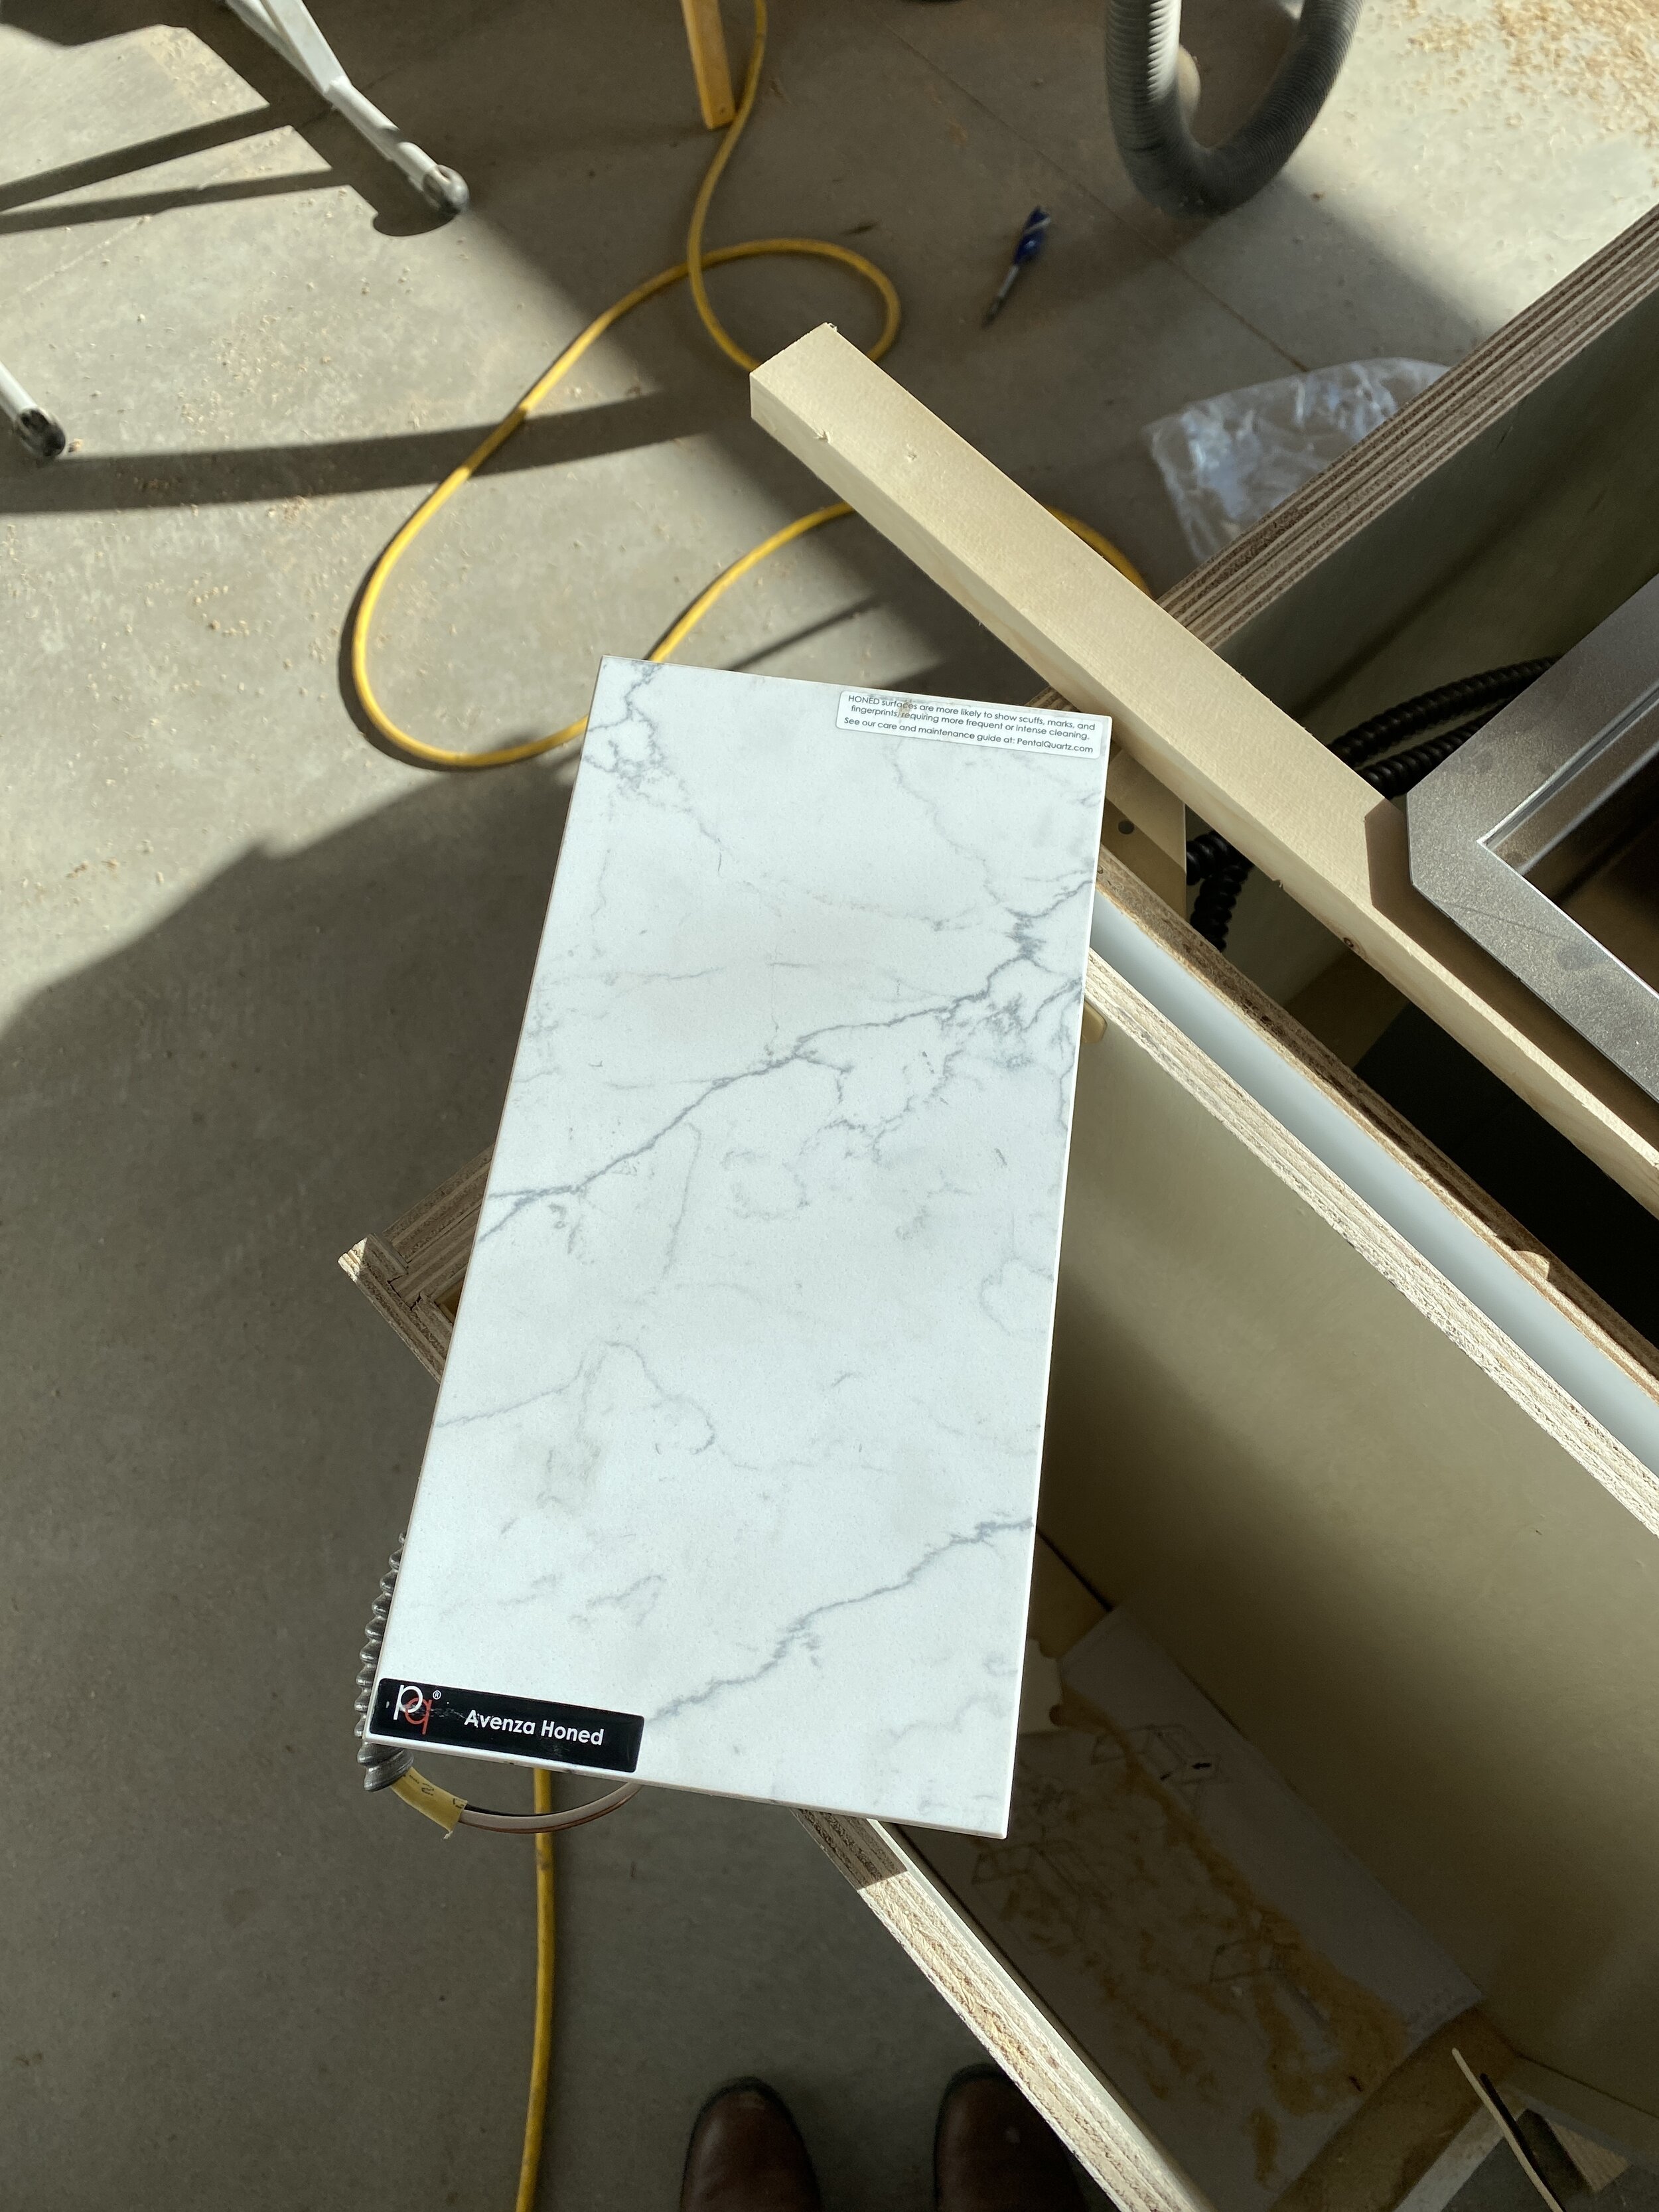
After the New Year holiday, we went down to Denver to select our quartz. Our banker actually recommended a countertop place that he had used for a remodel in his home. MB Marble and Tile has been great to work with so far and will be installing our quartz this Tuesday!

So many beautiful choices! We really couldn’t go wrong with our wood shelves and white shaker doors.

Laird approves of our final choice!
We chose a honed finish to help reduce glare from our huge wall of windows. We can’t wait to see what they look like installed!
To finish up the kitchen island, we installed some remaining pine we had leftover our ceiling to the back of the island. We love how it warmed things up and was a nice contrast to the concrete floors.
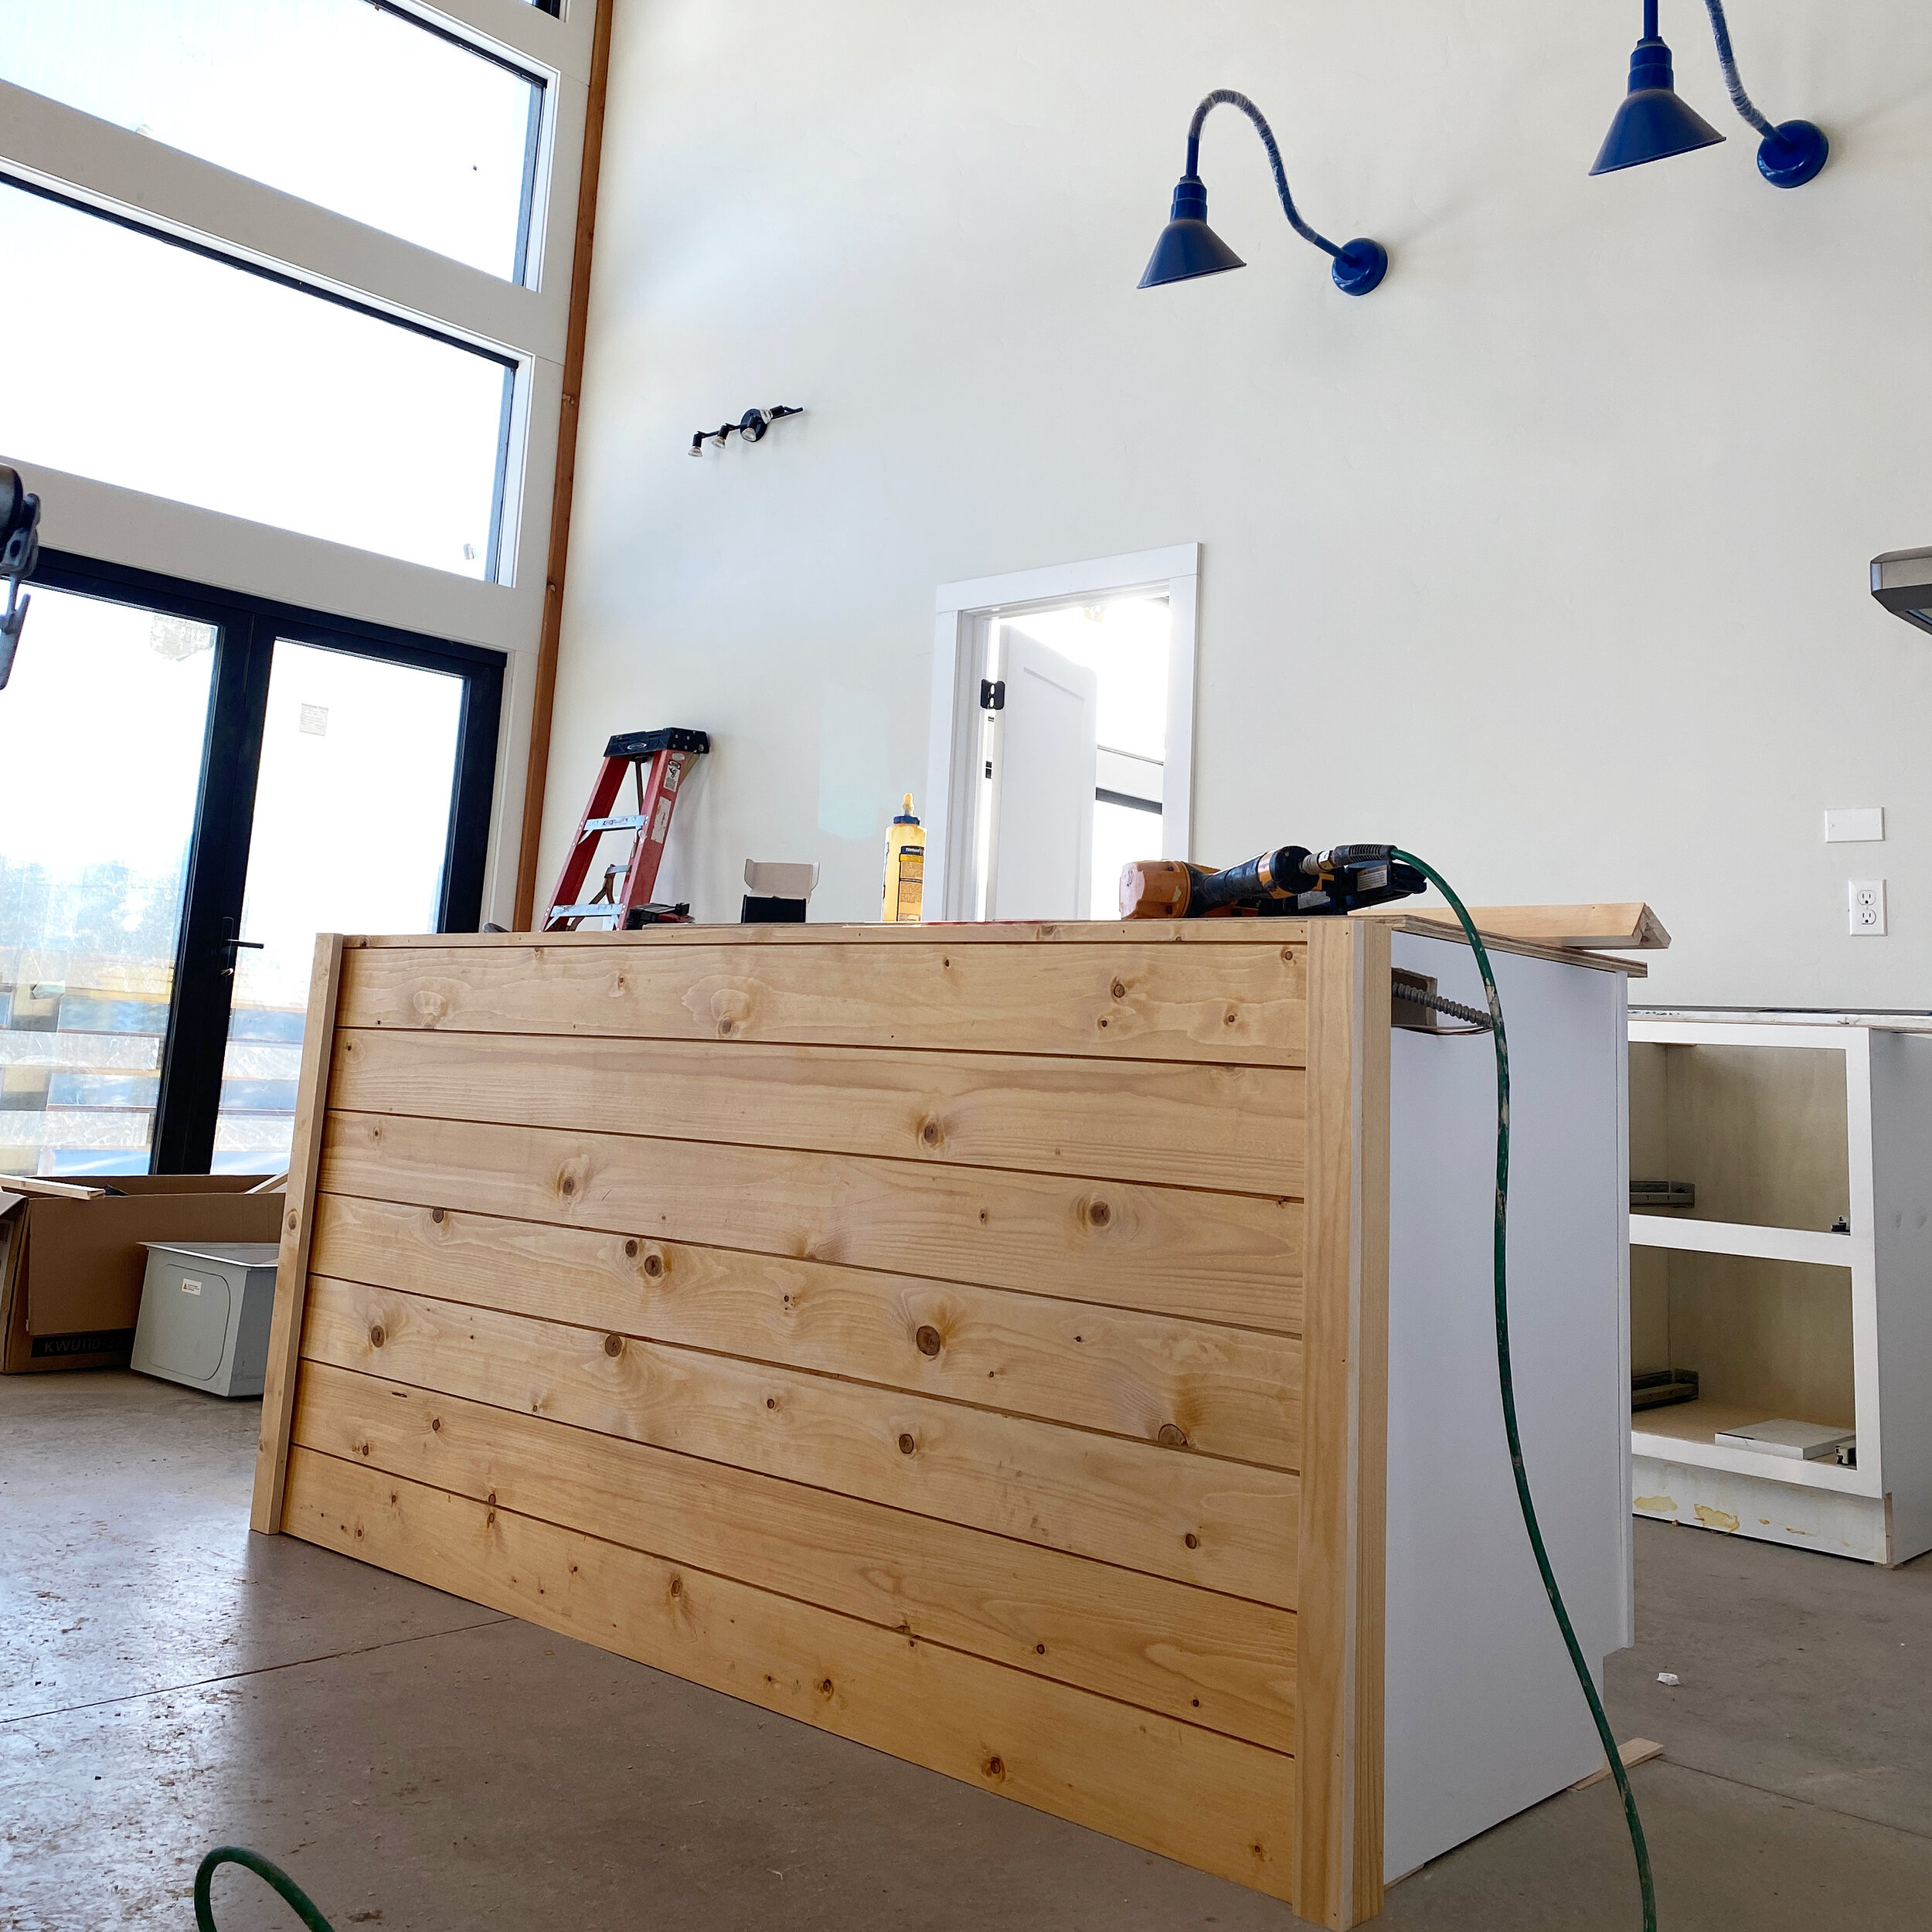
We used leftover pine from our ceiling to add a little interest on the back of our island.
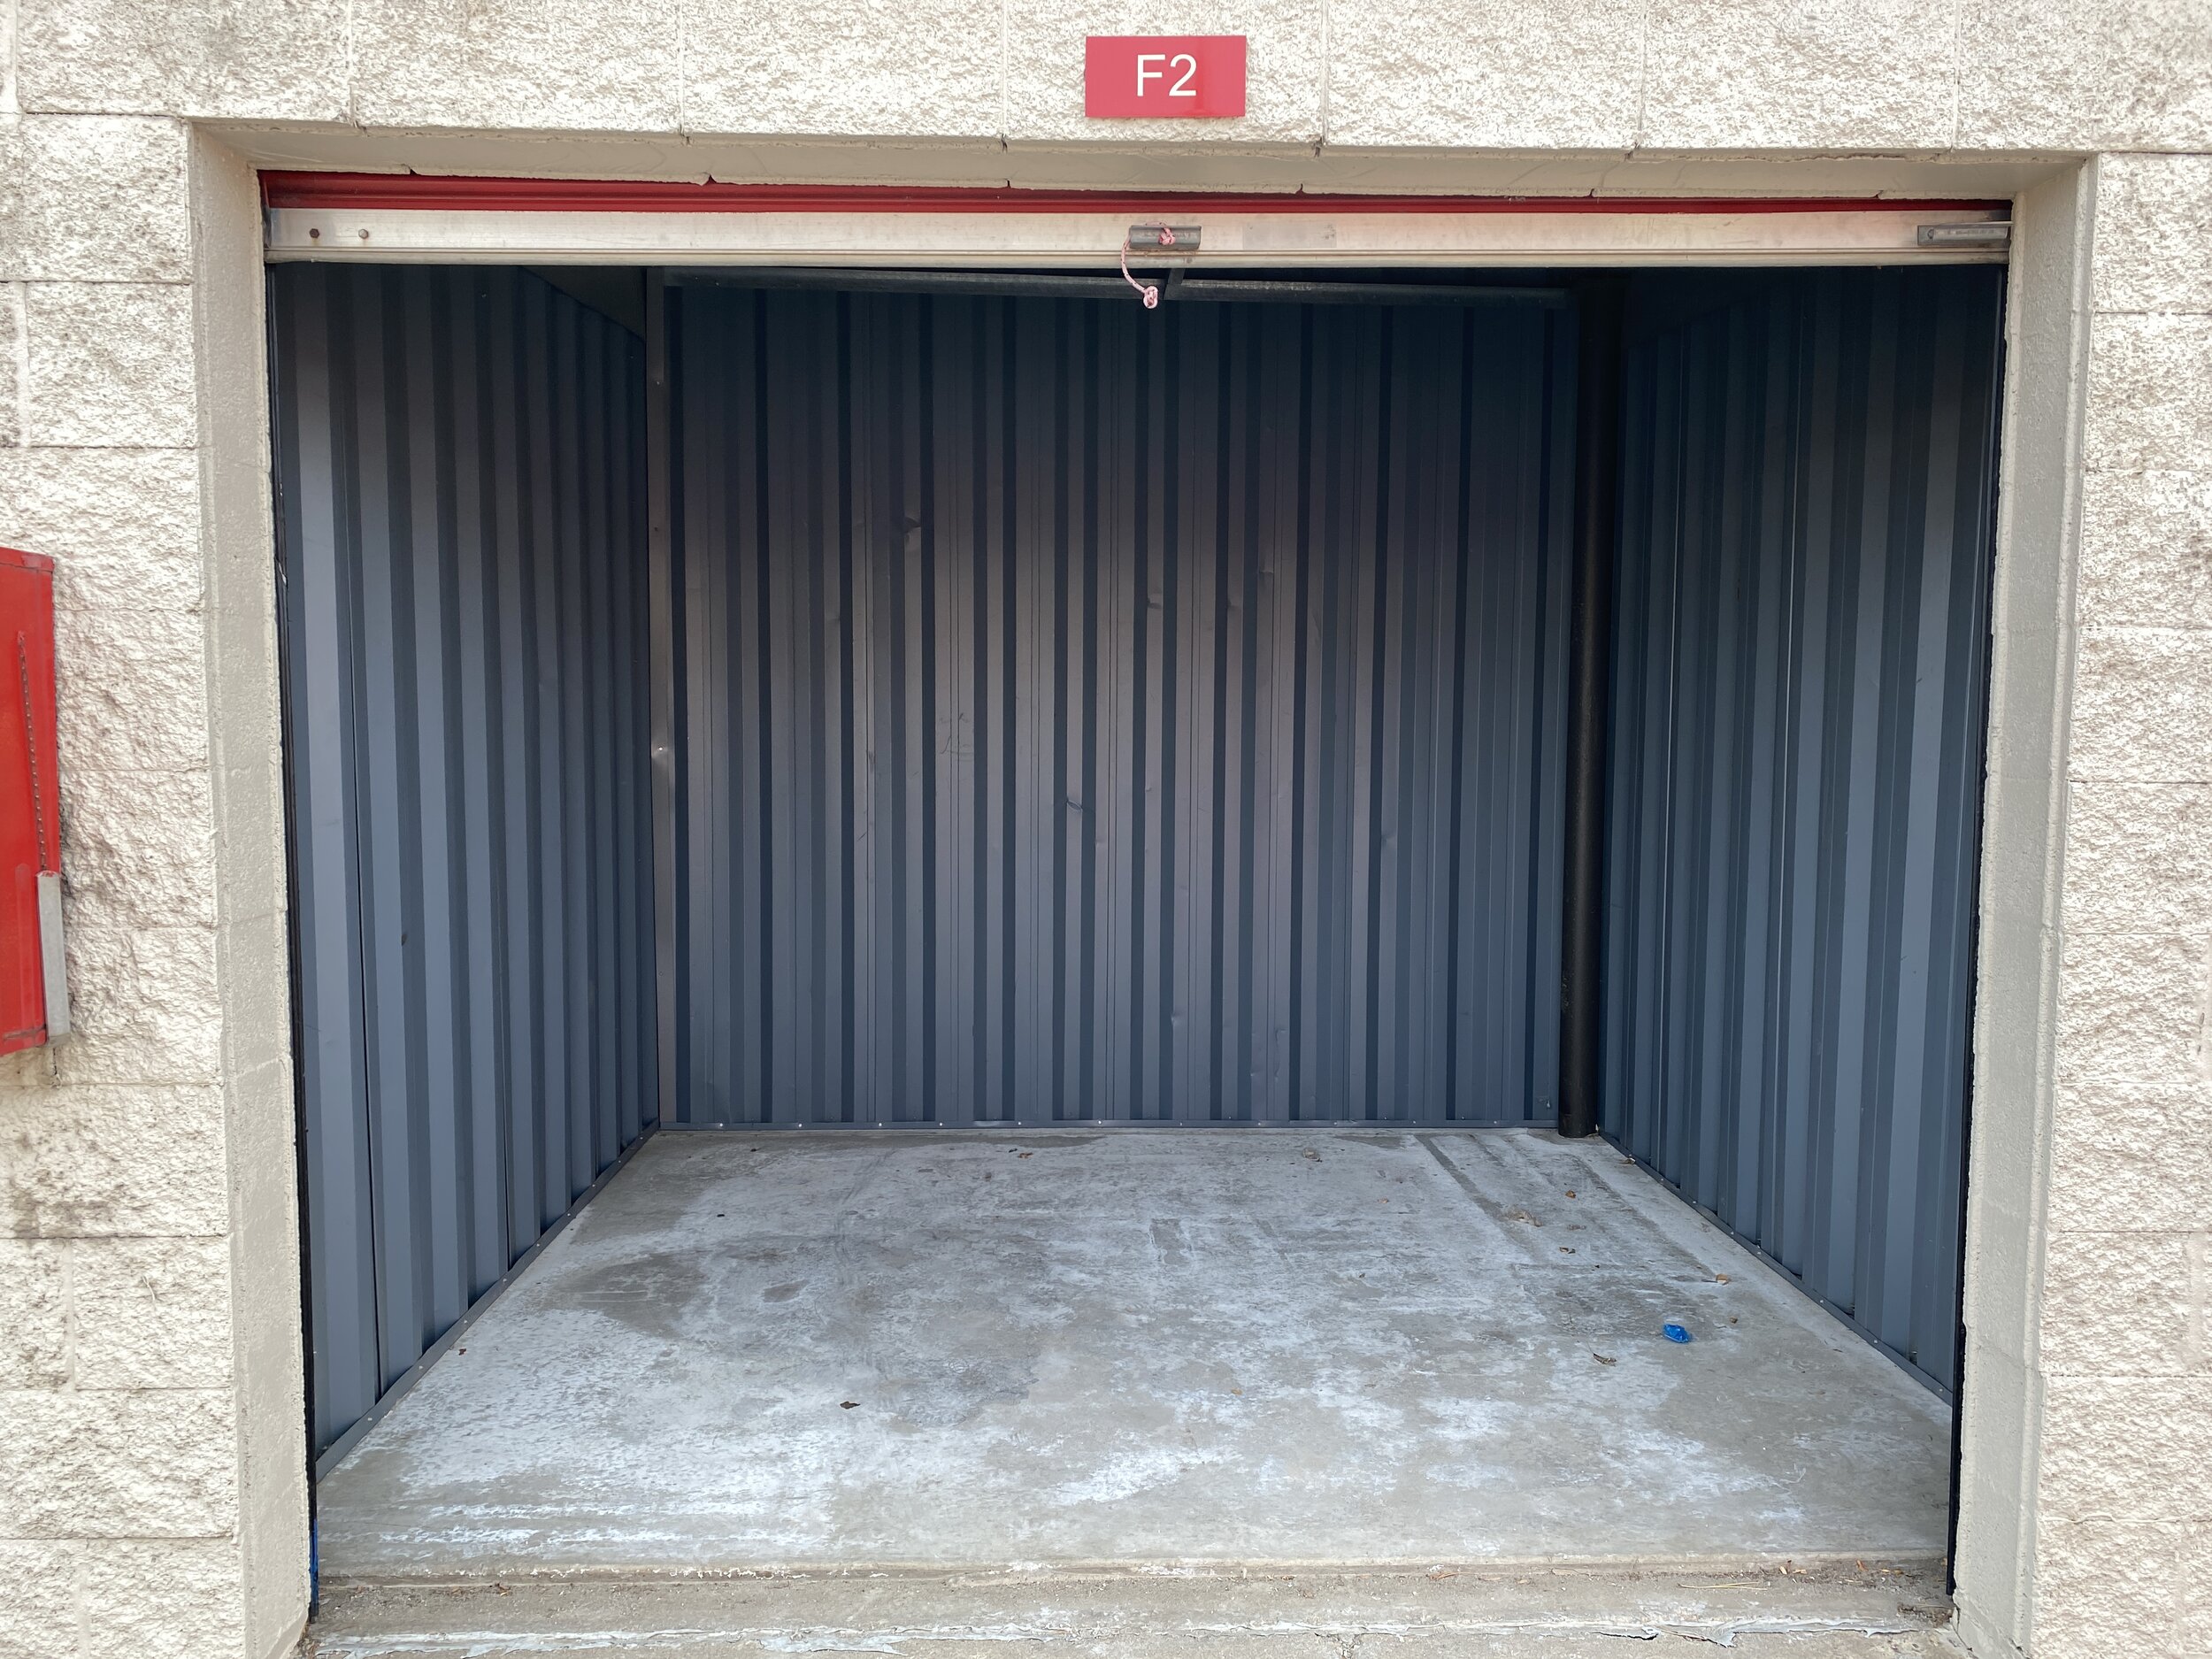
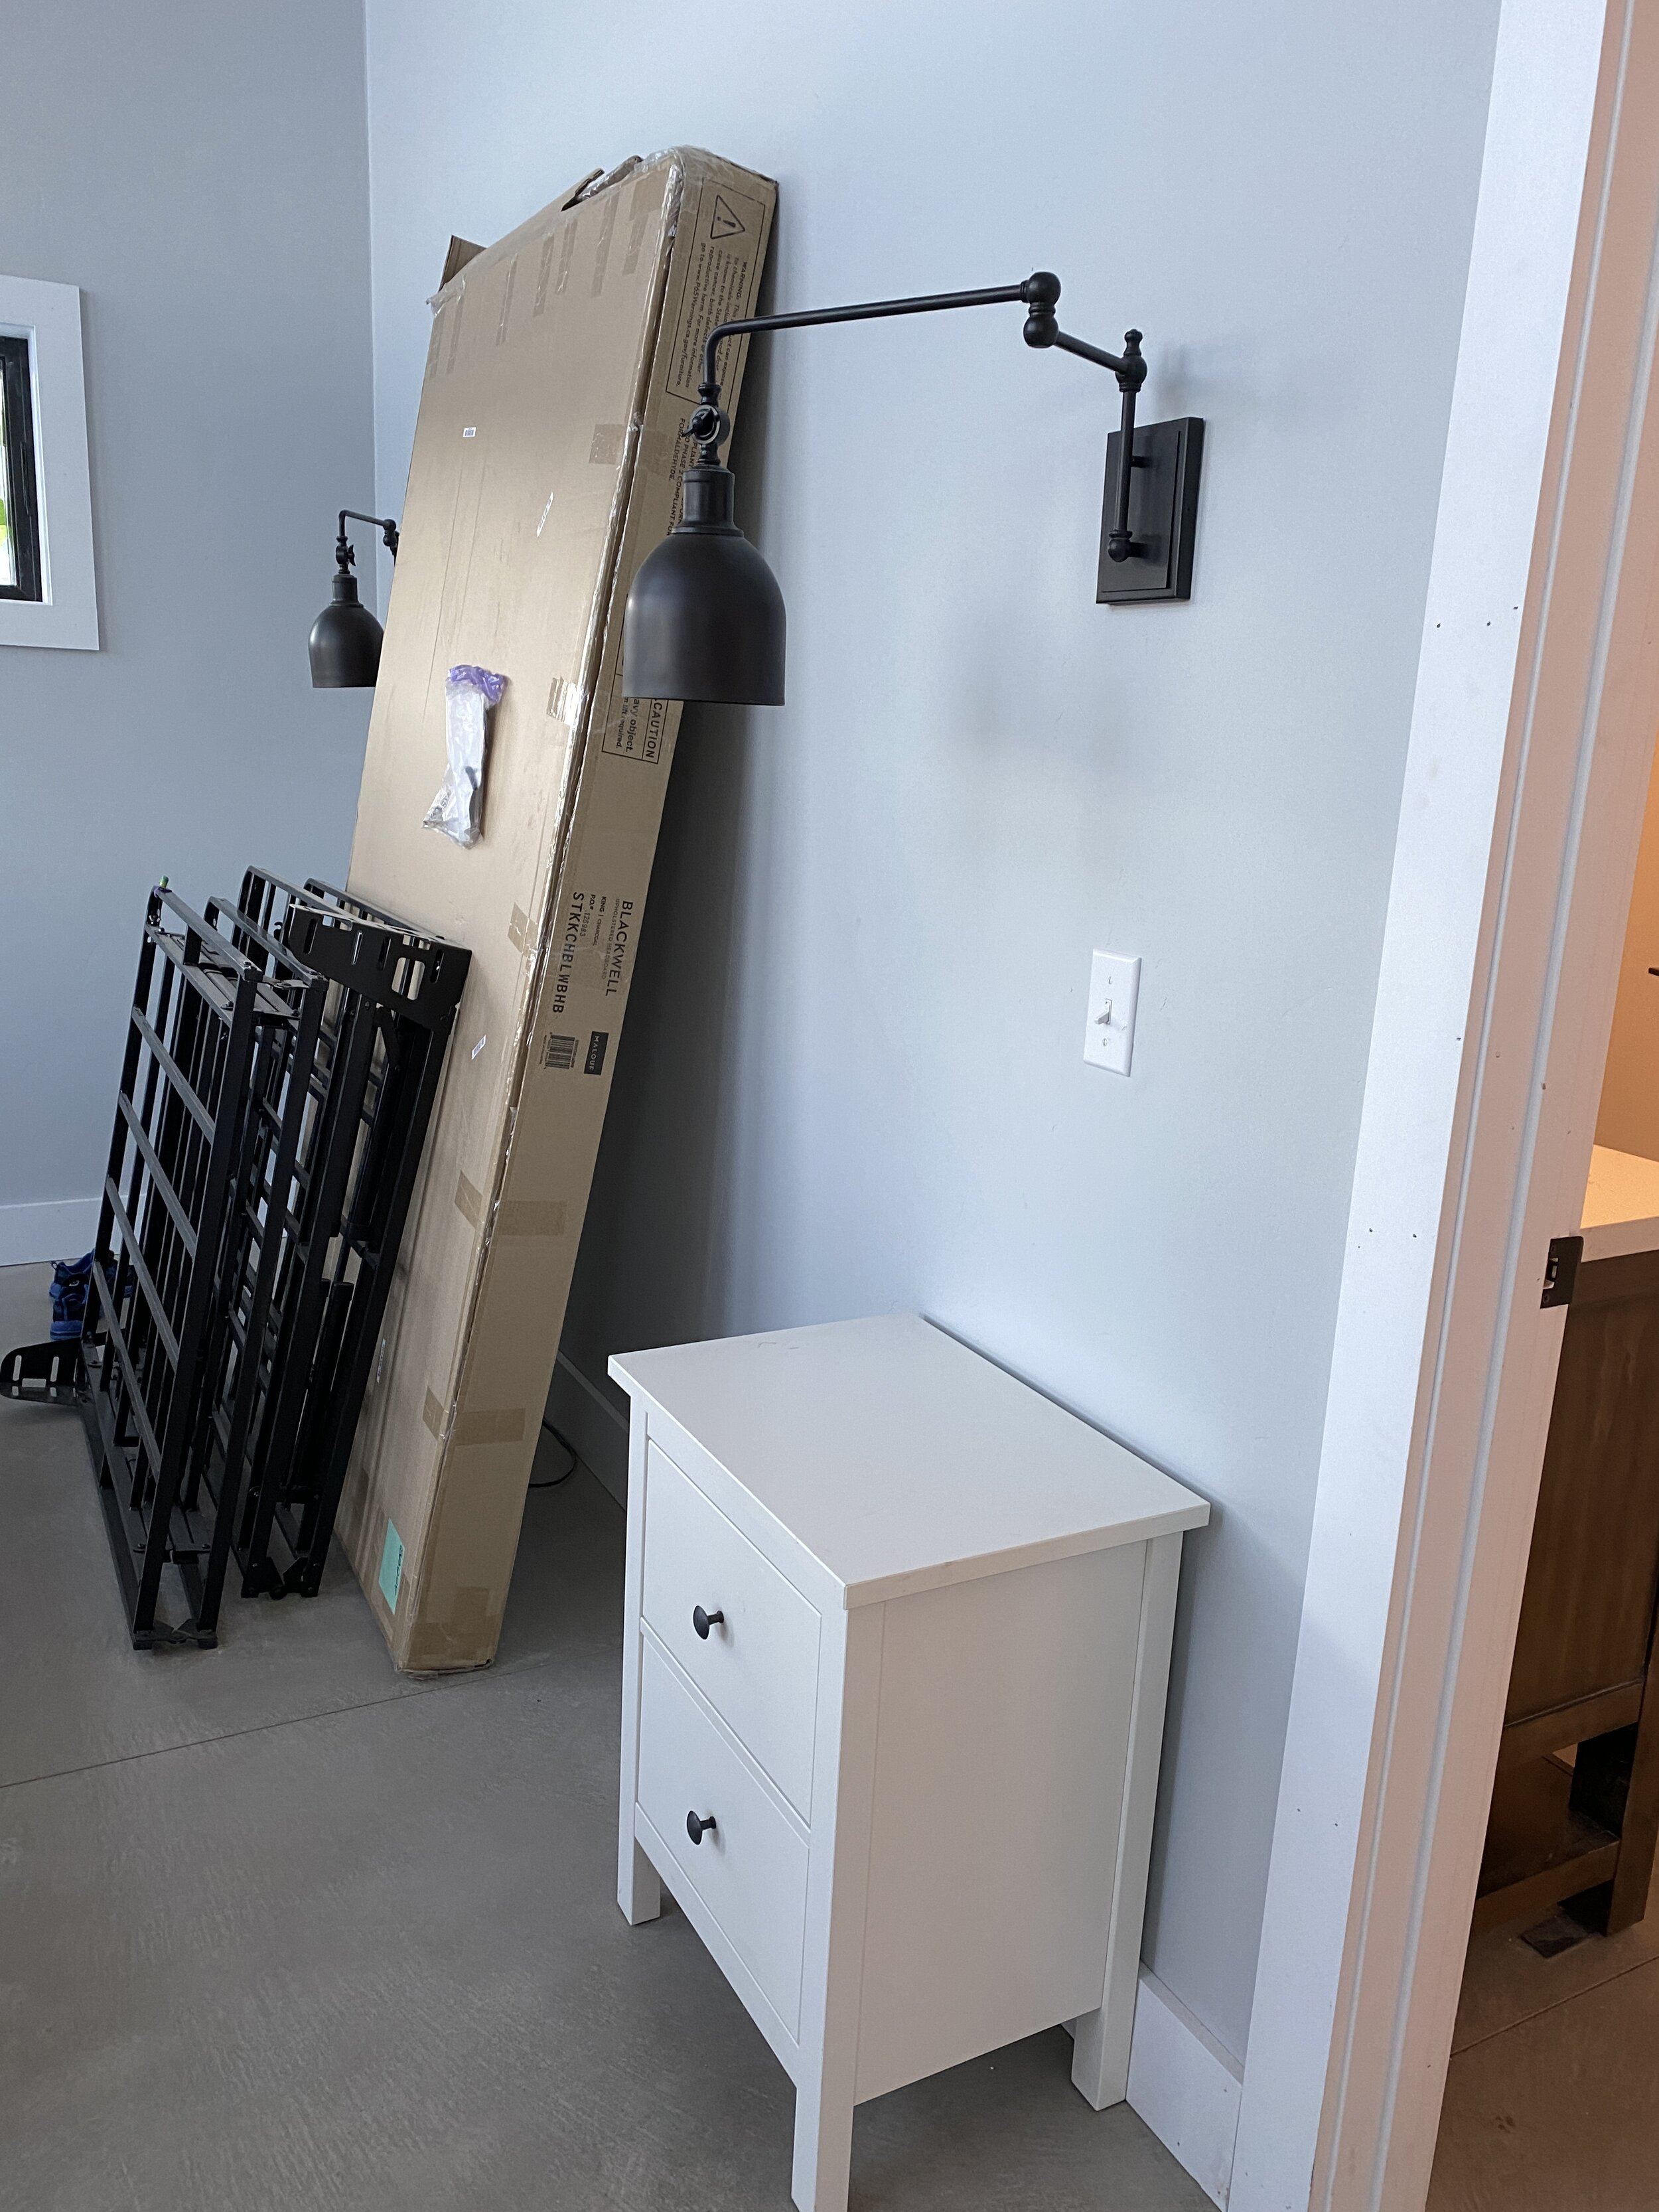
We passed our final electrical inspection (pending a look at the island electrical and one outlet that we forgot to make GFI), so we were able to start moving in some furniture to the house! This felt like a big deal since we had been paying $180/month for our 10x10 storage unit in Denver. It sure was nice to eliminate that bill! Also, it was great to move some of the big things out of Mom and Dad’s garage/crawl space. We can’t set anything up yet, but it sure feels good to have beds, mattresses, and dressers staged!

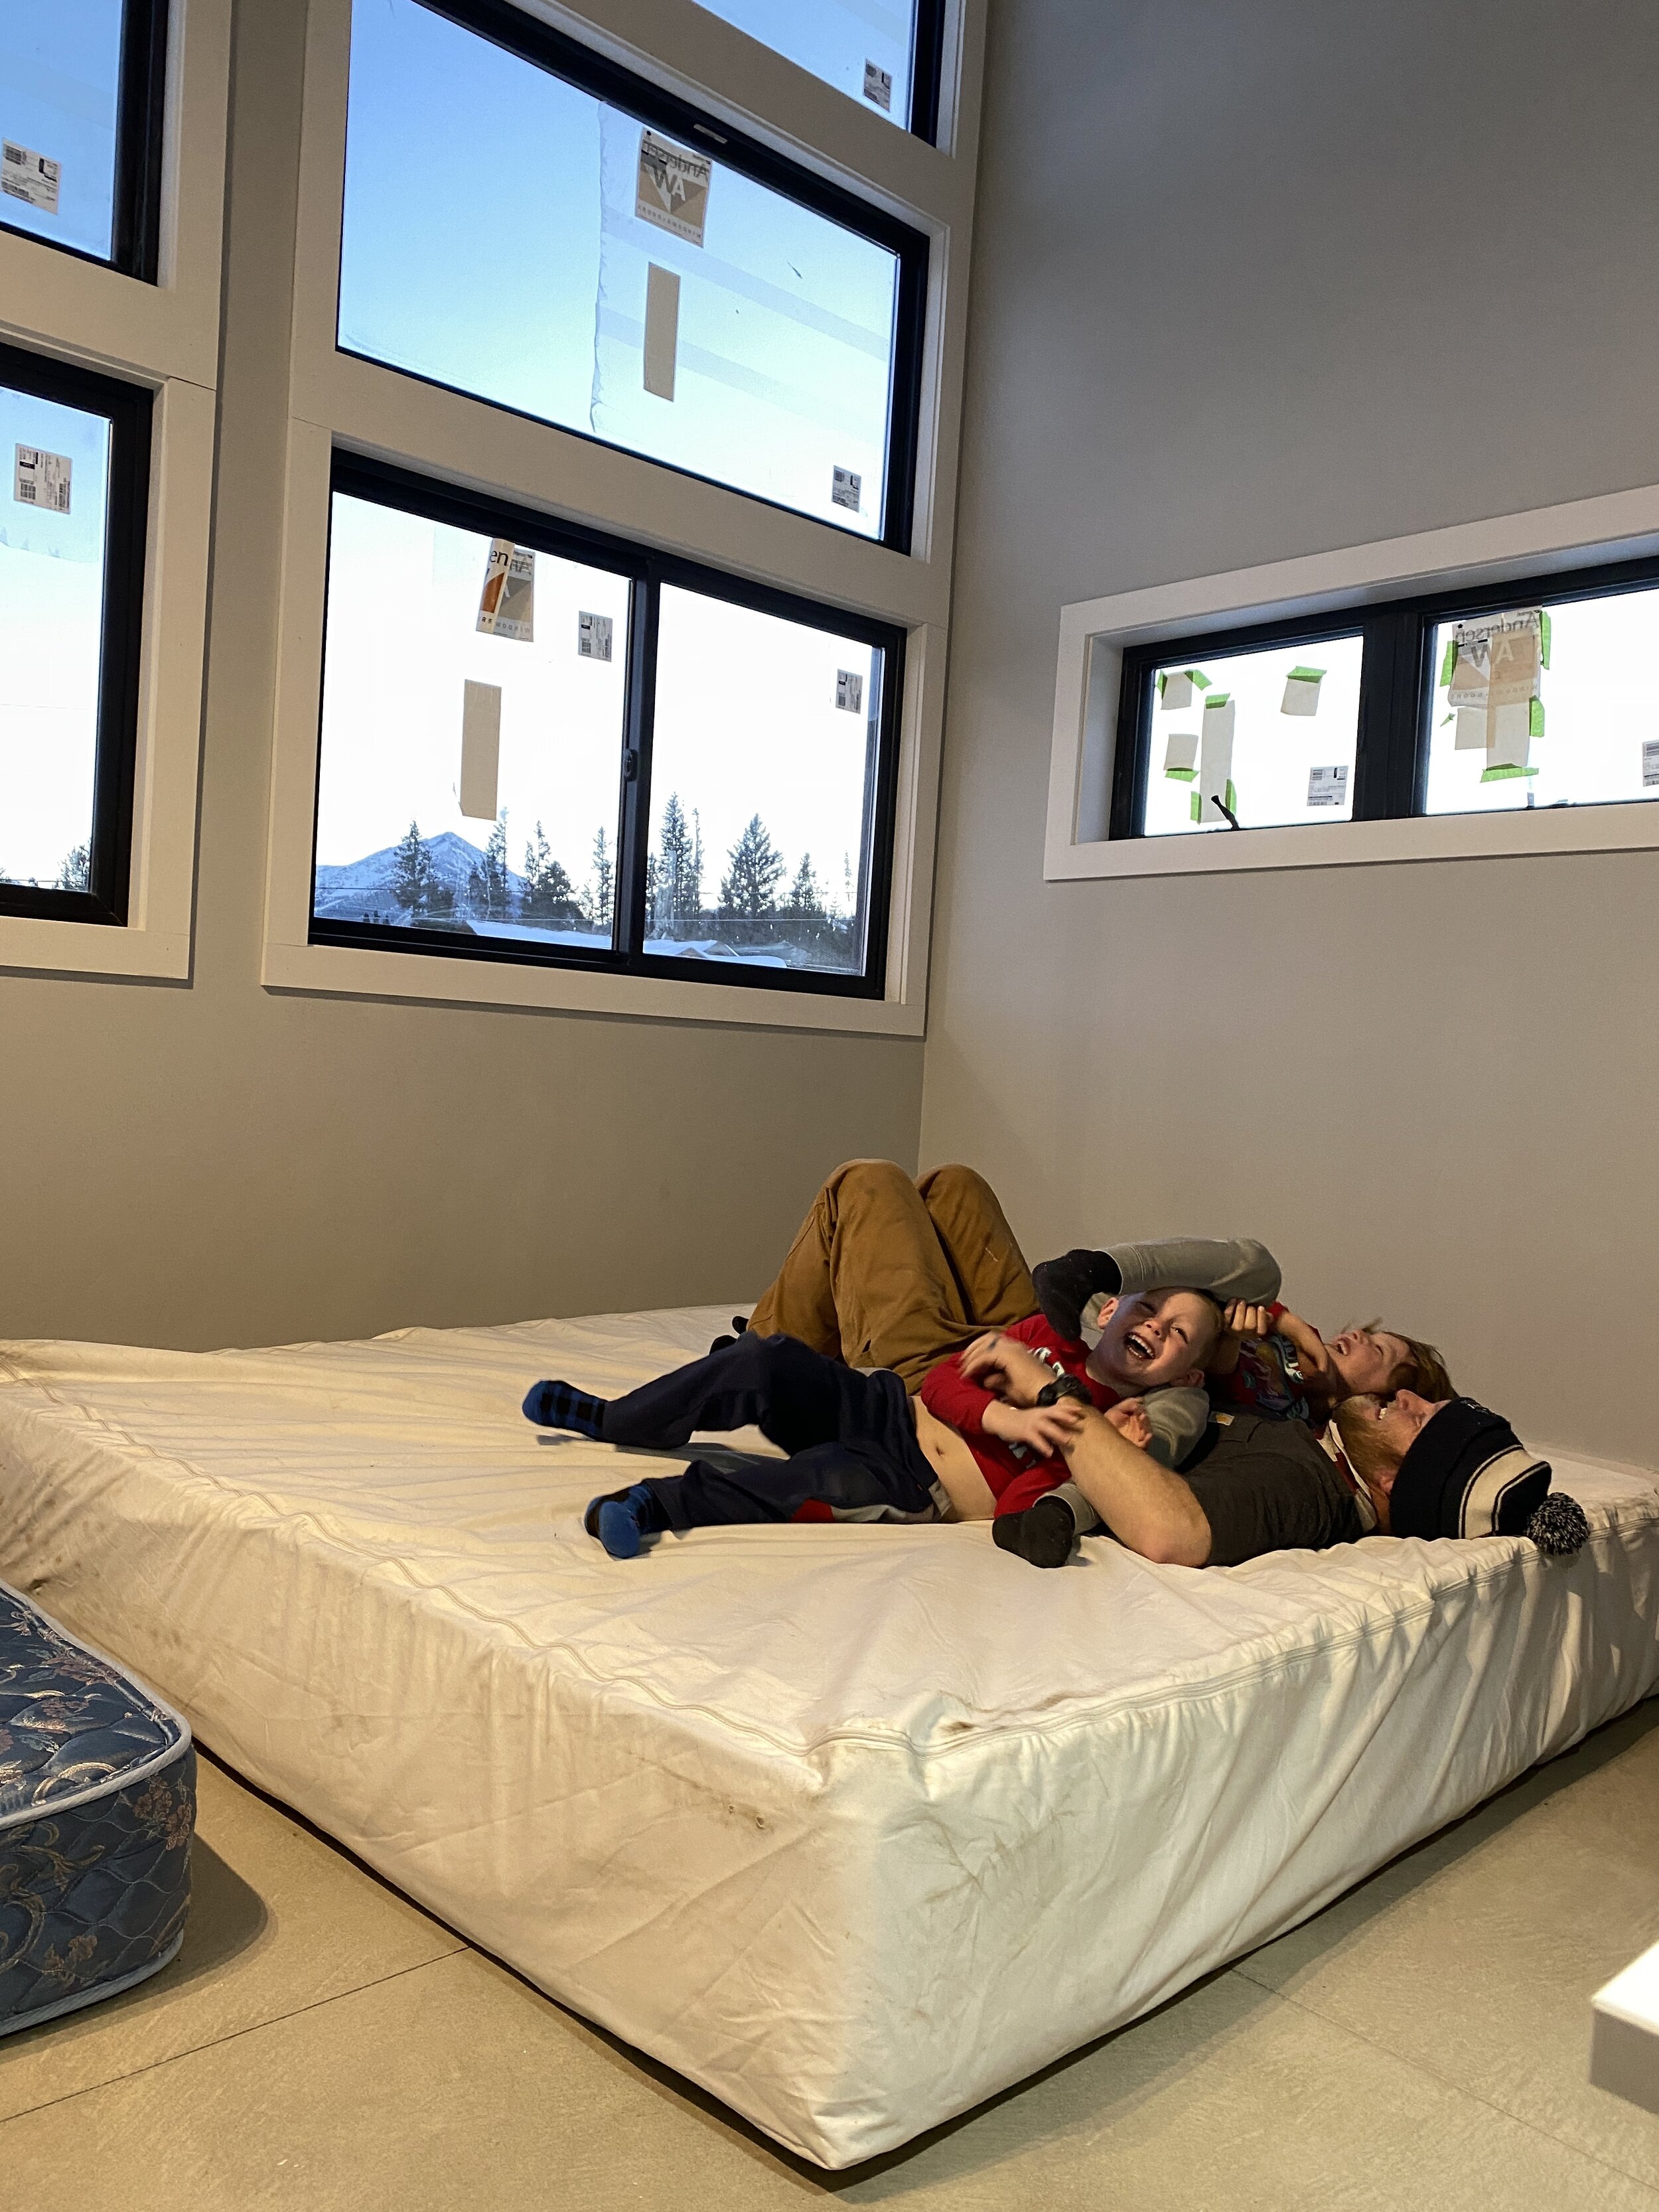
The boys are more than happy to have all the mattresses stacked up! They may never want us to actually set things up, ever.
One project that had been on the list for awhile was to grout the fireplace. We cleared out all of the thinset from the spaces in the tile, and cleaned everything up. We mixed up the grout and smoothed it on. At first, the light gray was looking a bit tan, but after it dried it was a nice soft gray. We washed the tile multiple times (allowing it to dry and haze in between each washing). Then, we applied grout sealer for extra protection.
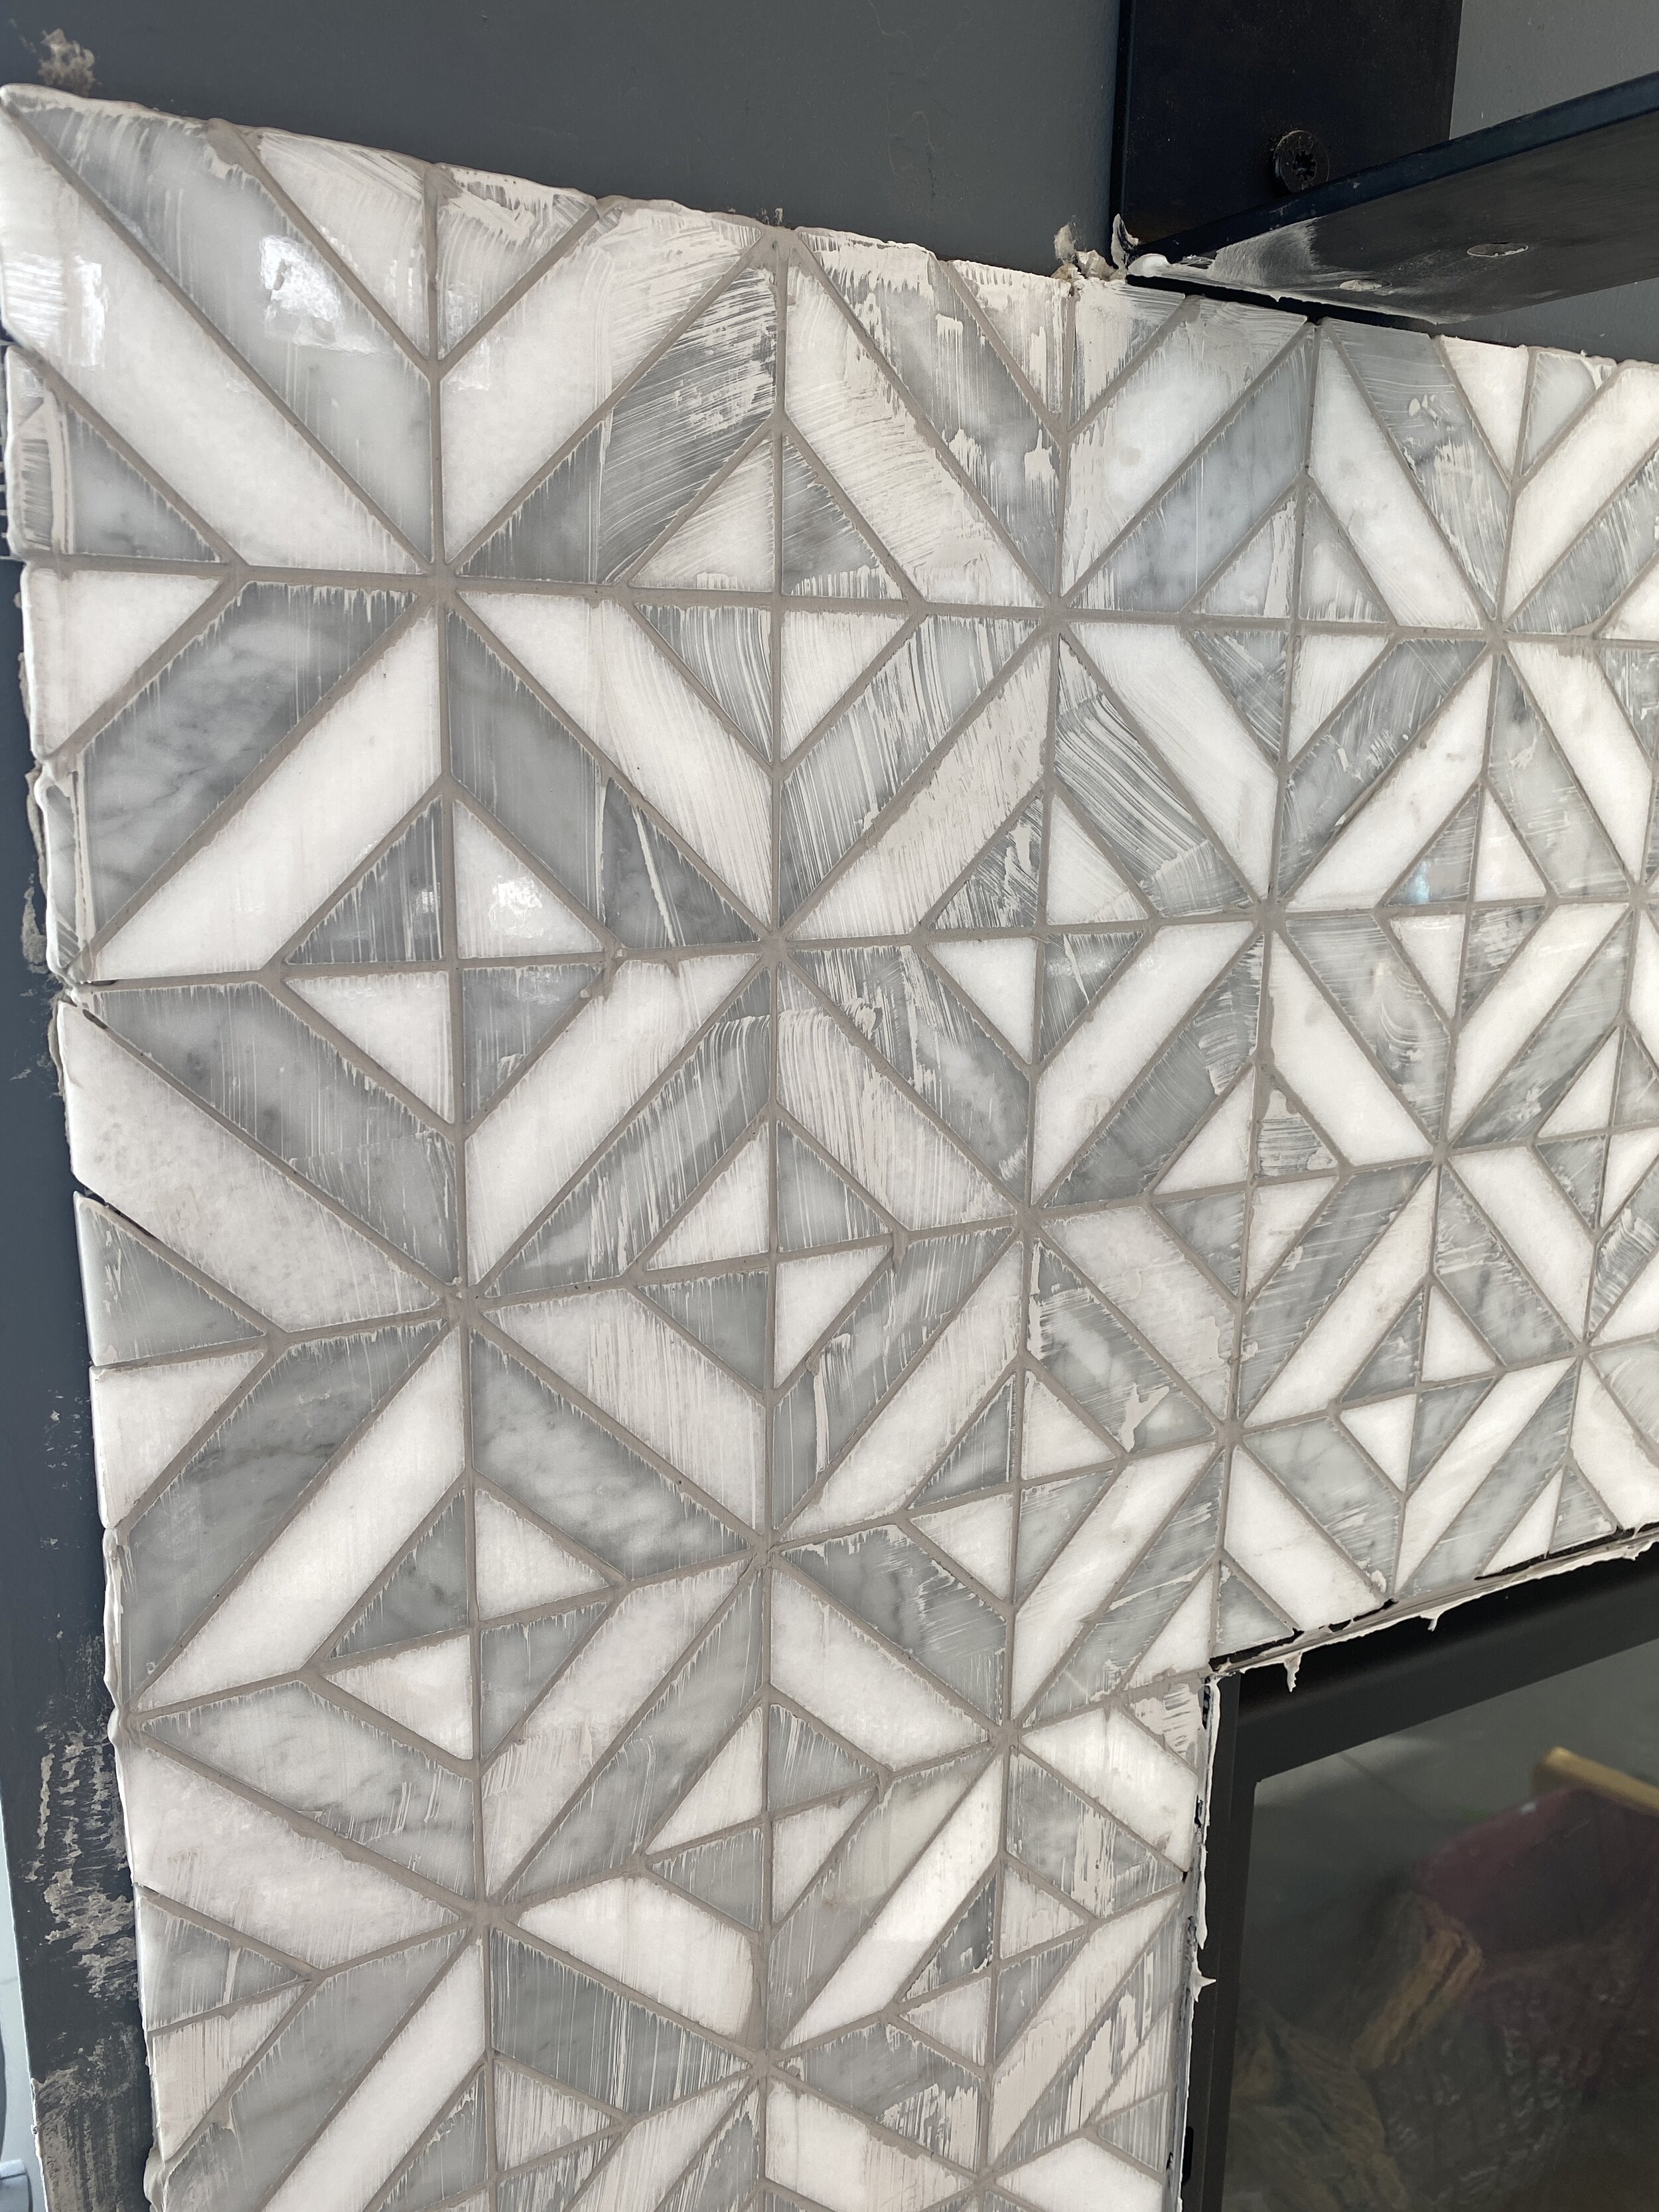
Haze forming on the tile after the initial grouting.

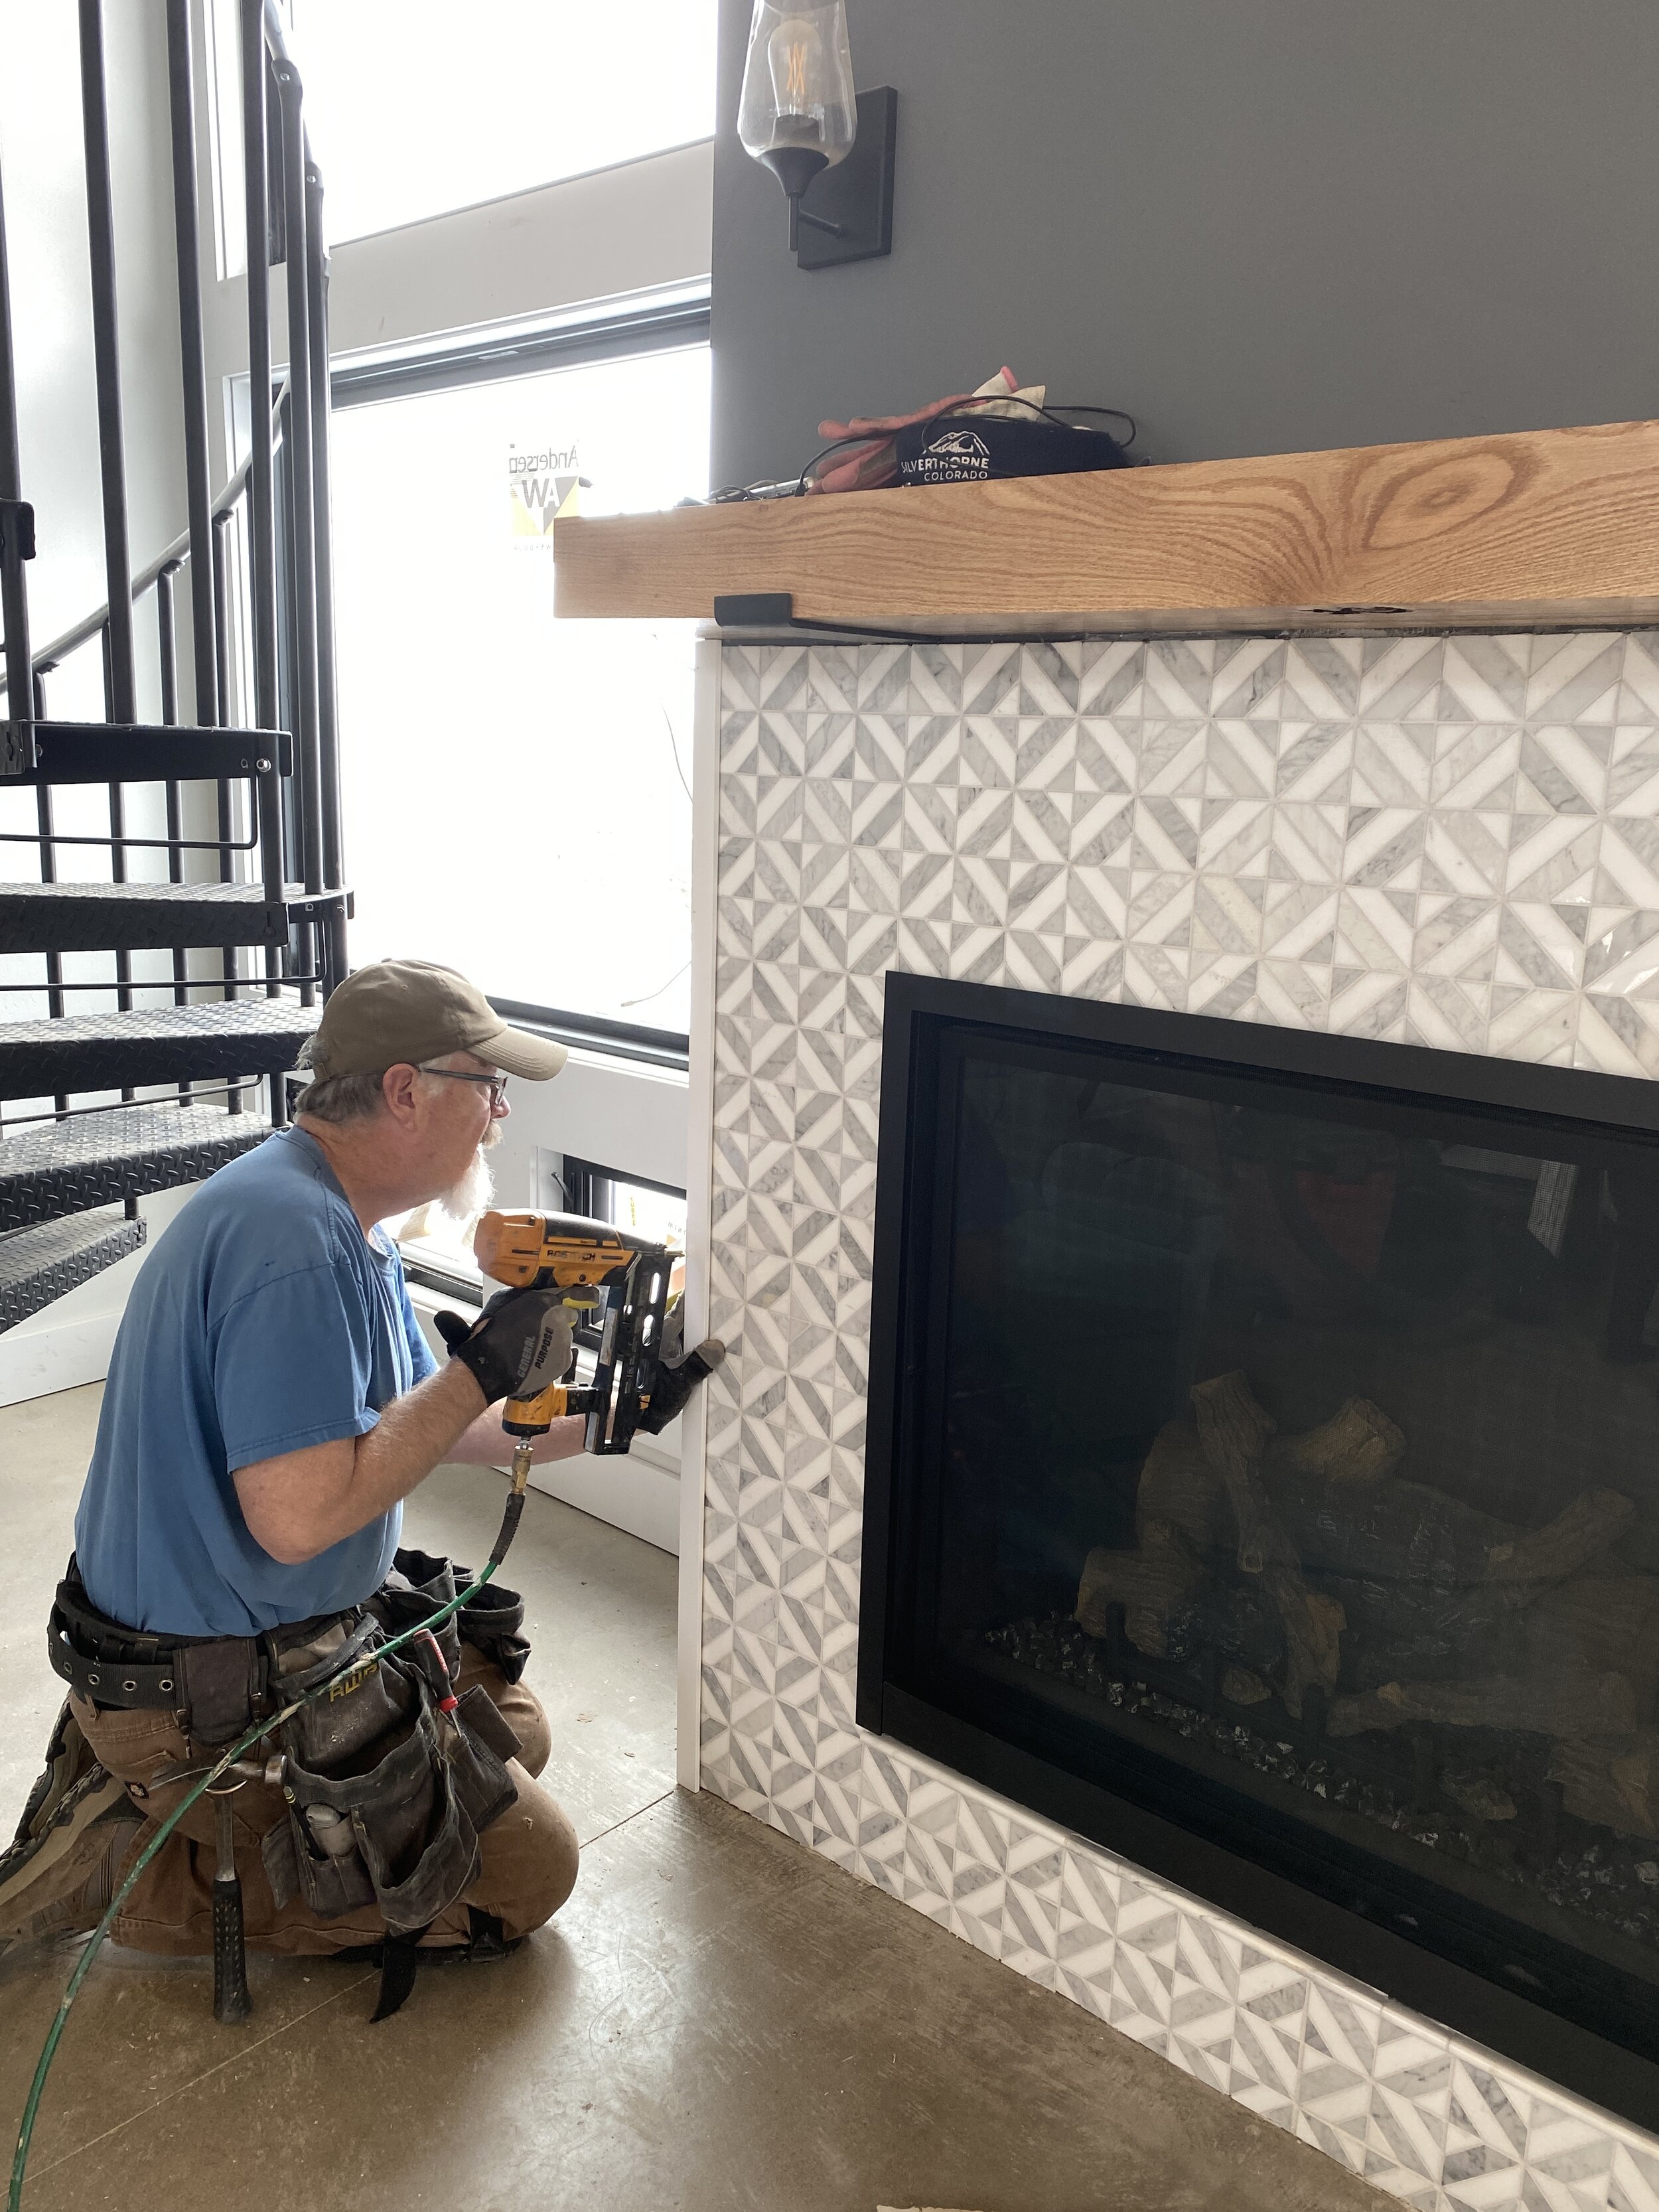
Grout is sealed, trim is up, mantle is secured! We LOVE it!
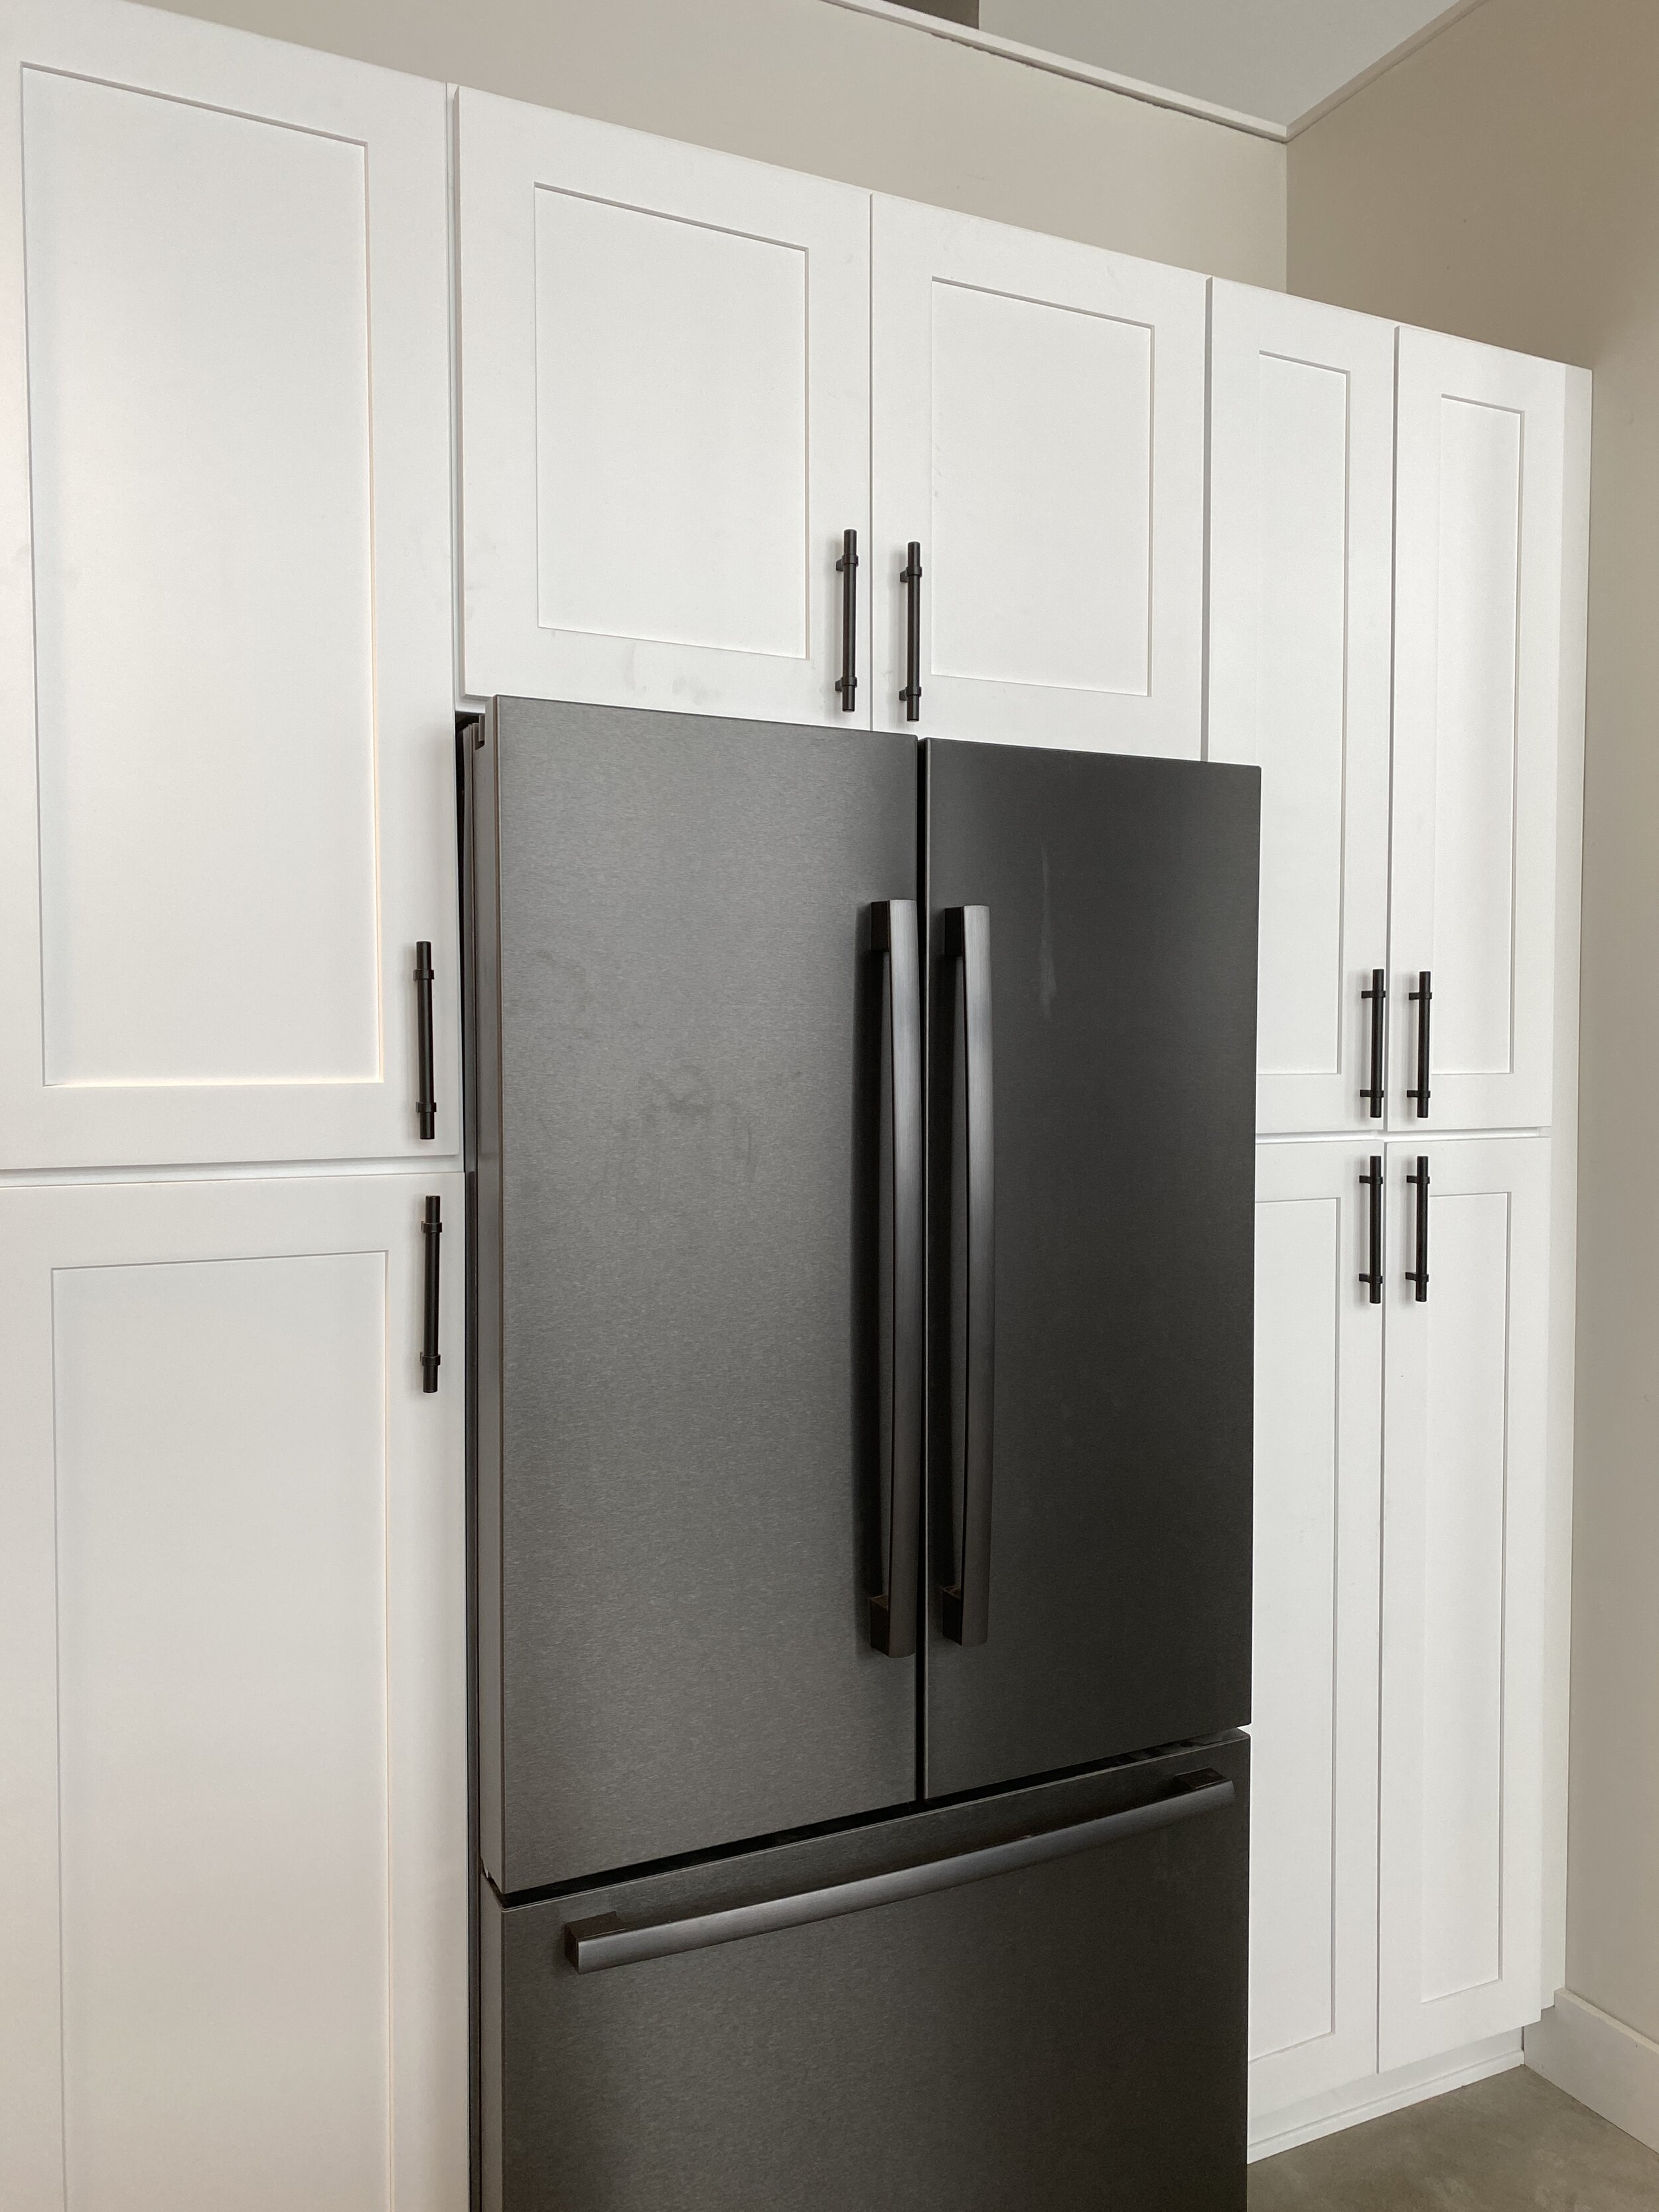
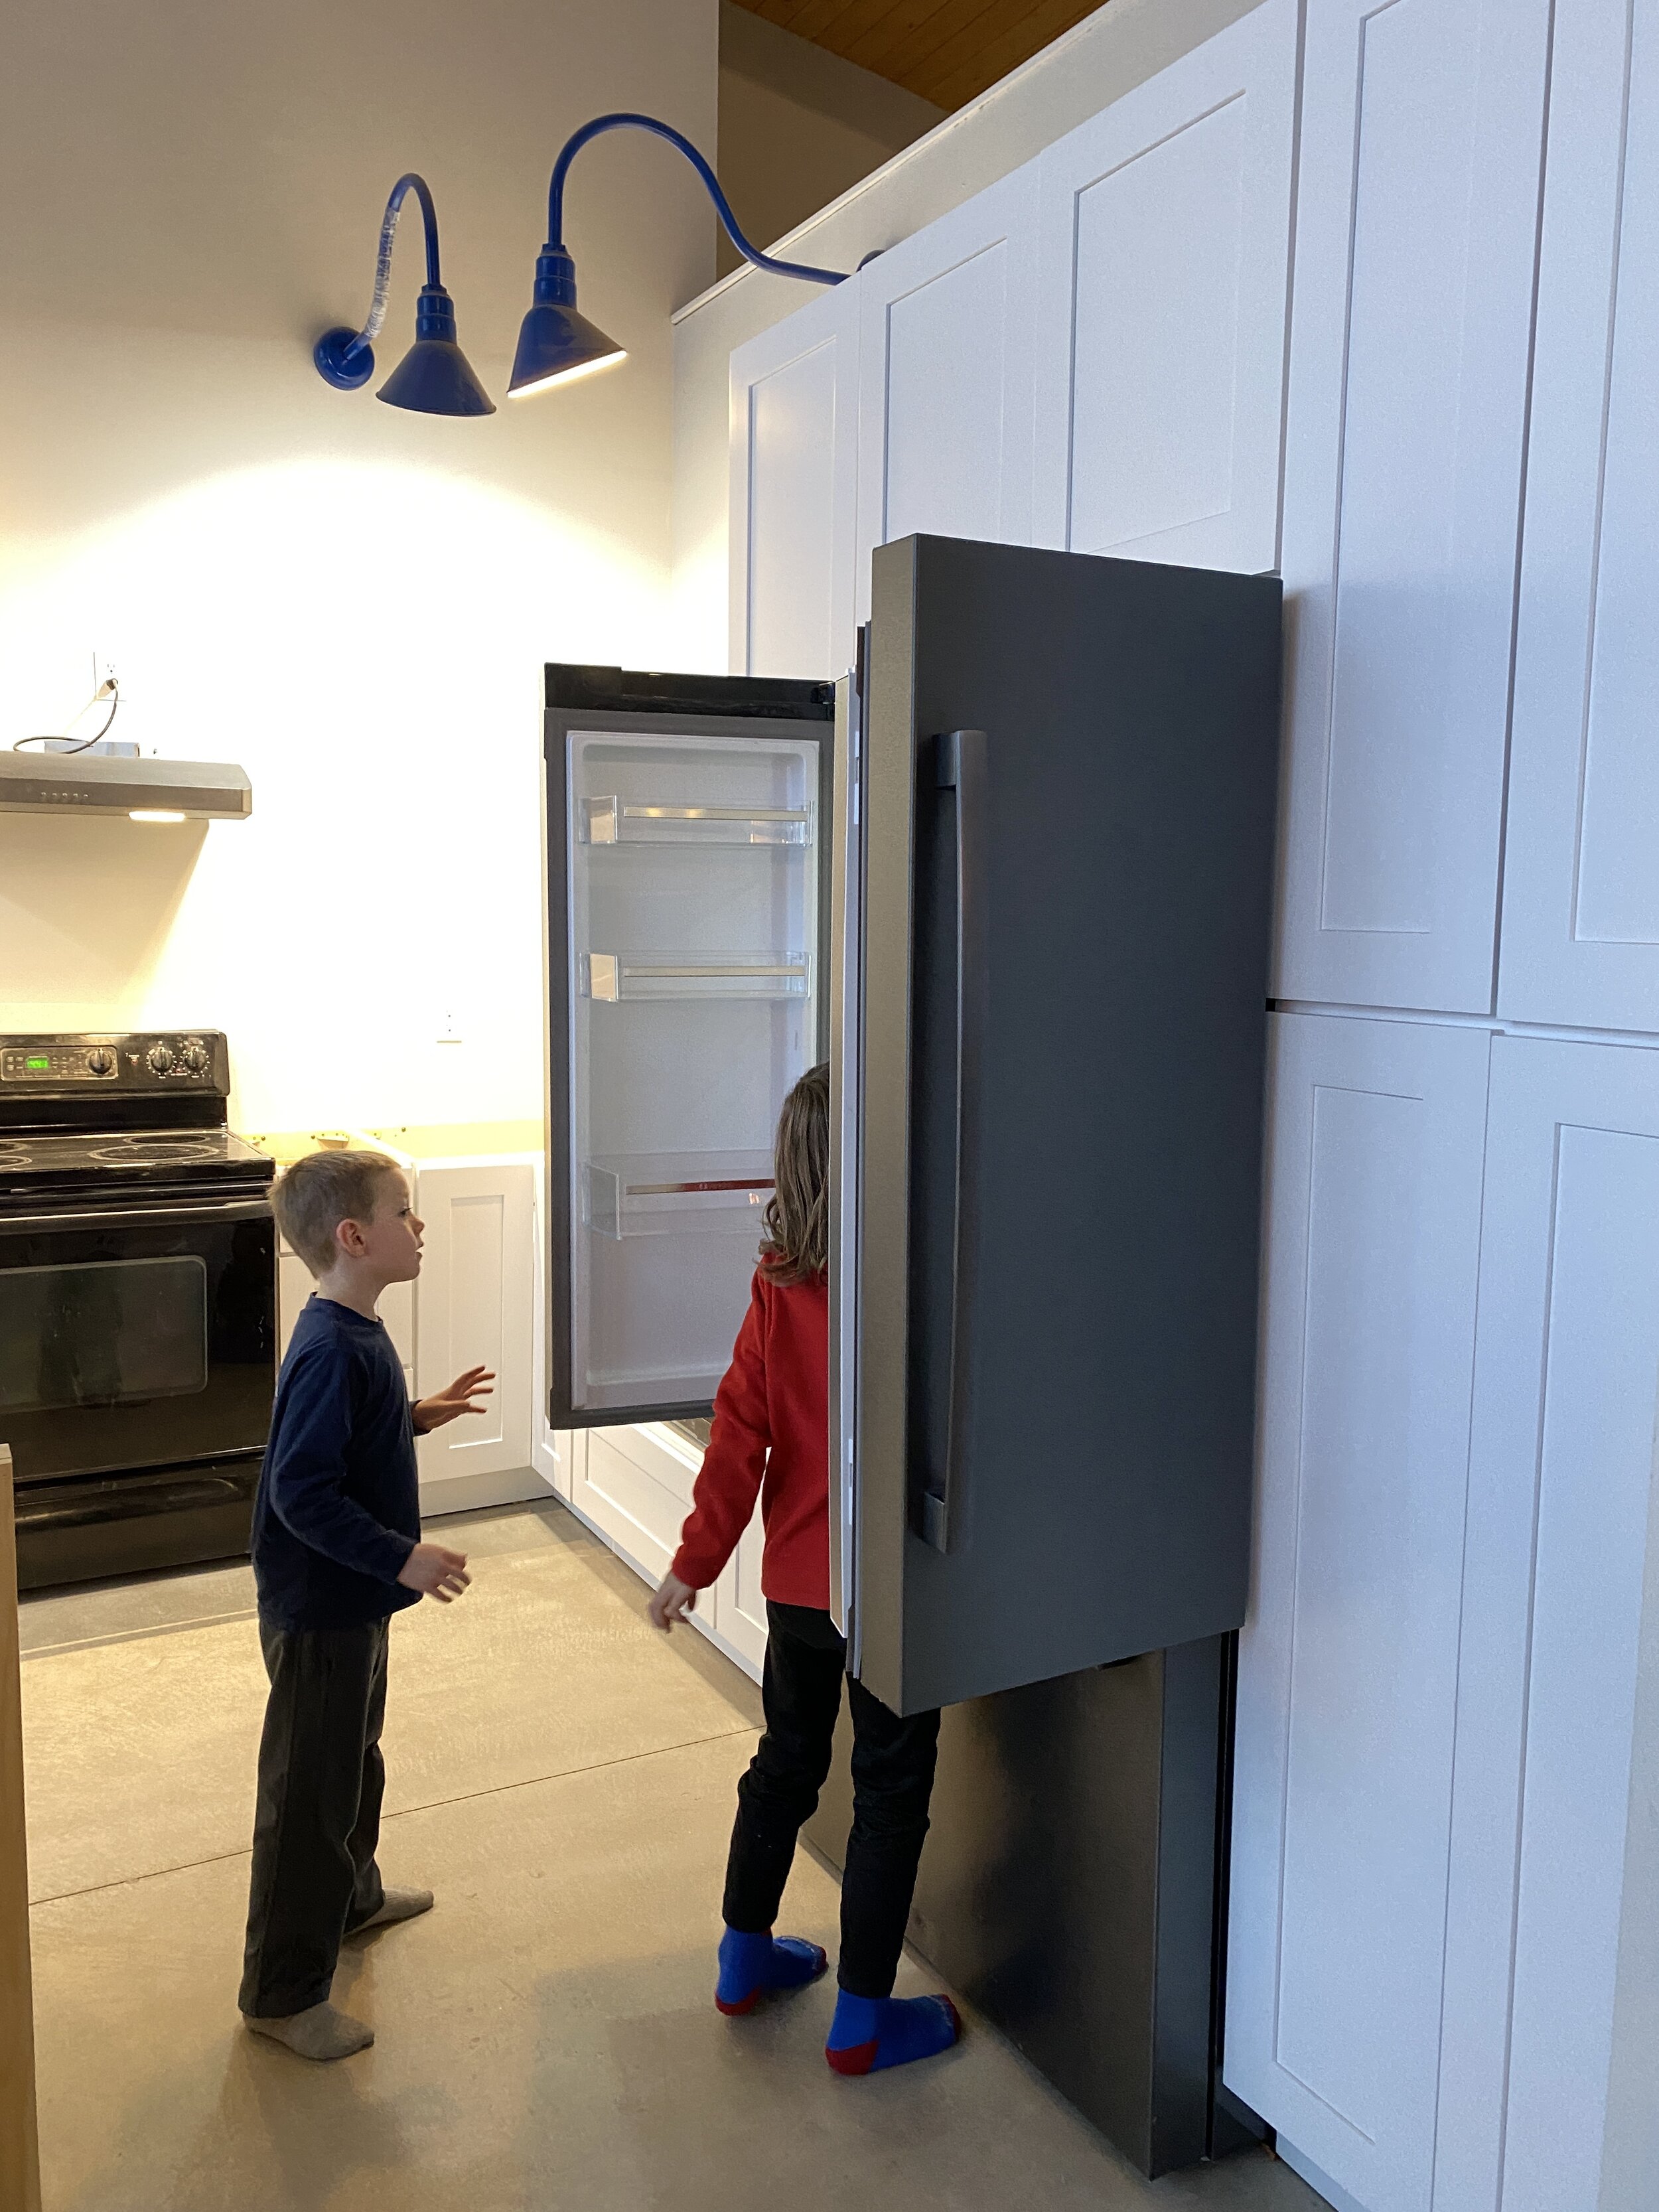
Next up, our custom hood cover! To make venting even easier, we opted for a recirculating ductless hood. We were able to find a stainless steel one on sale at Lowe’s. However, when we found our dreamy black stainless Bosch refrigerator, it no longer matched. $8 spray paint to the rescue! We chose a black stainless spray paint and applied about 6 really light coats. The finish came out great and hardly shows any fingerprints. Yay for budget friendly solutions.
To build the hood cover, we used some more of our leftover pine from the ceiling. However, since the hood cover was going to be right against our open oak shelves, we opted to paint it white. Dad and I used the Kreg jig so you couldn’t see any of the screws and it came out really nice! We love the clean and simple lines of it.

First time using the Kreg jig to ensure we didn’t see any screws in our hood cover.

In progress….

Painting in progress. We ended up doing 3 coats of primer and 3 coats of semi-gloss paint for durability.
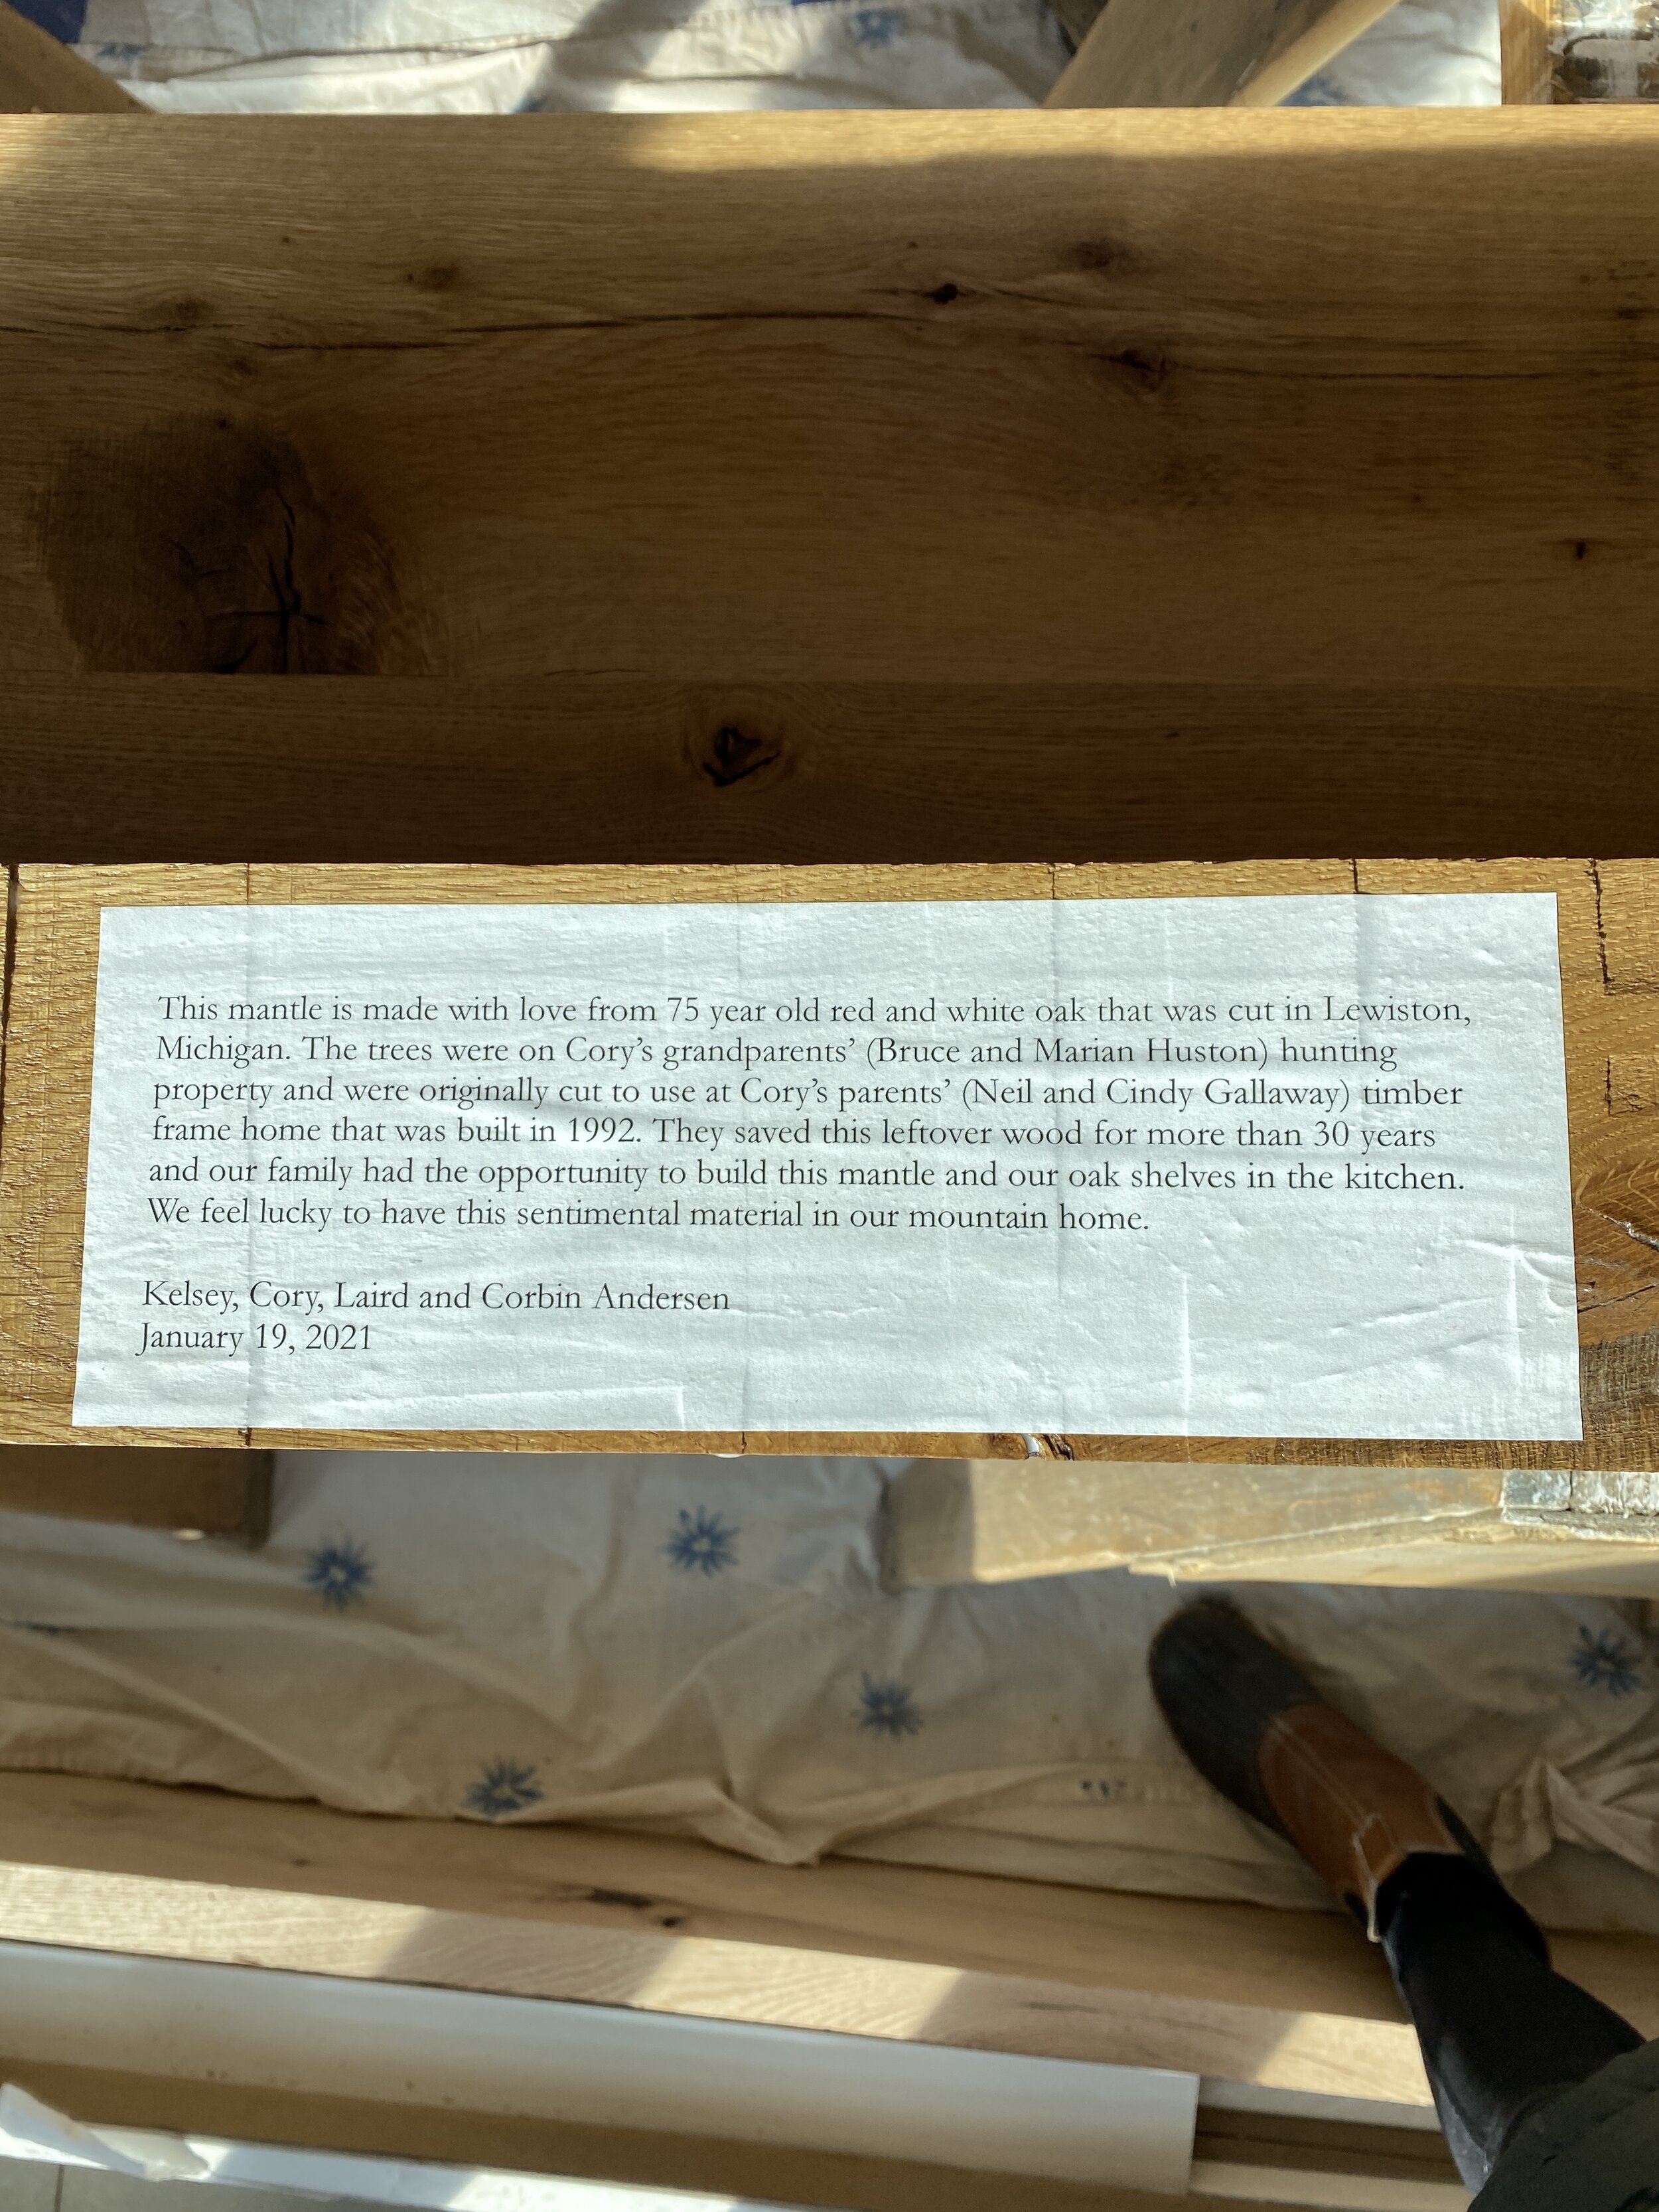
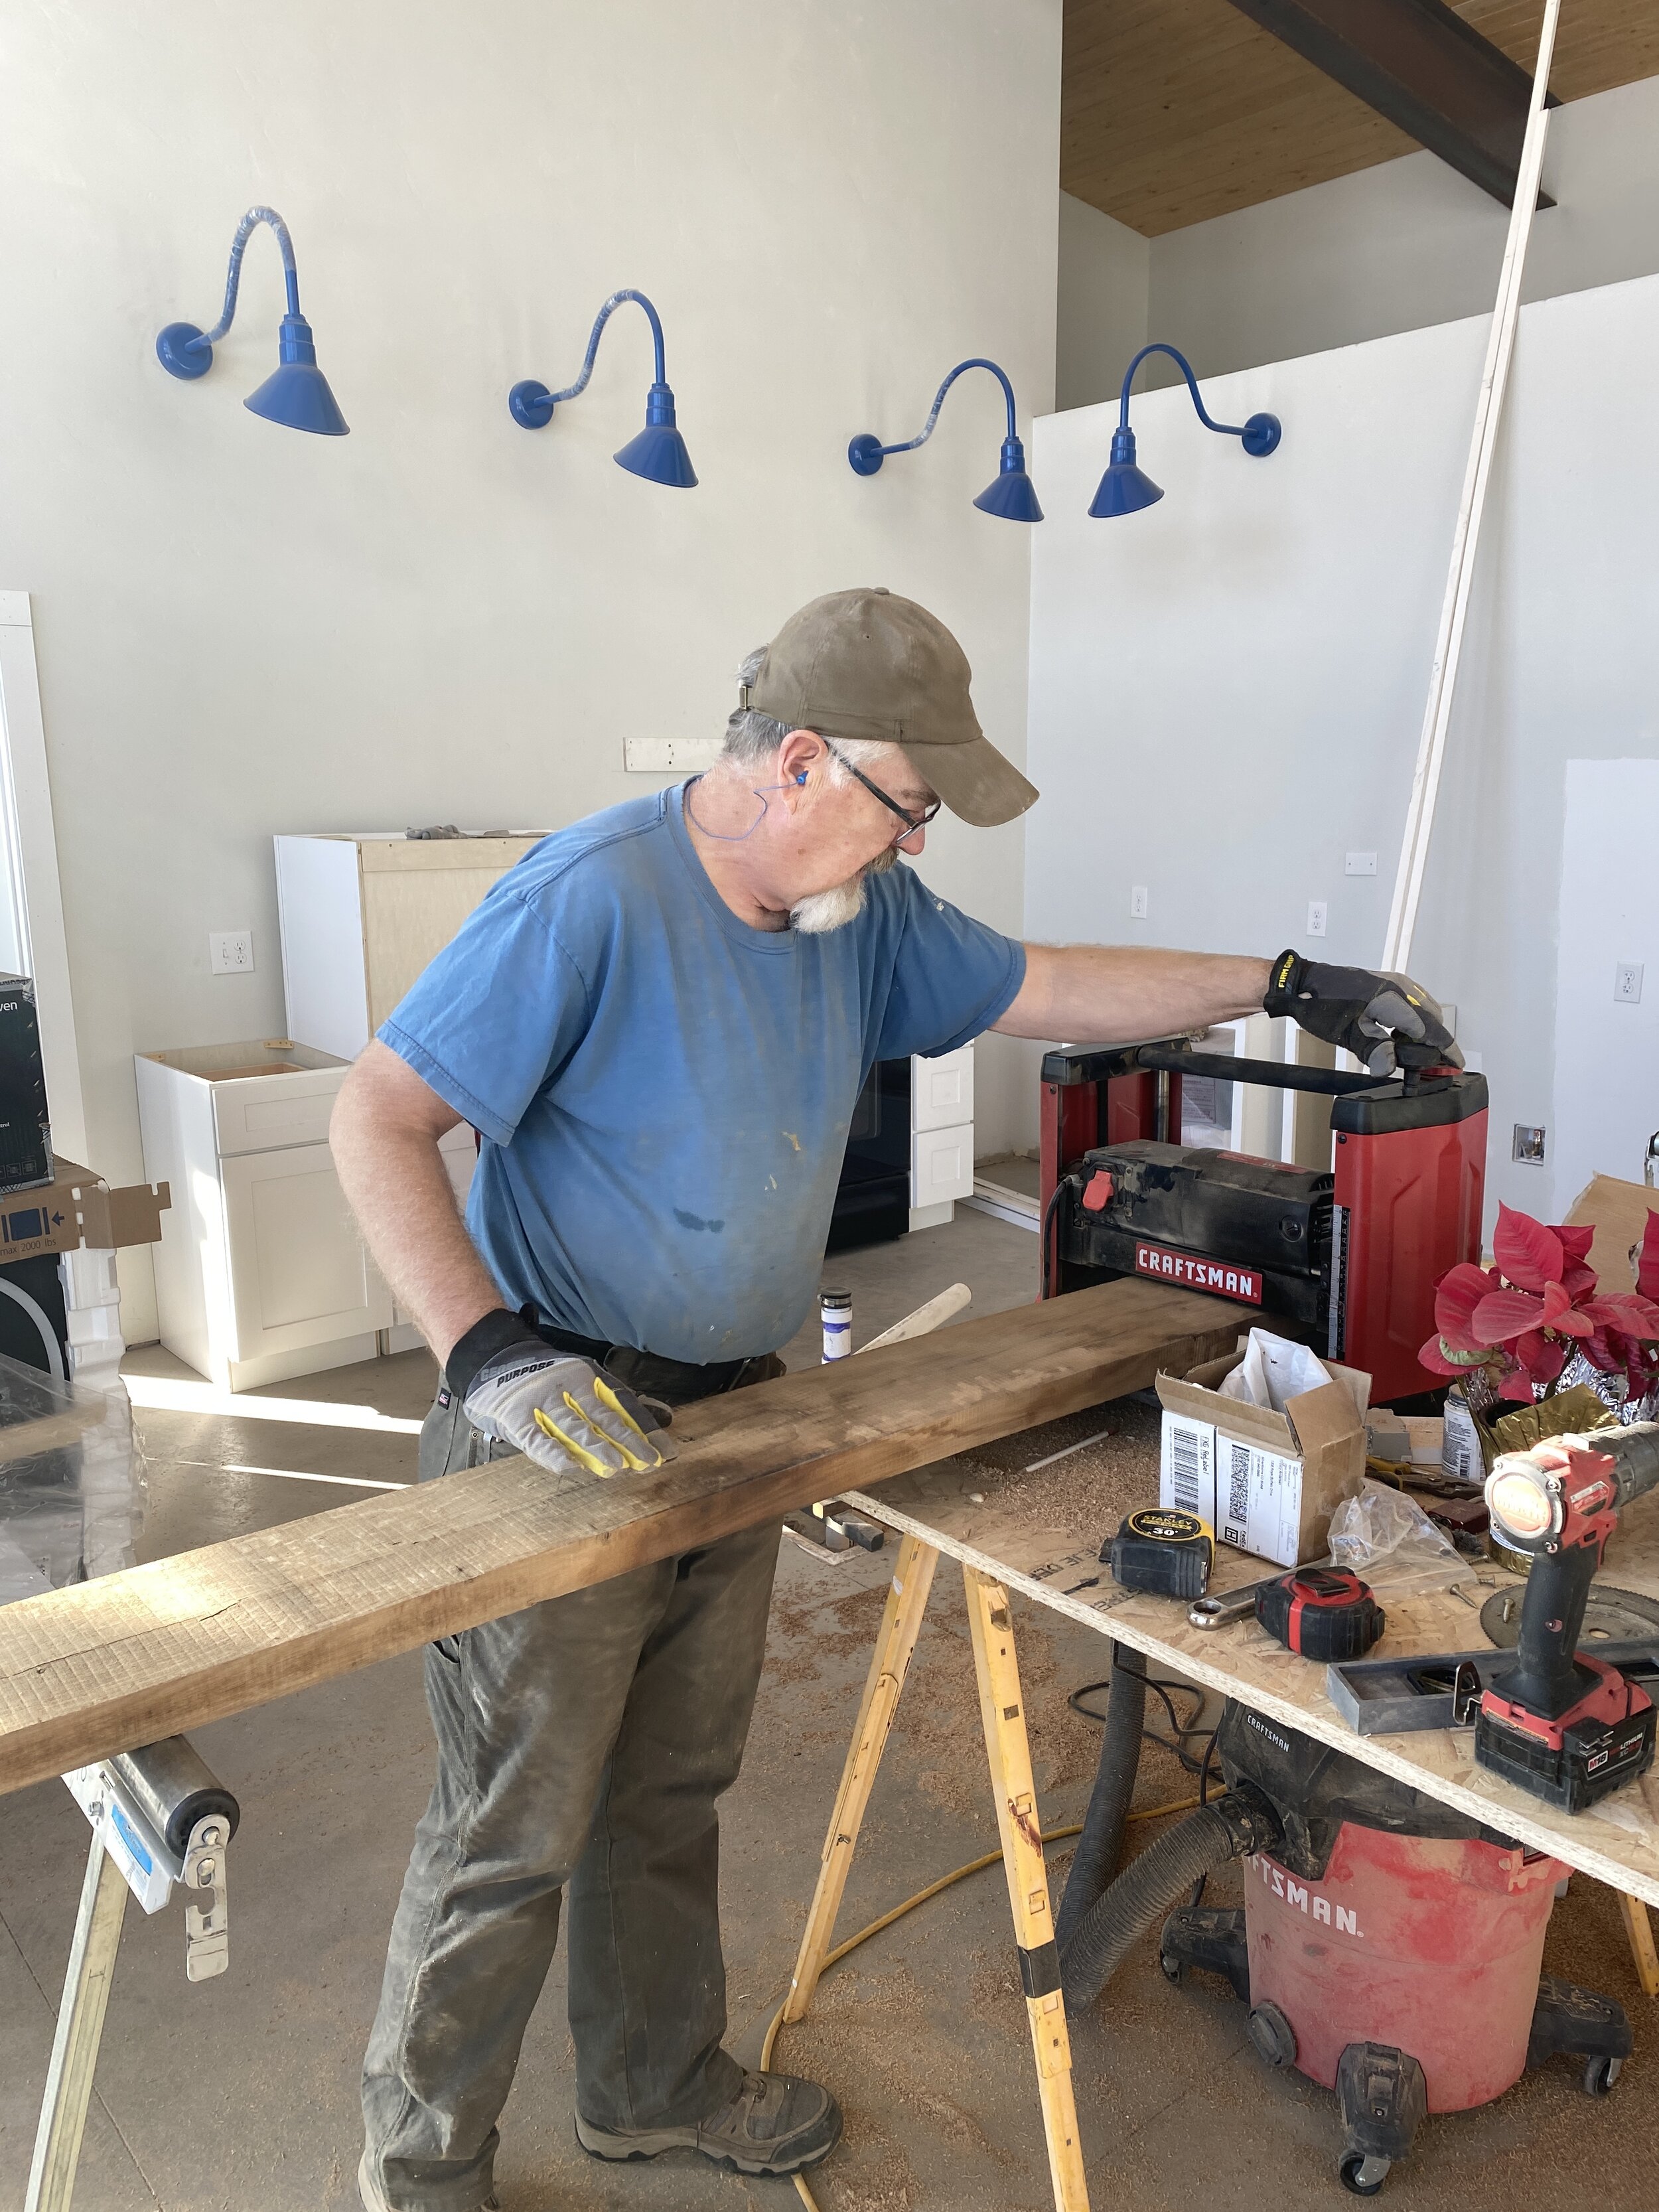
Prior to the holidays, Dad had got started on planing the oak for our open wood shelves and prepping them for urethane. The oak was leftover from my folks’ timber frame home build in 1992. They had been hanging onto it for 30 years and we were the lucky recipients! The mantle and all of our kitchen shelves are made from this oak. The clear urethane brought out the natural beauty of the wood.

Urethane in progress for mantle and two of our open oak shelves.
As with our mantle, we purchased our shelf brackets from Industrial Farm Co. They were able to custom create our brackets to our exact specifications and then added a gorgeous matte black powder coat. They look amazing next to the oak! If you need any sort of shelf bracket, you should definitely check them out!

Oak shelve are up! Dad did such a wonderful job with this project! We will treasure them forever!
This weekend was all about cleaning and getting ready for the FINAL inspection later this week. We even got to work on some fun things like the trim around our microwave and the fireplace.

Trimmed out microwave for a fraction of the cost! The little open shelf will be filled with our cookbooks.
Even though we were hoping to be in the house by the holidays, we’re pretty dang far along on a lot of the projects that we thought we would do after we moved in. So, as with most things, it’s working out the way it should.
We’re a mix of nervousness and excitement as we look at the coming week. Thank you for all of the good vibes along the way, it really does help.
We really hope we can open up that fancy champagne this week!
Fingers crossed,
Cory
What’s coming up next?
Countertop install Tuesday morning.
Install garbage disposal and sink plumbing.
Continue to clean up inside and out.
Call for the FINAL inspection - most likely on Thursday.
Turn in our certificate of occupancy with our bank so we can convert our construction loan to a regular mortgage. Our bank deadline is February 5, so we’re down to the wire a bit.
Celebrate (hopefully!) with our lovely aged bottle of Veuve Clicquot that we brought back from France on our 5th wedding anniversary trip during July 2011. The boys have a bottle of sparkling juice ready to go too. Oh, and you better believe there will be some cake.
———————————
Here are a few more images from life and this stage of our project.